
A DIY air dry clay decorative chain is an easy way to create a sculptural accent for a coffee table, dresser, or entryway. With a few basic supplies, you can shape a five-link chain and finish it with a black-and-white speckled effect inspired by stone. The materials cost about $9 for this project, offering a budget-friendly alternative to decorative chains that can retail for $50 to $200.

Why Make a DIY Air Dry Clay Decorative Chain?
Decorative objects can add personality to a room, even when their shapes are unexpected. A chain makes a distinctive tabletop accent and works well on its own or styled on a tray beside books, a bowl, or a candle. Its simple form also suits a range of interiors, depending on the paint color and finish you choose.

For a balanced display, place the chain where it has enough room to be seen without crowding smaller objects. Since air-dry clay is decorative rather than functional, keep the finished piece away from food-preparation surfaces and handle it gently.
Store-bought versions can be expensive, so making one at home is a practical way to try the look for less. The handmade links may not be perfectly uniform, but slight differences give the piece an individual, sculptural appearance.
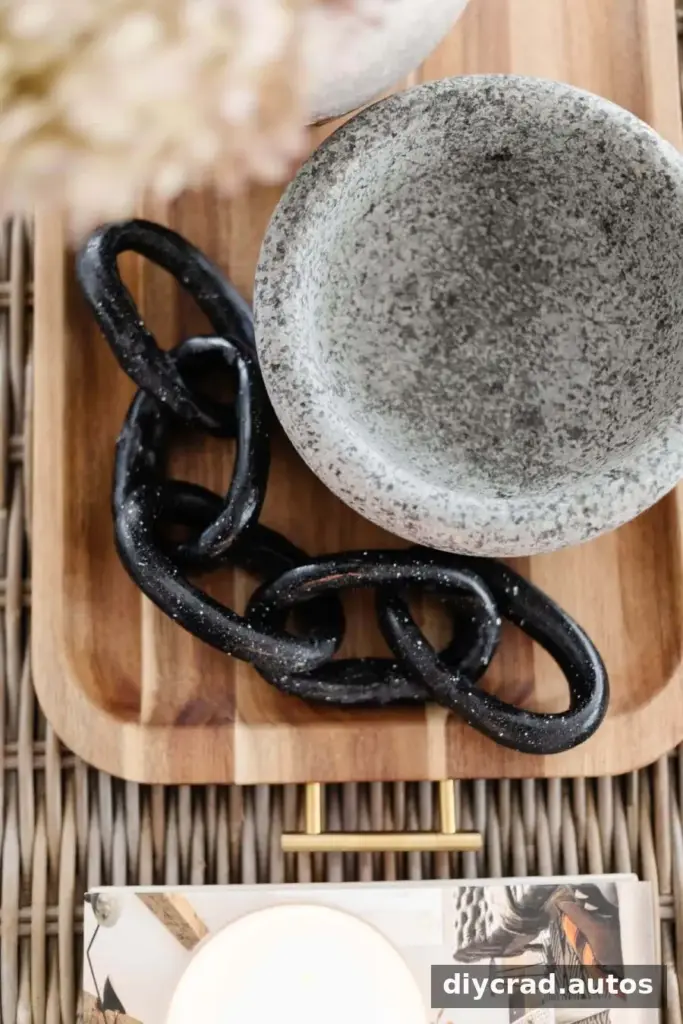
Supplies for the Clay Chain
Gather everything before shaping the clay. A cup of water helps smooth the joined ends, while a blunt knife makes it easier to trim them safely and cleanly.
- Air-dry clay
- A blunt knife, such as a butter knife
- A cup of water
- Black satin spray paint or black acrylic paint
- White acrylic paint
- A medium or large craft brush
Protect your work surface before painting, and use spray paint only in a well-ventilated area while following the directions on its label. Check the clay packaging for its drying and handling instructions before you begin.
How to Make the Decorative Chain
Shape the first three links
- Divide the clay into three equal portions, about the size of a baseball each.
- Roll one portion between your hands to form a long, snake-like strand.
- When the strand is about 8–10 inches long, trim a small amount from both ends with the blunt knife.
- Dab a little water onto the cut ends. Press them gently together to form a loop, then smooth the seam with your fingers.
- Shape the loop into an oval and set it aside.

Repeat these steps with the other two portions. Leave all three oval loops to dry for a day. Drying them flat before assembling the chain helps the links keep their shape and reduces the chance of them looking warped.
Join the remaining links
- Take two more baseball-sized portions of clay and roll each into a strand about 8–10 inches long. Trim the ends as before.
- Pass the first fresh strand through one of the dried loops. Bring its ends together, join them with a little water, and smooth the seam.
- Repeat with the final strand, threading it through another link so the loops interlock.
- Arrange the links into a five-link chain and leave the piece to dry for a day or two.
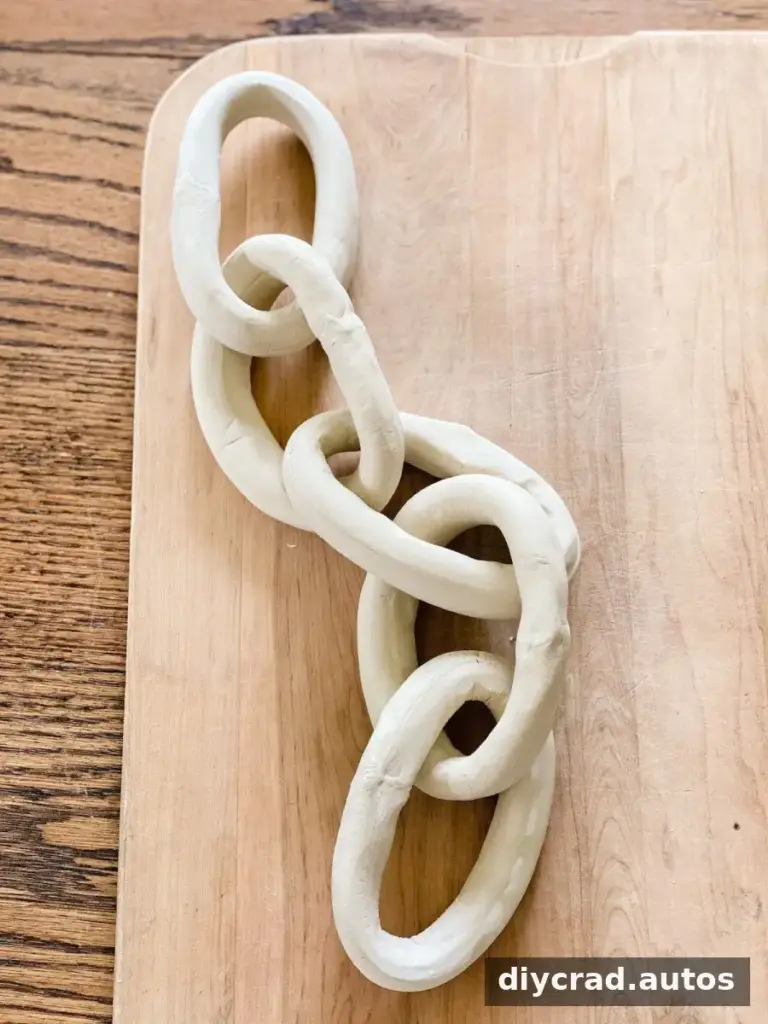
Allow the chain to dry fully before painting. The optional quick-drying method in the original project is to place the clay on a baking sheet in a cold oven, set it to 200 degrees, and heat it for 15 minutes—but no longer, to avoid burning. Air-dry clay products can have different care requirements, so check the manufacturer’s instructions before using an oven; if they do not explicitly allow heating, let the piece air-dry instead.
Paint a Speckled Stone-Effect Finish
Once the chain is completely dry, coat one side with black satin spray paint and let it dry. Turn the chain over and paint the other side. If using spray paint, follow the product label for application, ventilation, and drying time.
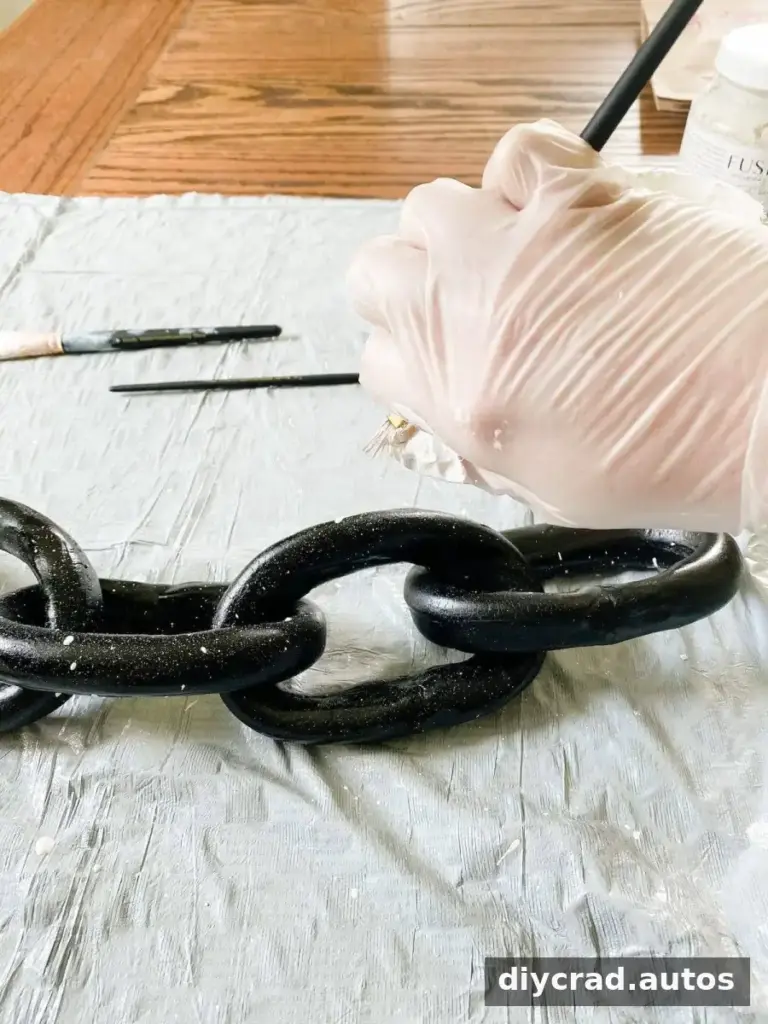
To make the stone-like speckles, dip a medium craft brush into white acrylic paint and tap off the excess. Hold the brush a few inches above the chain and press the bristles with a finger to scatter small dots across the black surface. This technique can be messy, so protect nearby surfaces and consider wearing a glove.
If a white splatter is larger than you want, touch it up with a small brush and a little black paint. Add the speckles gradually: it is easier to build up the pattern than to cover an overly dense layer.
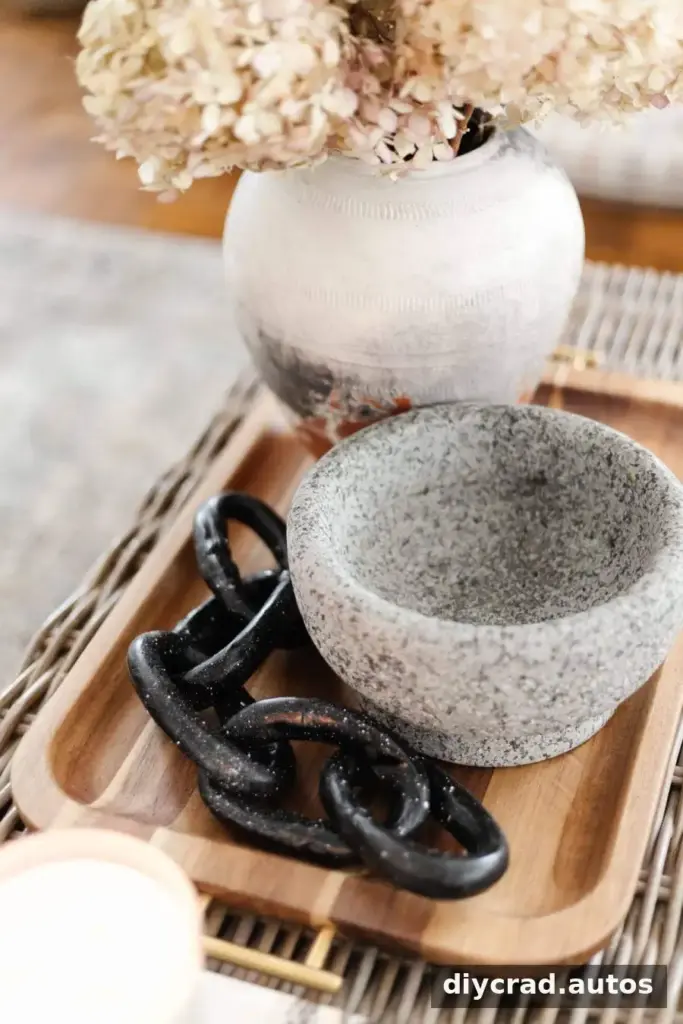
Display and Care Tips
The finished chain has a handmade stone-inspired look, and small variations in the links or speckles are part of its character. Place it on a stable, dry surface and lift it by supporting the links rather than pulling from one end. Avoid dropping it or exposing it to moisture, as air-dry clay can be fragile.
This project uses about $9 worth of clay and paint and can save around $90 compared with the decorative pieces described here. Store any unused clay according to its package directions so it stays workable for future crafts.
Conclusion
A DIY air dry clay decorative chain combines a simple loop-making process with an easy painted finish, making it an approachable project for a tabletop accent. Let the links dry thoroughly, follow the clay and paint labels, and apply the white speckles in light layers for a polished stone-inspired result.