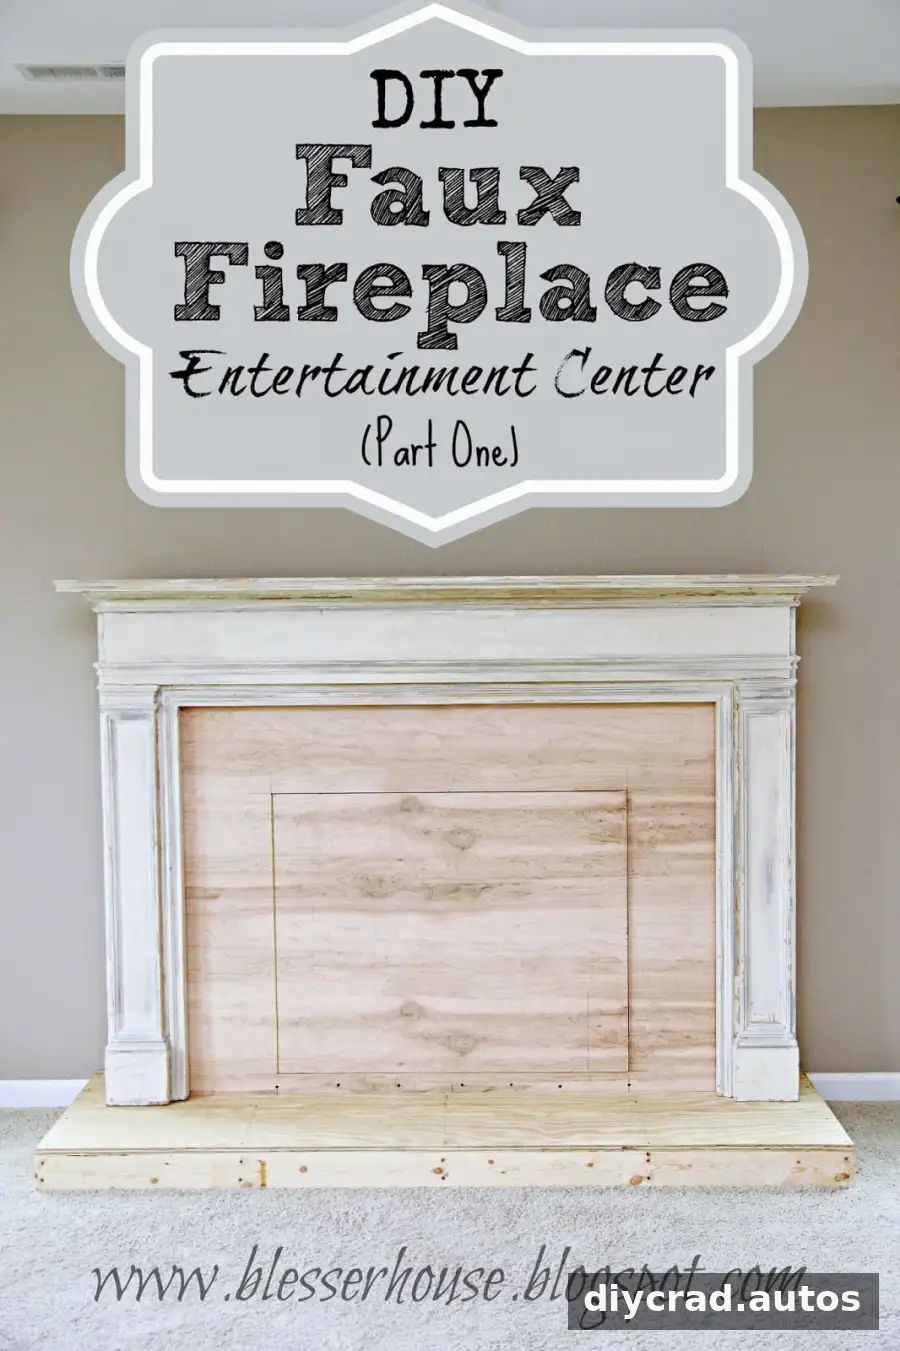
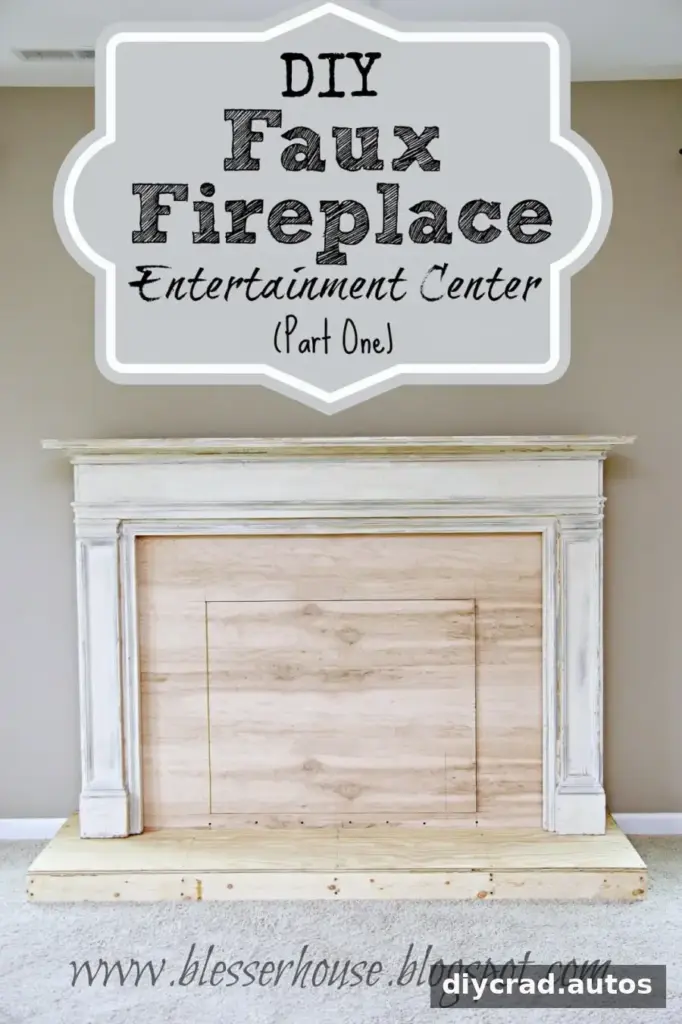
A DIY faux fireplace entertainment center can add a substantial focal point and useful storage to a room without the cost of installing a working fireplace. This first stage uses a secondhand mantel, plywood, and 2×4 lumber to create an oversized surround with a hinged door that provides access to an outlet and space to conceal cords. The project cost was under $500, including a mantel purchased for $100.
Planning a DIY Faux Fireplace Entertainment Center
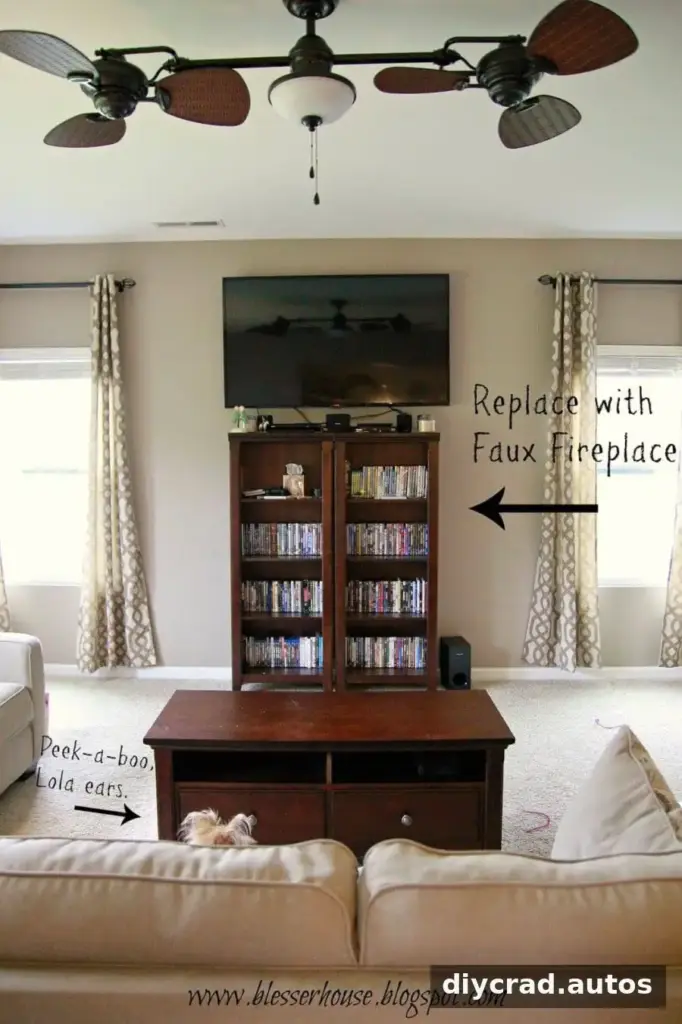
The project began with a bare wall and a need for a more practical setup than the bookcases previously in the room. The shelves had become difficult to manage around a toddler, so they were moved elsewhere. Rather than attaching a simple mantel directly to the wall, the plan was to build a deeper structure with a hearth and a concealed compartment.
The original arrangement relied on two bookcases, which were removed before construction began.
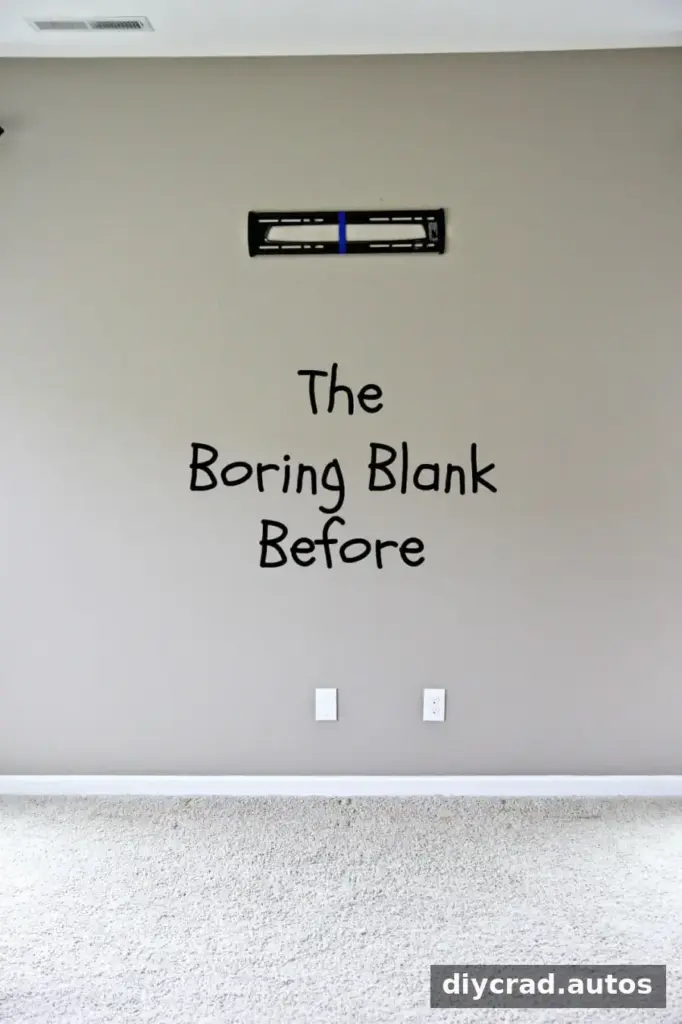
With the bookcases moved to another room, the wall was clear and ready to measure.
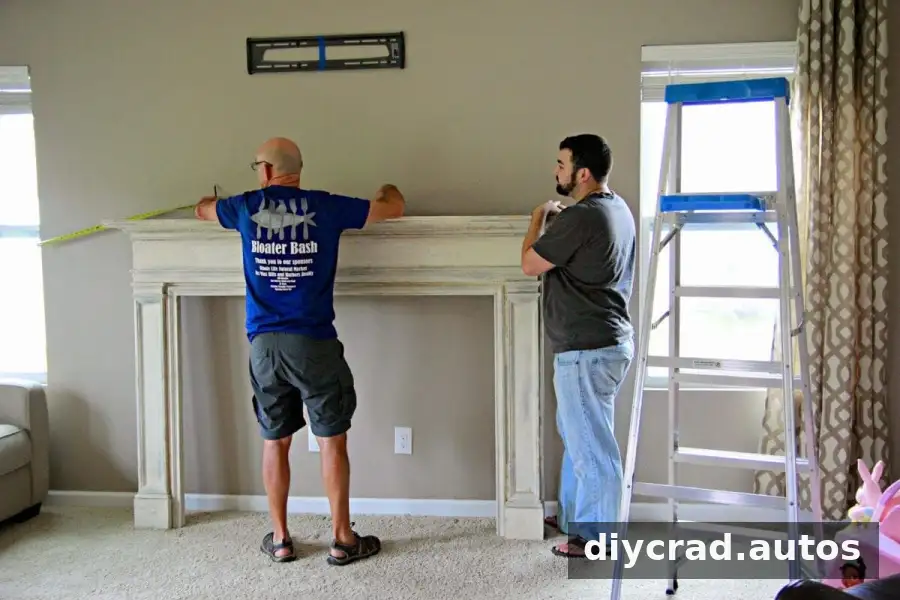
A reclaimed mantel from a house being demolished in Charlotte became the starting point. Its reported construction date was uncertain—either 1916 or 1940—but it had an aged character that suited the project. The mantel’s dimensions, along with the room, would determine the final proportions.
Materials and tools
Gather the main supplies before building. Measurements will vary with the mantel and room, so plan each cut around the dimensions of your own project.
- Ready-made mantel front, purchased for $100
- 3 sheets of plywood
- 9 2×4 boards
- Carpentry nails, finishing nails, and drywall screws
- Tape measure
- Circular saw and jigsaw
- Piano hinge
- Hammer or pneumatic nail gun
- Power drill and hacksaw
Measure the available wall and the mantel before cutting. An oversized fireplace can work well as a room’s focal point, but leave enough clearance for nearby doors, furniture, and walkways. Wear appropriate eye protection when cutting, and follow the tool manufacturers’ safety instructions.
Build the Hearth Base and Top
First, find the center of the wall and use the mantel front to plan the layout. The wood was cut on site so adjustments could be made as the structure took shape.
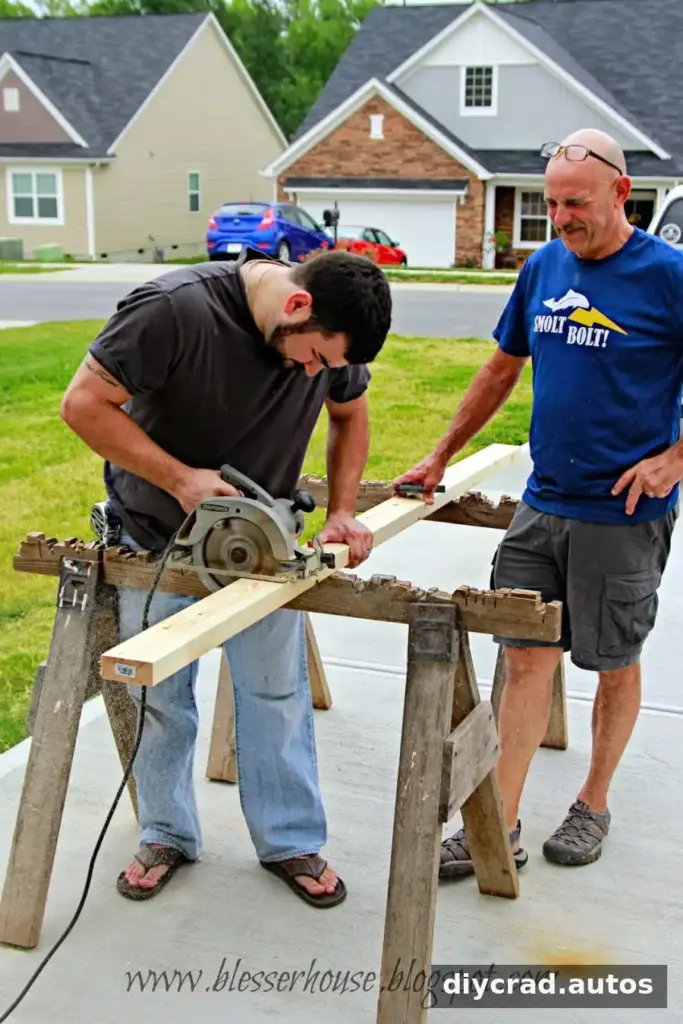
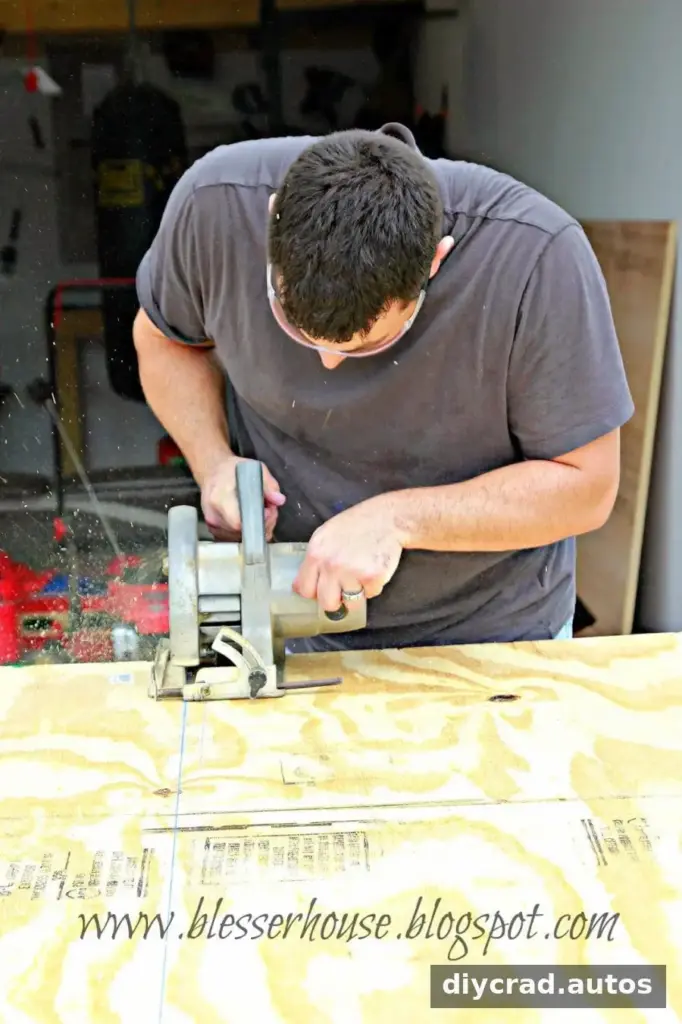
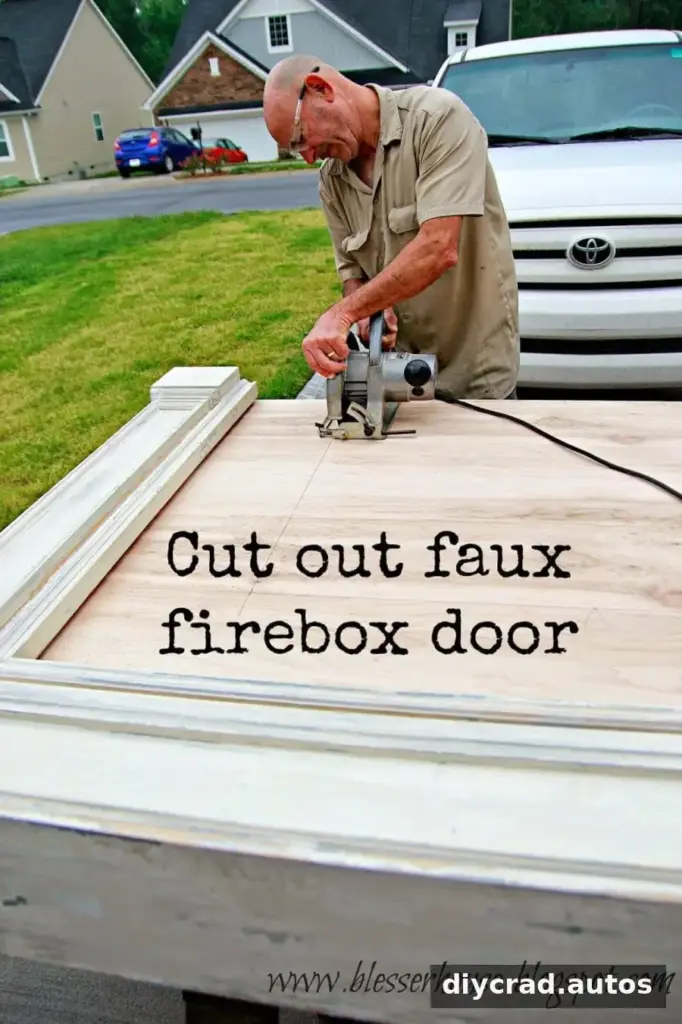
Cutting lumber with a circular saw calls for a stable work surface and safety glasses. Check the measurements before each cut, particularly when working with large plywood sheets.
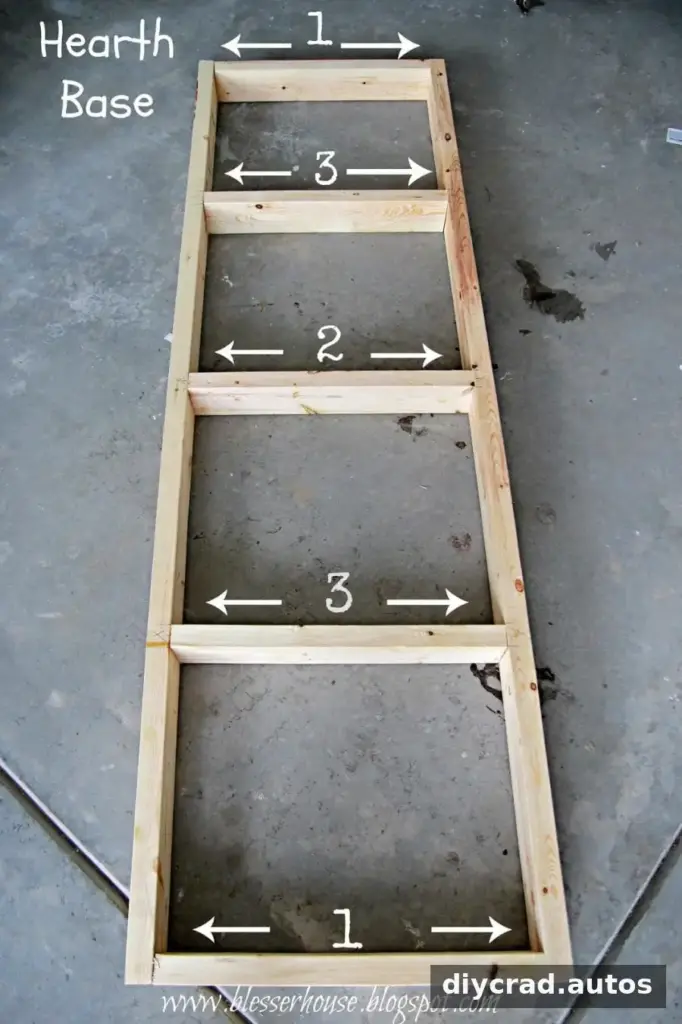
To make the hearth frame, cut two long 2×4s about 8 inches longer than the mantel. Connect them with shorter 2×4 pieces, each 24 inches long. Nail the end pieces between the long boards first, then add the center piece and the two remaining middle pieces.
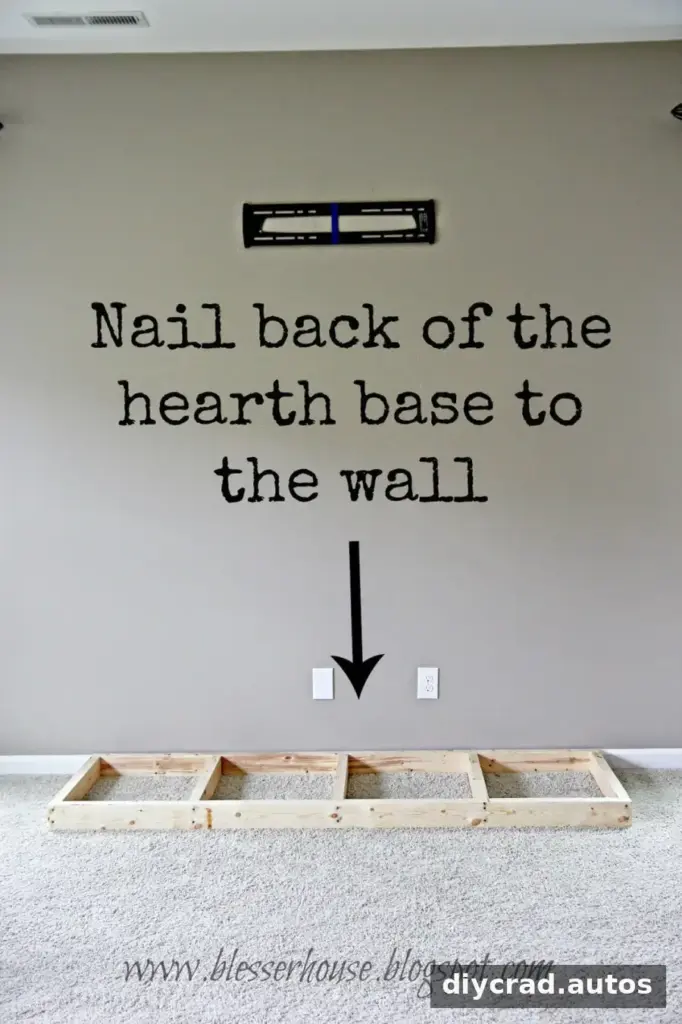
Center the completed frame against the wall and fasten its back to the wall. The builders chose not to cut into the carpet to attach the base to the floor, relying instead on the weight of the completed structure. Because floors, carpets, and walls differ, check that the frame is stable and use an anchoring method suitable for the particular home.
If the carpet is replaced later, the hearth edge can be finished with a box cutter and quarter-round trim, as planned for this installation.
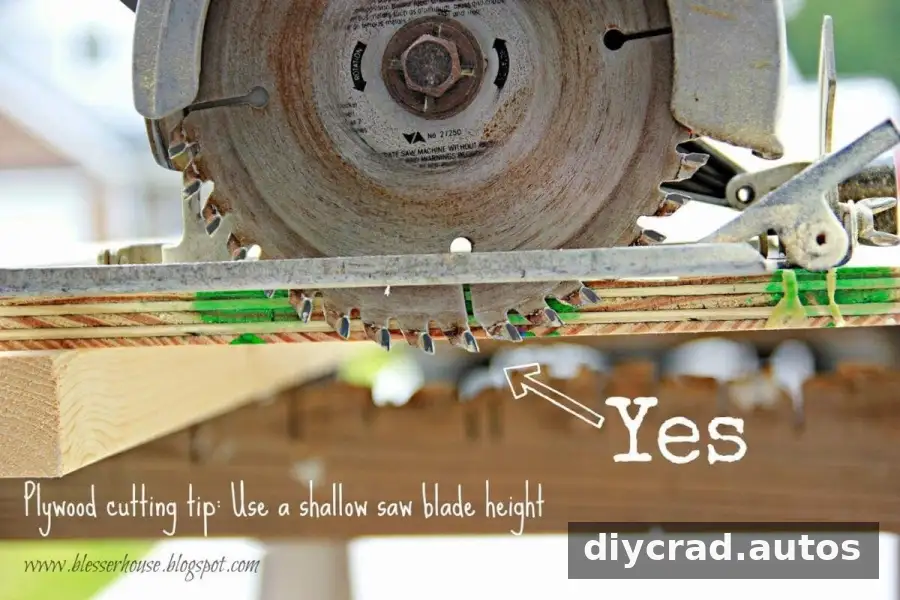
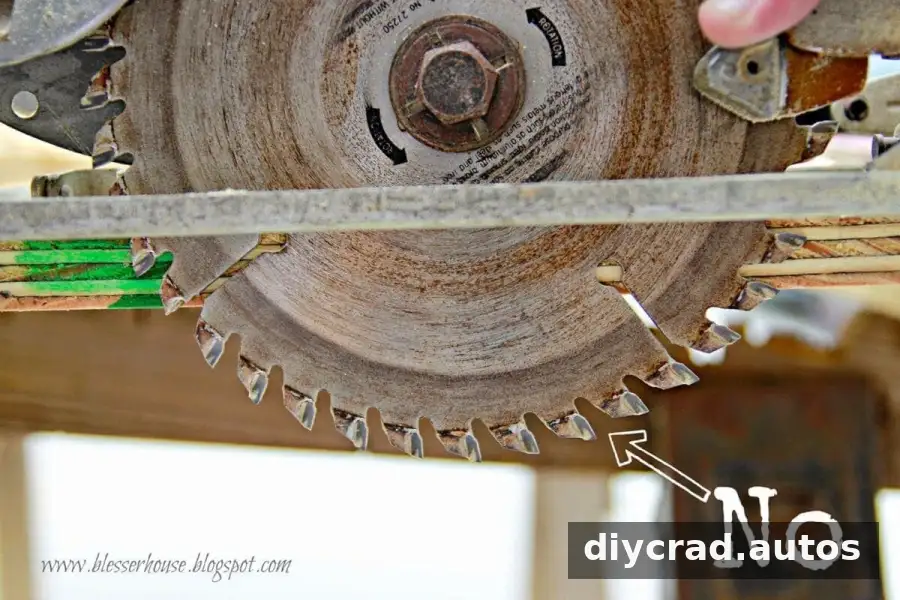
For a cleaner plywood cut, one woodworking tip used on this build was to set the circular saw blade shallow. Keep the sheet supported and make sure the blade depth and cutting setup are appropriate for the saw and material.
Cut a plywood panel to fit the top of the hearth frame, then test the fit before fastening it down.
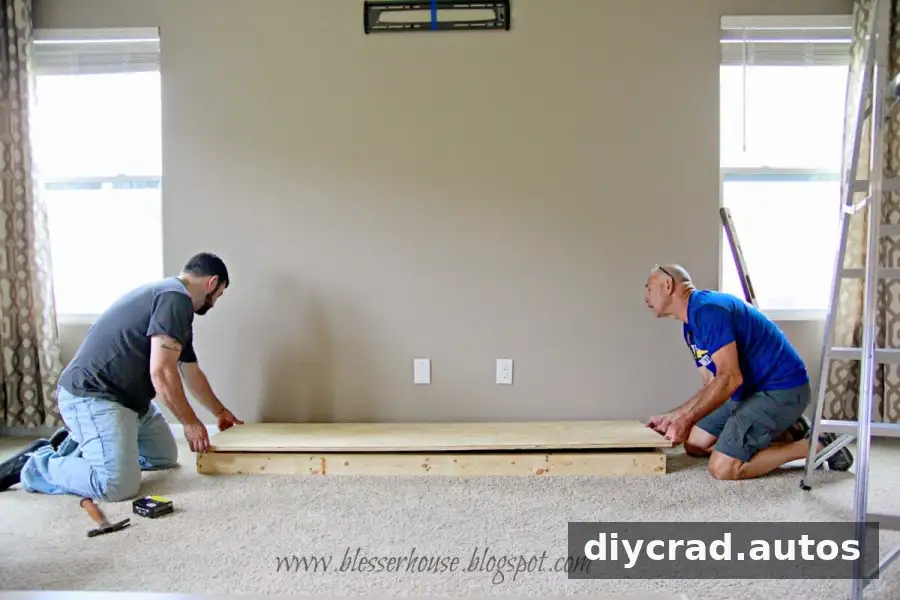
The plywood top lined up with the frame and was secured with nails.
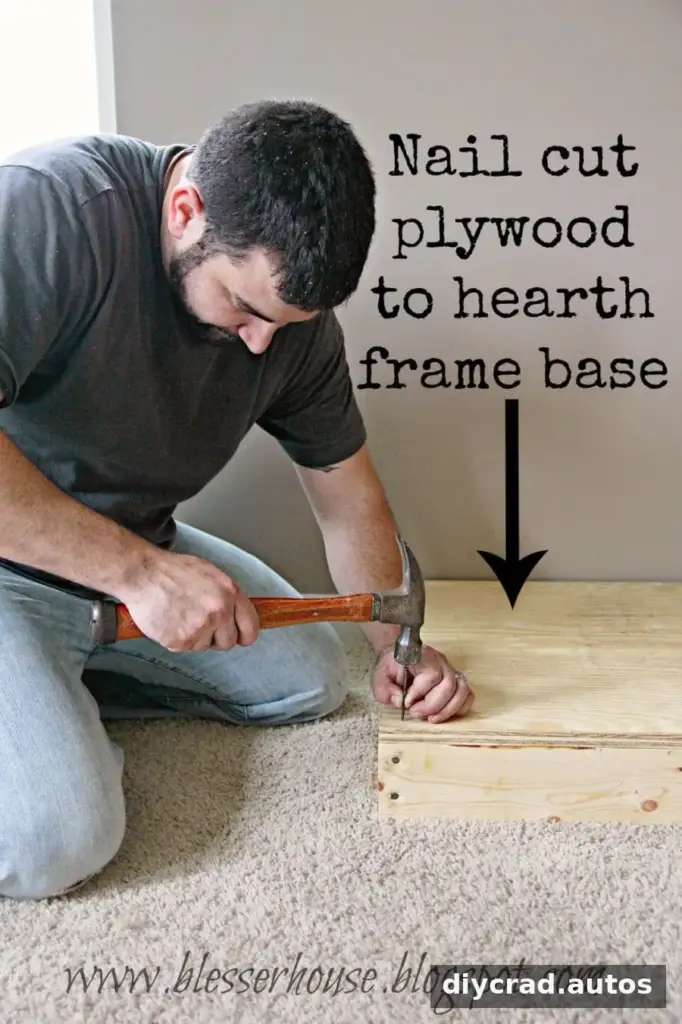
Prepare the Mantel and Surround
To create a wall attachment point for the mantel, 2×4 supports were added inside the back of its frame. Additional 2×4 pieces were positioned at the height of the mantel back.
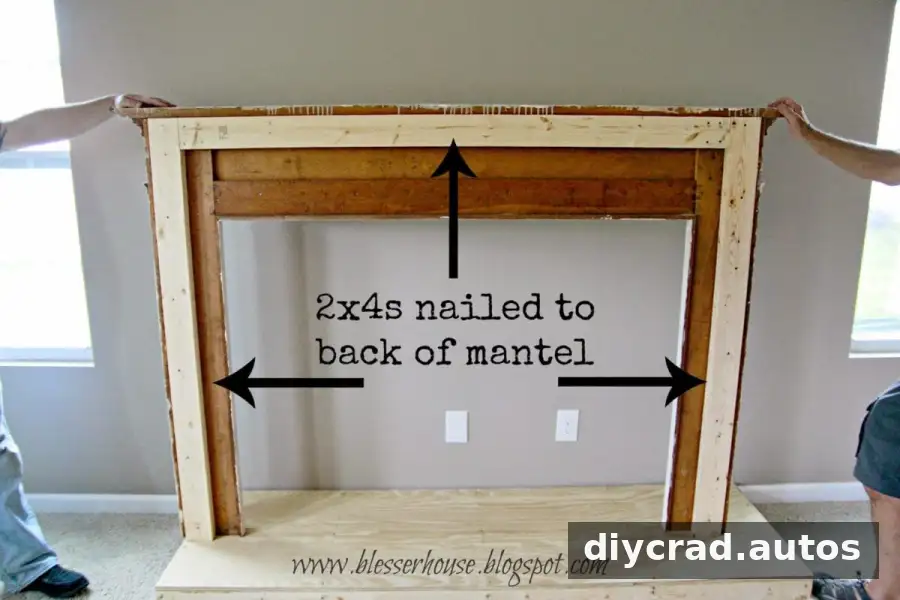
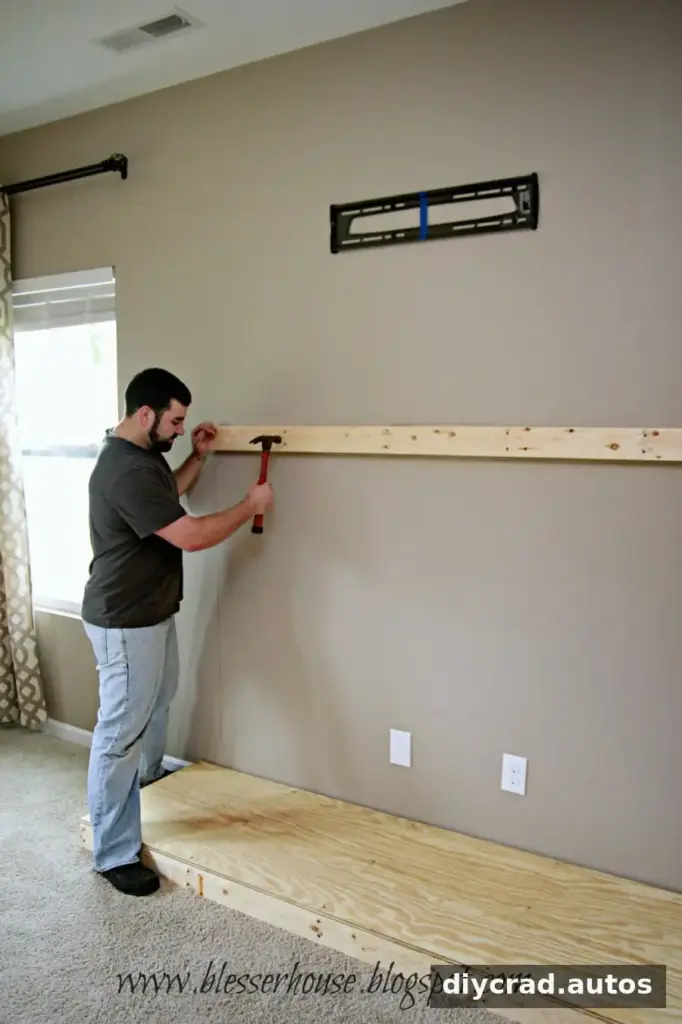
At this stage, the hearth and wall supports were ready to receive the mantel. Check that the assembly is level and that the attachment points align before continuing.
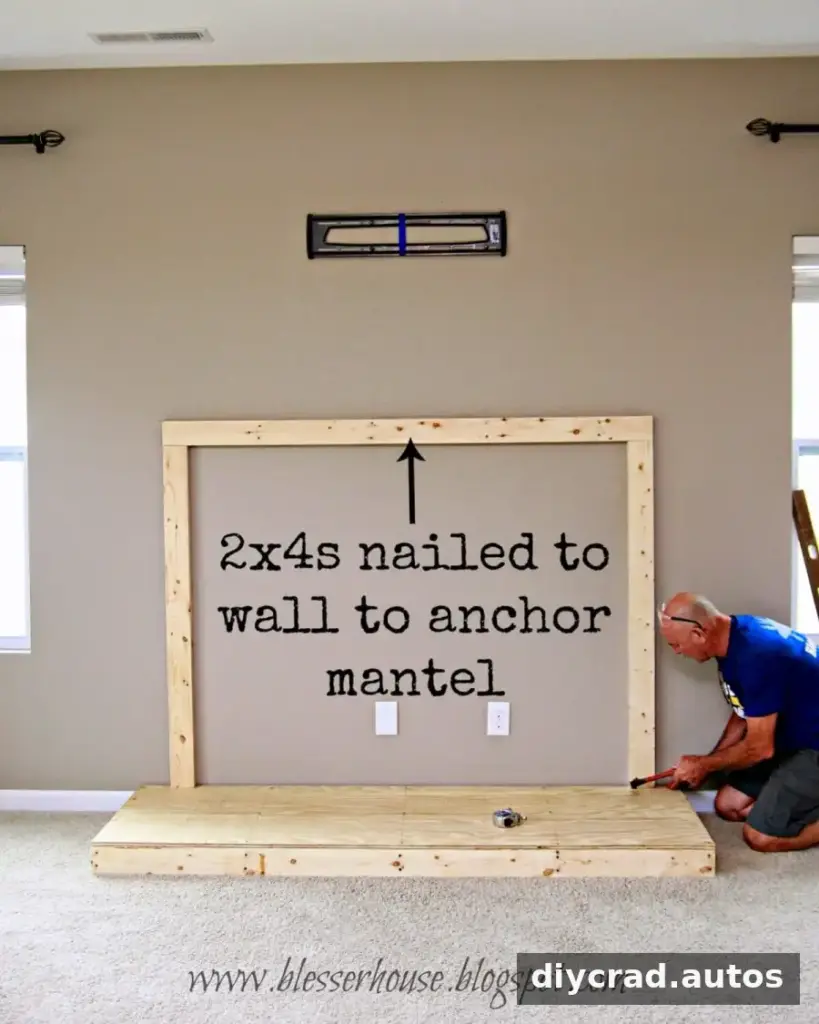
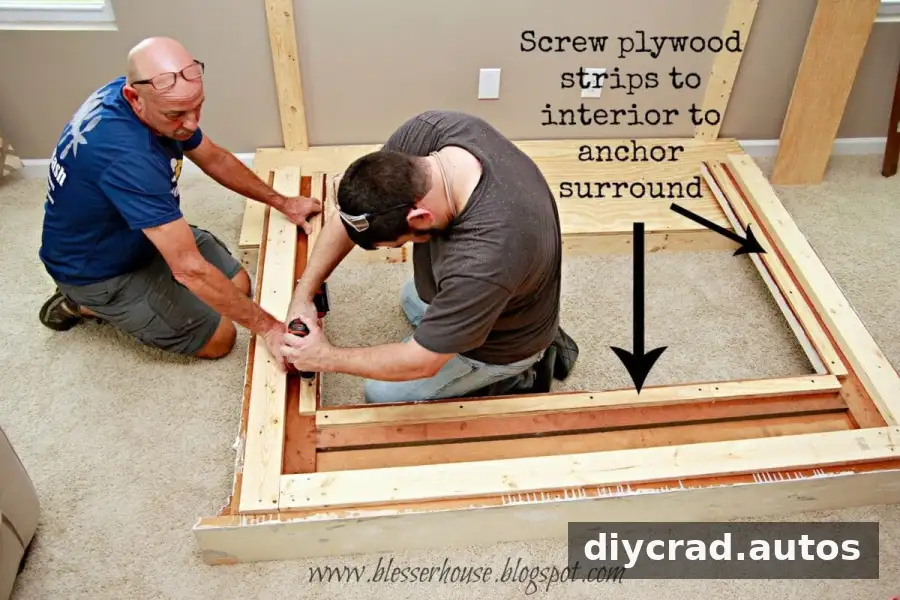
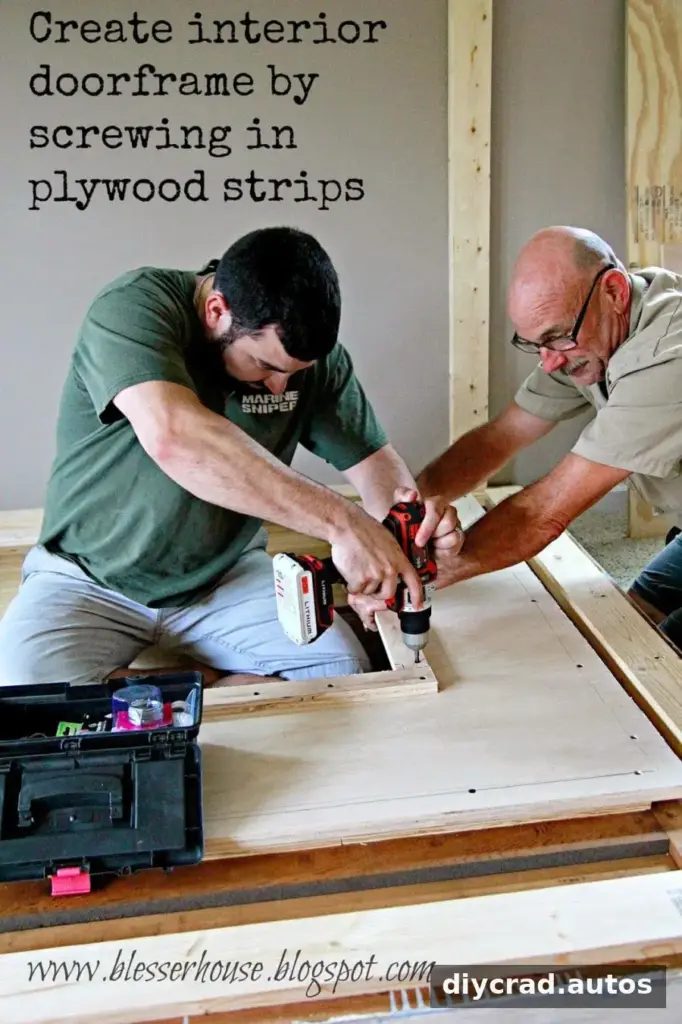
Plywood strips were cut and screwed to the back of the mantel to support the surround. A plywood panel was then used to form the surround over the mantel opening, with drywall screws fastening it to the anchor strips.
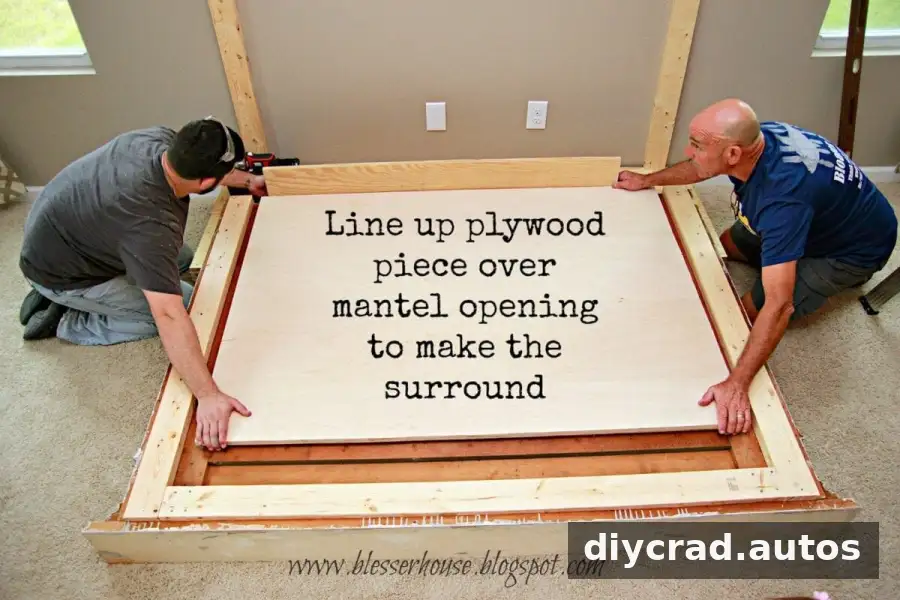
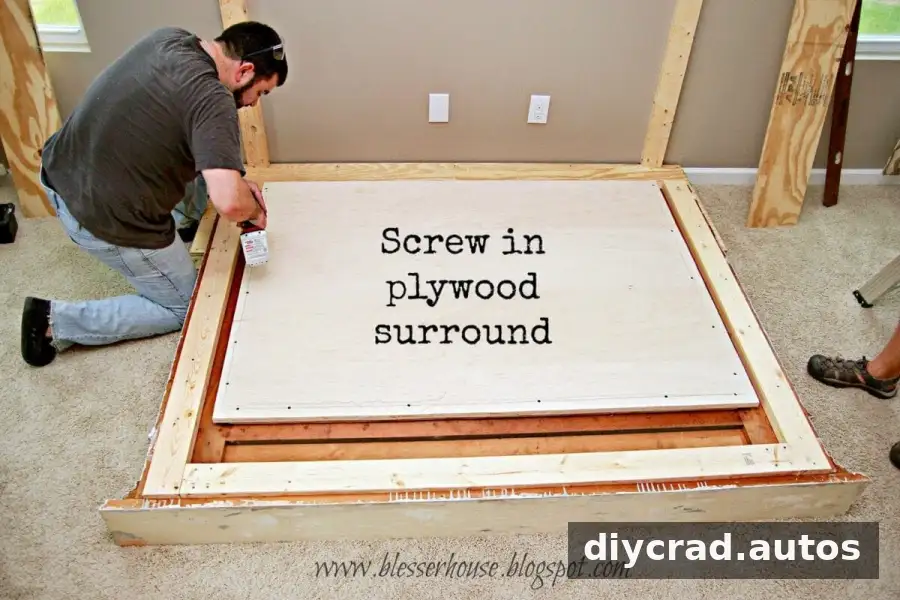
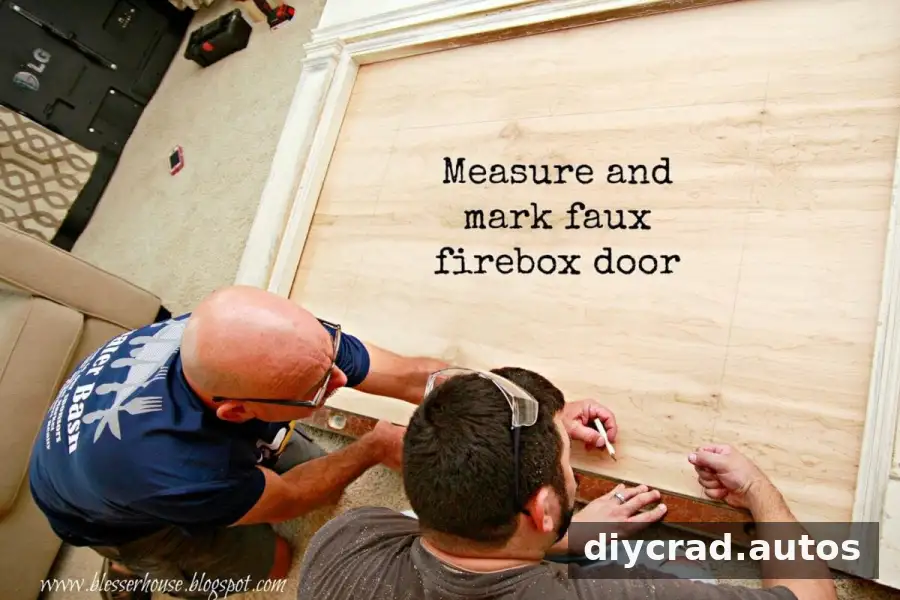
The opening was designed to function as a faux firebox rather than a working one. A door keeps the space accessible for reaching an outlet and routing cords out of sight. The opening was measured with a small gap left at the bottom to form a threshold and help keep the surround from bowing.
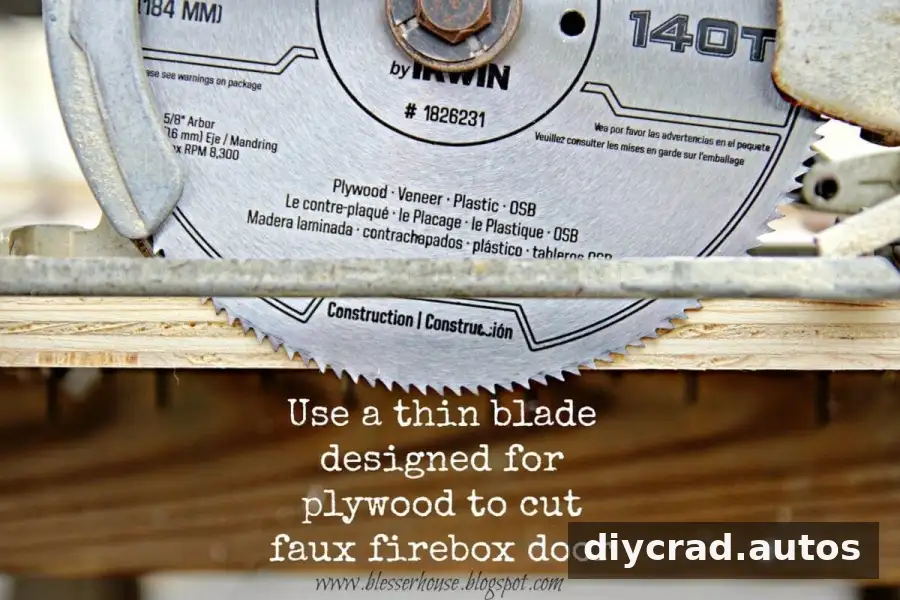
A thinner circular-saw blade was used for the opening to make a more precise cut. Use a blade suited to the material and make the cut only after confirming the opening’s dimensions.
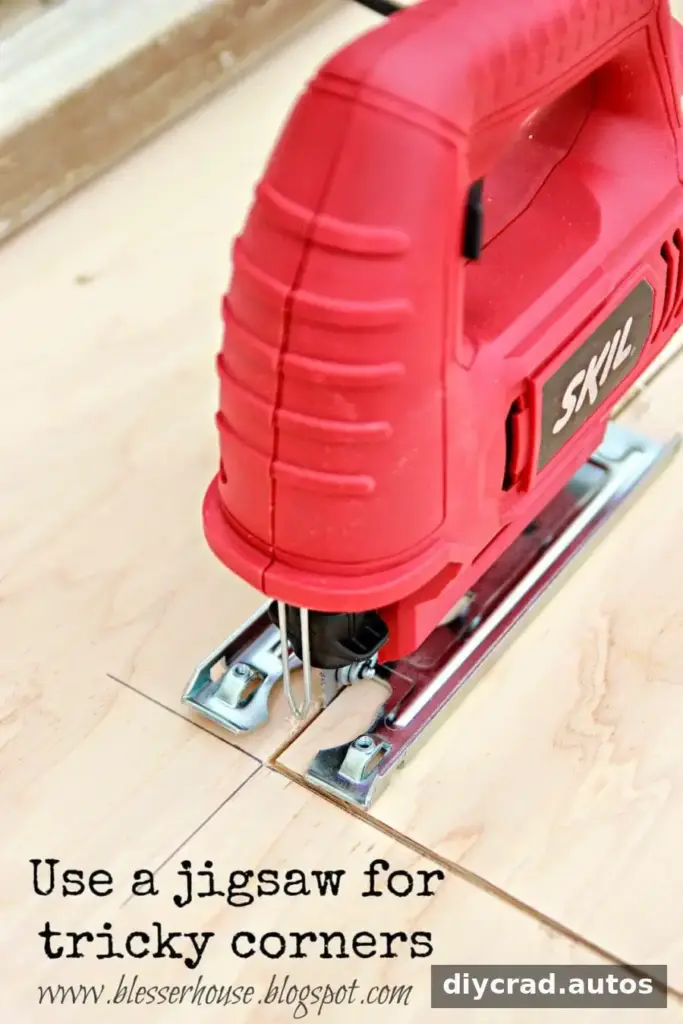
A jigsaw was used to finish the corners accurately. As the opening took shape, the structure began to resemble a fireplace surround.
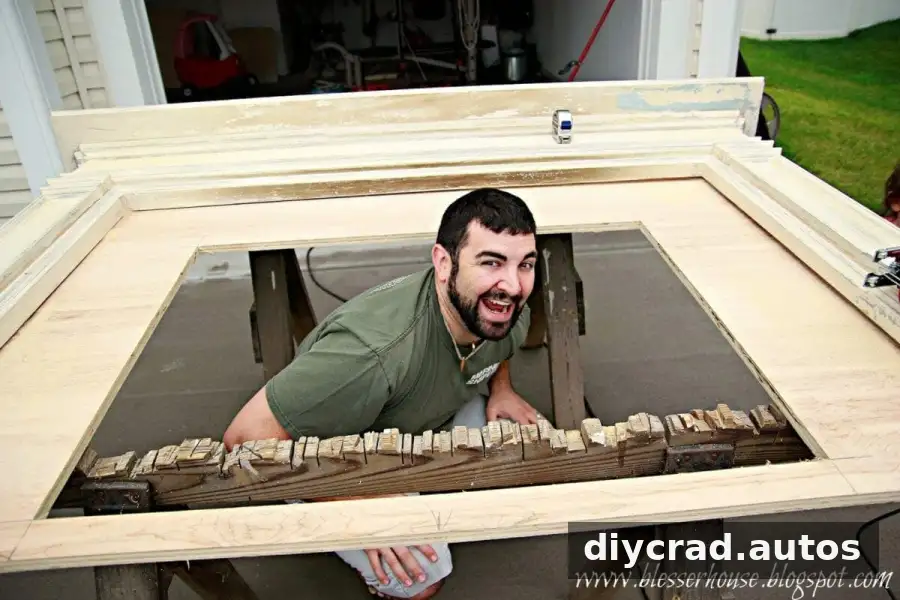
To make the door, a piano hinge was cut to size with a hacksaw and attached to the surround panel. A frame was added to the back of the mantel to help prevent the door from shifting or causing the surround to bow.
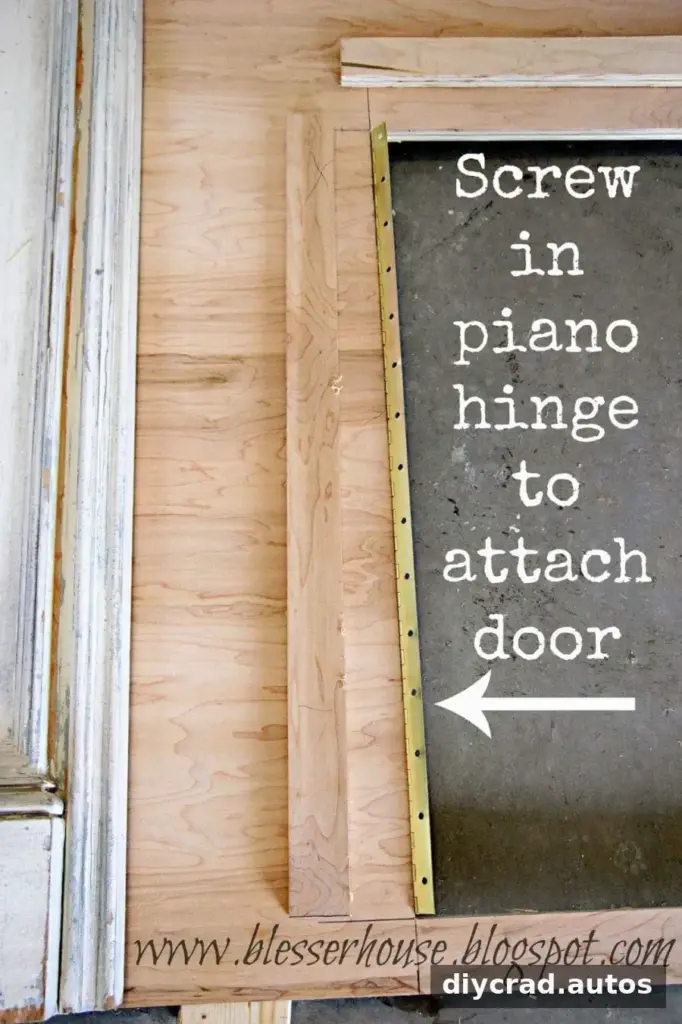
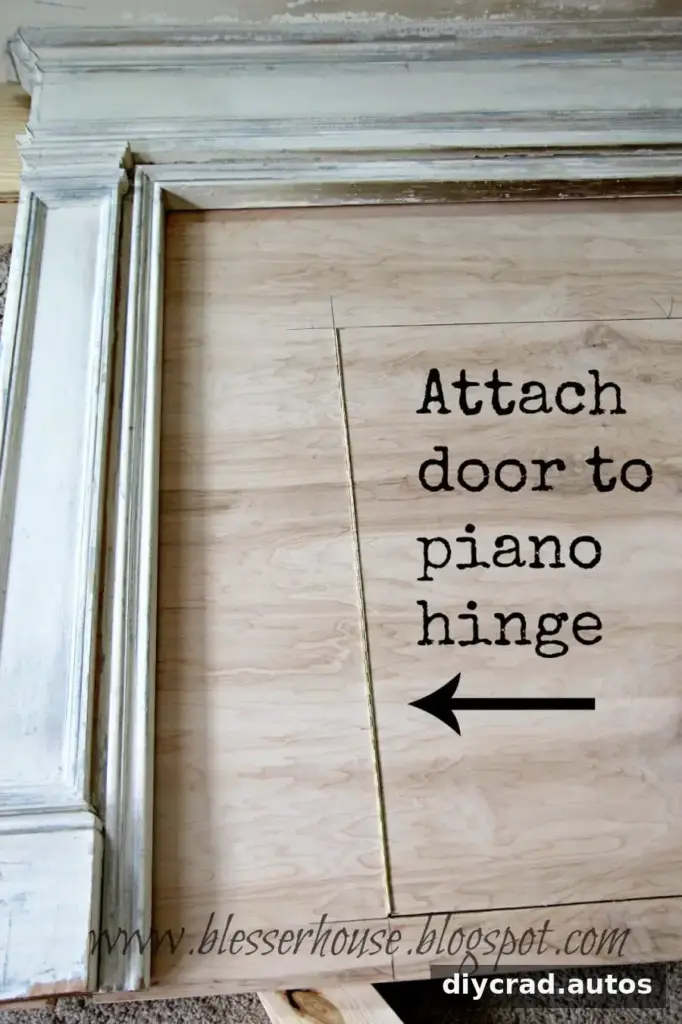
A small amount was trimmed from the door so it could fit neatly on the hinge. Test the door’s swing before final fastening, and make careful adjustments rather than removing too much material at once.
Attach the Mantel and Finish This Stage
Plywood strips were fastened to the 2×4 supports on the wall and the back of the mantel to anchor the assembly. The bottom section beneath the door was attached to a 2×4 on the hearth inside the opening.
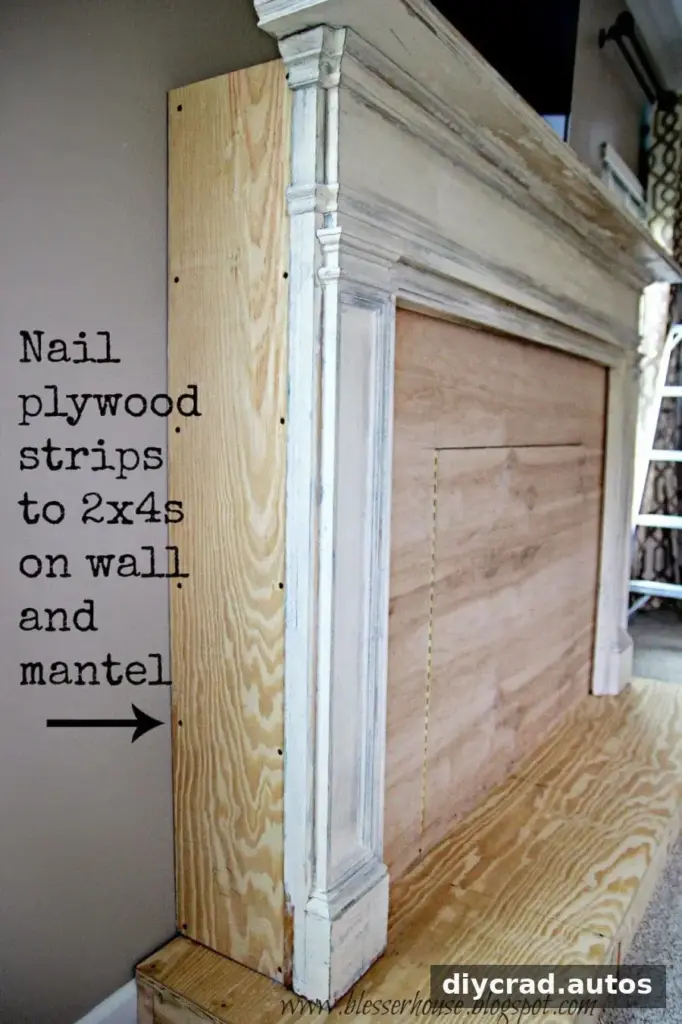
After the two side panels were in place, the upper section was closed with another plywood piece. It was attached to the supports on the mantel and wall, as well as to the side panels.
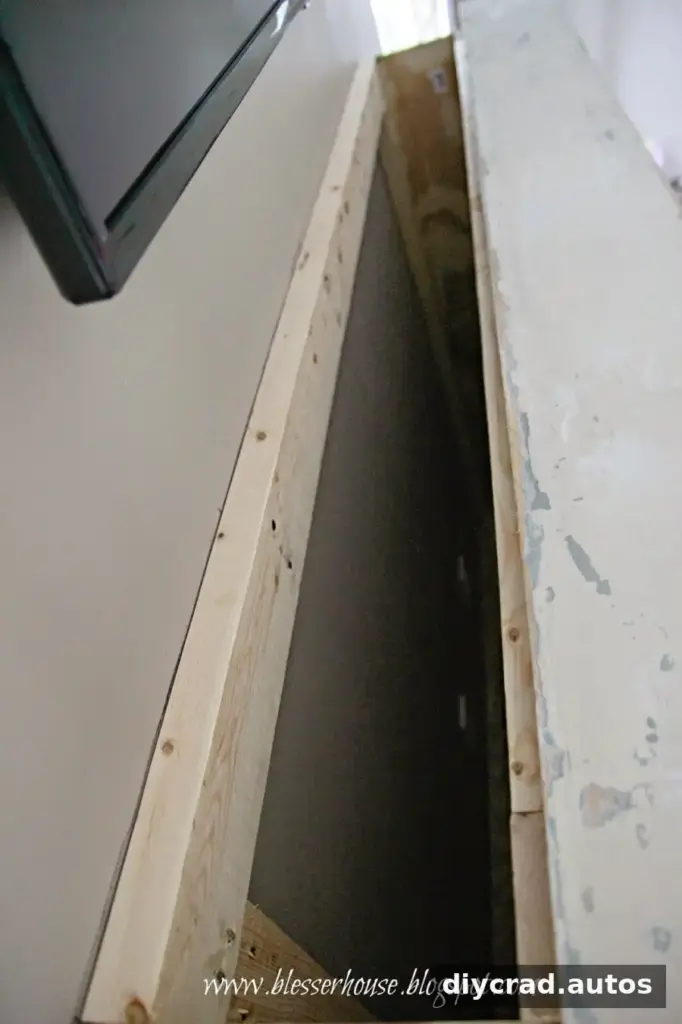
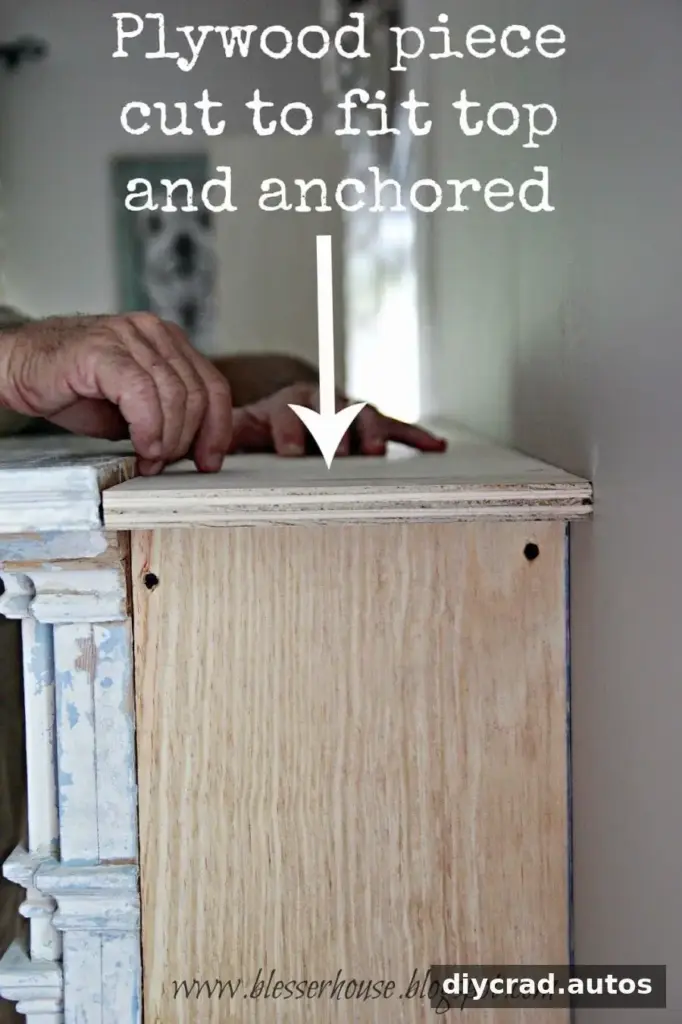
A final plywood strip was placed across the top to echo the mantel shelf’s end molding and secured with finishing nails.
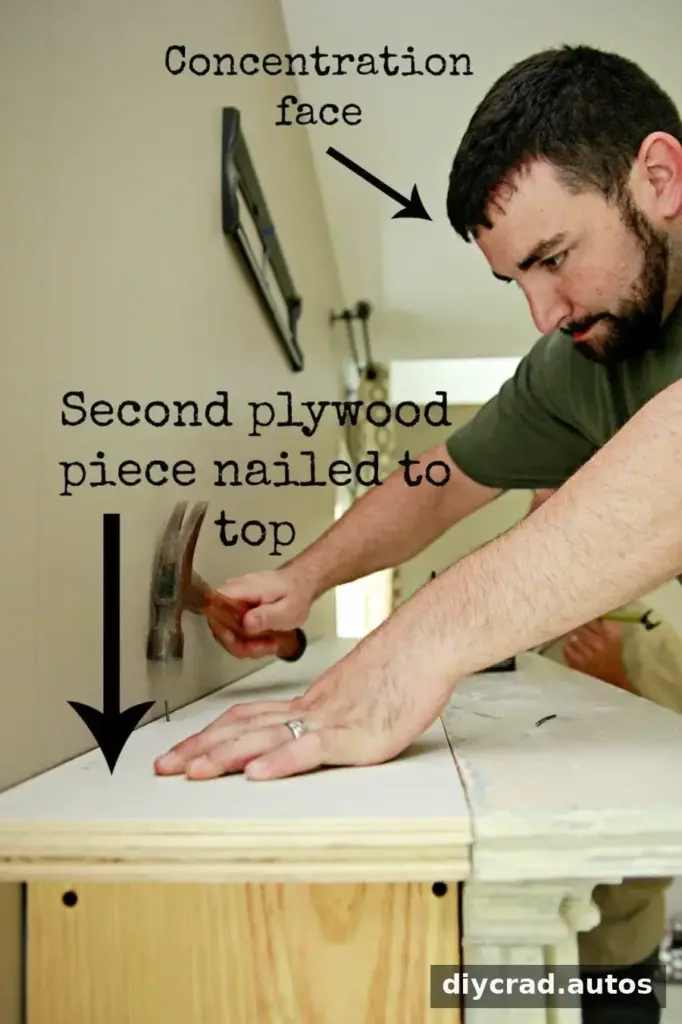
The basic oversized surround and hearth were now assembled. The surface still needed further finishing, which was planned for the next stage.
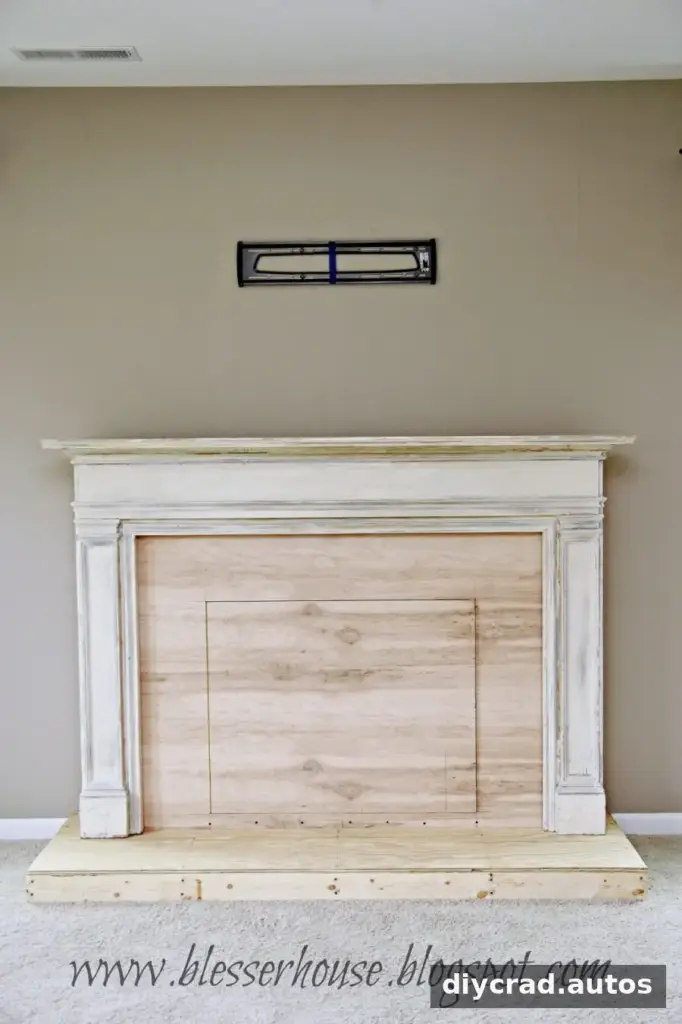
This first part focuses on the frame, hearth, surround, and access door. It does not include a working firebox; any future heating insert would require separate planning and professional installation appropriate to the product and local requirements.
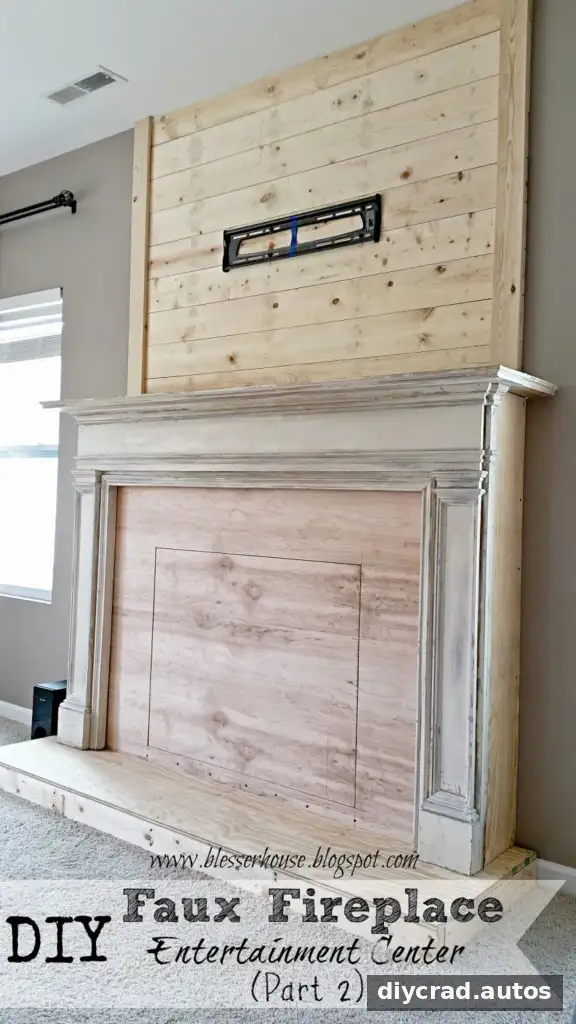
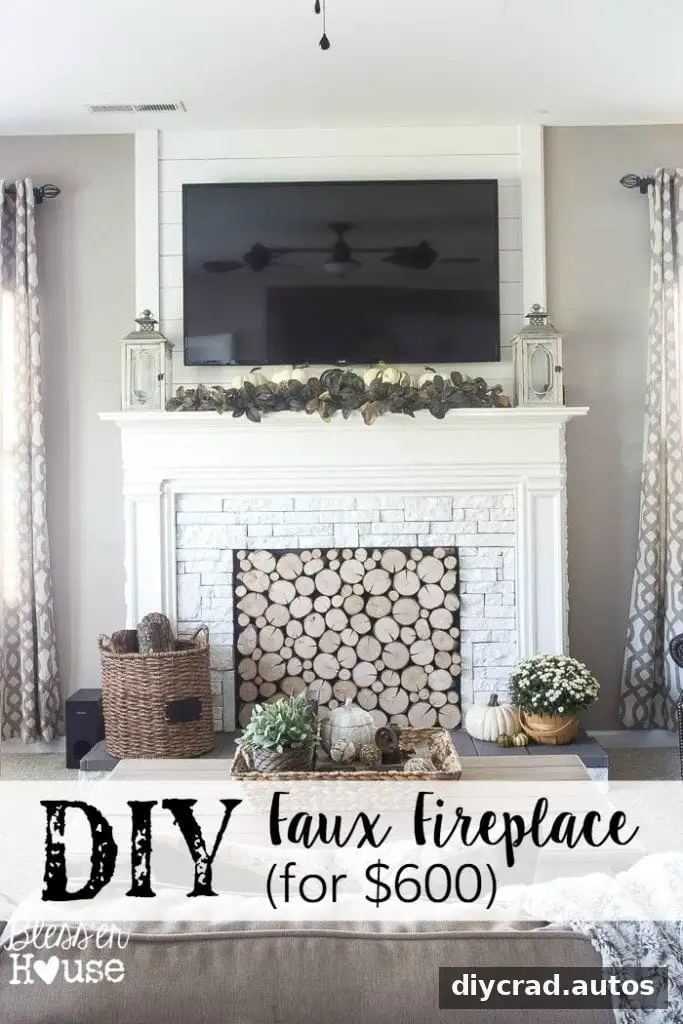
The completed structure offers a flexible starting point for a room feature while keeping access to the outlet and cords behind the hinged panel. Before adding decorative finishes or placing electronics nearby, make sure the structure is stable and that the access door remains easy to open.
For anyone considering a DIY faux fireplace entertainment center, careful measuring and a well-supported frame are the key foundations. The reclaimed mantel sets the proportions, while the hidden compartment adds practical function without turning the project into a working fireplace.