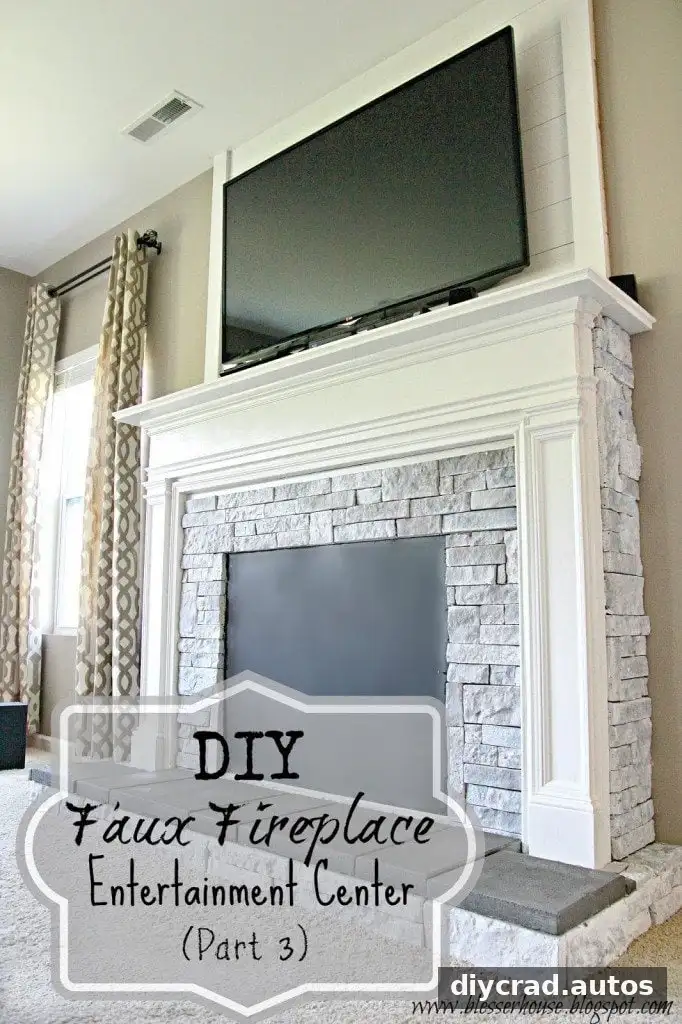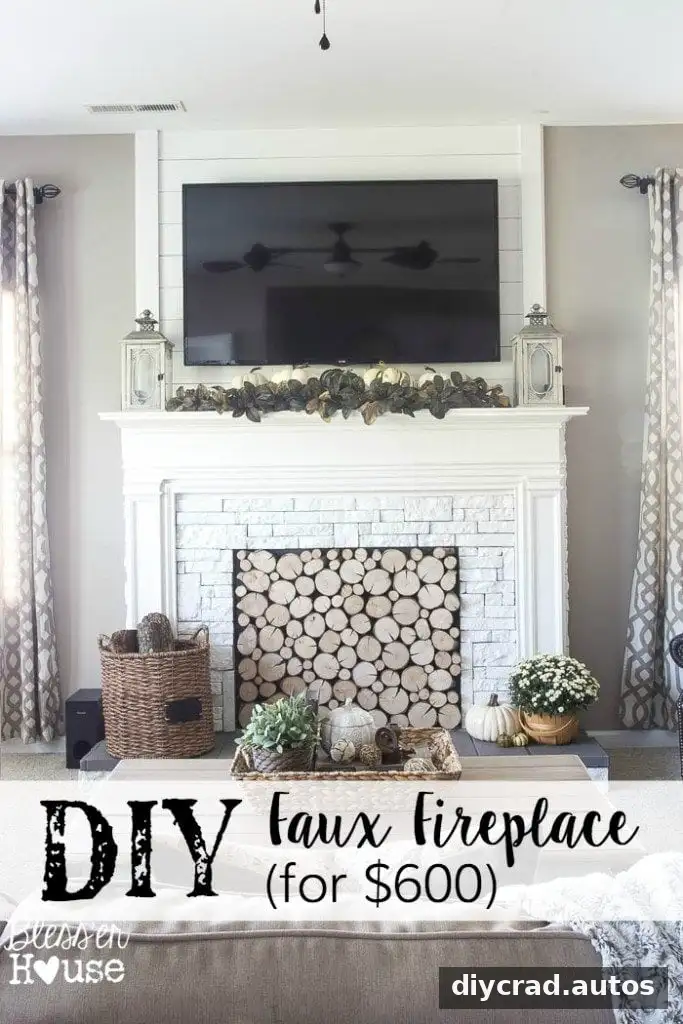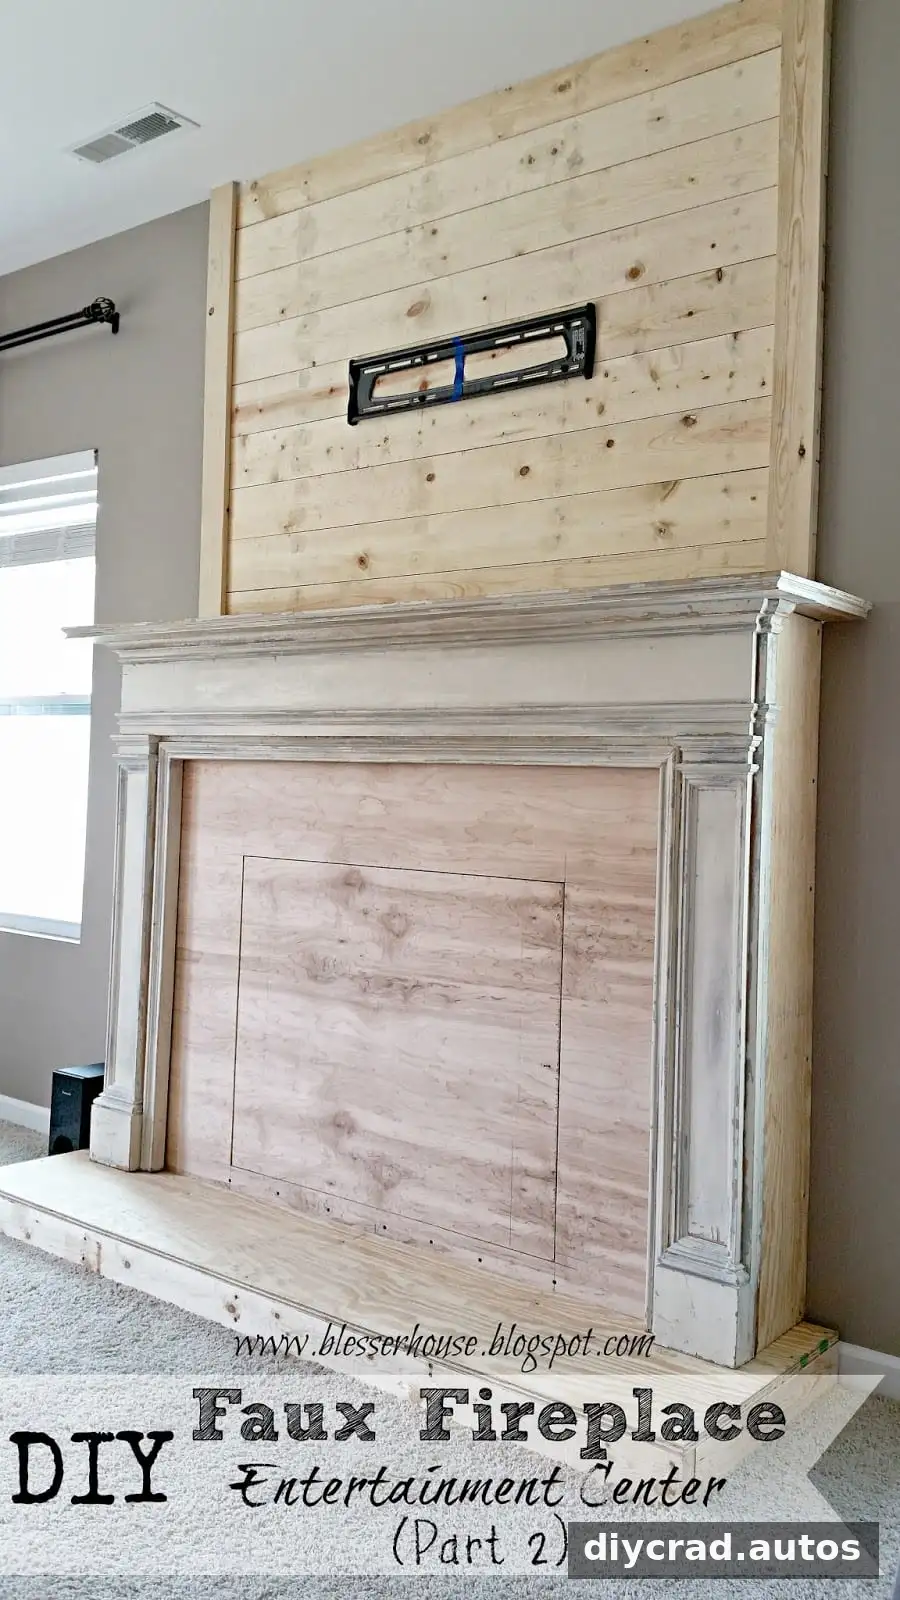
A plank wall can give a DIY faux fireplace entertainment center a more finished look while creating a visual backdrop for a TV. In this project, pine boards were installed above the mantel to suggest a chimney and add a wood feature to the living room. The instructions below cover the plank-wall stage, including planning the layout, attaching the boards, and making space for TV cables.
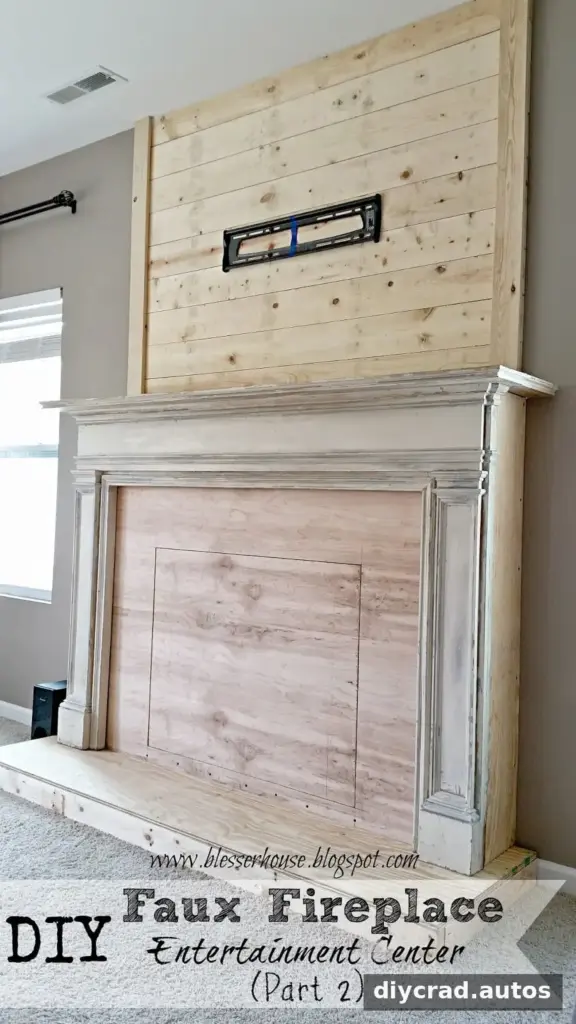
Materials for the DIY Faux Fireplace Entertainment Center
The project used these materials and tools. The number of boards needed will depend on the width of the feature and the distance from the mantel to the ceiling.
- 9 pine planks measuring 1×6, or enough to cover the planned area
- 2 pine planks measuring 1×4
- Quarter-round molding to finish the sides
- A long level and pencil
- 2-inch brad nails
- A nail setter if driving nails by hand
- Popsicle sticks or another material to use as spacers
- Power drill and hole-saw drill bit, if needed for cable routing
- Hammer or pneumatic nail gun
Planning tip: Measure the area before buying lumber, and check that the selected boards will cover the space. Keep a level, pencil, and spacer nearby so the layout stays consistent as you work.
Mark the Plank Wall Layout
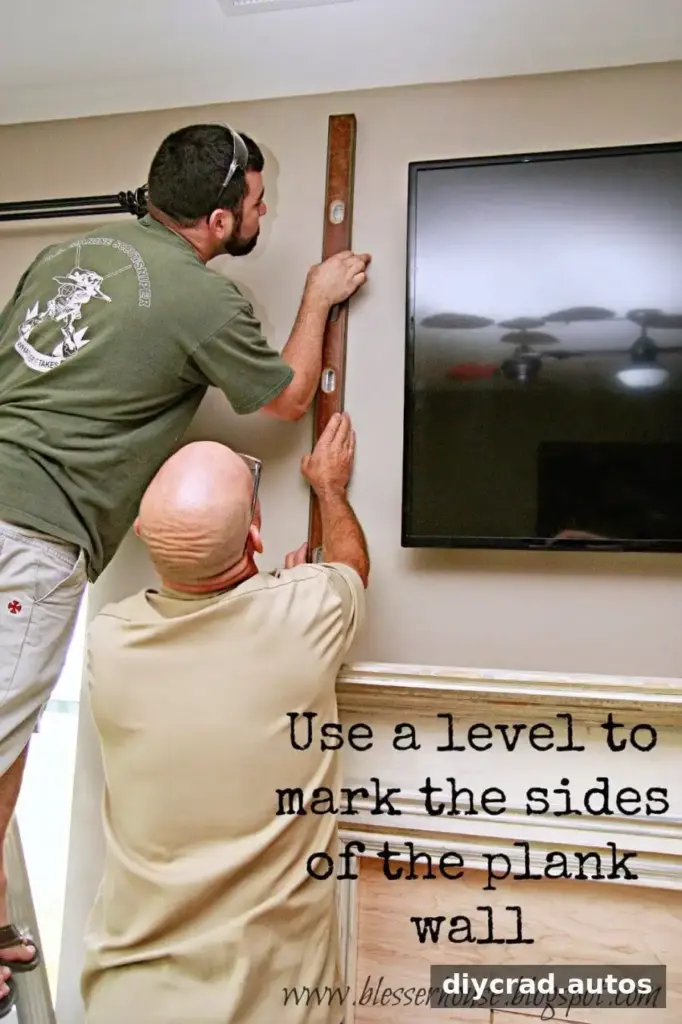
First, decide how wide the feature wall should be. In this project, the width was chosen to frame the large television. Use a level to draw a vertical pencil line from the top of the mantel to the ceiling at each side of the planned wall. These marks provide a guide for aligning the boards.
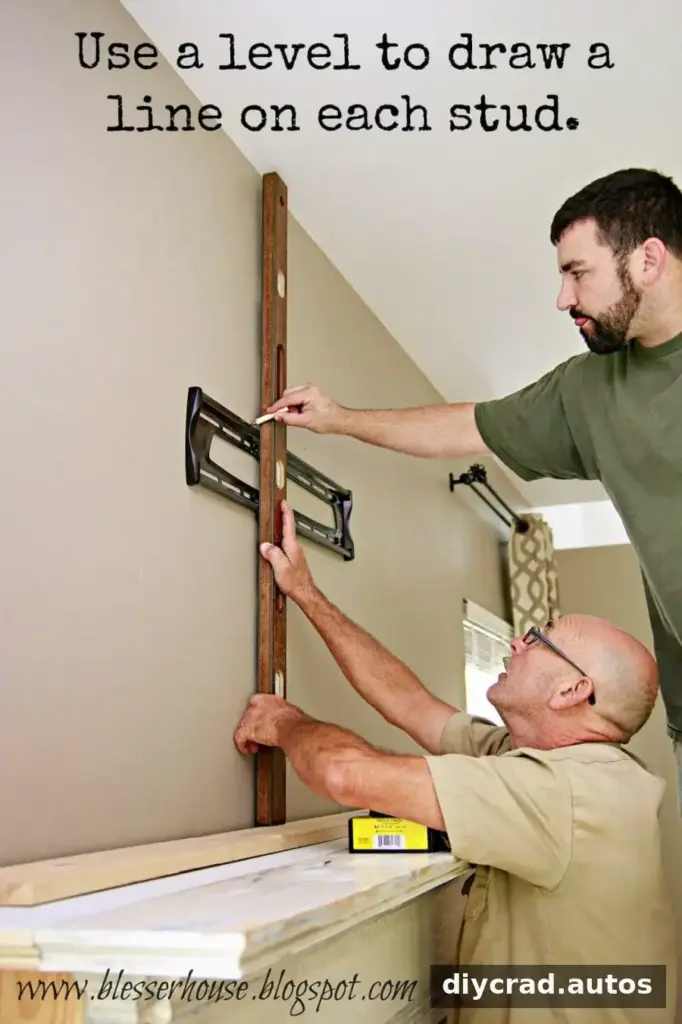
Next, locate and mark the wall studs with the level and pencil. Marking the stud positions before installing the planks makes it easier to fasten each board securely. Take time to confirm the marks as you go, especially if the boards will also support or sit behind a TV mount.
Install the Pine Boards
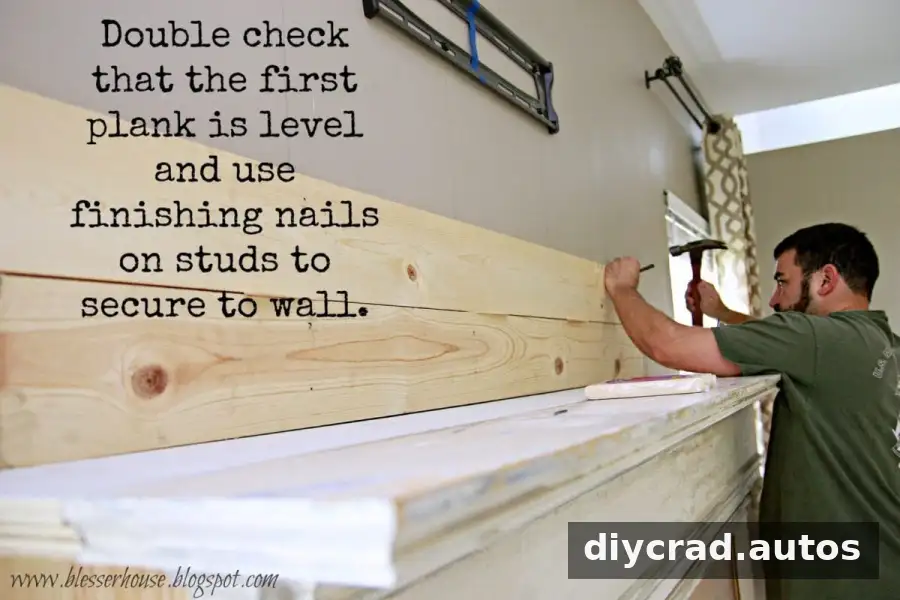
Cut the 1×6 pine planks to the measured width. Starting at the mantel, attach each board to the wall, nailing into the marked studs. Keep the ends aligned with the layout lines so the sides of the plank feature remain straight.
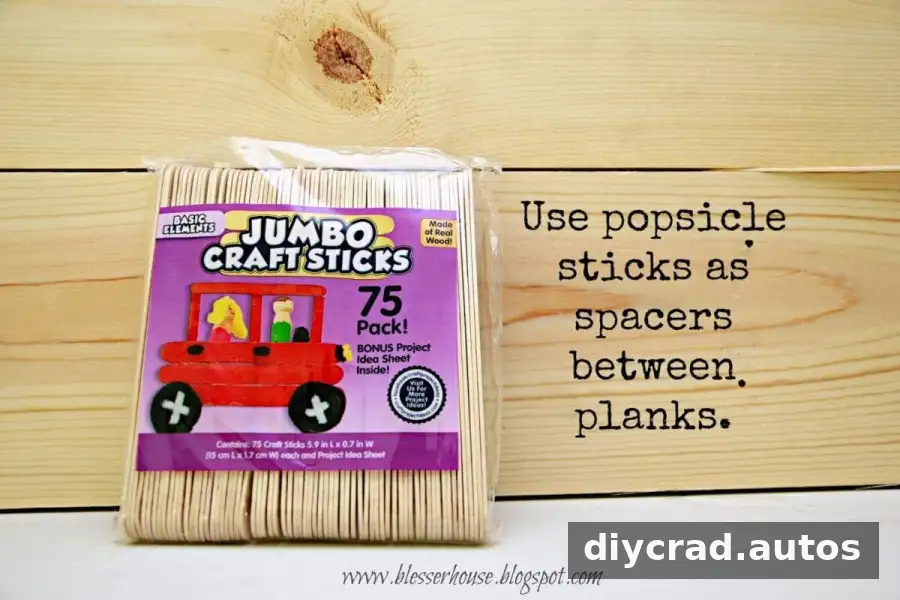
Use spacers between boards to create even gaps. Popsicle sticks served this purpose in this project. Coins or another suitably sized spacer can also work, provided the gaps remain consistent. Leave enough of each spacer exposed to remove it easily after positioning the next board.
Check the alignment as you add each plank rather than waiting until the wall is complete. If a spacer becomes trapped, it may be difficult to remove without disturbing the boards. One spacer in this project stayed between two planks, but was pushed farther in and was not noticeable.
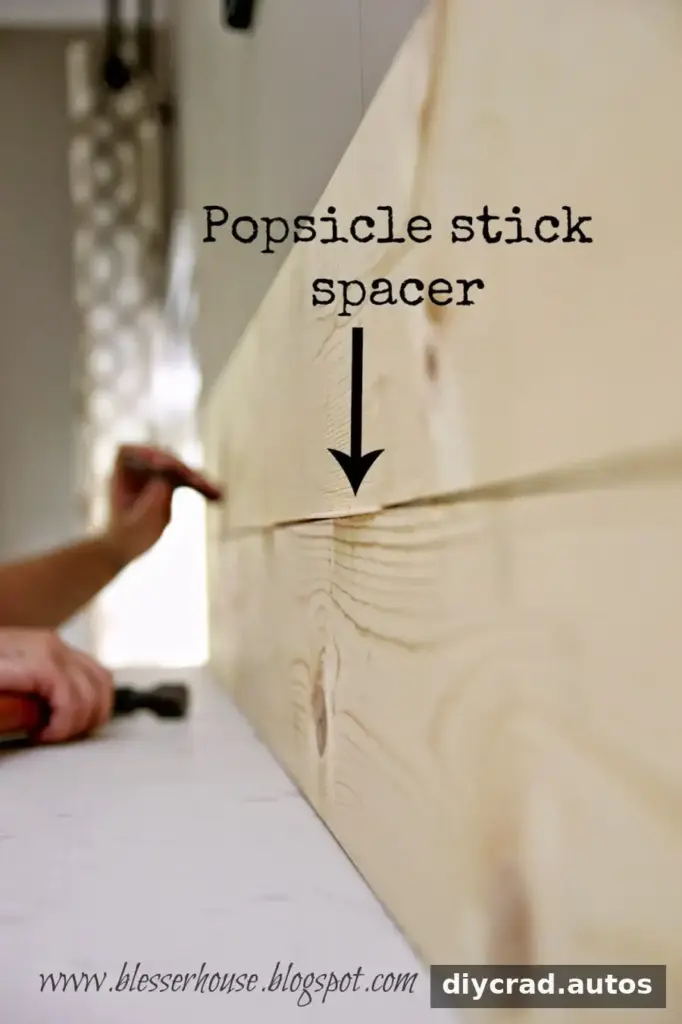
Measure the remaining opening before installing the final board. The last plank needed to be trimmed by about an inch to fit the space. Measure carefully and make a controlled cut so the board meets the edge cleanly.
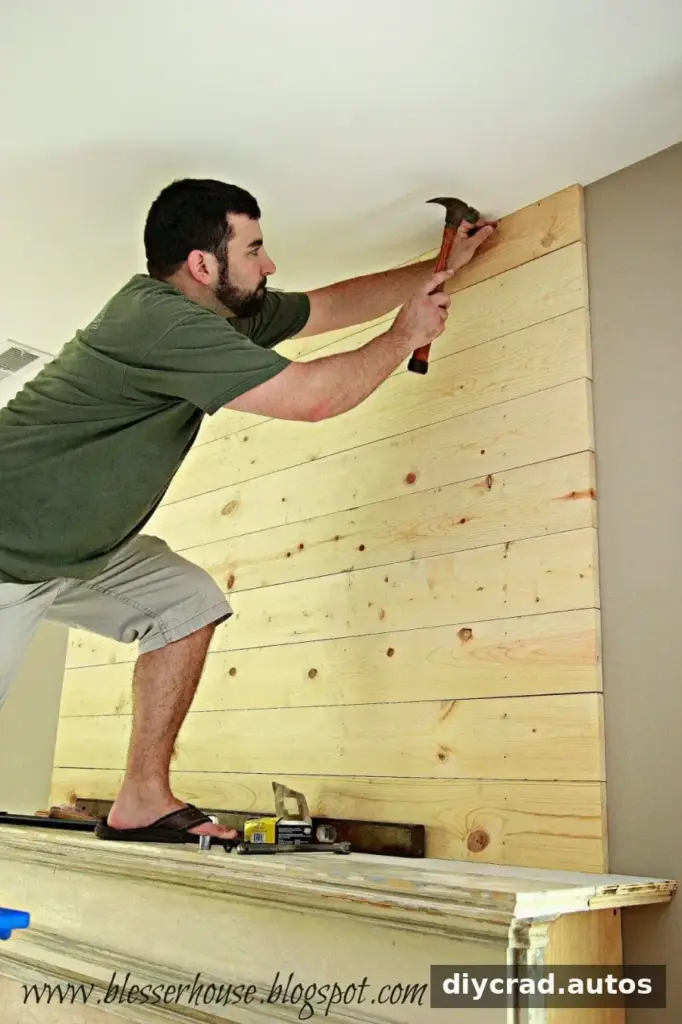
Finish the Edges and Prepare for the TV
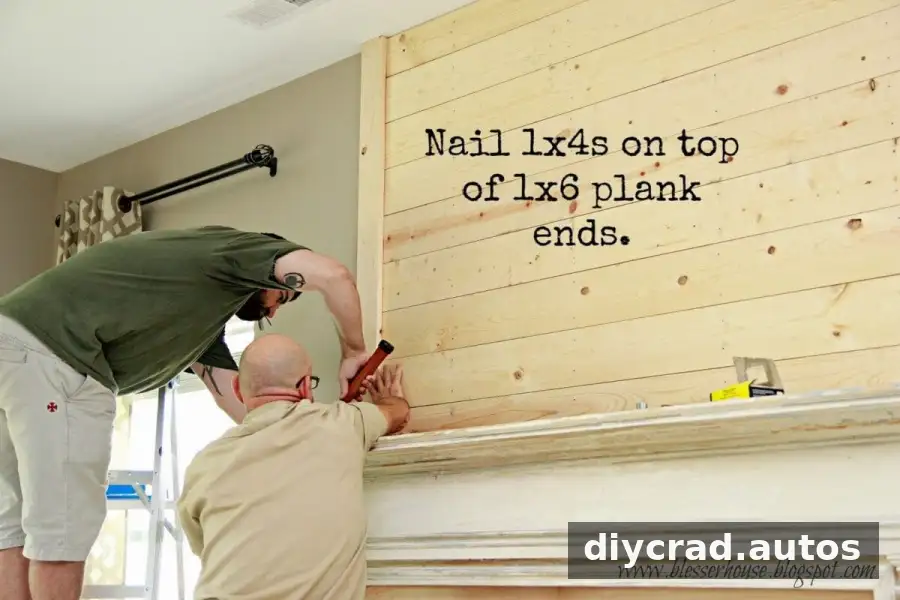
After installing the planks, attach a 1×4 over each end. Small molding pieces can then be added beside the 1×4 boards to conceal the plank ends and give the sides a neater finish. Quarter-round molding was included in the materials for this detail.
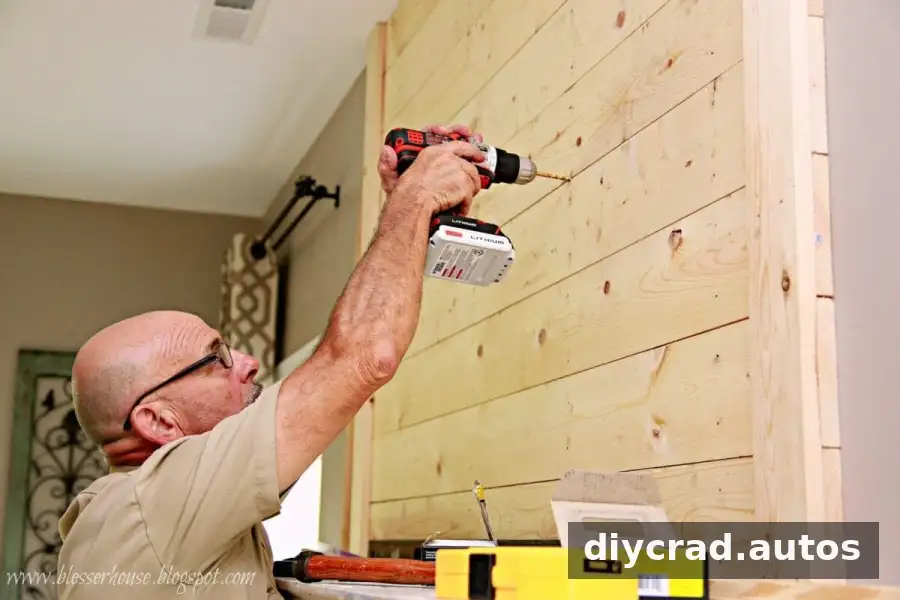
Because the wall also functions as an entertainment center, the TV mount needs to be secured to the wall structure. In this project, a hole was drilled through to a stud for the mount. Before drilling, check the position of the mount and confirm that the intended fixing points are suitable for the wall and mounting hardware.
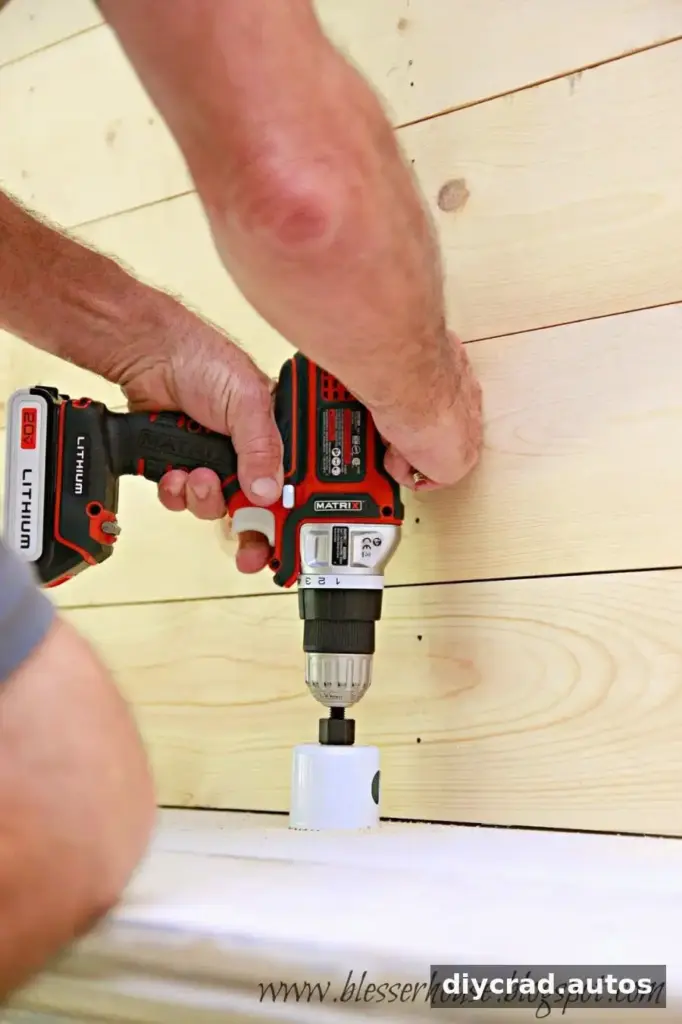
To route the TV cords down behind the feature, a hole was made at the back of the mantel shelf with a hole-saw bit. An existing working outlet behind the faux firebox door remains accessible, avoiding cords running around the room. Plan cable openings before drilling, and make sure the route will not interfere with hidden wiring or other services.
Ready for Paint
With the planks, end boards, and cable opening in place, the feature wall is ready for paint. Fill or finish nail holes as needed and prepare the wood surface according to the paint product directions. A careful final check of the board alignment and trim edges can help the finished wall look cohesive.
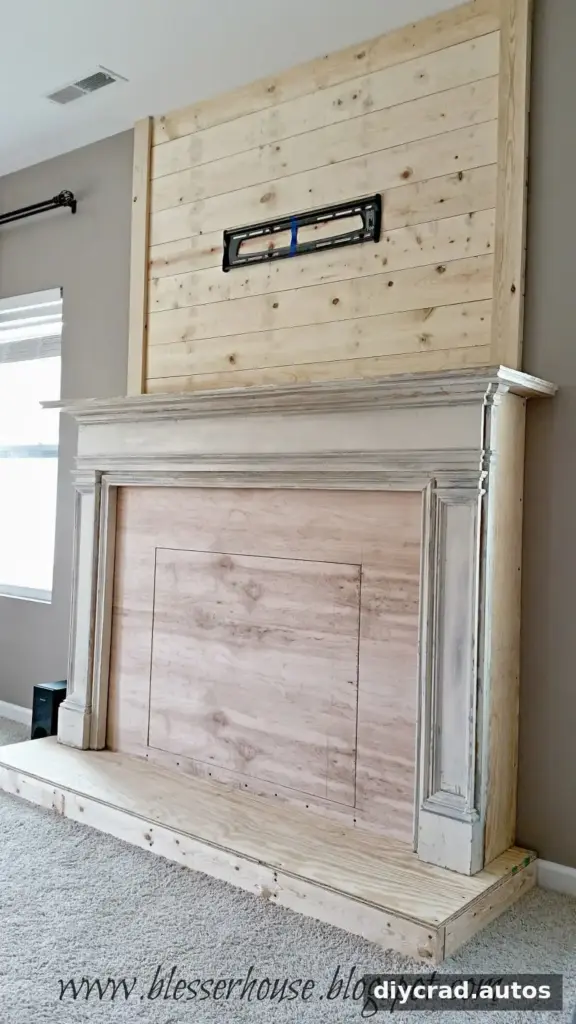
This plank-wall stage adds a simple architectural detail to a faux fireplace and gives the television a defined backdrop. For a DIY faux fireplace entertainment center, measure the space, fasten boards to the studs, use removable spacers, and plan TV mounting and cable access before finishing the surface.