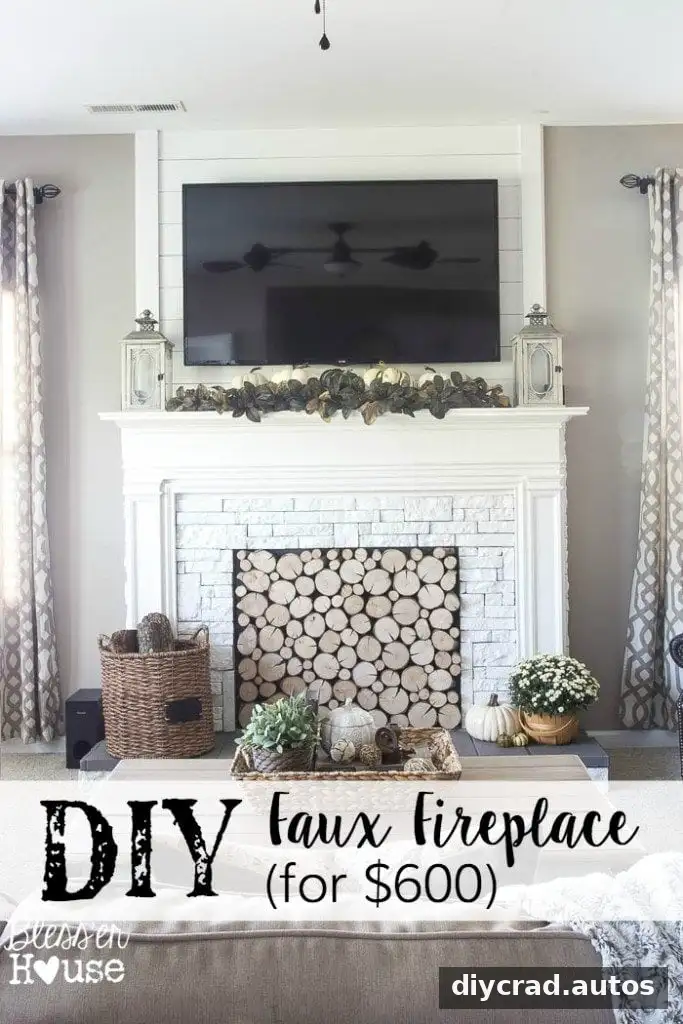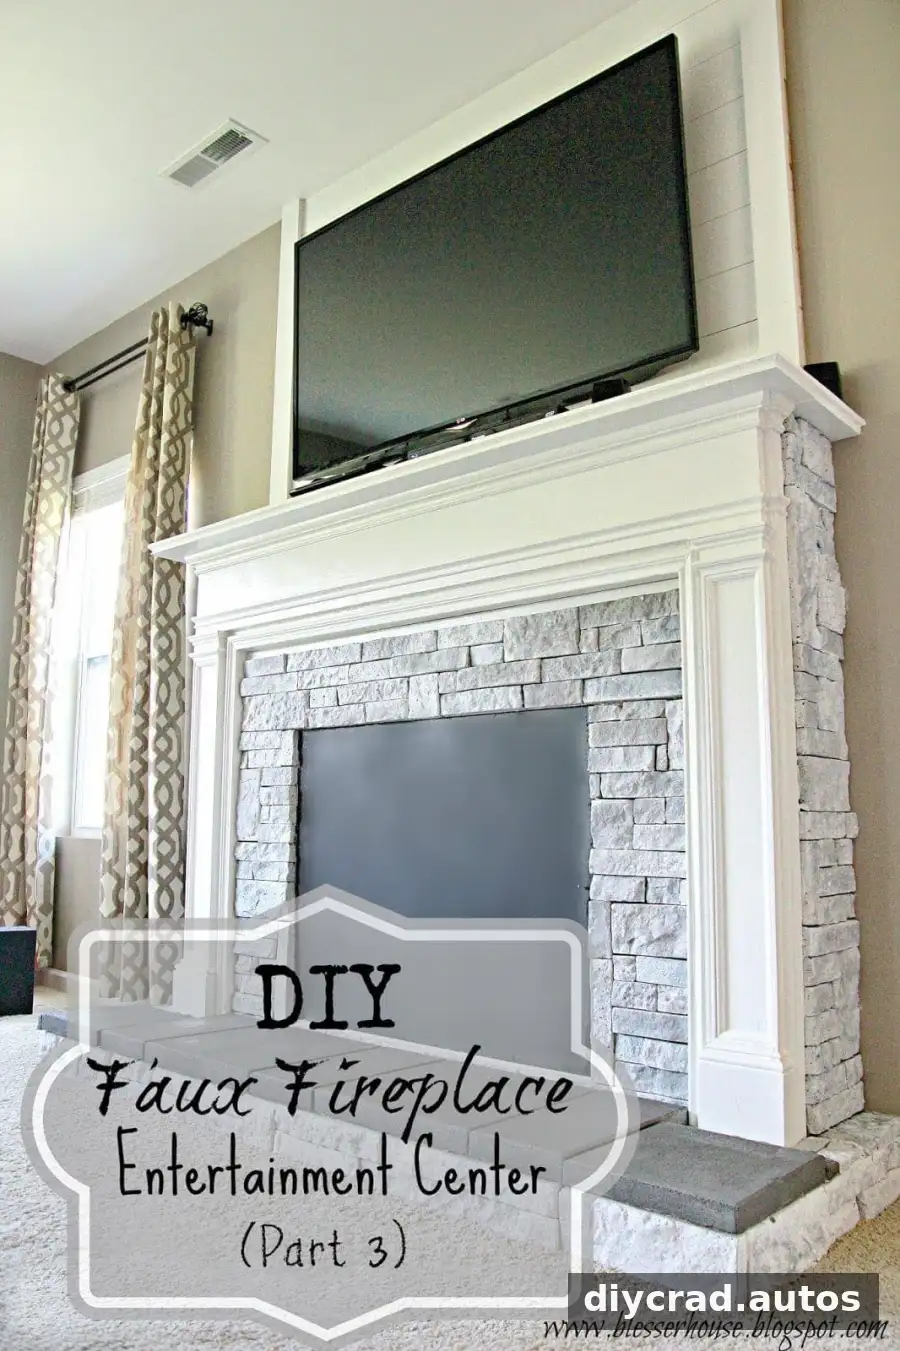
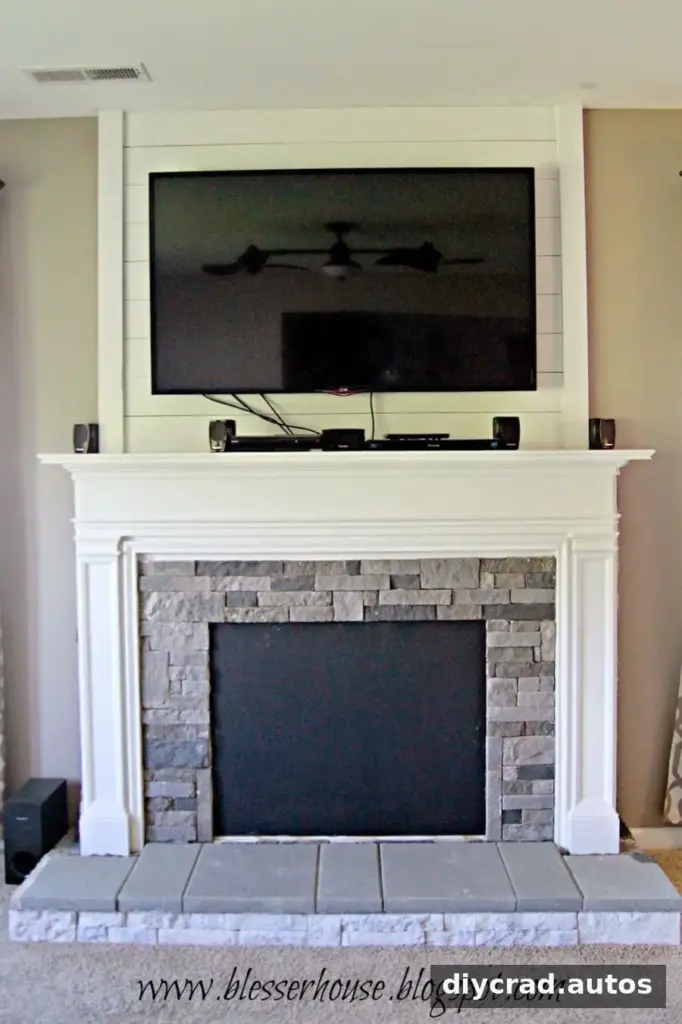
A DIY faux fireplace entertainment center can add the look of a fireplace and create a focal point in a living room without the cost of installing a working one. This project combines a painted wood surround, lightweight stone veneer, and a hearth made from concrete stepping stones. The fireplace is decorative, but its design also includes a concealed access door for reaching outlets and media wiring.
This stage covers painting the surround, applying a whitewash to the stone, and assembling the hearth and surround. The build took about 15 hours over a weekend, and the stonework was completed in sections. If you are following the full project, refer to the earlier parts for the construction steps and the later part for details about the faux firebox.
Project update: A final reveal was published after the remaining details were completed.
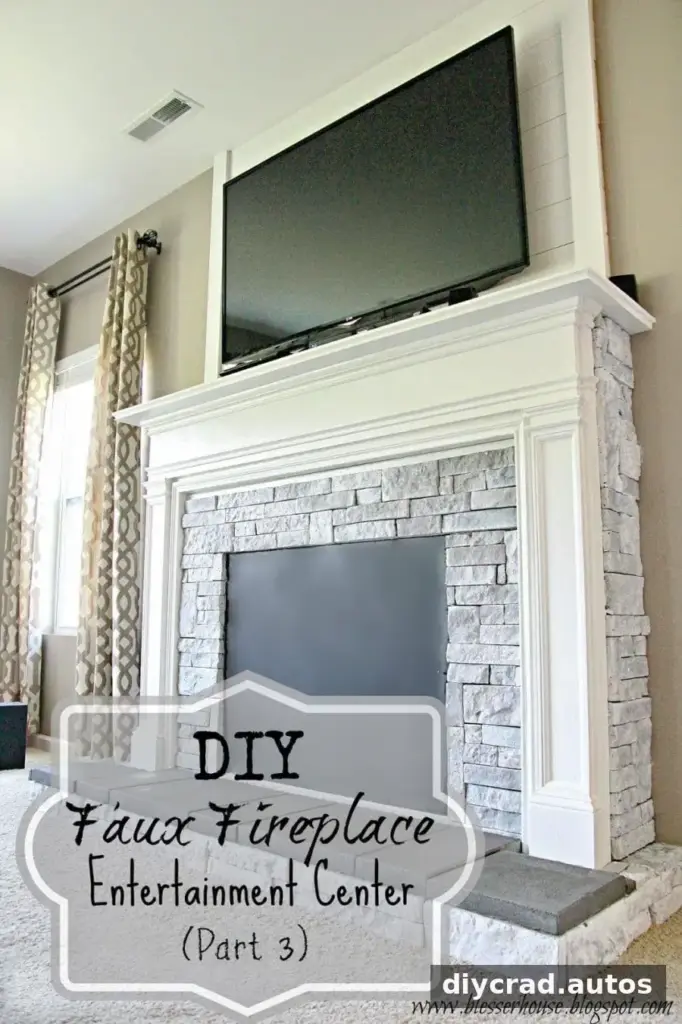
Materials for the DIY Faux Fireplace Entertainment Center
Gather the supplies before starting. The quantities below reflect this project; adjust the number of stones and adhesive to fit your own fireplace measurements.
- Primer, especially if working with a reused mantel with unknown paint layers
- White semi-gloss paint; the project used the color Pure White
- A 1-1/2-inch angled paintbrush
- Paint bucket
- Water for diluting paint to make a whitewash
- Clean, lint-free rag
- Three boxes of lightweight stone veneer
- Two buckets of stone veneer adhesive
- Hacksaw and putty knife
- Matte black paint for the access door
- Seven concrete patio stepping stones, or enough to cover the hearth dimensions
Check the adhesive instructions and confirm that the surface is suitable before applying it. Keep the work area clear, and use appropriate protection when cutting stone or handling paint and adhesive.
Prime and Paint the Wood Surround
After the plank wall was installed to suggest a chimney breast, the wood was primed and painted with white semi-gloss paint. The paint was mixed into a less expensive base to reduce costs. For a similar project, follow the primer and paint label directions, and allow each coat to dry as directed before continuing.
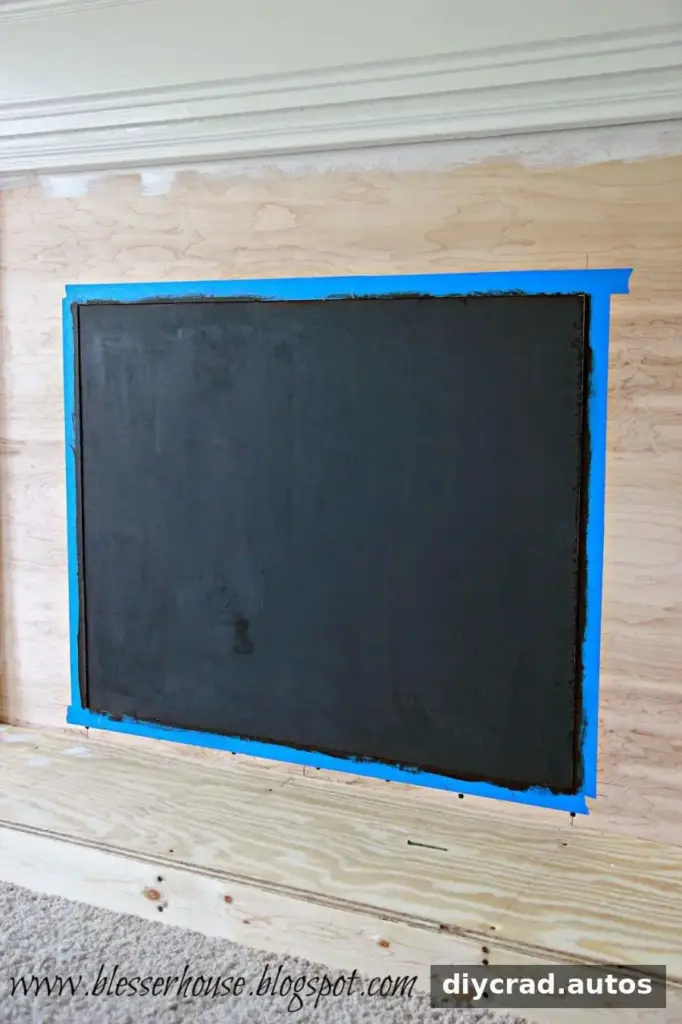
The door covering the faux firebox was painted matte black. It conceals access to the wall outlet and the television and media-center cables behind it. A discreet access panel can keep wiring out of sight while still allowing it to be reached when needed.
Whitewash the Stone Veneer
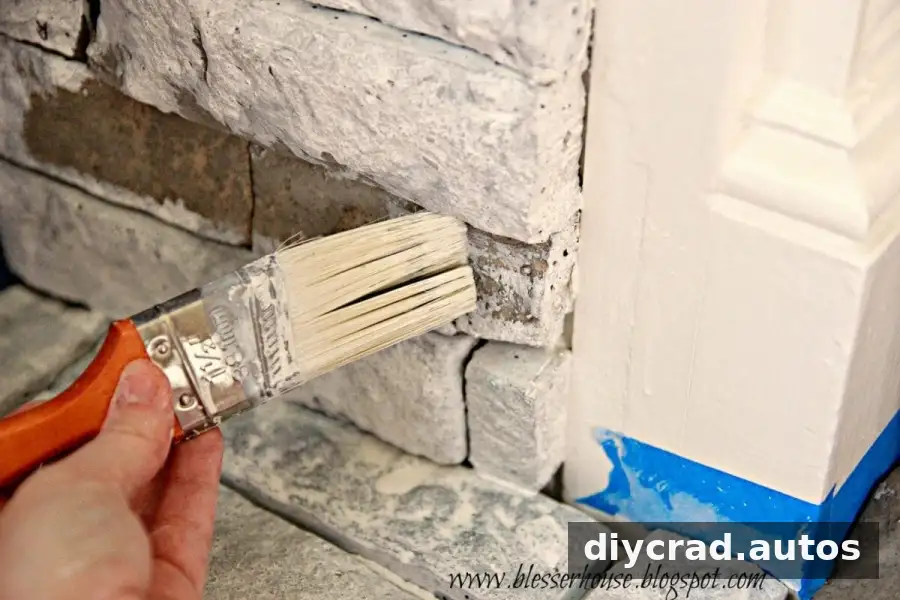
A diluted paint wash gives gray stone a lighter finish while allowing some of its original tone to show through. Before painting, dry-fit the veneer along the bottom of the hearth. This helps you check the layout and avoid getting paint on the carpet.
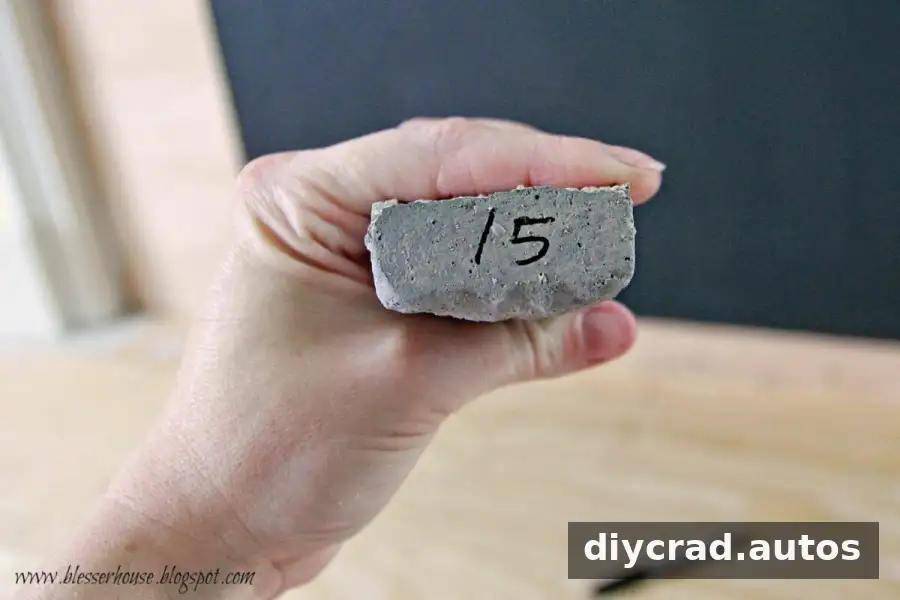
Number the pieces at their ends before moving them to a separate work area. This makes it easier to return each piece to its intended position after the wash has dried.
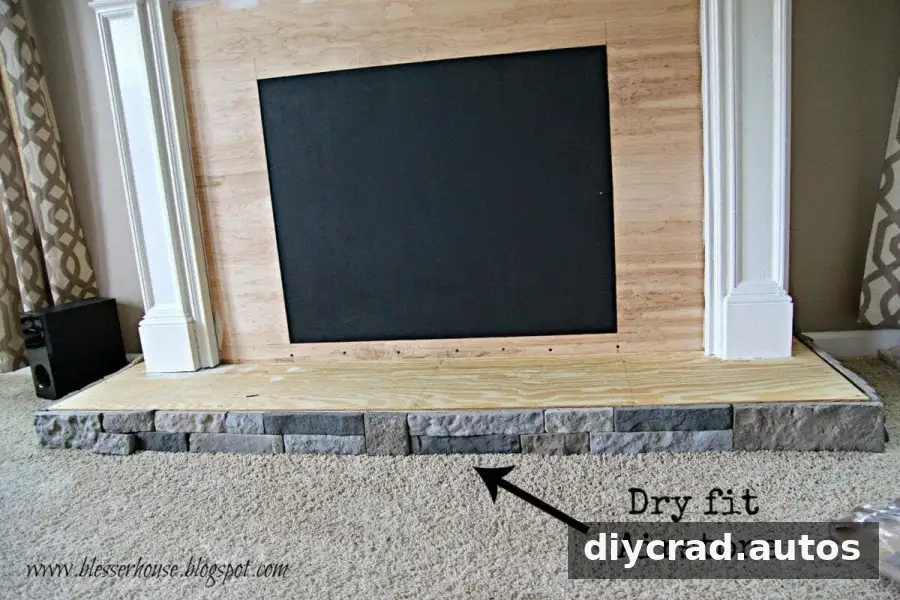
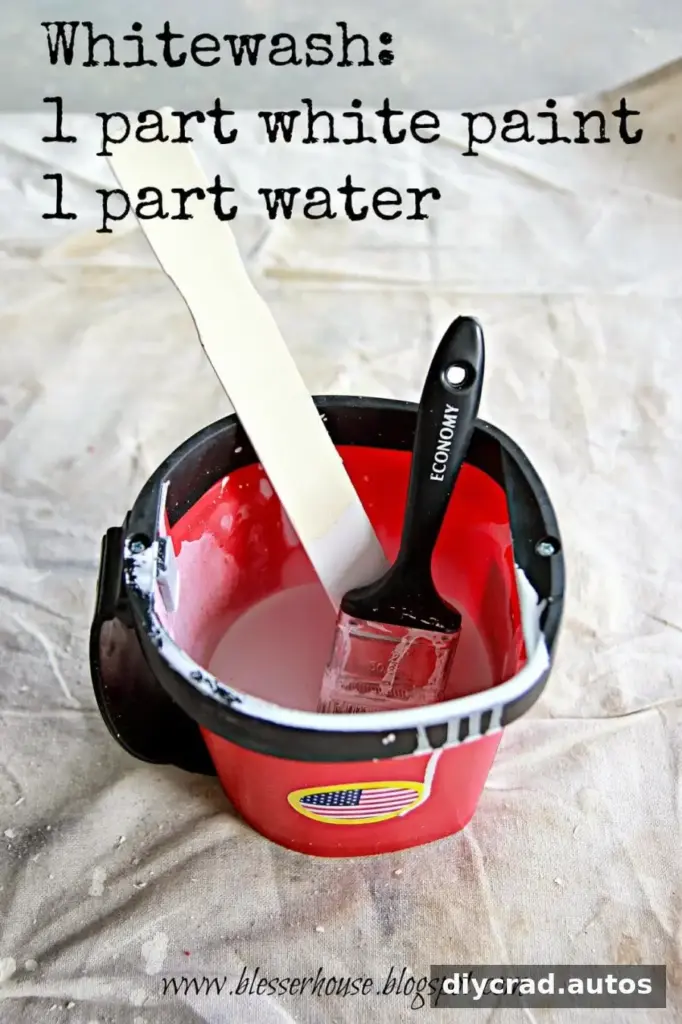
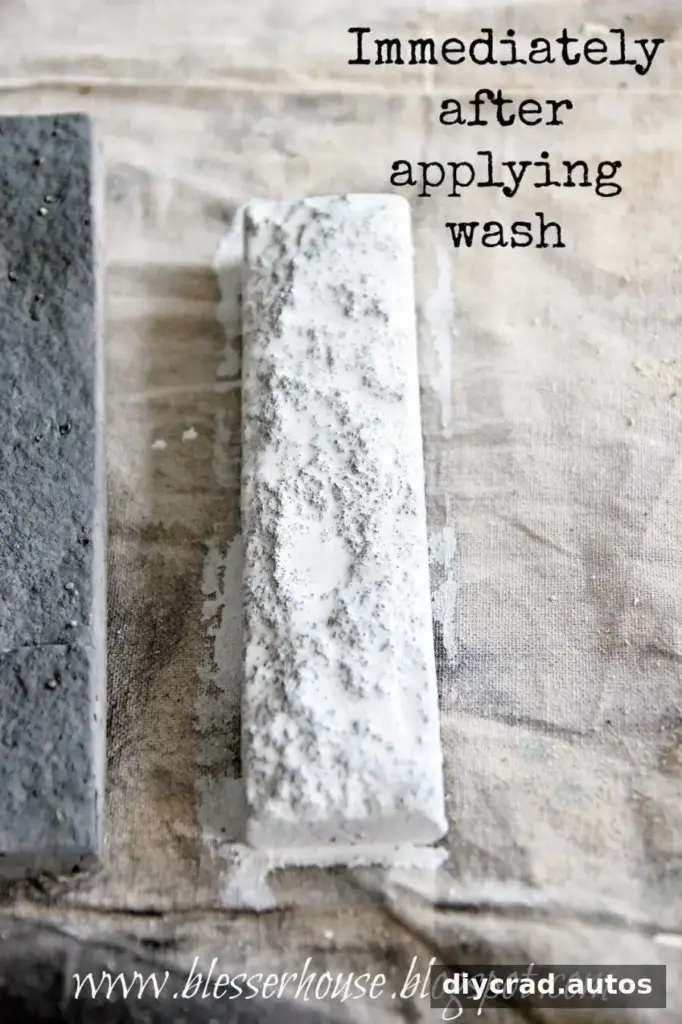
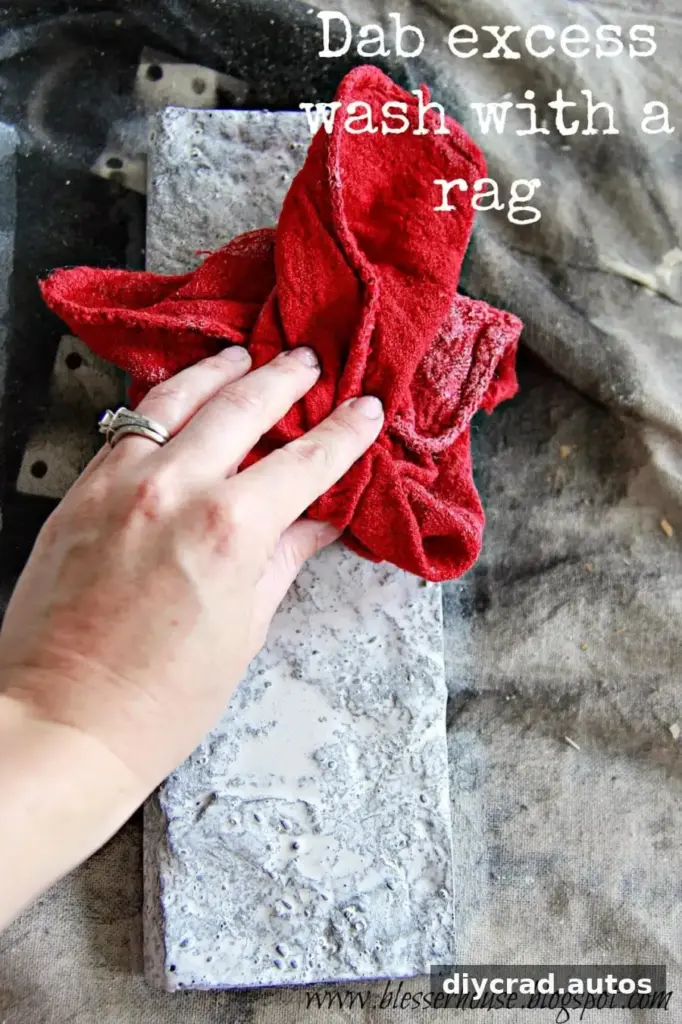
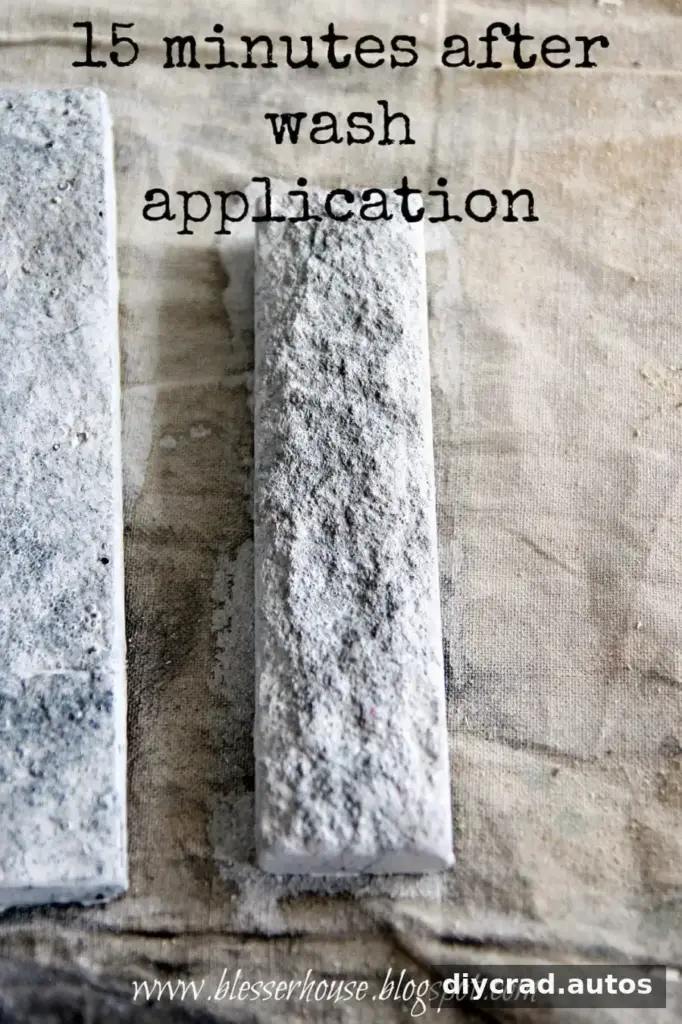
For the hearth stones, mix equal parts white paint and water. Brush a thin coat onto each piece, let it sit for a minute or two so the stone can absorb some of the color, and dab away excess paint with a clean rag. Test the mixture on a spare piece first if you want to check how much gray will remain visible.
Attach the Stone and Build the Hearth
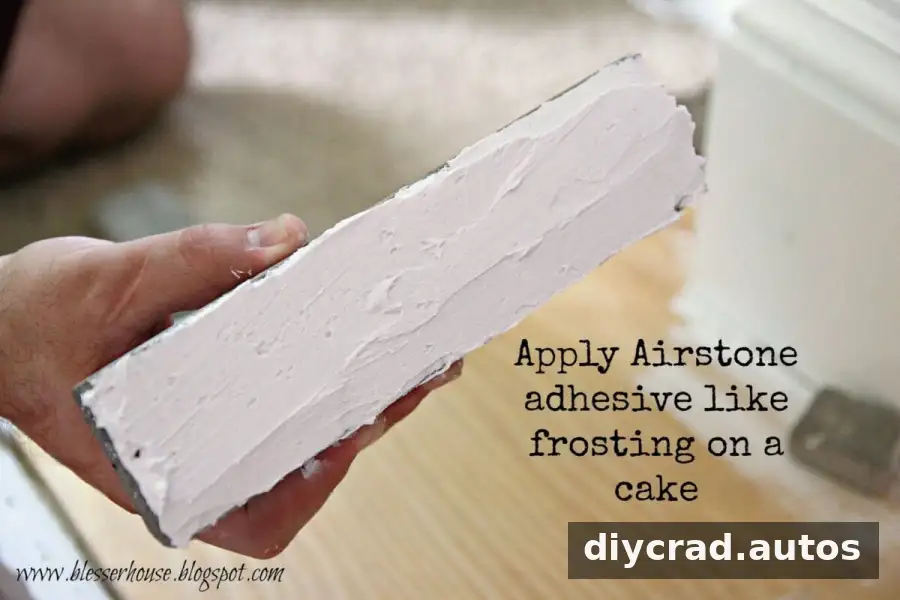
Apply the stone adhesive generously to the back of each veneer piece, then press it into place. The project found that a thick, even application held better than a very thin spread. Scrape away any excess with a putty knife before it dries, following the adhesive manufacturer’s directions for application and setting time.
The first 30 stone pieces were installed as part of the initial section. Lightweight veneer can be easier to handle than some other stone options, but cutting, fitting, and adhering the pieces still takes time. Measure carefully before cutting, and use a steady work surface.
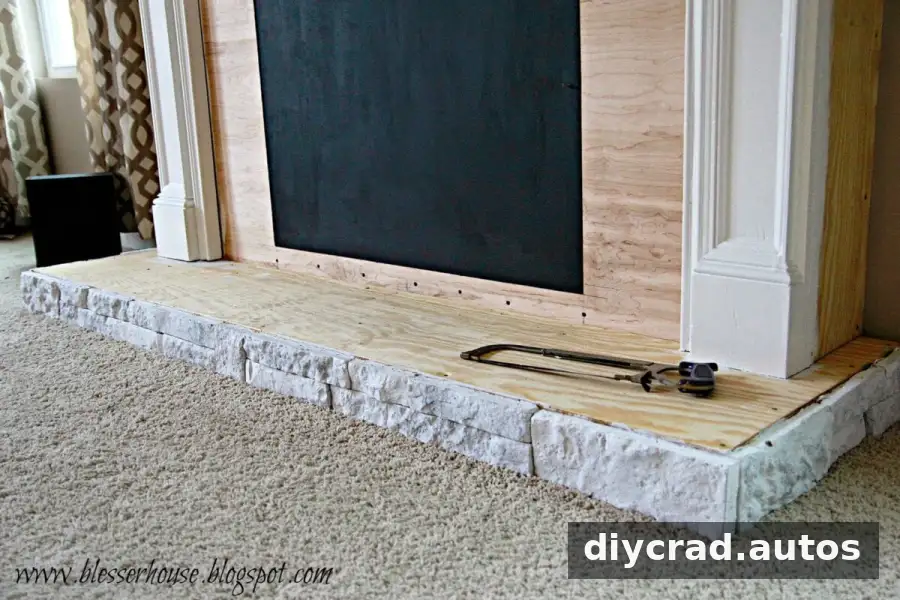
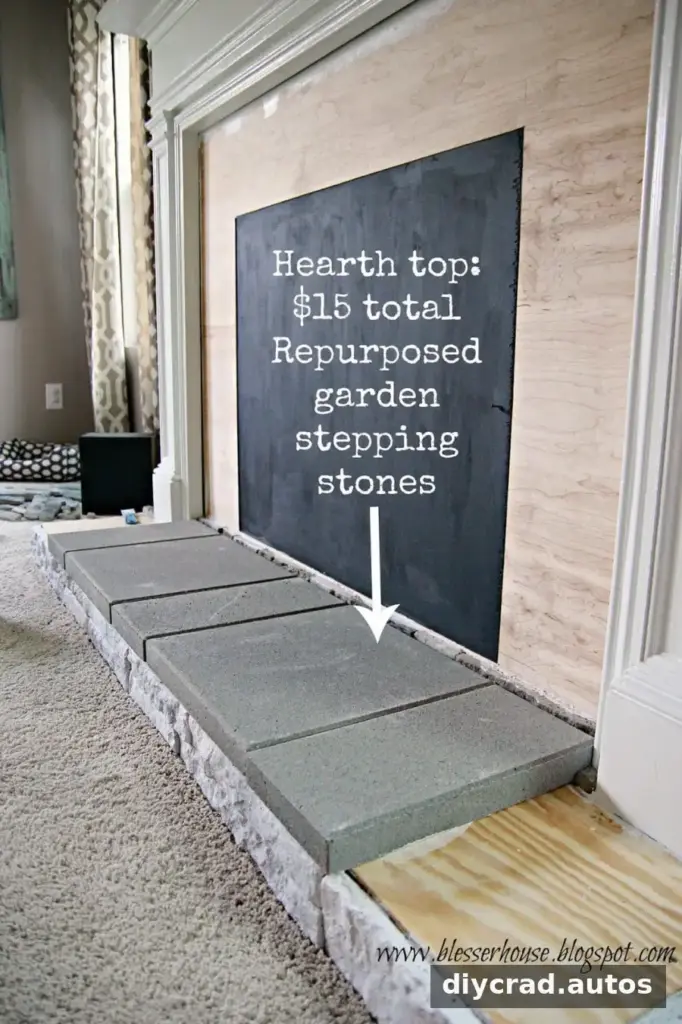
The lower surround was covered first so the hearth could be added above it. Concrete patio stepping stones were reused for the hearth at about $2 each. They are heavy, so plan how to move and position them safely. Adhesive was also used to secure them in this project.
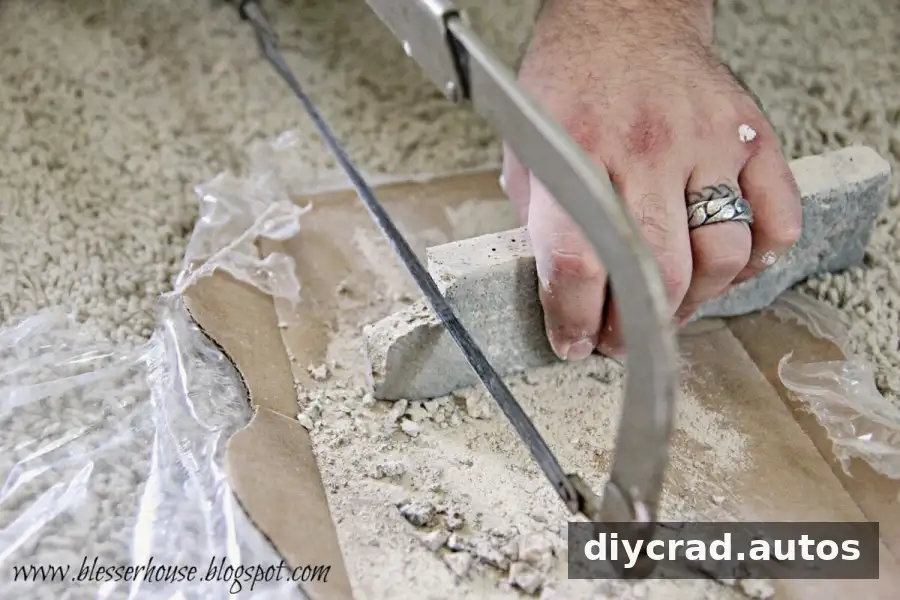
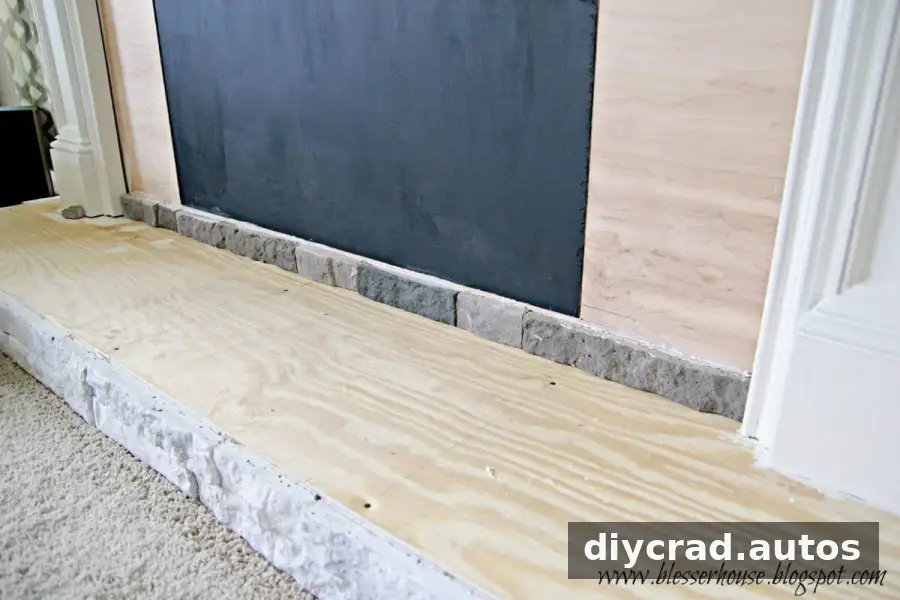
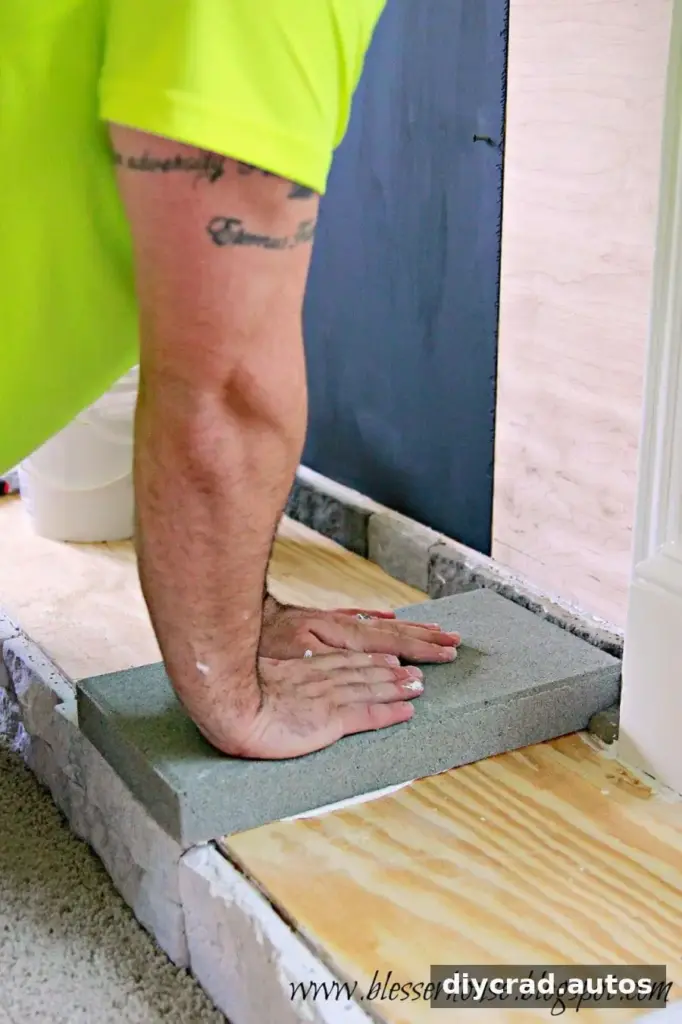
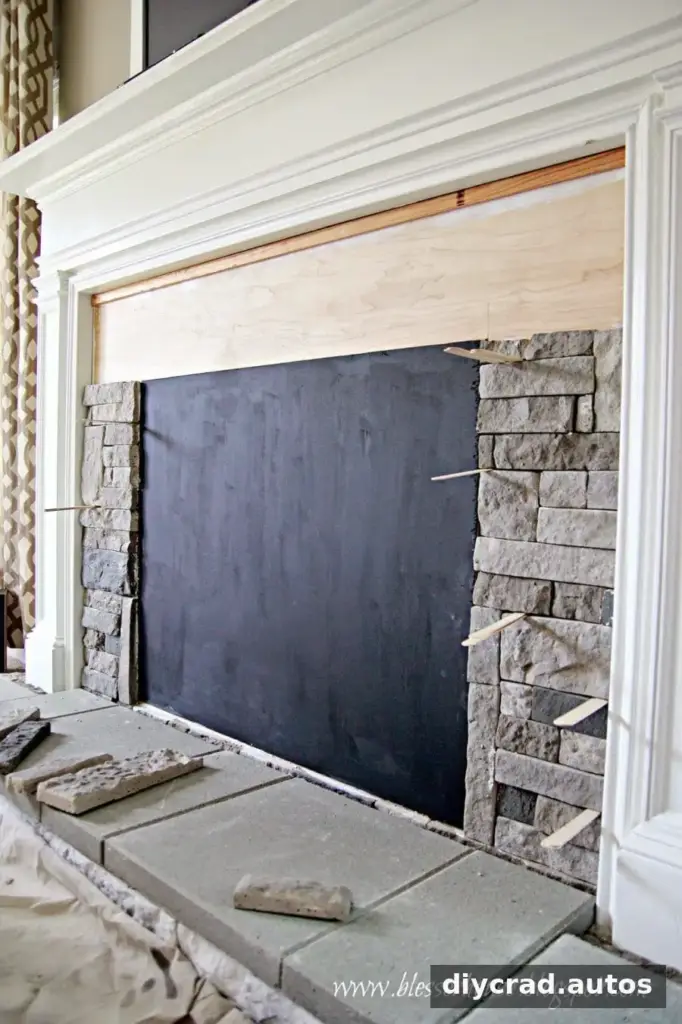
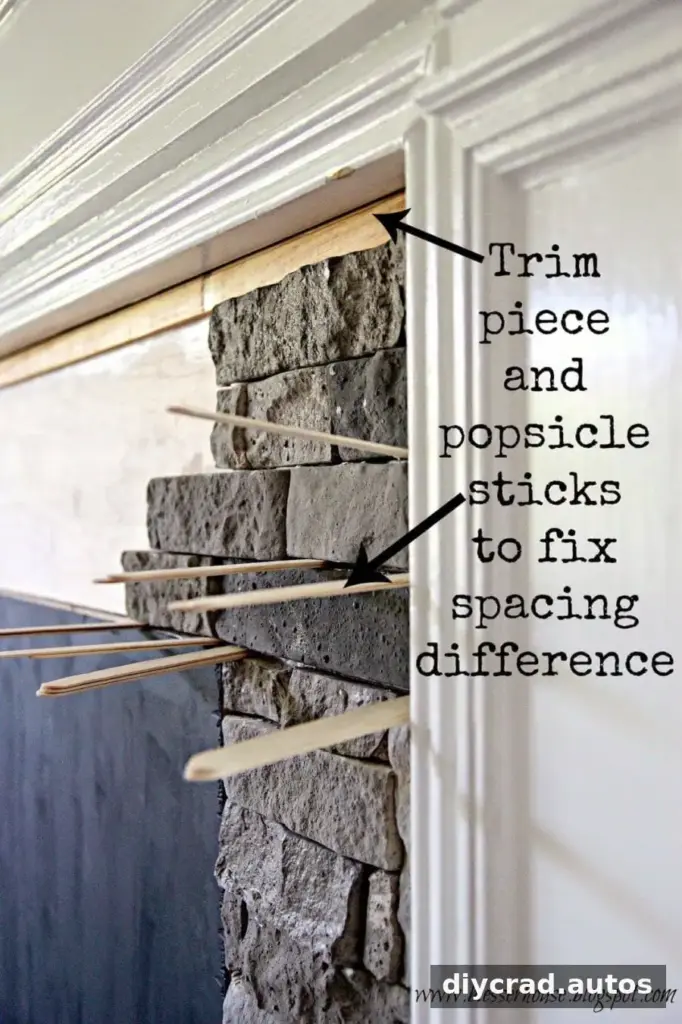
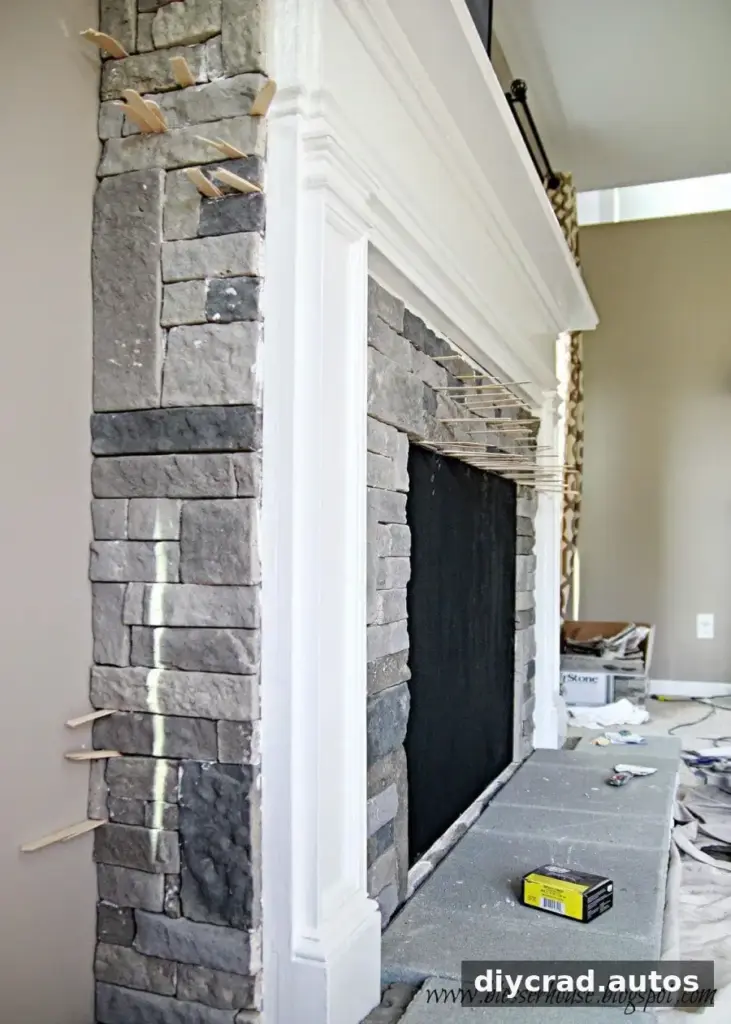
When the stone reached the top of the surround, the layout came up about half a stone short. Cutting six to eight pieces lengthwise with a hacksaw was not practical because the pieces risked crumbling. Instead, a strip of wood trim was added at the top and painted white, while small craft sticks were used as temporary spacers to distribute the remaining gap.
At the top of the firebox opening, there was no surface beneath the veneer to support it while the adhesive set. More craft sticks were wedged temporarily into the top of the doorframe to hold the pieces in place. Remove temporary supports only after the adhesive has set according to its instructions.
Finish the Whitewash and Hearth
After the surround was complete, the same whitewash method was used on the remaining stone, but the mixture was diluted further: one part paint to two parts water. A lighter first coat can be adjusted later if more coverage is wanted. Test changes on an extra stone before applying them across the whole fireplace.
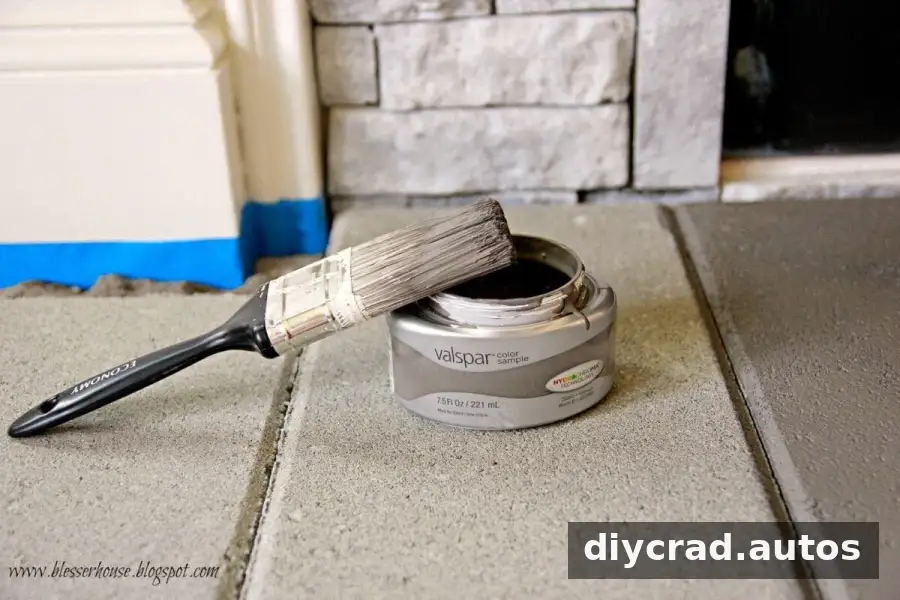
The concrete stepping-stone hearth was painted with a sample of a warm, suede-toned paint color. Choose a finish that suits the room and check that it is appropriate for the surface. This decorative hearth is not a heat-rated firebox, so it should not be used as a working fireplace.
Plan the Remaining Details
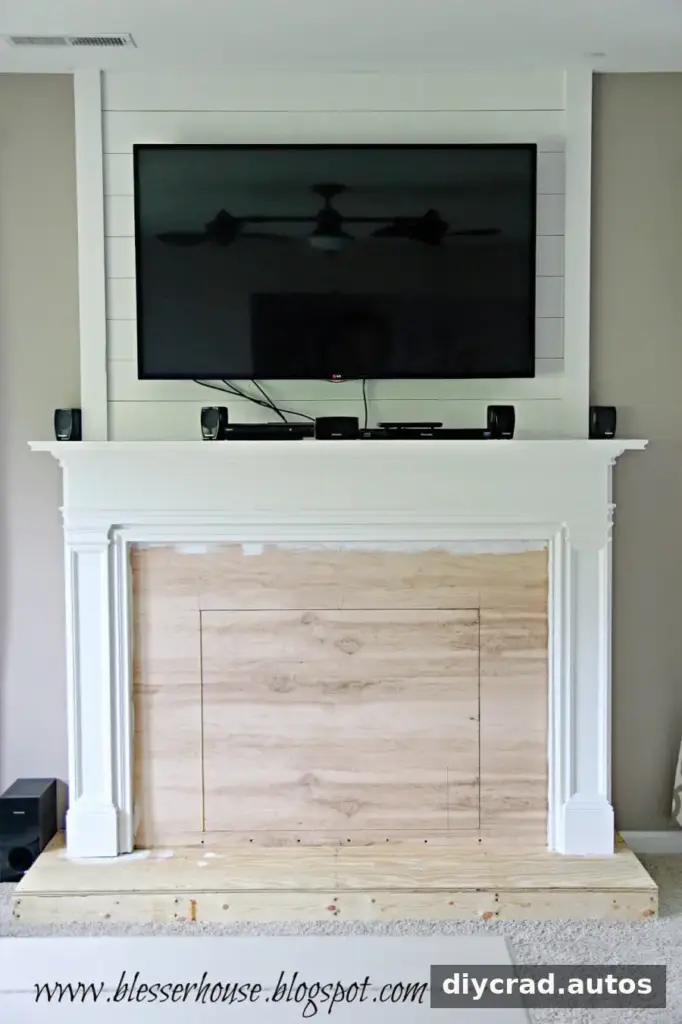
Once the stonework and hearth were in place, the main structure was nearly finished. The remaining tasks included organizing visible cords, finding a way to conceal the speakers and DVD player, and choosing mantel decor that would not block the television. Measure the available space before selecting storage or decorations, and keep ventilation and access requirements for electronics in mind.
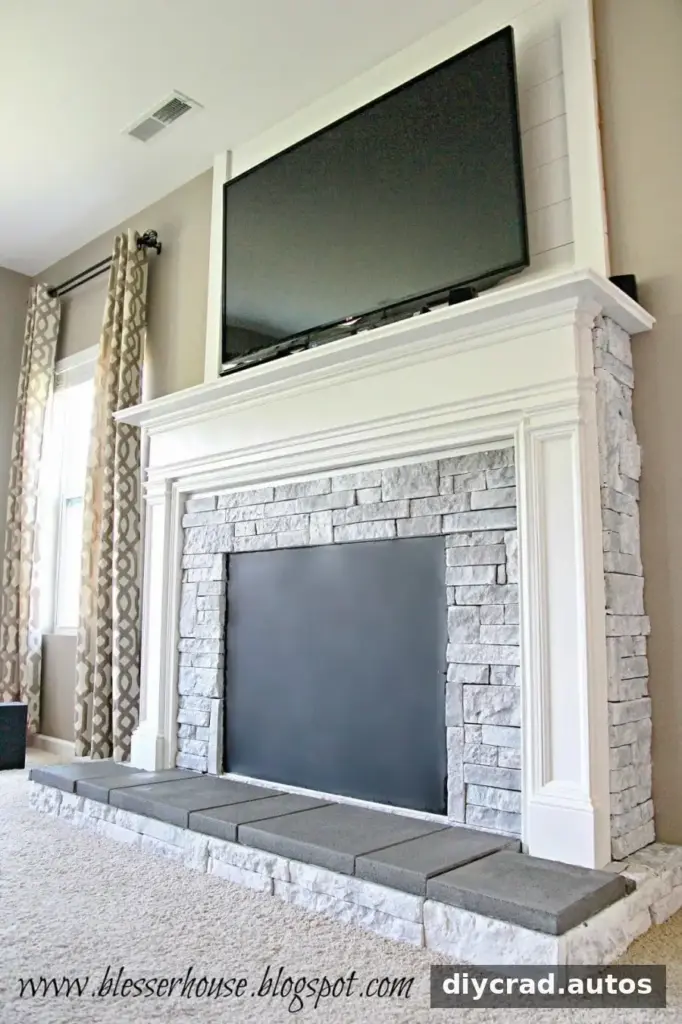
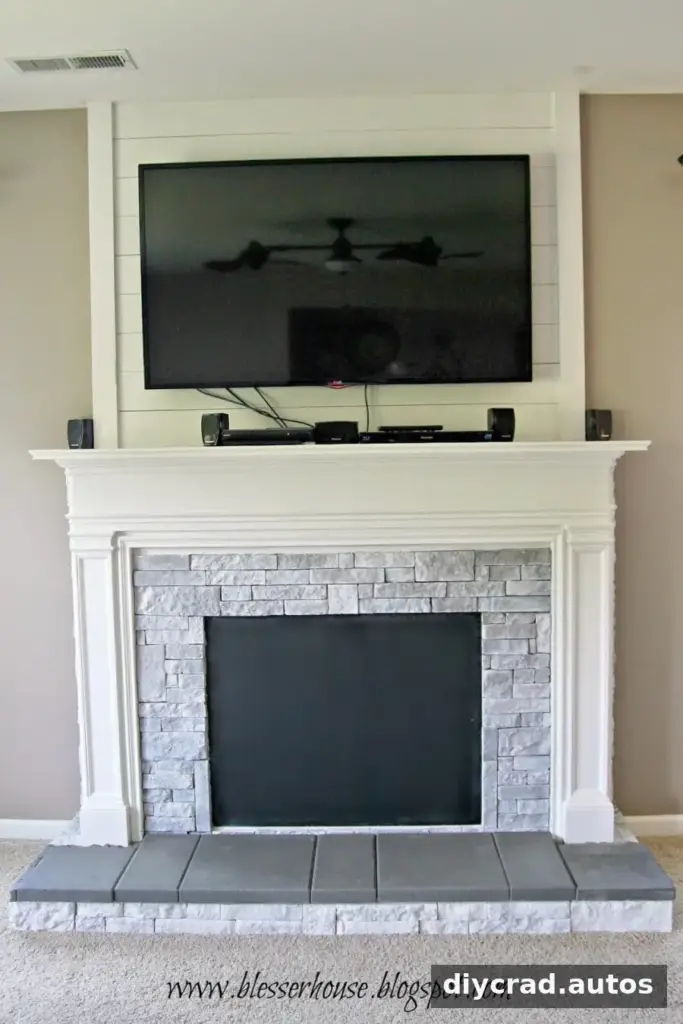
The faux firebox design was inspired by a log-front fireplace insert concept. The completed insert details were planned for a later project installment.
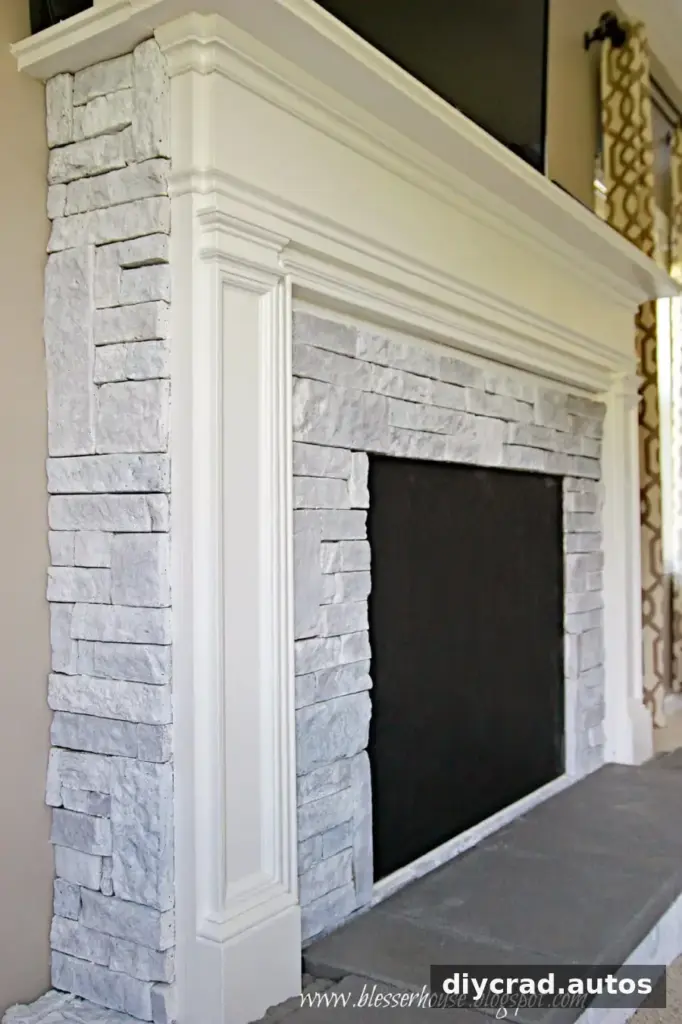
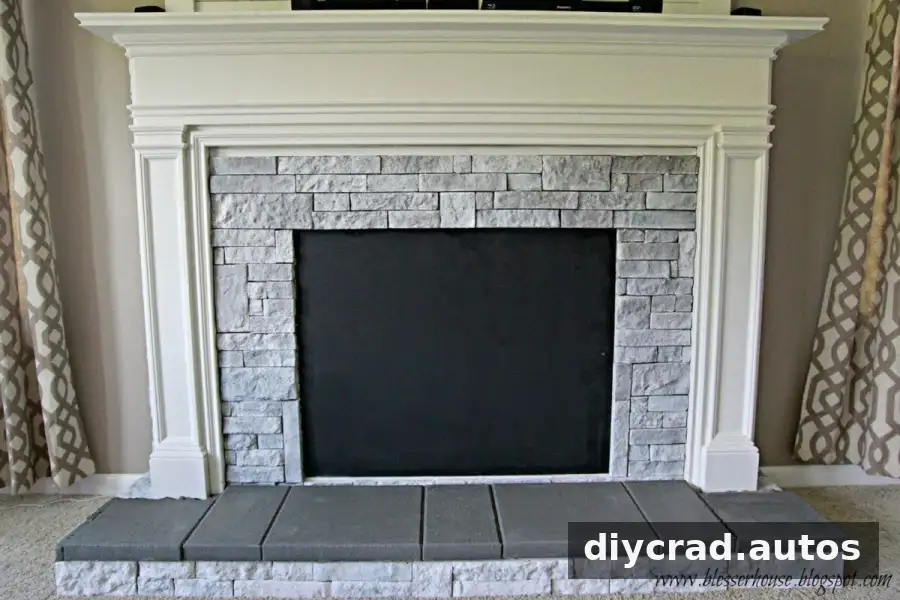
Comparing the hearth and surround after the wash dried suggested that the two areas might benefit from another coat. A small amount of a warm greige wall color was also considered for testing on a spare stone. When adjusting a finish, make one change at a time and let the test sample dry fully before deciding whether to continue.
A DIY faux fireplace entertainment center can bring the visual warmth of a mantel and stone surround to a room while providing a place to organize media equipment. Careful dry-fitting, measured paint washes, and a plan for wiring access help make the finished feature both attractive and practical. Because this design is decorative rather than functional, do not use it as a source of heat.