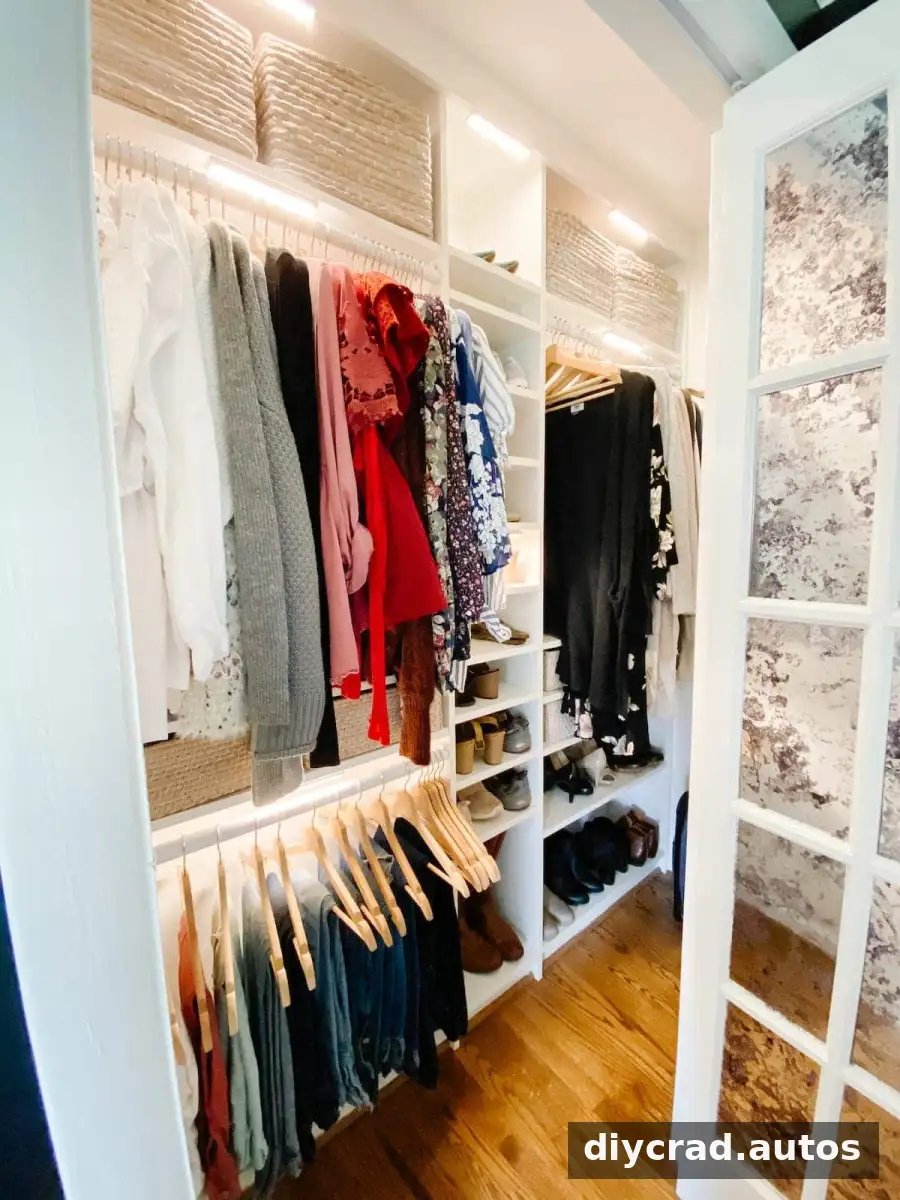
An IKEA Billy closet hack can turn a small bedroom closet into more usable storage when a standard wardrobe system will not fit. This project combines Billy bookcases, extensions, shelves, trim, and simple accessories to create a built-in look. The reach-in closet project cost $324, excluding power tools already owned, while the small walk-in setup cost $464.50. Both projects were still holding up well after four years.

The key to adapting bookcases for closet storage is planning around the room’s exact dimensions. Measure the closet width, depth, and ceiling height before buying materials, and check that the units can be assembled and moved into position without blocking the doorway.
Why an IKEA PAX System May Not Fit
PAX wardrobes can be a useful option, but their dimensions do not suit every closet. In the reach-in closet featured here, fitting the PAX units would have wasted usable space, so the plan changed to Billy bookcases instead. The narrower shelves offered a better fit for the small closet.
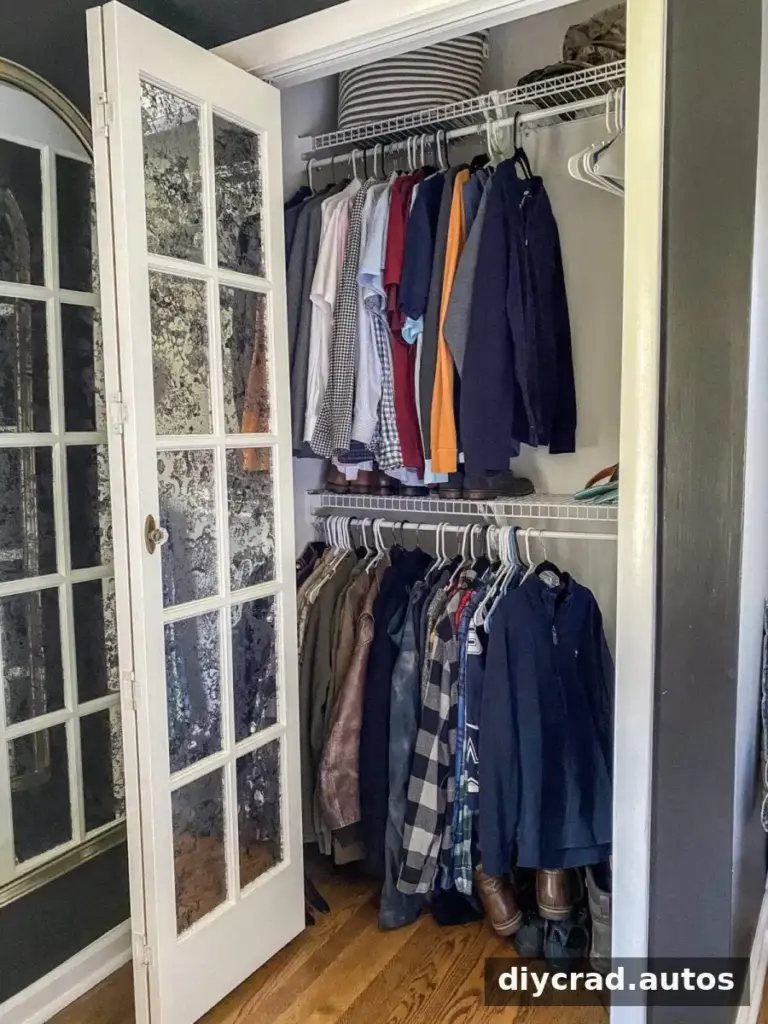
The old wire shelving was damaged and did little to organize shoes or smaller belongings. Replacing it with bookcases created shelves for folded items and shoes, while closet rods and hooks added space for hanging clothes and accessories. Before choosing any system, compare its dimensions with your closet and note where doors, corners, and wall recesses limit the layout.
How to Make an IKEA Billy Closet Hack
Reach-In Closet Supplies
- 1 – 31 1/2″ x 79 1/2″ Billy bookcase
- 1 – 15 3/4″ x 79 1/2″ Billy bookcase
- 1 – 31 1/2″ Billy extension
- 1 – 15 3/4″ Billy extension
- 8 Skuggis hooks
- 2 pullout tie organizer racks
- 5 packs of Bumerang hangers
- 3 adjustable closet rods
- 1 – 1×4 MDF strip
- Finishing nailer
- A table saw or another saw that can make straight cuts
- Caulk
- Paint color matched to IKEA white in a satin finish
Total cost: $324, not including power tools already owned.
Empty the closet and measure the opening before assembling the units. A close fit makes efficient use of the space, but leave enough room to position the bookcases safely.
Reach-In Closet Installation Steps
1. Clear the Closet and Prepare the Walls
Remove the old shelves, fill nail holes with spackle, and paint the walls if desired. Painting is optional, but a fresh coat can give the finished closet a cleaner appearance. Let wall paint dry before moving the new units into place.
2. Assemble the Bookcases
Assemble the two Billy bookcases according to their instructions, then position them side by side inside the closet. Measure first: in this project, the units fit with only a few millimeters to spare.
3. Add Extensions and Secure the Units
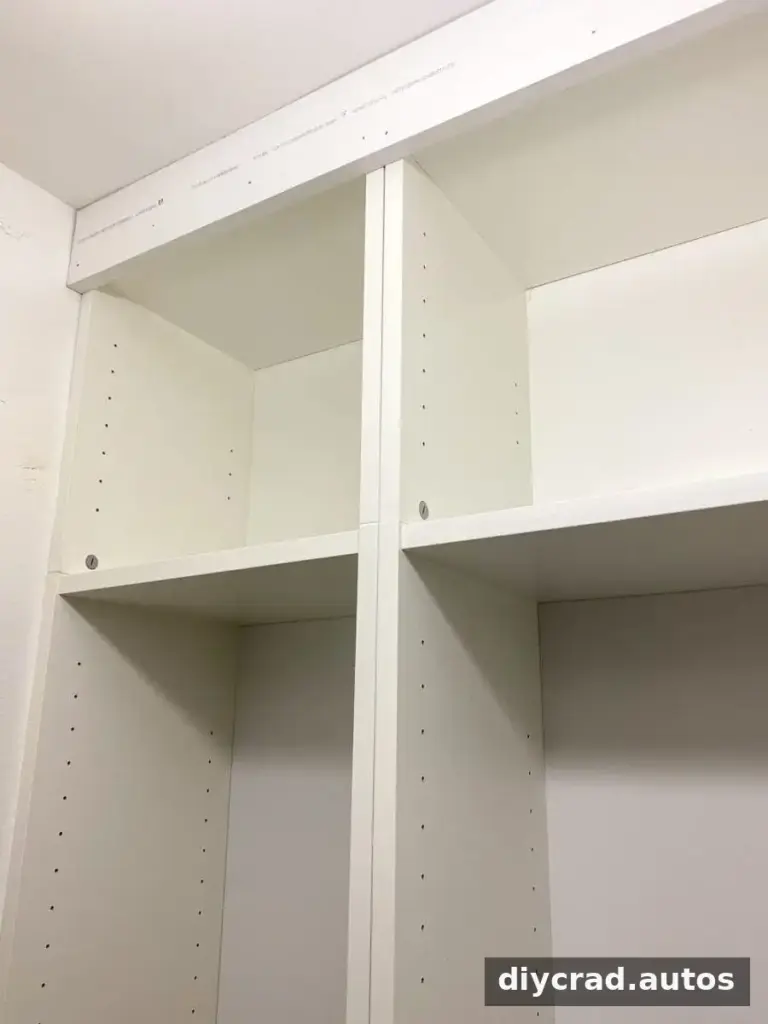
Place the Billy extensions on top of the bookcases to use more of the height beneath the ceiling. Secure the units to the wall using suitable fixings. Follow the furniture instructions and choose anchors appropriate for the wall; fastening into studs is a practical option when the layout allows.
4. Fit the Trim
A roughly 1-inch gap remained between the bookcases and ceiling. The gap was covered with a 1×4 MDF strip, cut to size and attached to create a crown-molding-style finish. Measure each piece before cutting, and wear appropriate protection when using power tools.
5. Caulk, Fill, and Paint
Caulk the visible seams and fill nail holes with wood filler. Once the filler is dry, sand it smooth. After the caulk dries, apply satin paint matched to IKEA white over the caulk and filled areas to help the trim blend with the furniture. In this project, paint was feathered over the repairs rather than applied to the entire bookcase.
6. Add Shelves and Storage Accessories
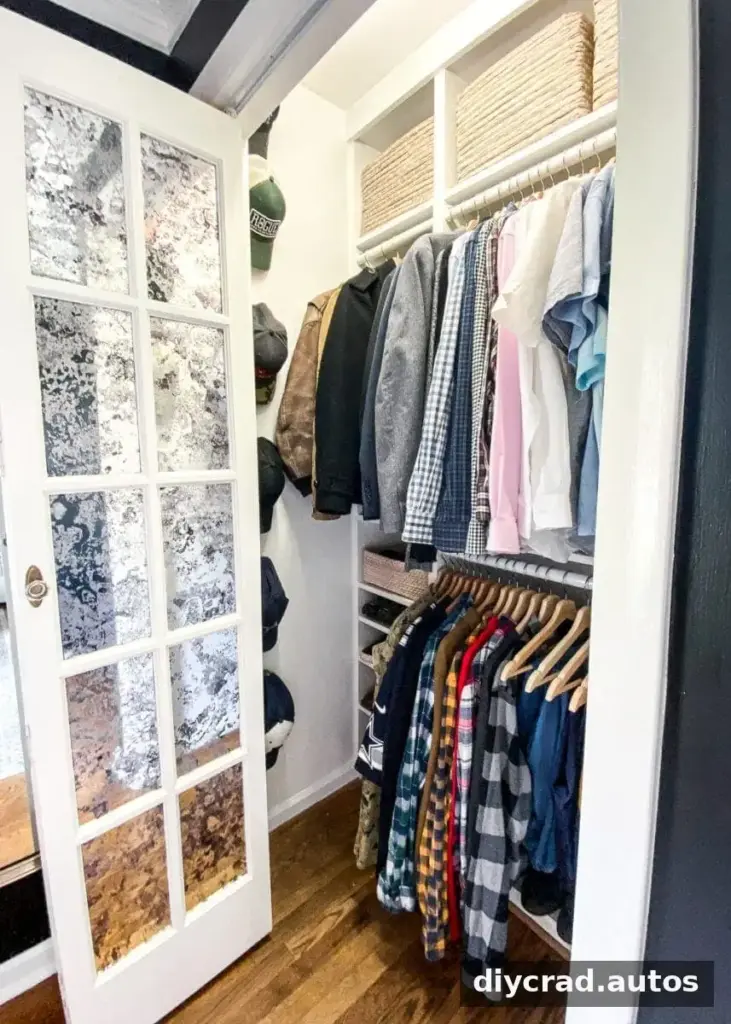
Set shelf brackets at the heights needed for shoes and other belongings. Add closet rods, Skuggis wall hooks, tie organizer racks, and Bumerang hangers as appropriate for the layout. Jewelry organizers, small accessory dividers, or a pull-out denim bar are other possible additions if space permits.
Baskets can make upper shelves and cubbies more practical for extra items. Choose accessories based on what you need to store, and keep frequently used belongings within easy reach.
Small Walk-In Closet Supplies
- 2 – 31 1/2″ x 79 1/2″ Billy bookcases
- 2 – 31 1/2″ Billy extensions
- 1 – 19 5/8″ x 22 7/8″ x 92 7/8″ PAX wardrobe frame
- 2 – 19 5/8″ Komplement drawers
- 2 – 19 5/8″ Komplement shelves
- 1 Komplement pull-out multi-use hanger
- 4 Skuggis hooks
- 4 – 1×4 MDF strips
- 4 adjustable closet rods
- 5 packs of Bumerang hangers
- 3-inch L brackets
- Finishing nailer
- A table saw or another saw that can make straight cuts
- Caulk
- Paint color matched to IKEA white in a satin finish
Total cost: $464.50.
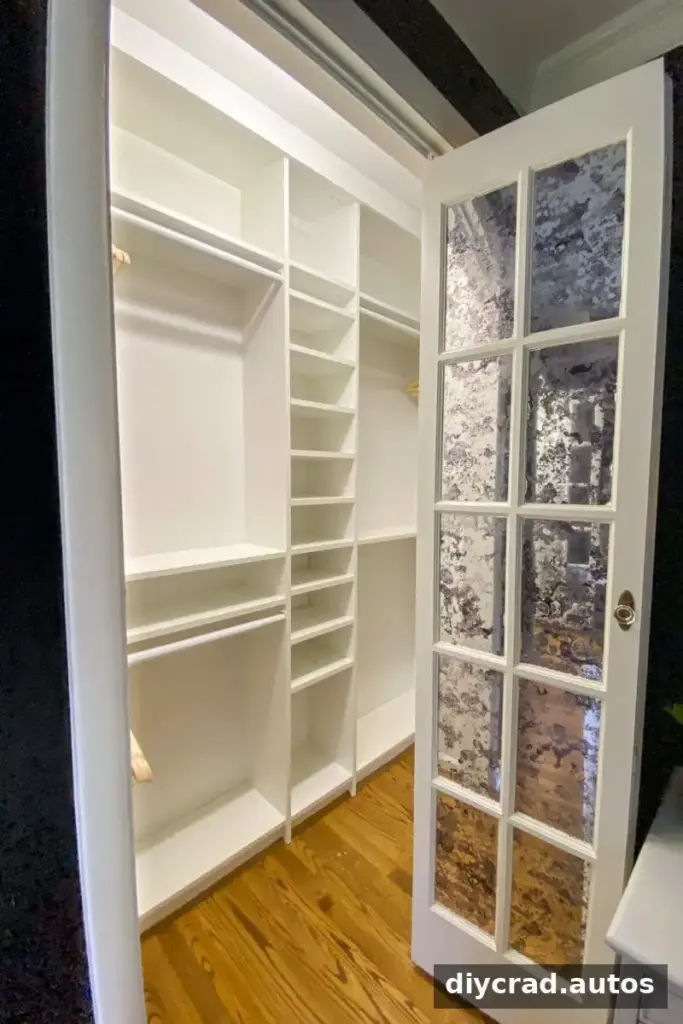
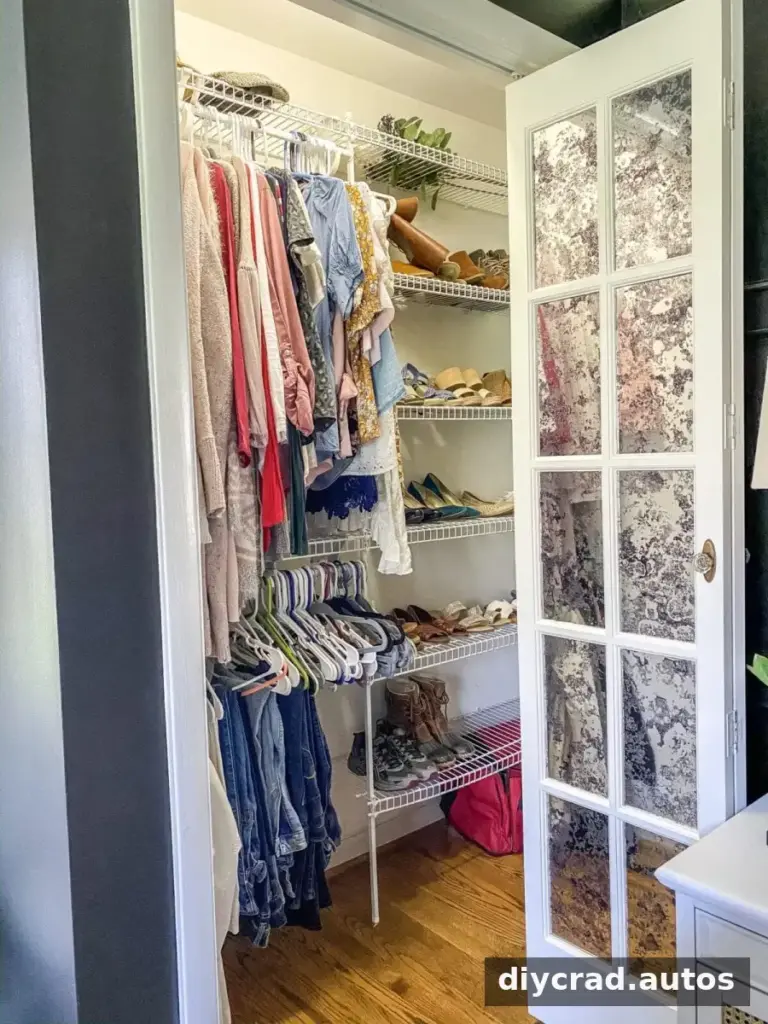
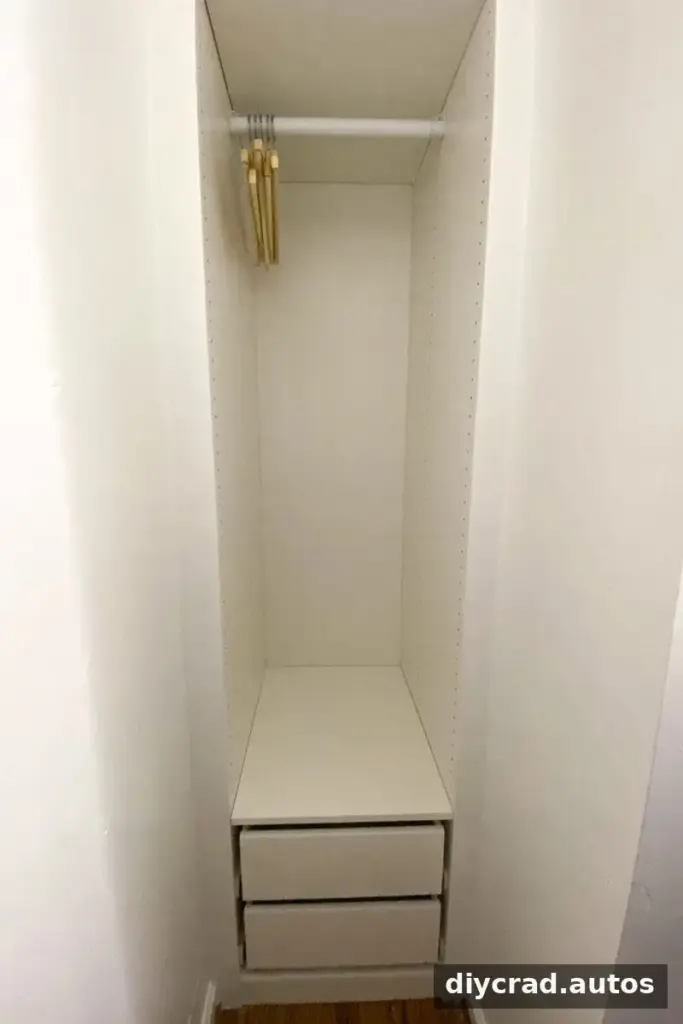
The walk-in closet was small and L-shaped, with a recessed area at the back. One PAX frame fit in that niche for hanging long dresses, while Billy bookcases provided additional shelving. This illustrates why measuring each section separately can help when a closet has an unusual shape.
Small Walk-In Closet Installation Steps
1. Prepare the Closet and Position the PAX Frame
Remove the old wire shelving, patch holes, and paint the walls if needed. Assemble the PAX frame that fits the rear recess and position it there. In an L-shaped closet, check the depth and clearance of the niche before placing a wardrobe frame inside it.
2. Arrange the Billy Bookcases
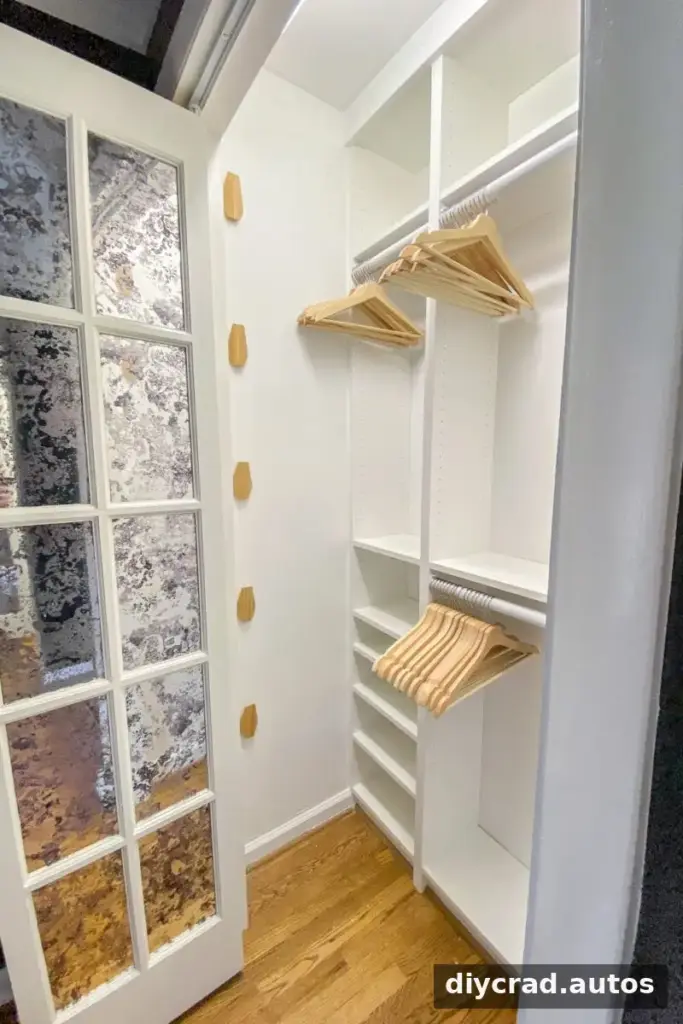
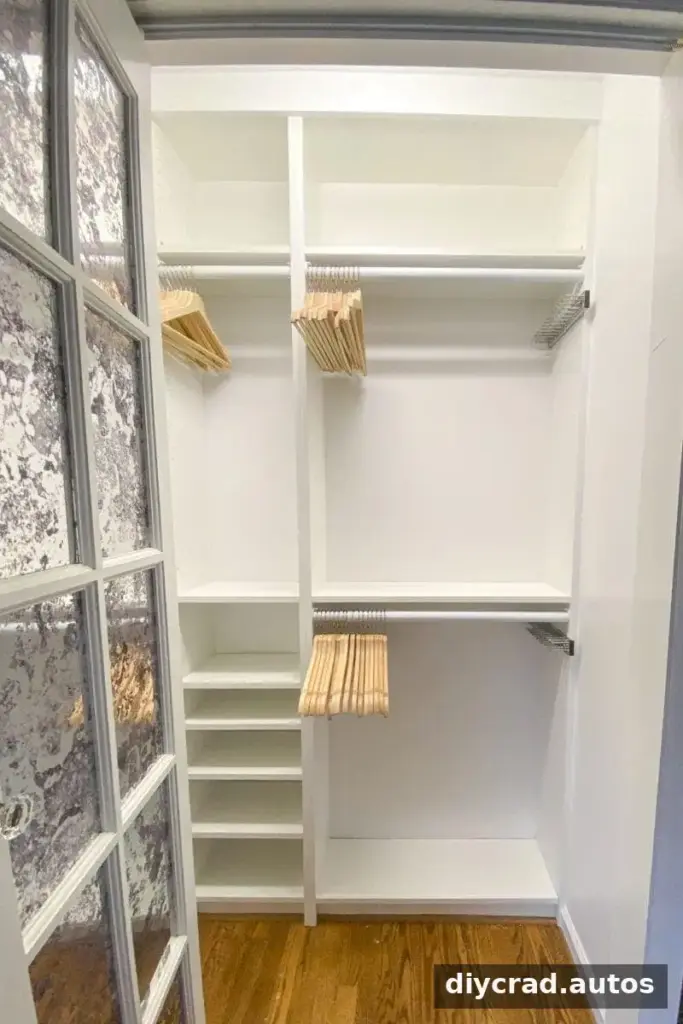
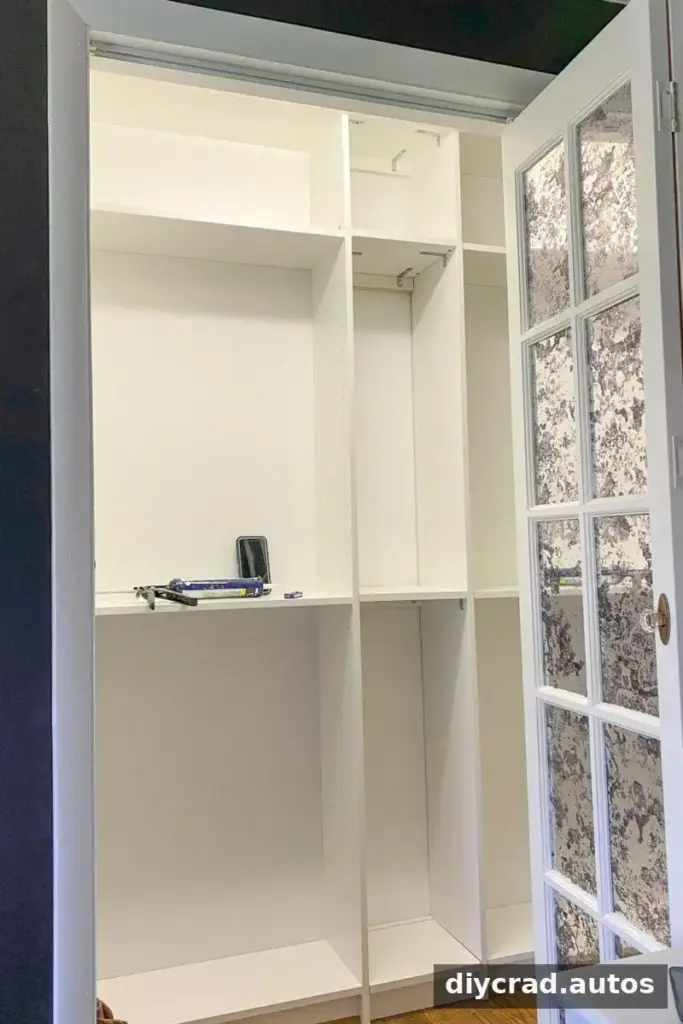
Assemble two Billy bookcases and set them side by side, leaving a 12-inch gap between them. That gap can be adapted into narrow shoe storage, so check that the planned spacing is level and consistent before attaching anything.
3. Add Extensions and Anchor the Units
Fit the Billy extensions to use the space up to the ceiling. Secure the bookcases and PAX frame to the wall; in this project, the backs of the units were fastened into wall studs. Check that each unit is stable before adding shelves or loading it with clothing.
4. Build Shoe Shelves in the Gap
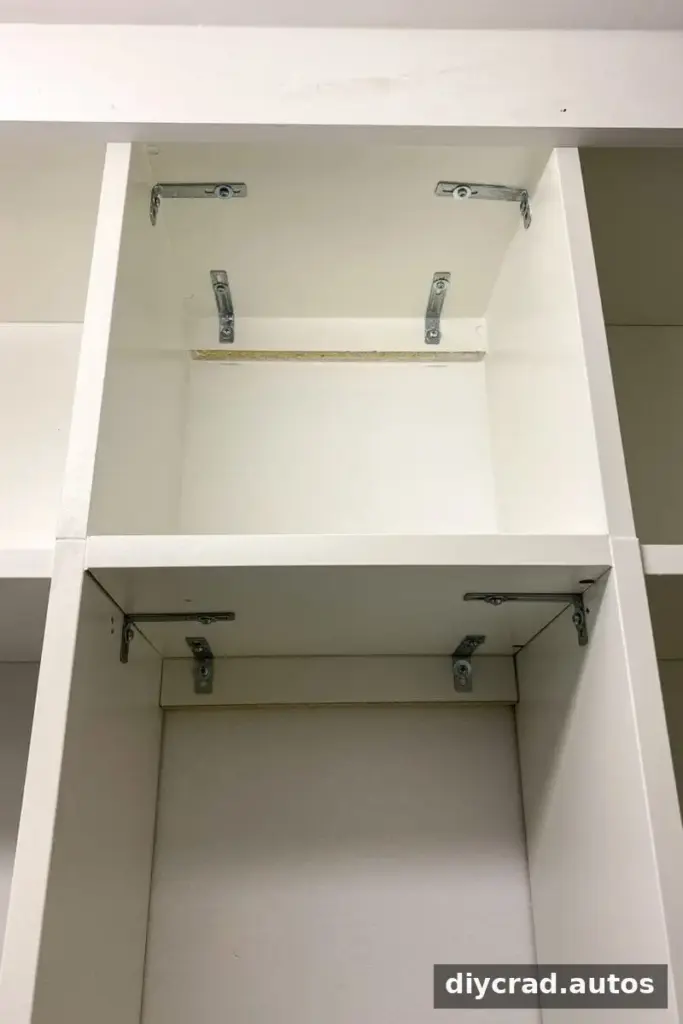
To use the 12-inch space between the bookcases, cut Billy shelves to size and assemble them as a narrow shelving section using 2-inch L brackets. A table saw was used for the cuts; a circular saw or miter saw can also make straight cuts when used appropriately.
5. Attach the Shoe Shelves
Cut additional Billy shelves to create shoe shelves in the narrow section. The shelves were attached to the neighboring bookcases with a nail gun. Confirm the shelf positions and spacing before fastening them so the finished section suits the shoes and other items you plan to store.
6. Cover the Gaps with Trim
Use 1×4 MDF strips to cover the small gap between the bookcases and ceiling. Trim was also fitted along the top and sides of the PAX frame so it sat flush with the surrounding walls. Measure and dry-fit the pieces before cutting or nailing them in place.
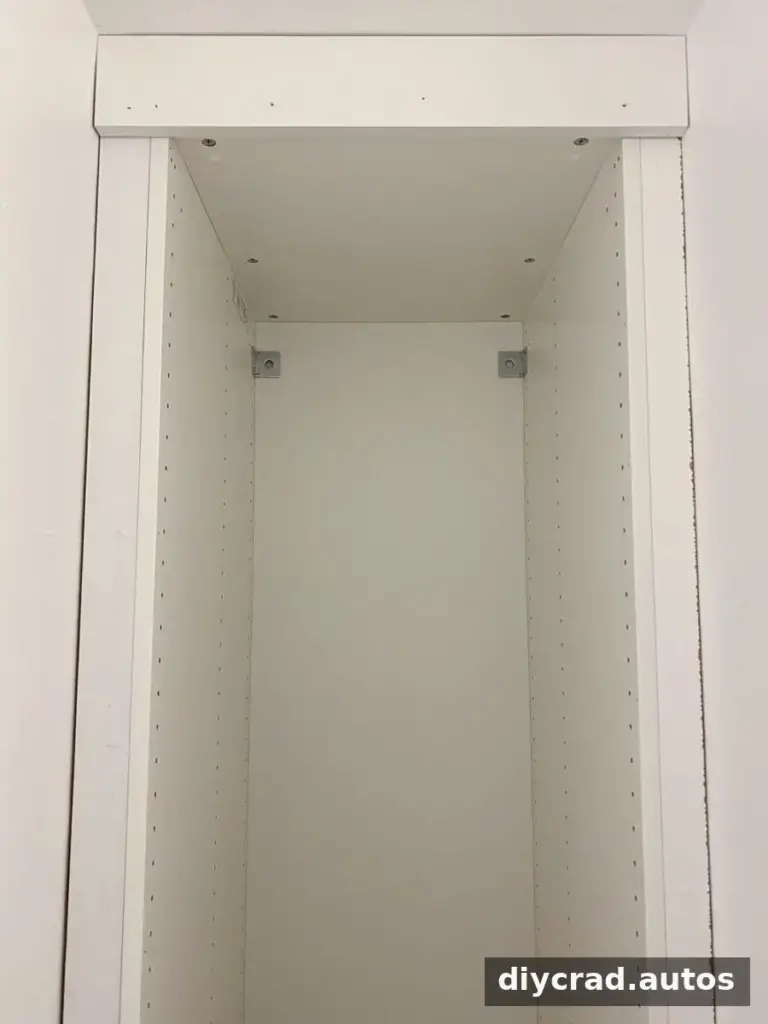
7. Caulk, Fill, and Paint
Caulk the seams, fill nail holes with wood filler, and sand the filler smooth after it dries. Once the caulk is dry, paint the repaired areas with the color-matched IKEA white paint to create a more continuous built-in appearance.
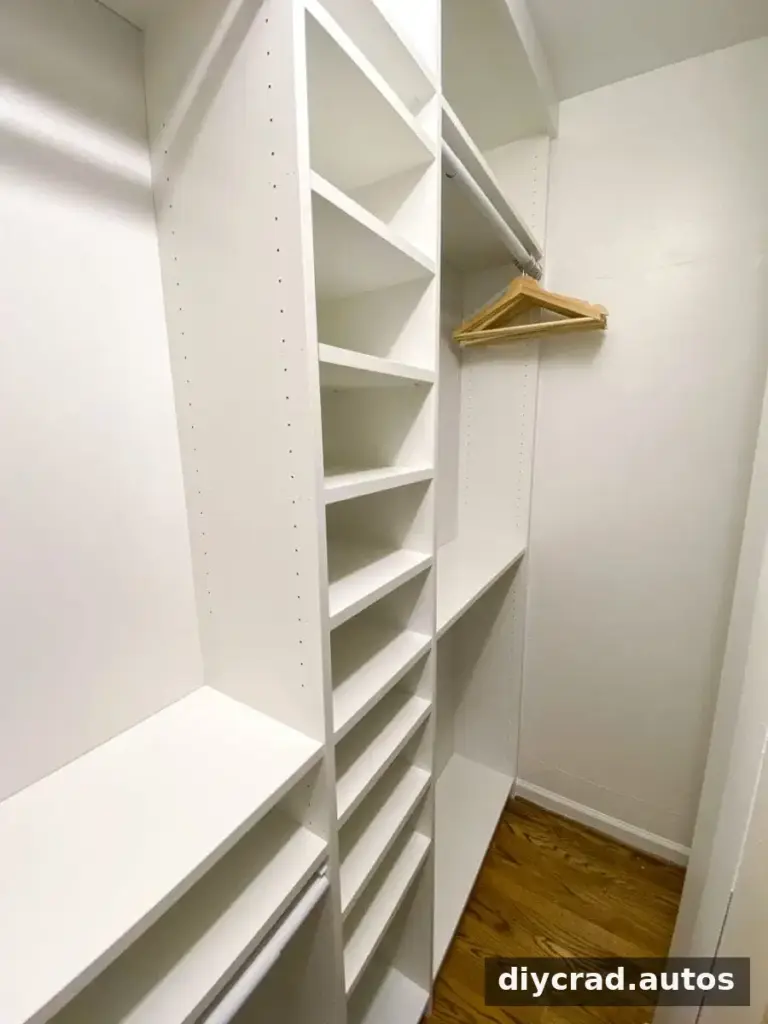
8. Add Closet Accessories
Install the closet rods, Komplement drawers and shelves, Skuggis hooks, and Bumerang hangers. Baskets were later added to hold out-of-season clothing and accessories. Storage baskets can be a useful alternative when a layout has limited drawer space.
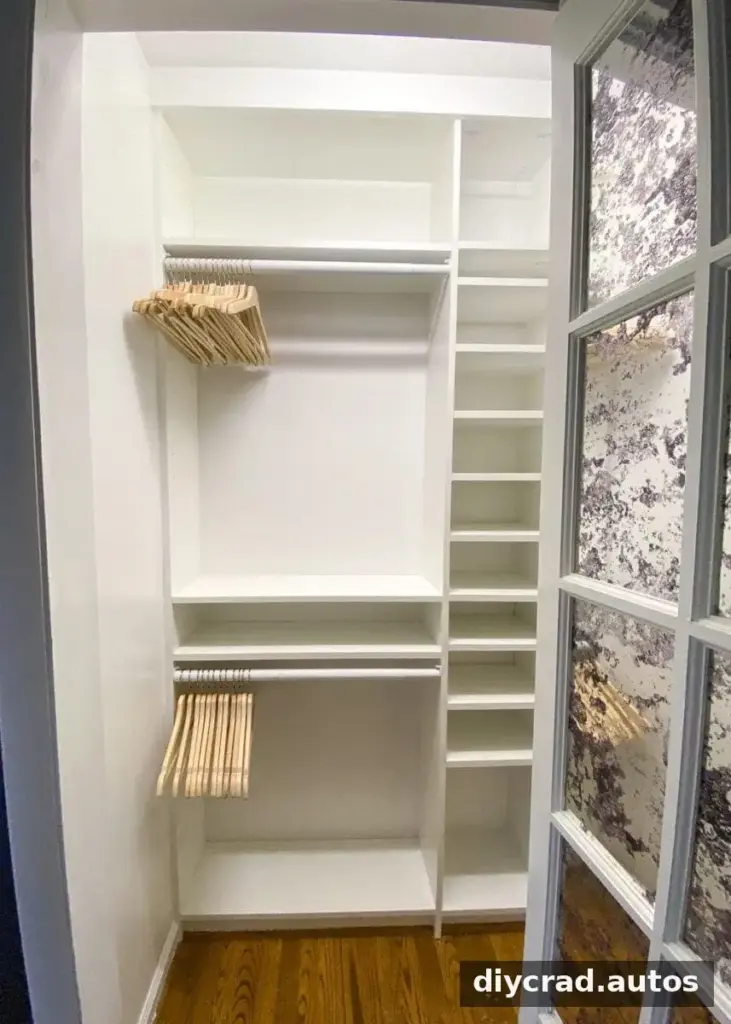
Finished IKEA Billy Bookcase Closet
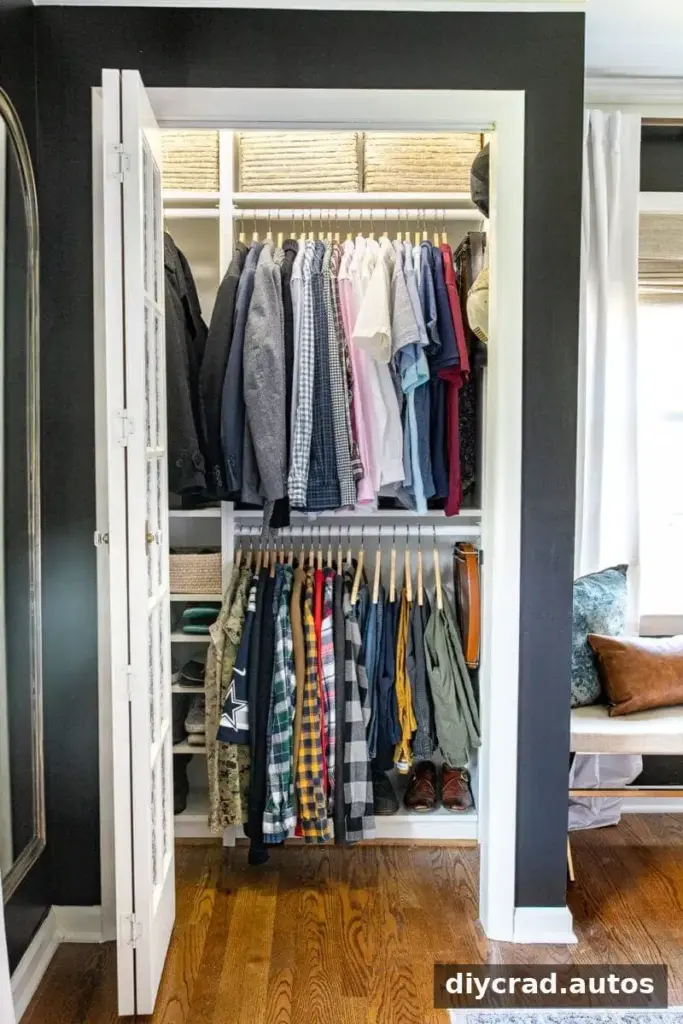
The finished Billy layouts made better use of the available space than the original wire shelving. The reach-in closet and the small walk-in closet each use a different combination of bookcases, rods, shelves, and accessories, showing how the arrangement can be adjusted to the room rather than following one fixed plan.
The closet built-ins were still holding up well after four years, and no changes were needed. After installation, sort clothing before filling the shelves so that hanging space, shoe shelves, and upper storage are used intentionally.
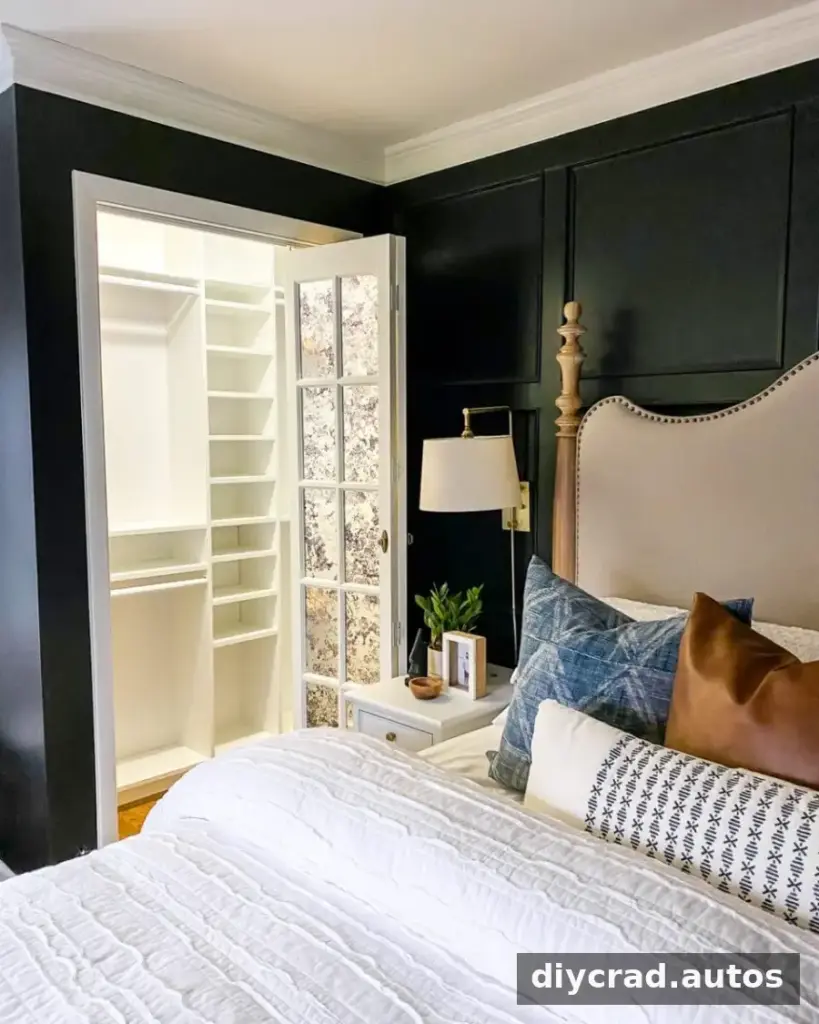
Bedroom Closet Organization Tips
Once the storage is installed, a few simple habits can make the closet easier to maintain:
- Group clothes by type or season; arrange colors in rainbow order if that makes items easier to find.
- Keep frequently used belongings at eye level.
- Use matching hangers for a more consistent look and to make the hanging area easier to scan.
- Add shelf dividers to keep folded items or accessories from shifting.
- Try multi-hangers to make use of vertical space.
- Use a hanger-turning method to review clothing: turn hangers around as you fill the closet, then turn them the right way after wearing an item. At the end of a year, consider donating items that remain unworn.
- Consider lighting if the closet is dim. Choose a suitable fixture and follow its installation and safety instructions.
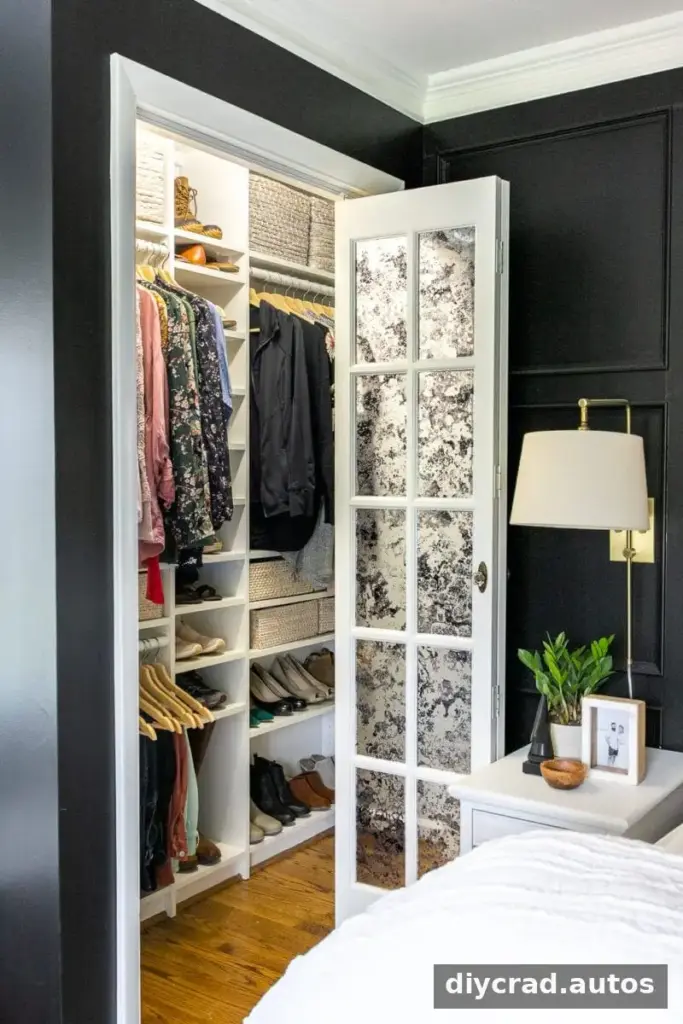
A final walkthrough of the filled closet can help you check that rods, shelves, and baskets are easy to access before settling on the finished arrangement.
More DIY IKEA Storage Ideas
Bookcases are one way to adapt furniture for storage. Other projects can use IKEA pieces to create different solutions around the home. When planning any furniture-based project, check product dimensions and installation instructions, and secure tall units as directed.
30 Genius DIY IKEA Closet Ideas

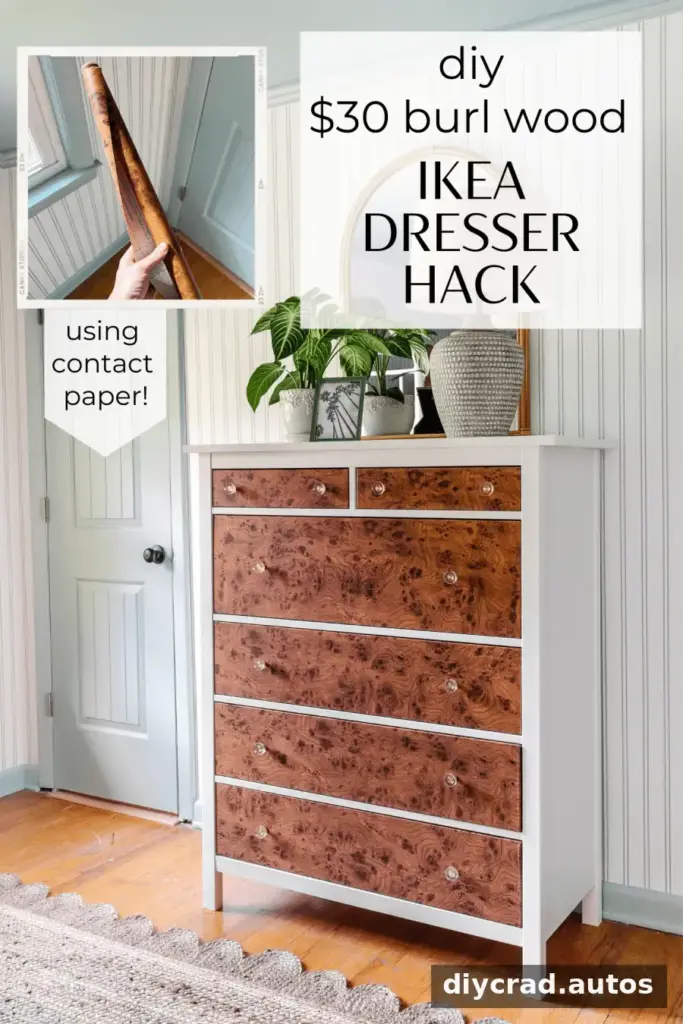
DIY Burl Wood IKEA Dresser Hack Using Contact Paper
DIY Built In Bookshelves Using the IKEA Billy Bookcase Hack
Conclusion
This IKEA Billy closet hack offers a flexible approach for closets where a standard wardrobe system does not fit well. Bookcases, extensions, trim, and carefully selected accessories can create useful storage in both reach-in and small walk-in spaces. Measure the closet before purchasing materials, anchor furniture securely, and tailor the shelves and hanging areas to the belongings you use most.