

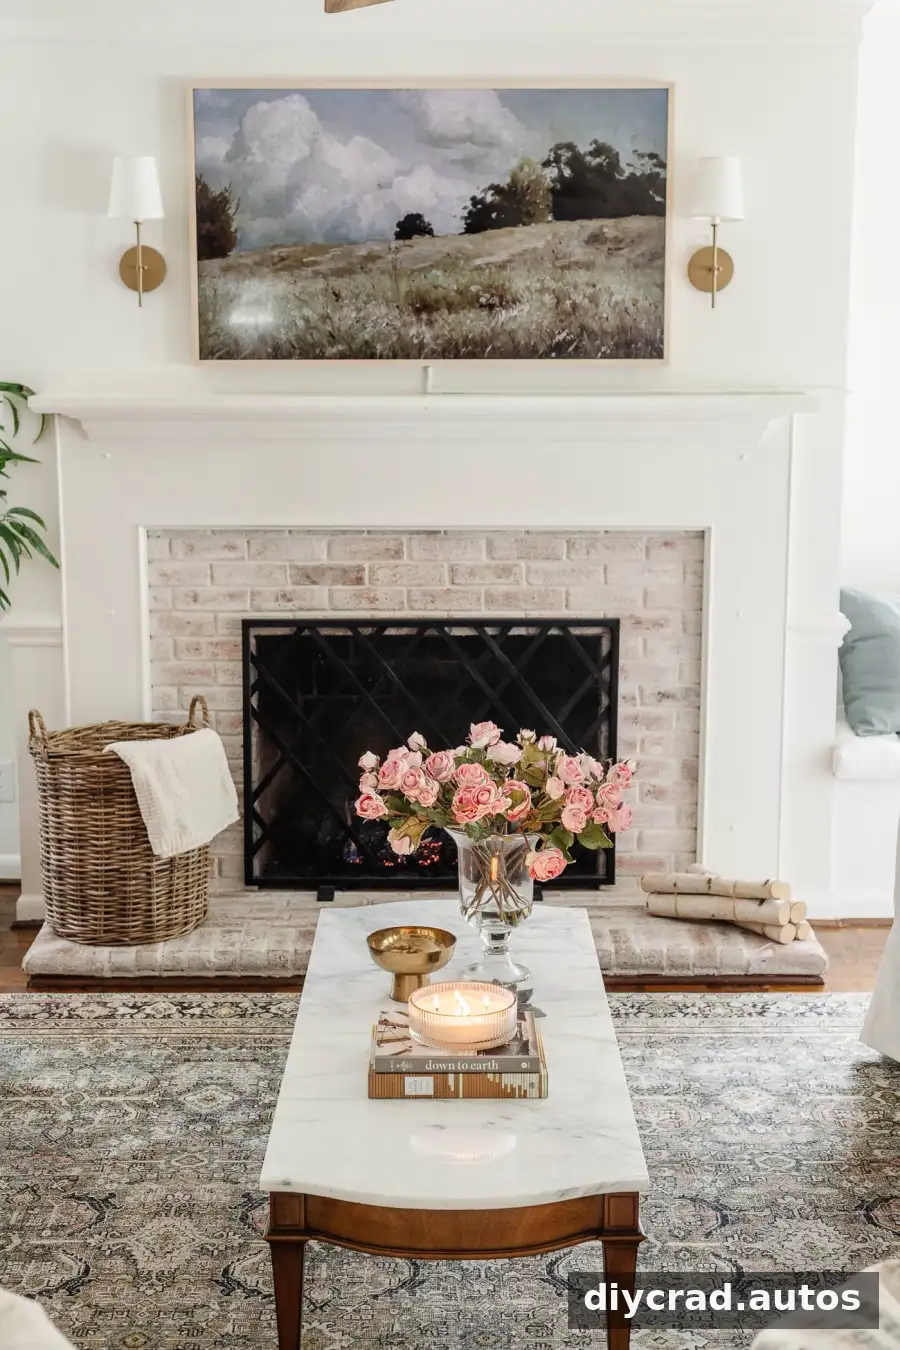
A limewash brick fireplace can brighten a room while allowing some of the original brick texture and color to remain visible. This project uses a diluted limewash, a masonry brush, water, and clean rags to create a soft, weathered finish. The amount of brick left showing depends on how much limewash you remove as you work.

Before changing the finish, clean the brick and consider testing the process in a small, inconspicuous area. That lets you see how the brick absorbs the limewash and how much distressing you prefer.
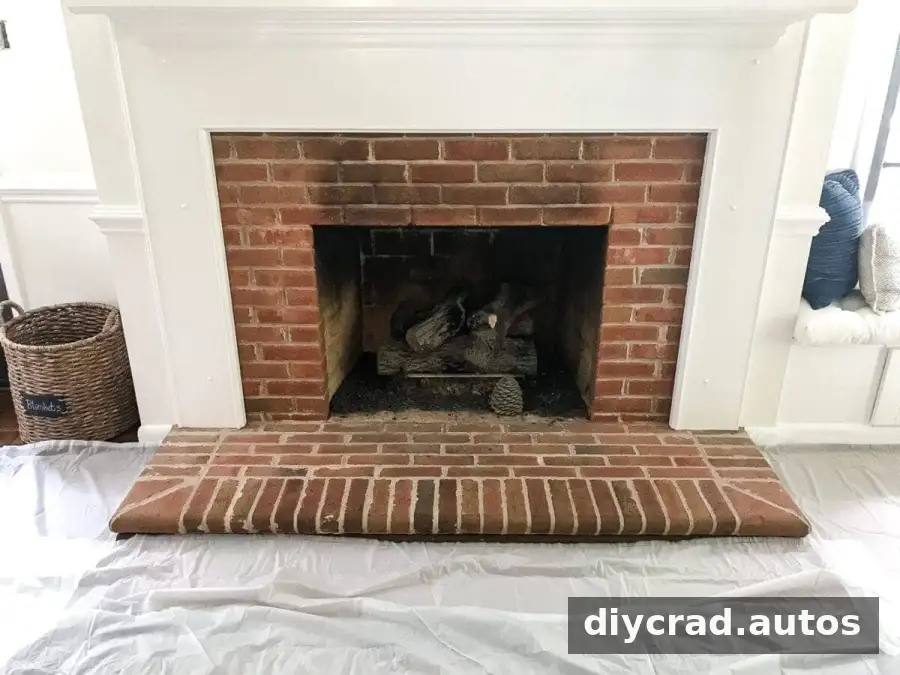
How to Limewash a Brick Fireplace
The process has two main parts: preparing the surface and applying the limewash. Protect the surrounding floor and mantel, and make sure the fireplace is completely cool before starting. Check the limewash product instructions for suitable surfaces and application guidance.
Clean the Brick with Vinegar
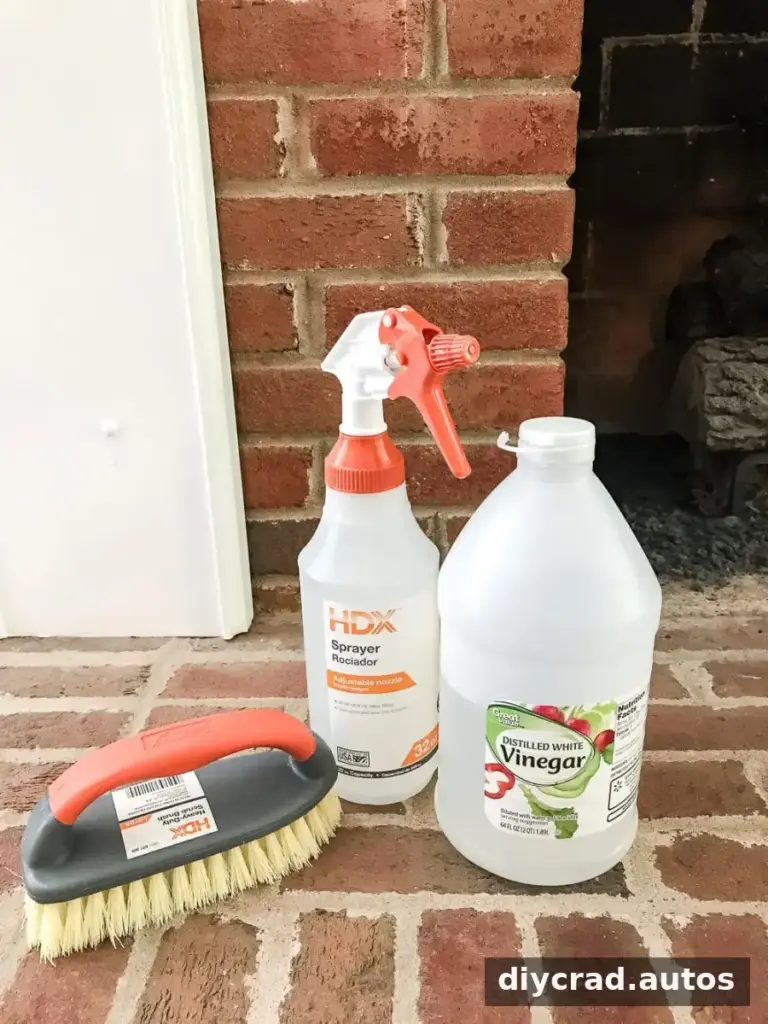
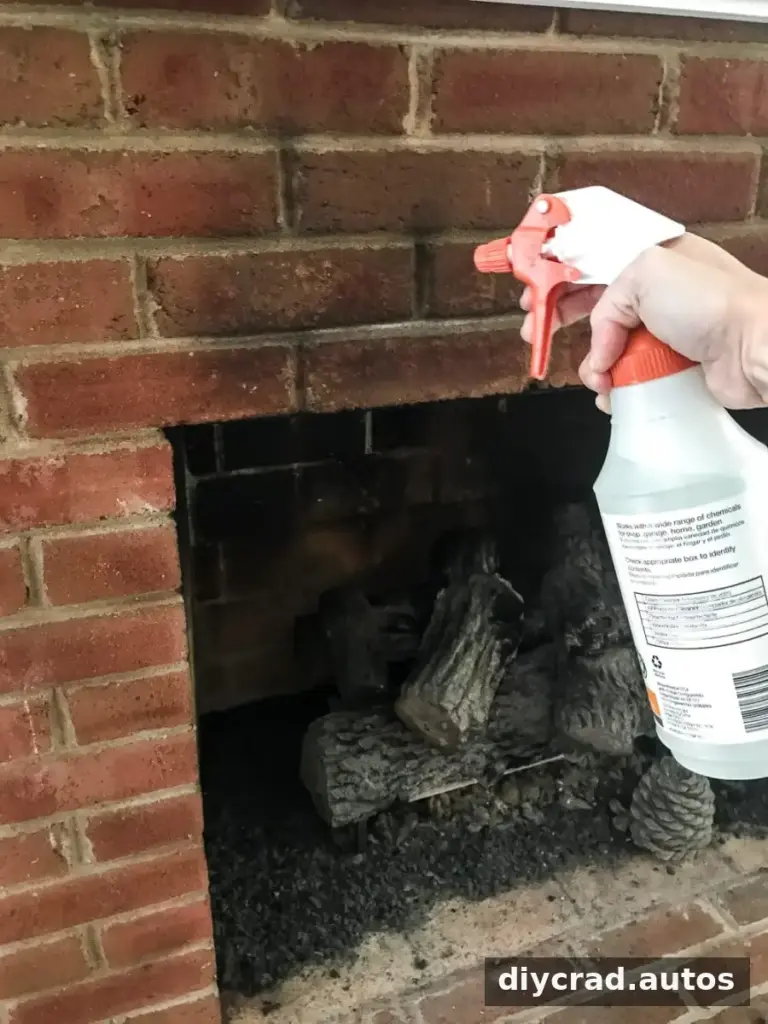
For the cleaning solution, combine equal parts white vinegar and water in a spray bottle. Wet the sooty brick, then scrub it with a heavy-duty brush. Work in manageable sections and remove loosened dirt before continuing. Allow the brick to dry as directed by the limewash manufacturer.
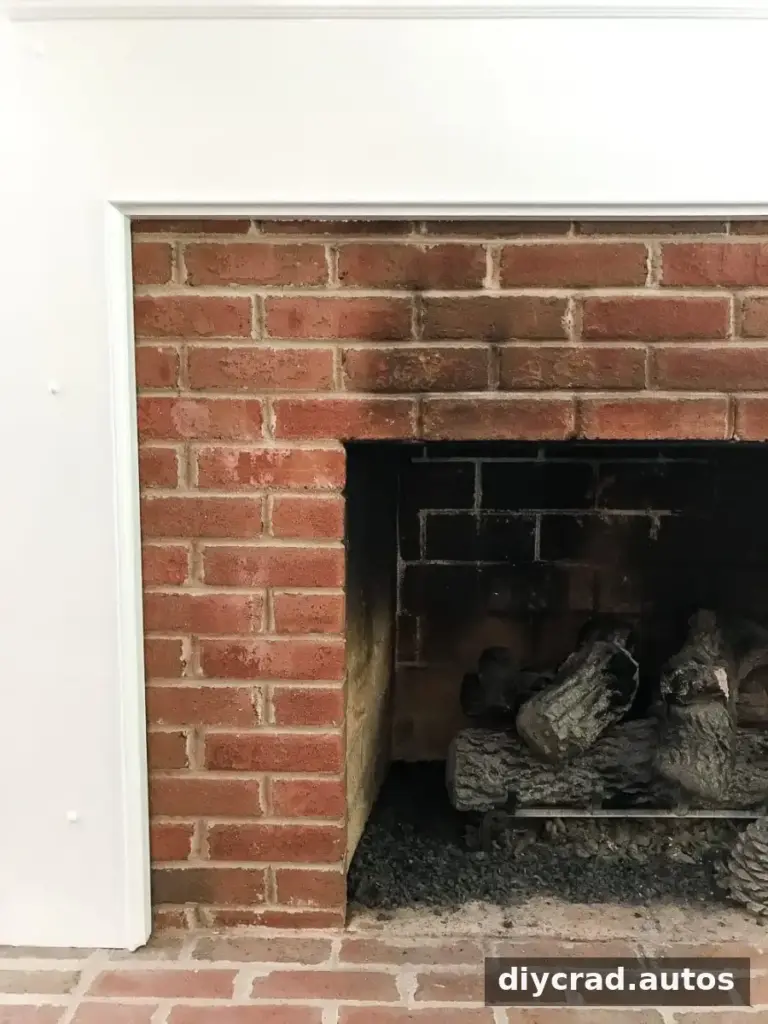
Cleaning first is important because soot and dust can interfere with an even finish. Avoid rushing this step; inspect the mortar joints and textured areas, where residue can collect.
Limewash, Whitewash, and German Smear: What’s the Difference?
Limewash is made from slaked lime and water. It creates a chalky, mineral-looking finish that can be selectively removed while it is still workable, allowing parts of the brick to show through.
Whitewash generally uses white paint mixed with water. It leaves a more translucent coating that mutes the brick’s natural color. German smear uses wet mortar applied over brick, typically with heavier coverage and a more textured result.
These finishes have different materials and appearances, so try a sample before committing to the whole fireplace. Limewash is a useful middle ground when you want a lighter surface without completely hiding the brick.
DIY Limewash Brick Fireplace Supplies
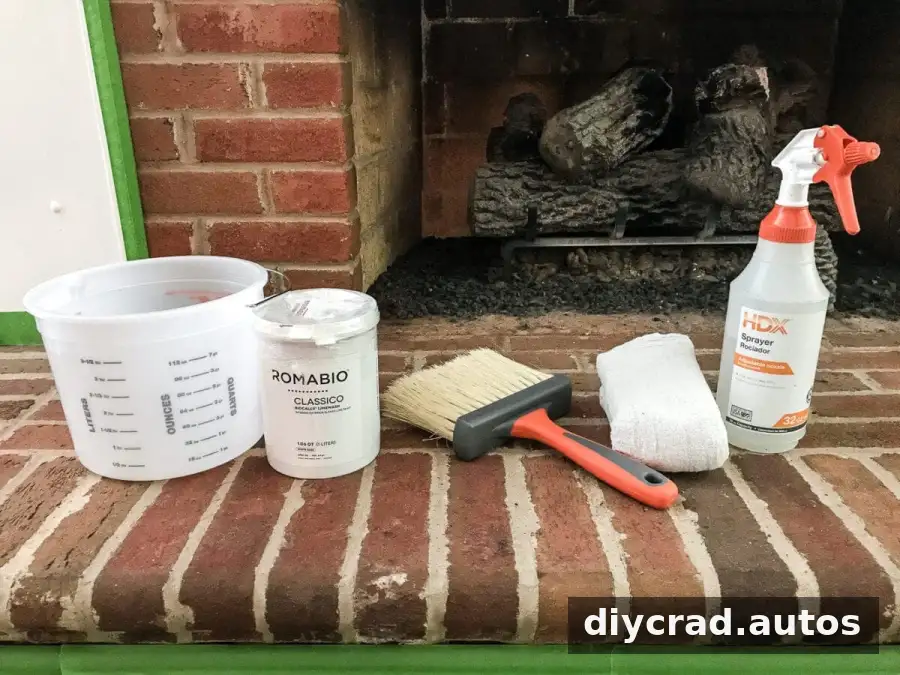
- Limewash suitable for brick
- Two spray bottles: one for the vinegar cleaning solution and one for plain water
- White vinegar
- Heavy-duty scrub brush
- Mixing bucket
- Power drill with a paddle mixer, or a stir stick
- Masonry brush
- Clean cotton rags
- Painter’s tape
- Plastic drop cloth
Step 1: Mix the Limewash
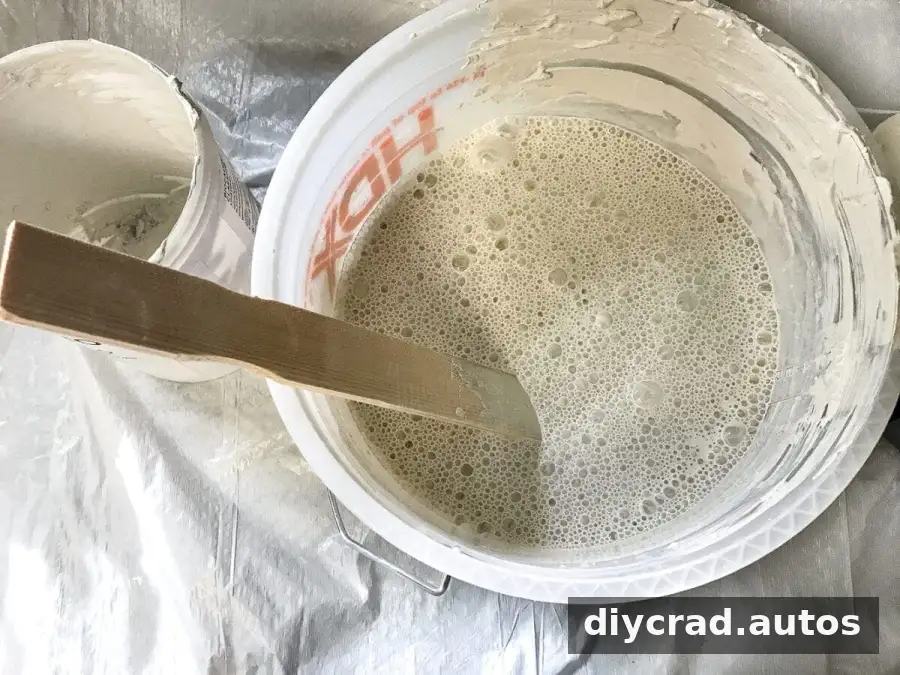
Transfer the limewash into a mixing bucket. In this project, one liter of limewash was mixed with an equal amount of water, following the product container’s directions. Stir thoroughly until the mixture is consistent. A drill-mounted paddle mixer can speed up the process, while a stir stick works if you mix carefully by hand.
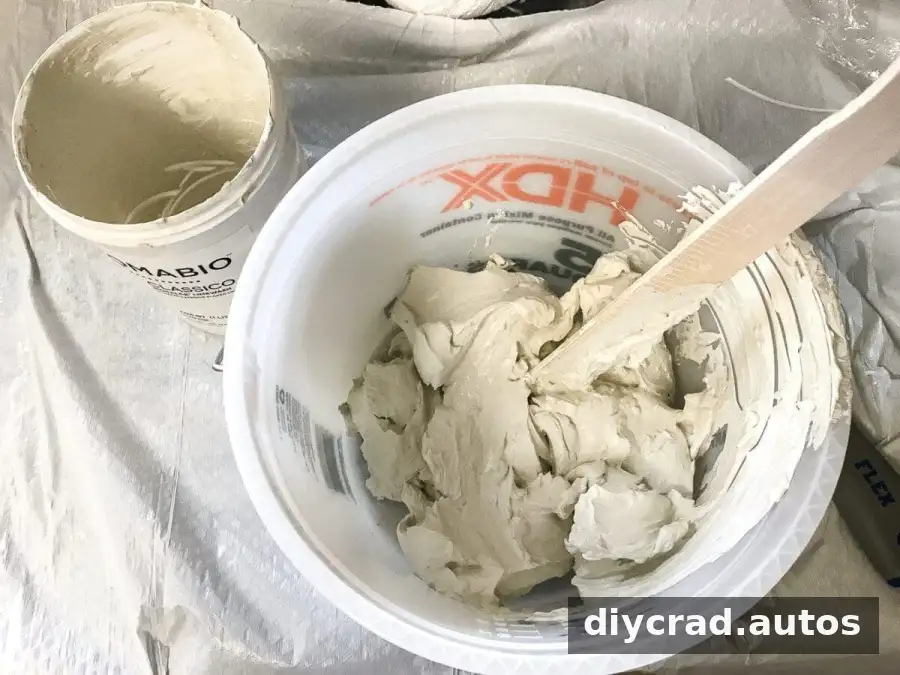
Always use the ratio specified on your own product label; formulations and instructions can differ. Mix only what you can apply within the recommended working time.
Step 2: Protect the Surrounding Area
Use painter’s tape around the mantel and nearby surfaces, and cover the floor with a plastic drop cloth. Remove soot and loose dirt from the brick before moving on. Keep cleaning materials and limewash away from areas that are not intended to be coated.
Step 3: Dampen the Brick
Spray the brick lightly with plain water so the surface is damp, not dripping. Work in sections so the brick does not dry out before you apply the limewash. Follow the product directions if they specify a different preparation method.
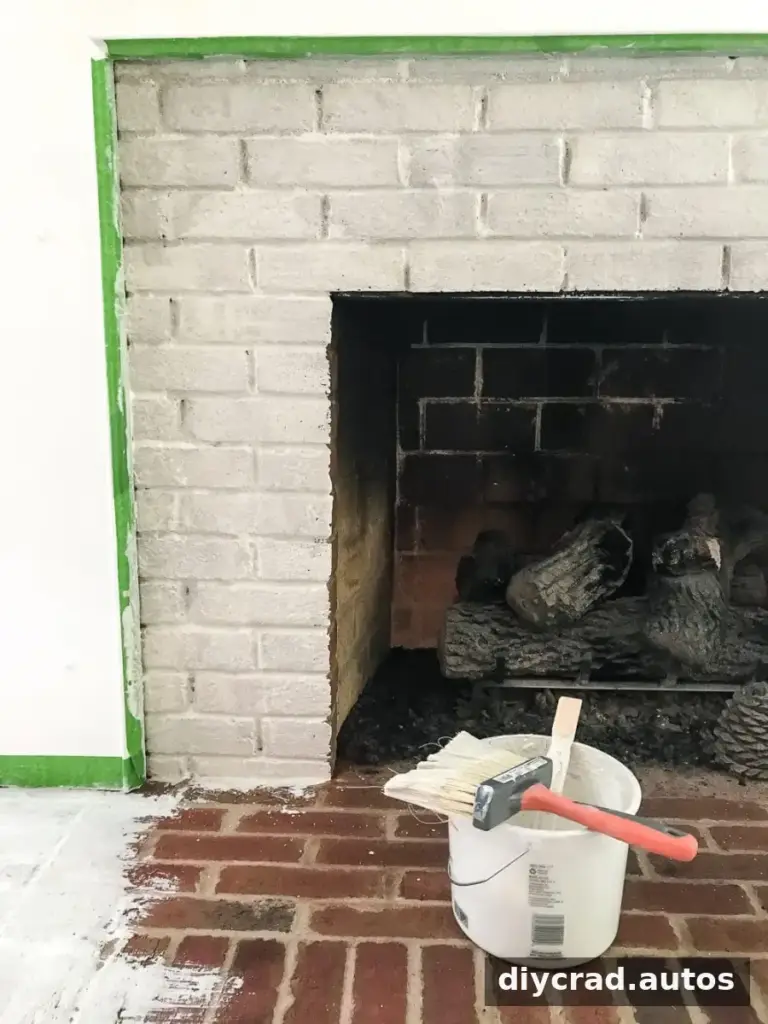
Step 4: Brush on the Limewash
Apply the mixture with a masonry brush, covering the brick and mortar as desired. Keep the surface evenly damp as you work, and watch for drips or pooling in the joints. Let the coating sit for about 30 minutes, or until it is mostly dry to the touch, before distressing.
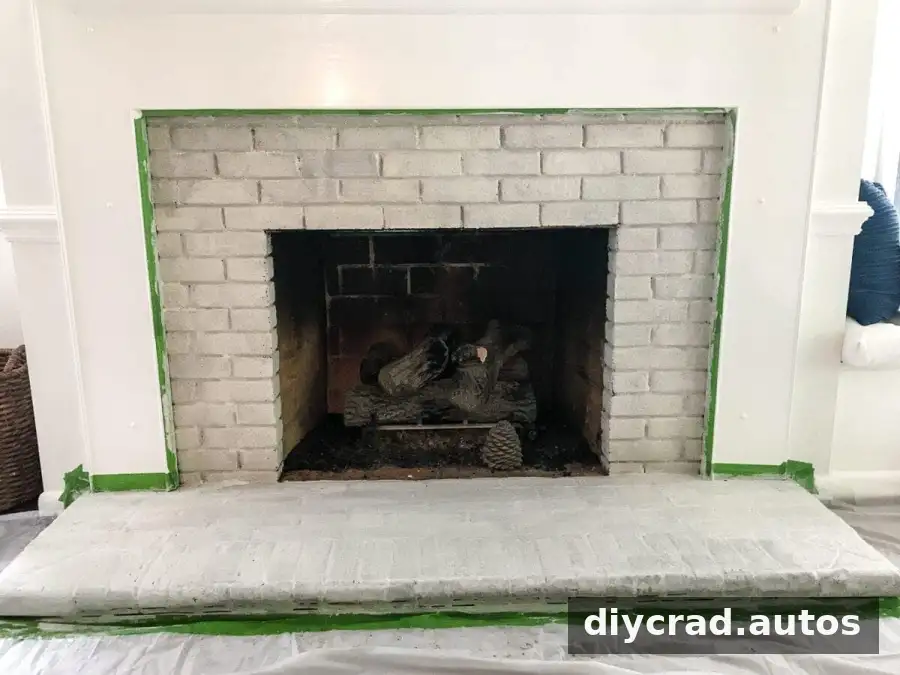
Step 5: Distress the Finish
Lightly mist one brick at a time with one or two sprays of water. Use a clean rag to blot or rub away some of the limewash. Repeat until you reach the amount of brick color and texture you want. The result is adjustable, so begin gently and remove more only where needed.
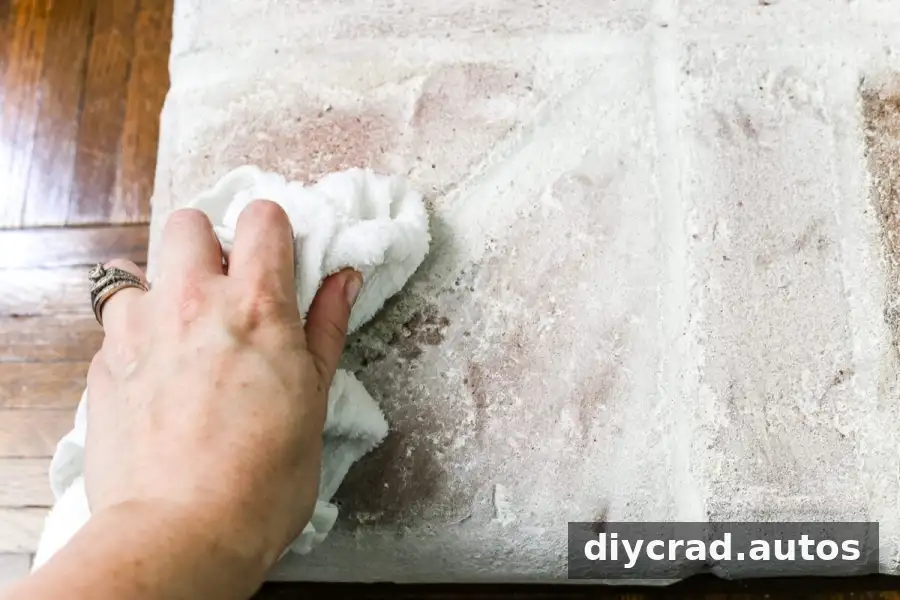
There is no single pattern to follow: vary the pressure and the amount you remove to create a finish that suits the room. Keep a few clean rags nearby, and step back occasionally to check that the overall surface looks balanced.
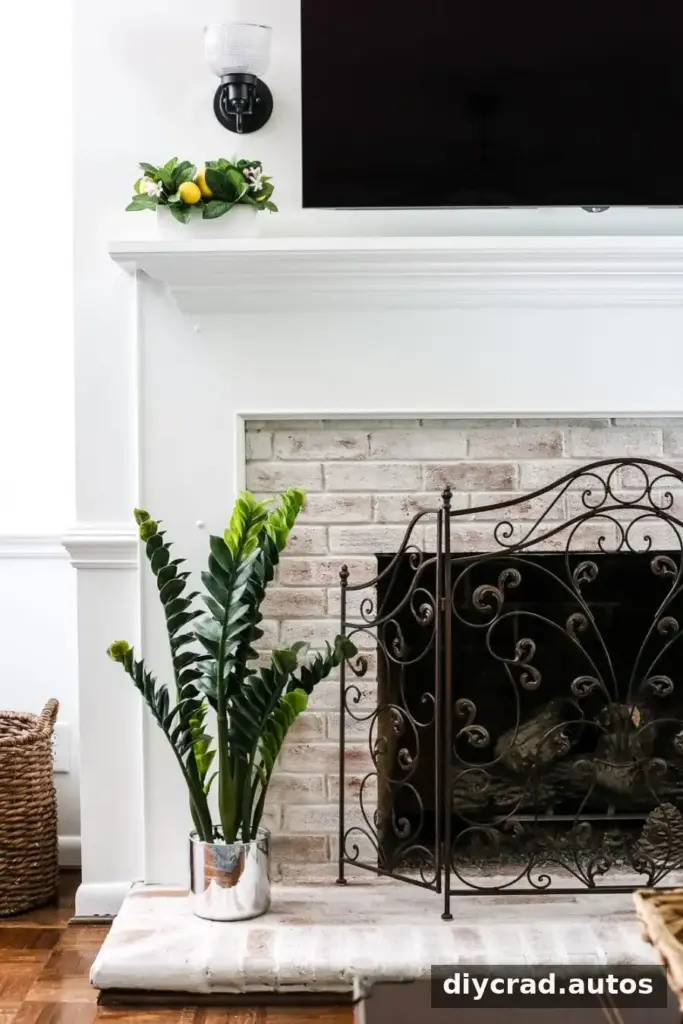
Once the coating has been worked to your liking, leave it to dry according to the product instructions. Applying limewash across all the brick creates a different effect than coating only selected bricks or focusing on the mortar, so a small test area can help you choose.

An Alternative for a More Irregular Look
Another approach is to dab limewash onto selected bricks with a paintbrush in an uneven pattern. This can create a more distressed appearance without spraying and wiping each brick. Test the technique first, since the coverage will depend on the brushwork and the brick surface.

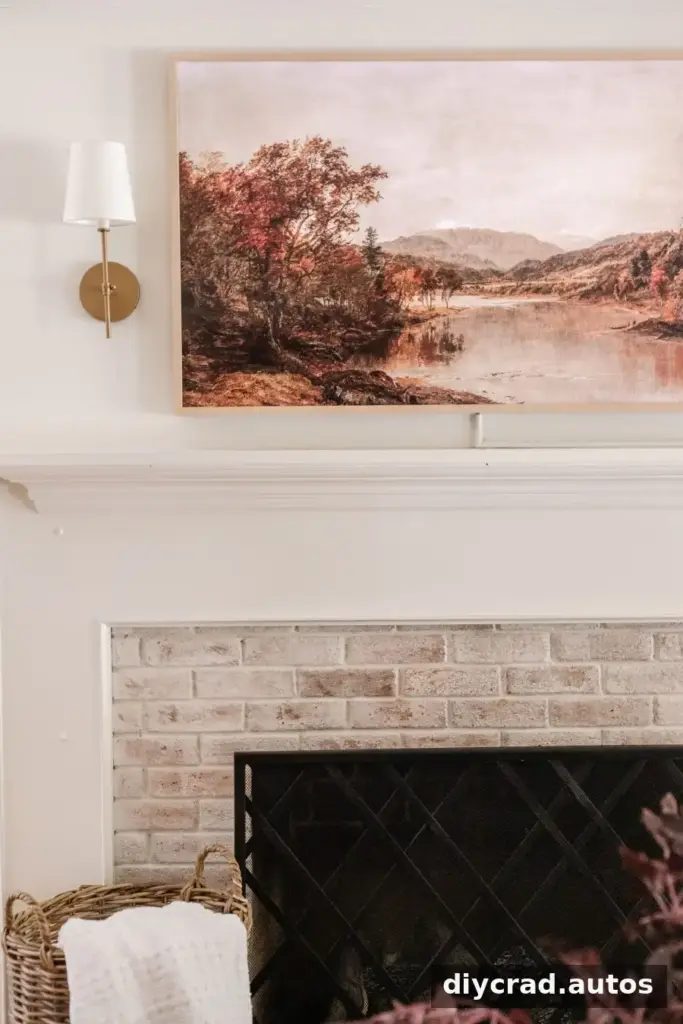
Finishing the Limewash Brick Fireplace
A lighter finish can change the feel of a room, but limewash may take some getting used to if you are accustomed to dark orange brick. Let the surface dry fully before judging its final appearance, and follow the product directions for care and any additional coats. Remove protective coverings carefully and check the surrounding surfaces for splashes.

For future touch-ups, keep the product details and mixing instructions available. If you plan to use limewash on another fireplace or masonry surface, assess that surface separately and confirm that the product is appropriate for it.

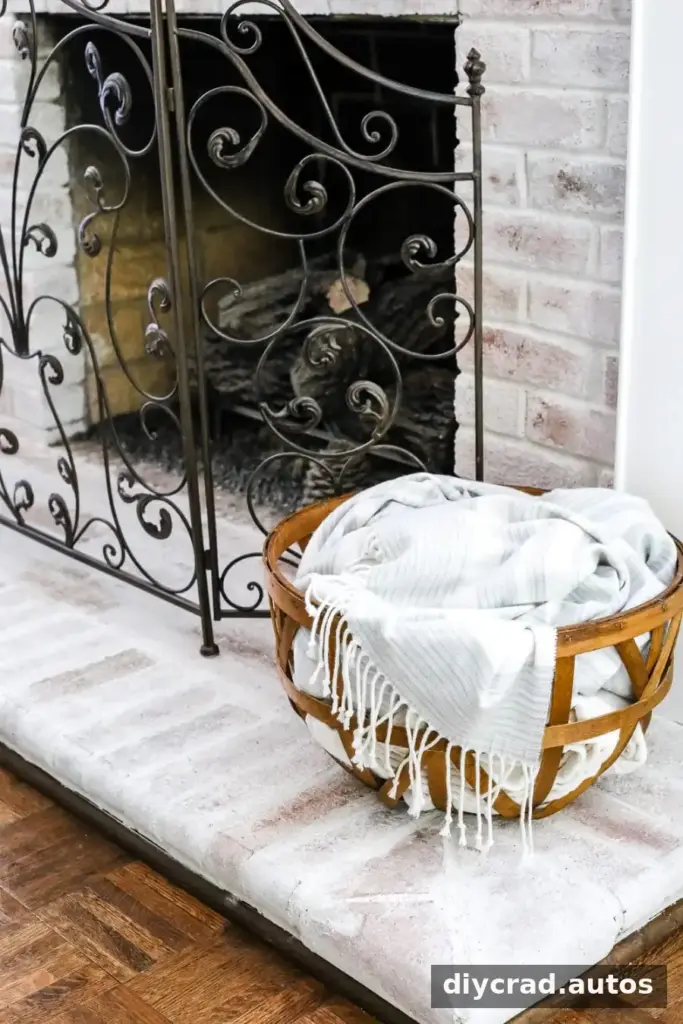

Whether you prefer natural brick, a pale wash, or a heavily textured mortar finish, the best choice depends on how much original color and texture you want to preserve.
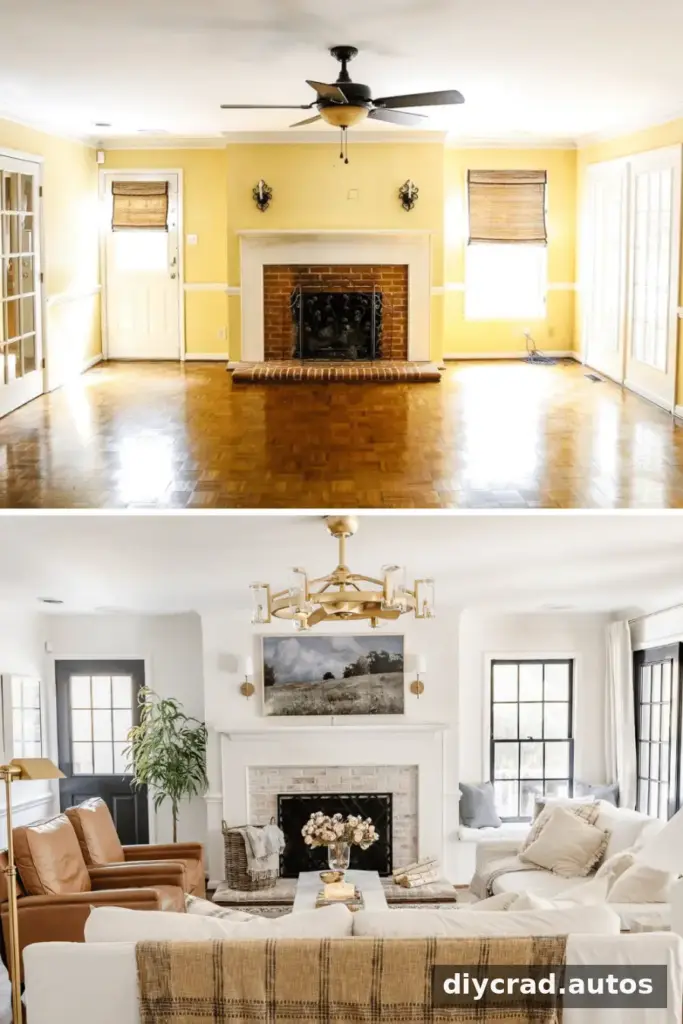
Conclusion
A limewash brick fireplace project is a practical way to soften the look of dark brick while keeping its texture visible. Clean the surface thoroughly, protect nearby areas, follow the product’s mixing directions, and distress the finish gradually. Testing first and working in small sections makes it easier to control the result.

