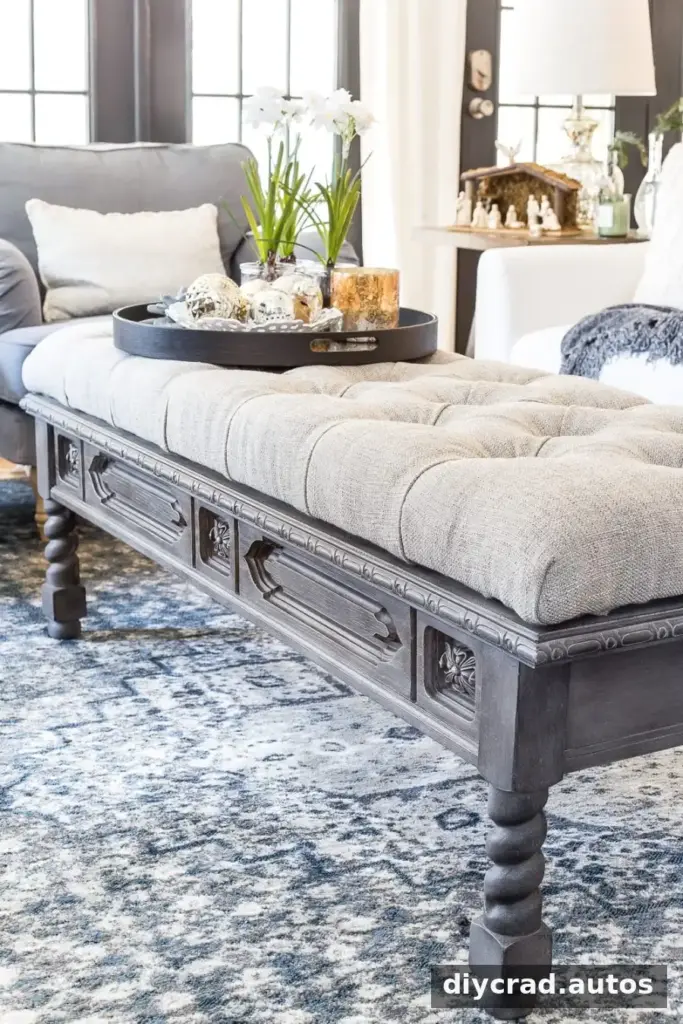
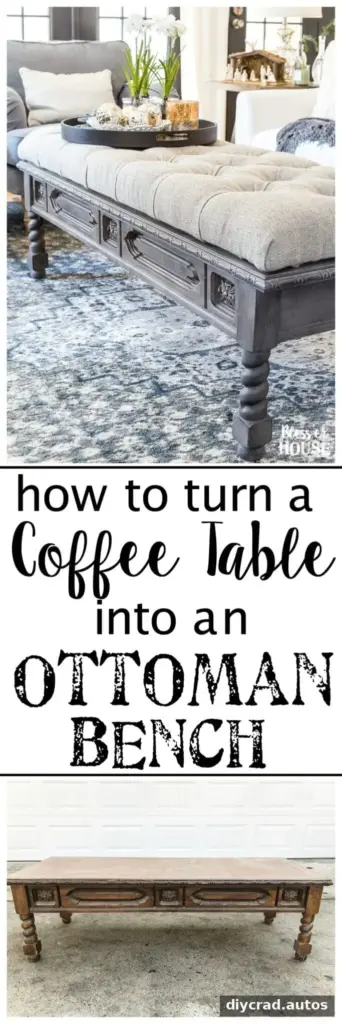
A DIY ottoman bench can give an old coffee table a fresh purpose while adding a comfortable footrest and flexible seating to your home. This project combines a faux weathered finish with a foam-cushioned, diamond-tufted top. The example used a $15 secondhand coffee table and cost $174.32 in total, with tools and paint already on hand. Before starting, check that your table is stable and that its top is large enough for the upholstered panel you want to make.
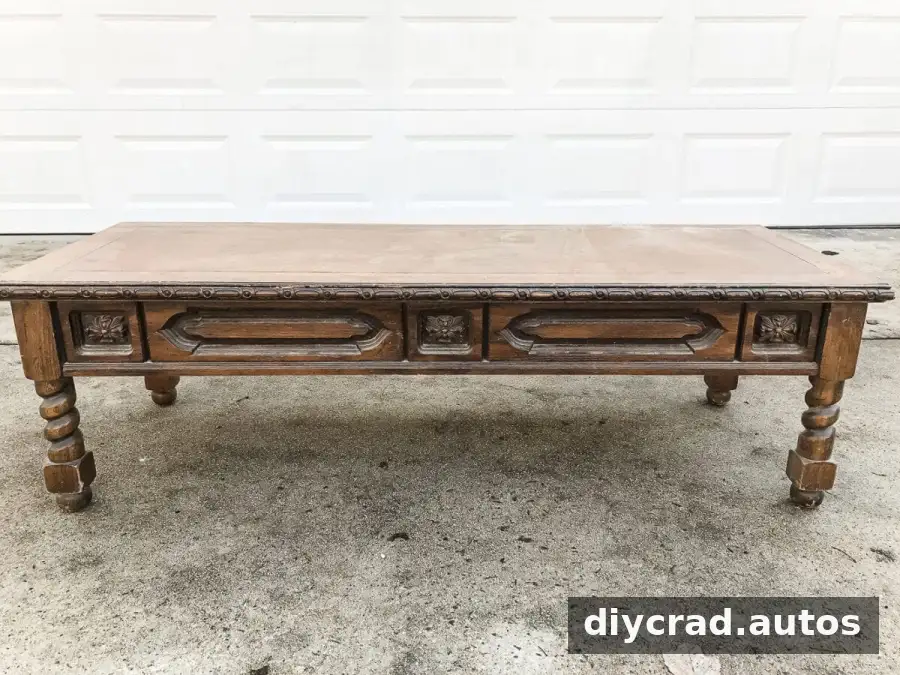
DIY Ottoman Bench Materials and Preparation
Gather the materials before you begin. Having the upholstery supplies ready makes the tufting process easier, since the fabric needs to be positioned and secured a little at a time.

- One coffee table
- Gray-beige chalk-style paint and black finishing wax
- White mineral paint for dry-brushing
- Two natural-bristle brushes and one small chip brush
- 3/4-inch hardwood plywood, cut to the size of the table
- Paper towels and dry, lint-free rags
- 3-inch high-density foam
- Twin-size hi-loft batting
- Upholstery button-making kit and 3 yards of upholstery fabric
- Power drill/driver, tape measure, yardstick, and marker
- Electric carving knife (optional)
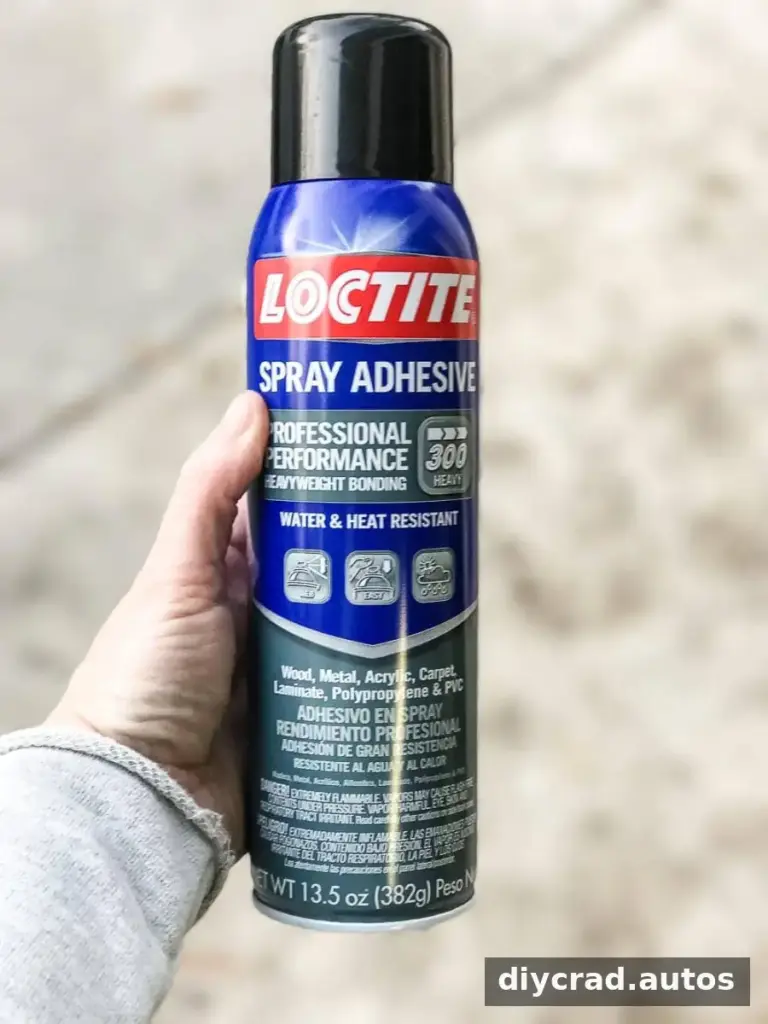
- Spray adhesive suitable for foam and plywood
- High-temperature hot glue gun and glue sticks
- #8 3/4-inch wood screws and #10 flat washers
- Fabric scissors and a manual staple gun with 3/8-inch (10 mm) staples
- Construction adhesive for attaching the finished top
The completed project cost $174.32 when existing tools and paint were excluded from the new purchases. Similar ottoman benches can cost about $600, so reusing a table may be a budget-conscious alternative. Costs vary with fabric, foam, and local material prices.
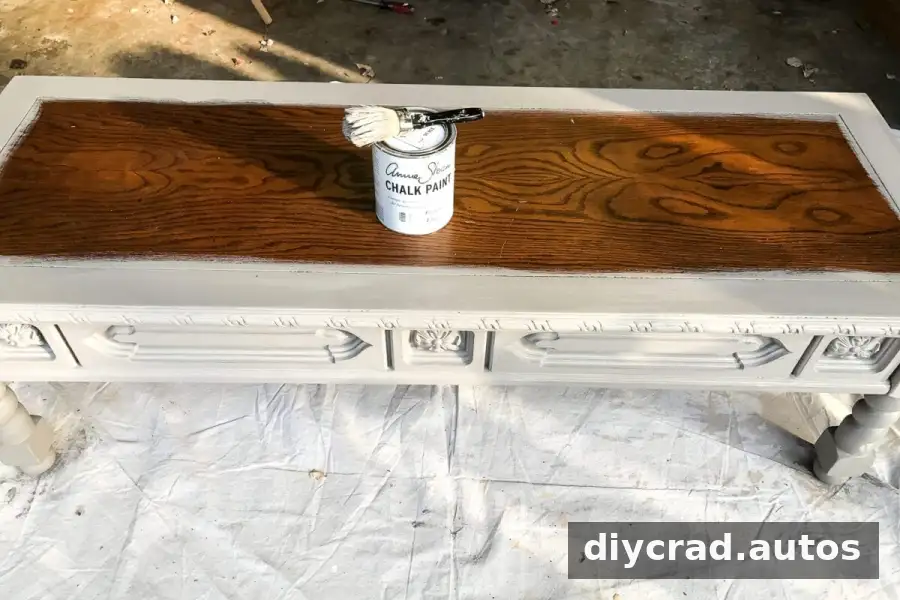
How to Make a DIY Ottoman Bench
1. Create a weathered finish on the table
Apply two coats of gray-beige paint to the table base, allowing each coat to dry according to its label. A natural-bristle brush helps work paint into carved details. Once the paint is fully dry, lightly dry-brush white paint over selected areas: dip just the tip of a small chip brush, then wipe most of the paint onto a dry paper towel before brushing the table. Use a light touch so the base color remains visible.
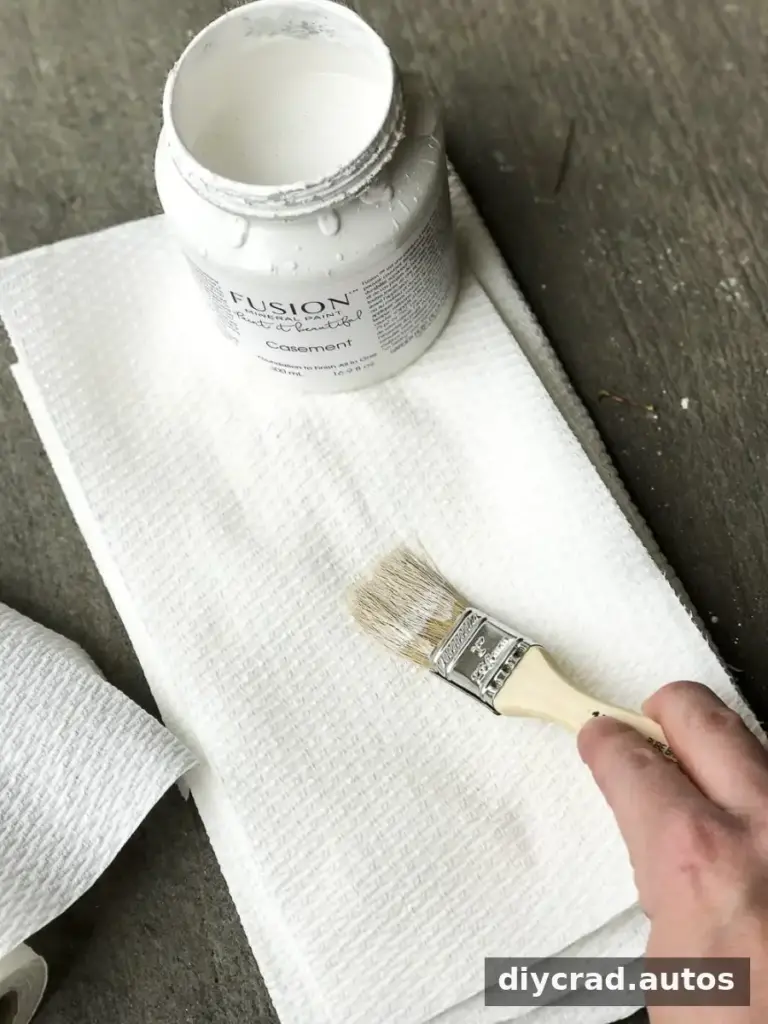
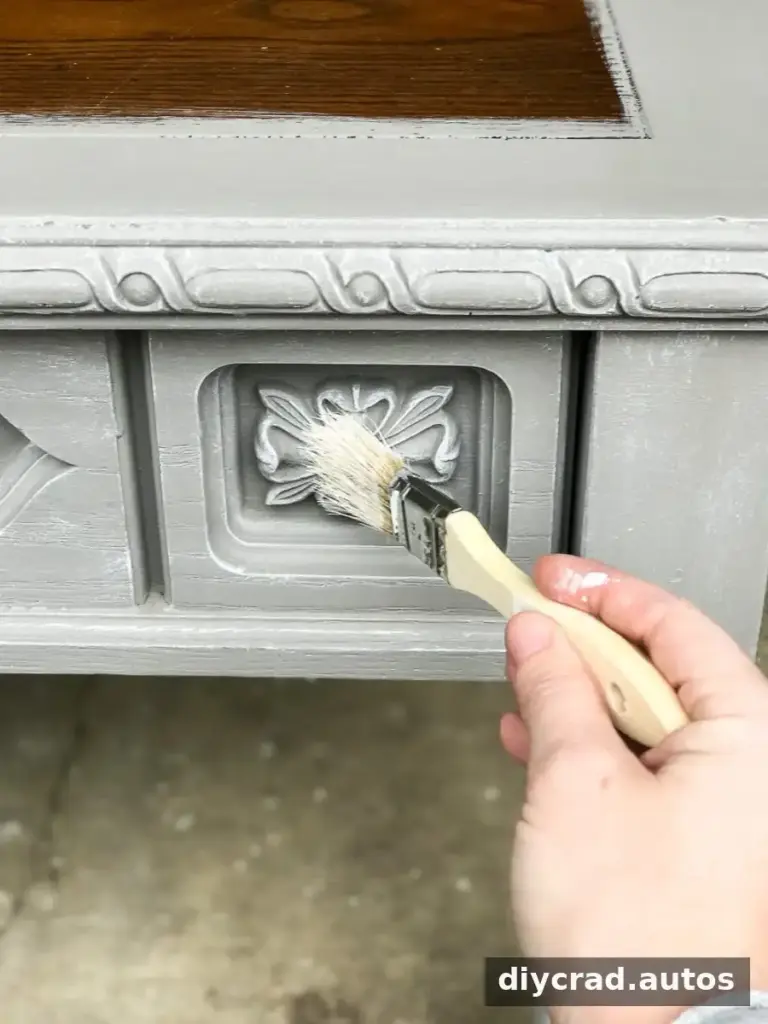
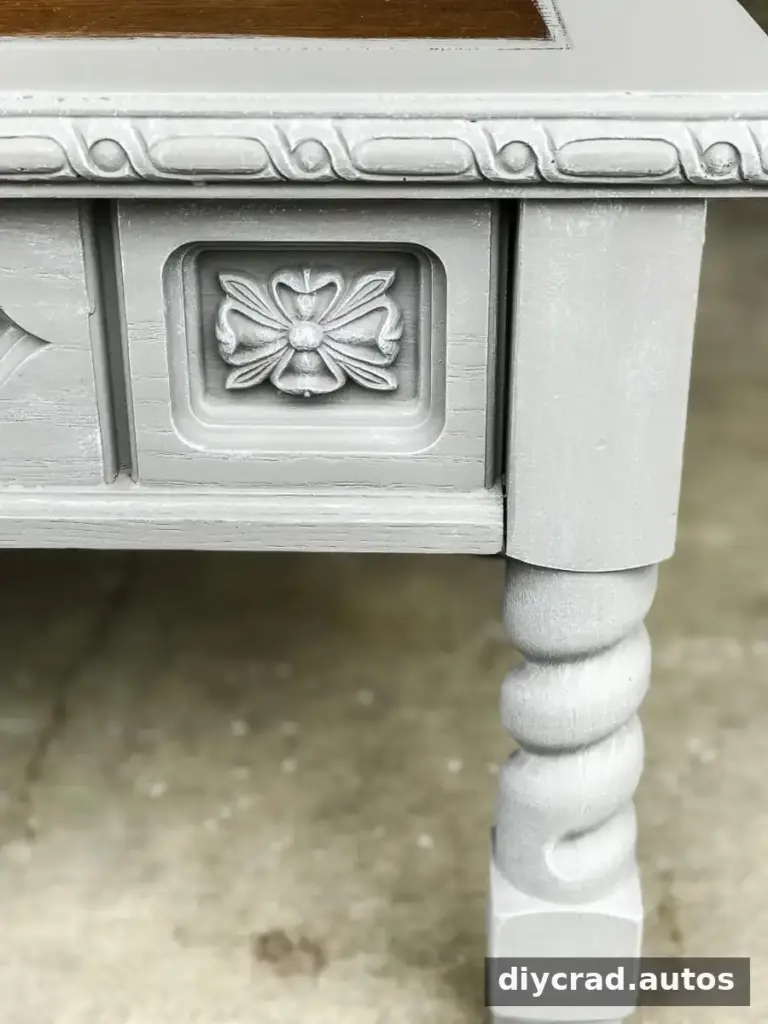
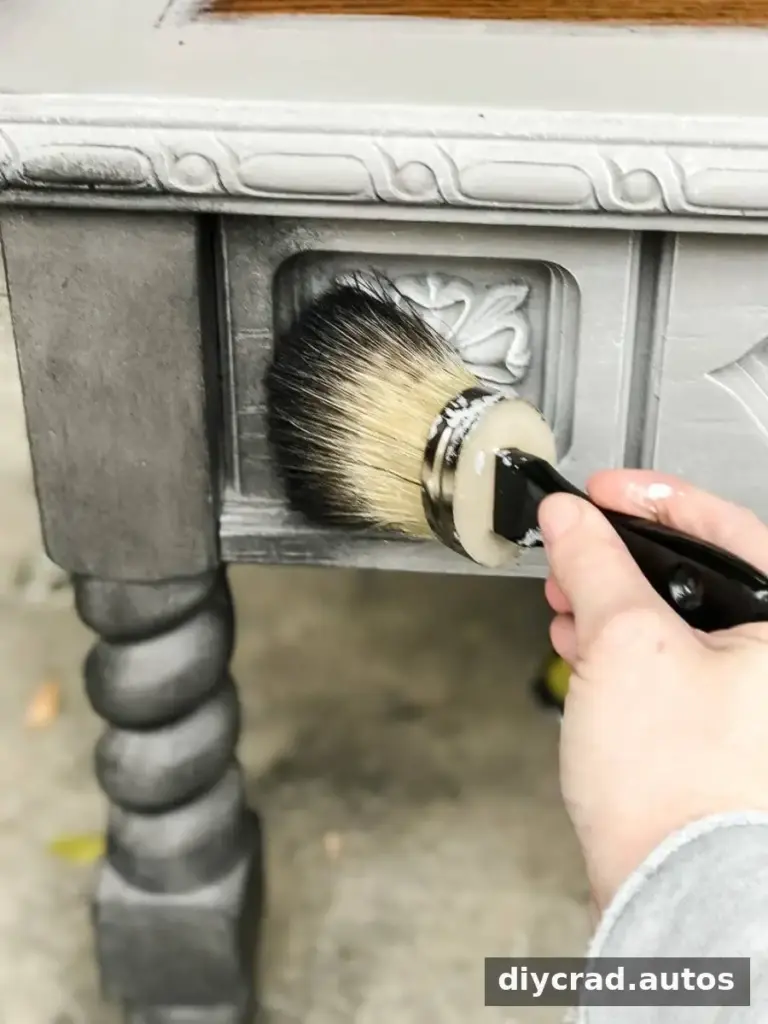
Brush black finishing wax over the painted surface in small sections, working it into grooves and details. Use only a small amount; too much wax can leave a sticky feel. After about a minute, wipe away the excess with a dry rag, taking care to leave some finish in recessed areas for contrast.
2. Cut and attach the foam
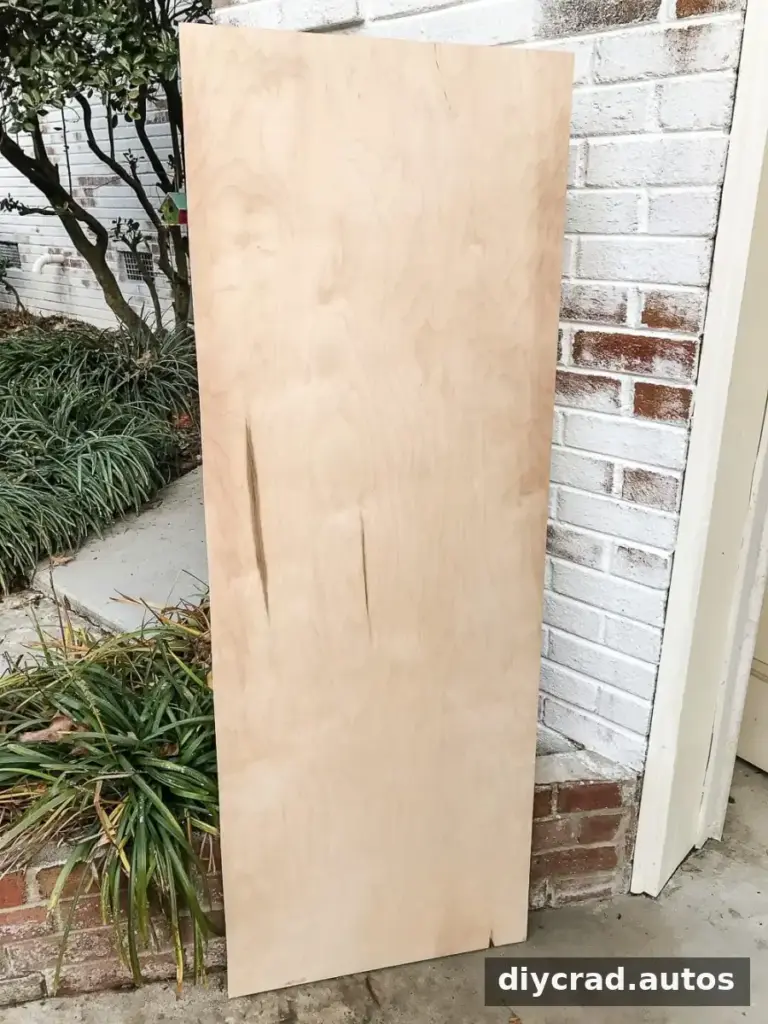
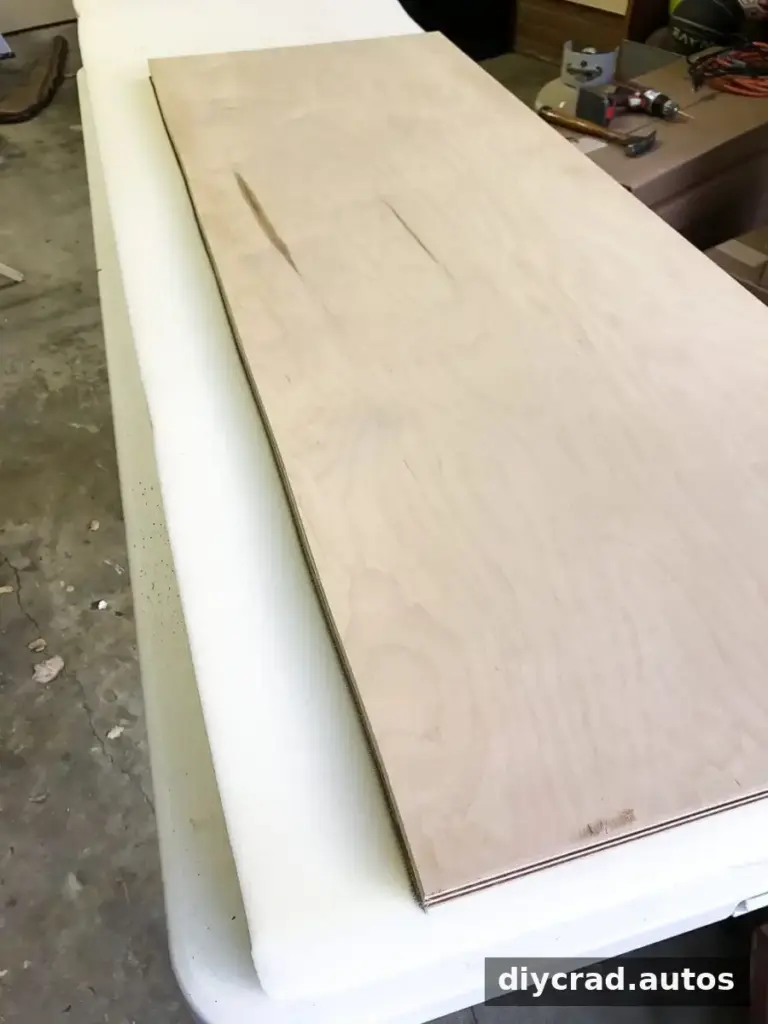
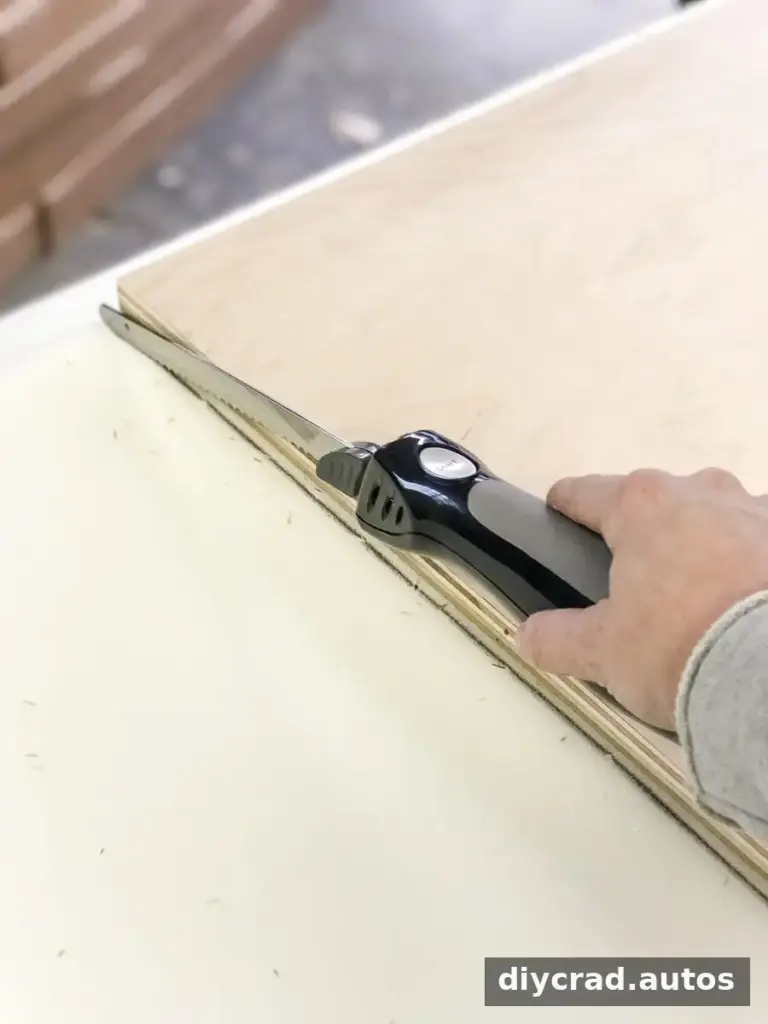
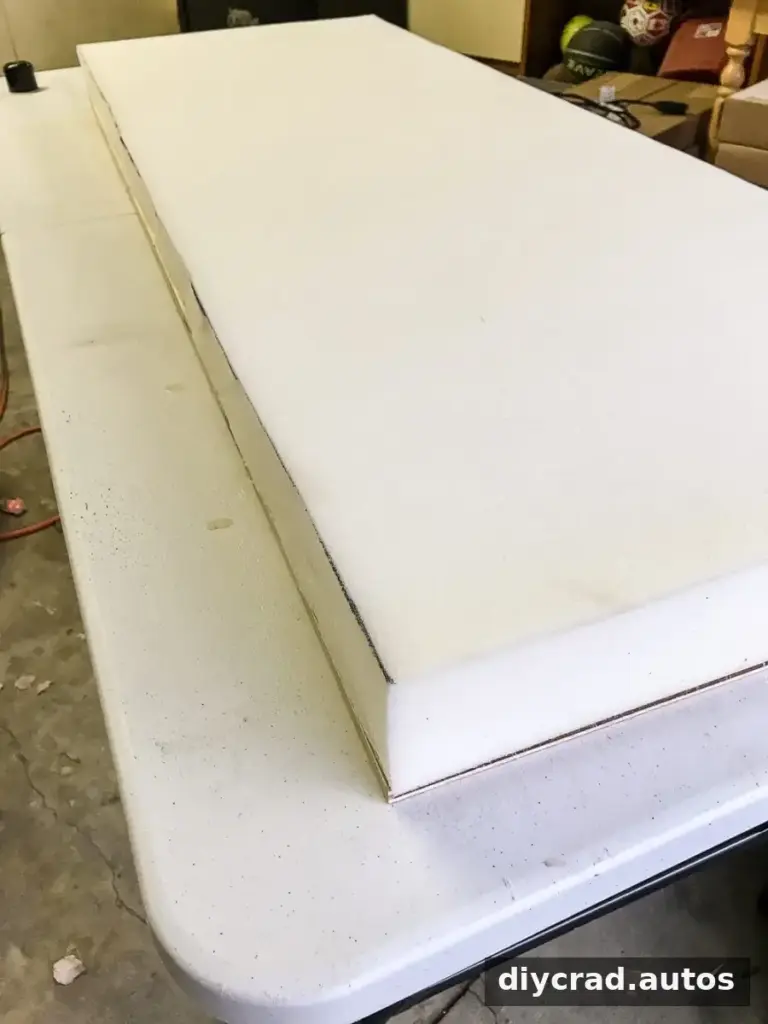
Have a 3/4-inch hardwood plywood panel cut to match the coffee table top. A stable, waist-height work surface can make the upholstery steps more comfortable. Lay the foam flat, place the plywood on top, and trace its outline with a marker. Cut the foam to size; an electric carving knife is optional. Follow the spray adhesive label, apply it to one side of the foam and one side of the plywood, then carefully align and press the two surfaces together.
3. Mark the tufting layout
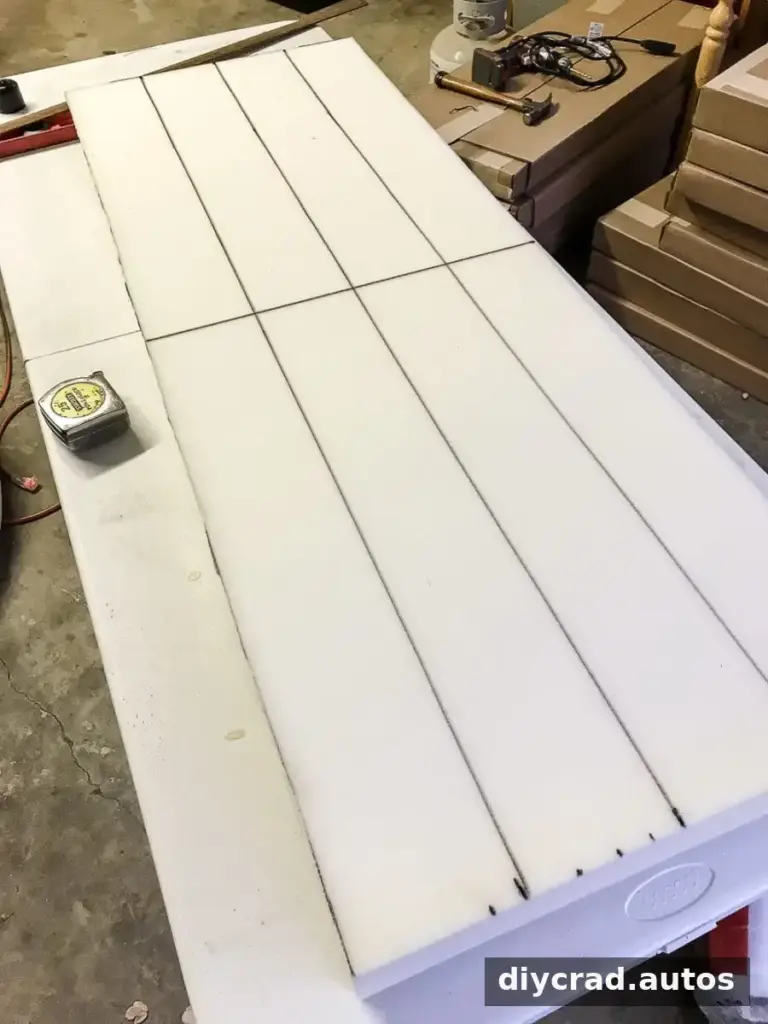
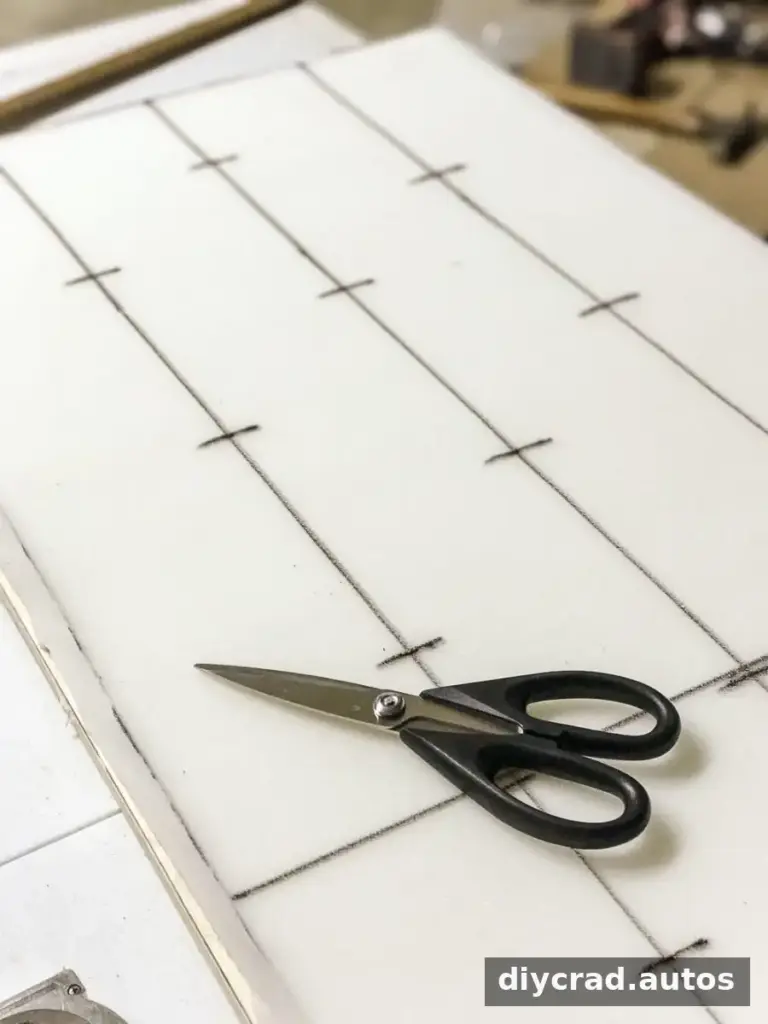
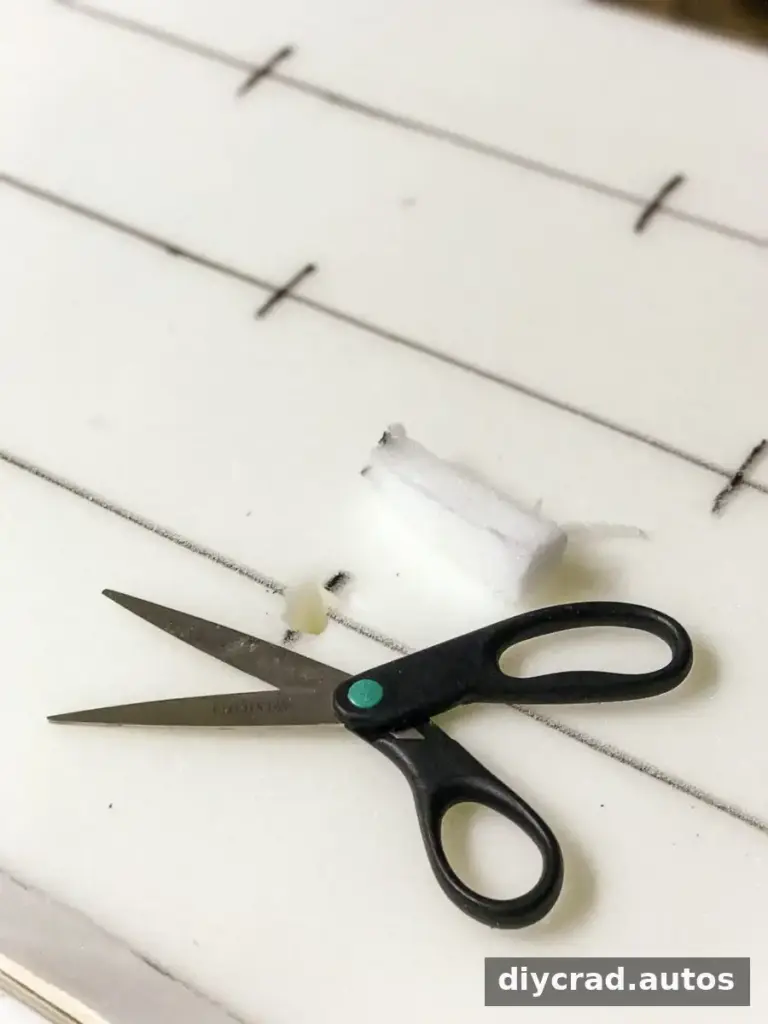
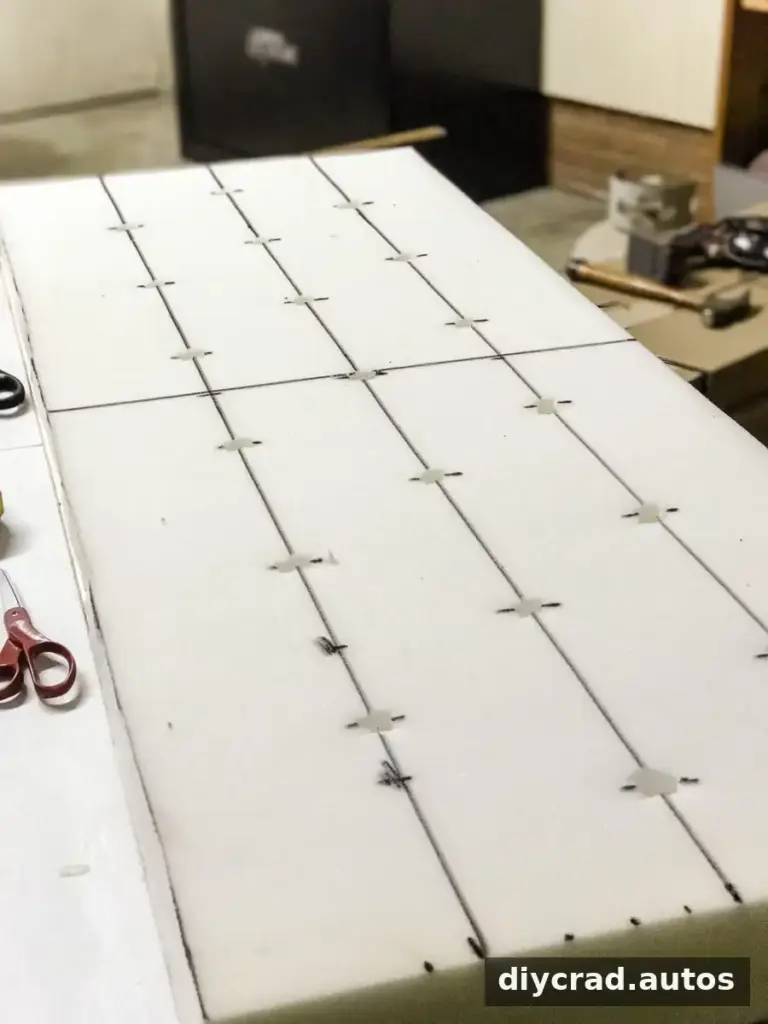
Use a tape measure and yardstick to mark the foam into horizontal sections and identify the center line. Mark the planned button positions evenly before cutting. At each mark, make four short, approximately 1-inch cuts in the foam to form an opening for the fabric and fastening screw. Check the spacing now: consistent marks help create a balanced tufted pattern.
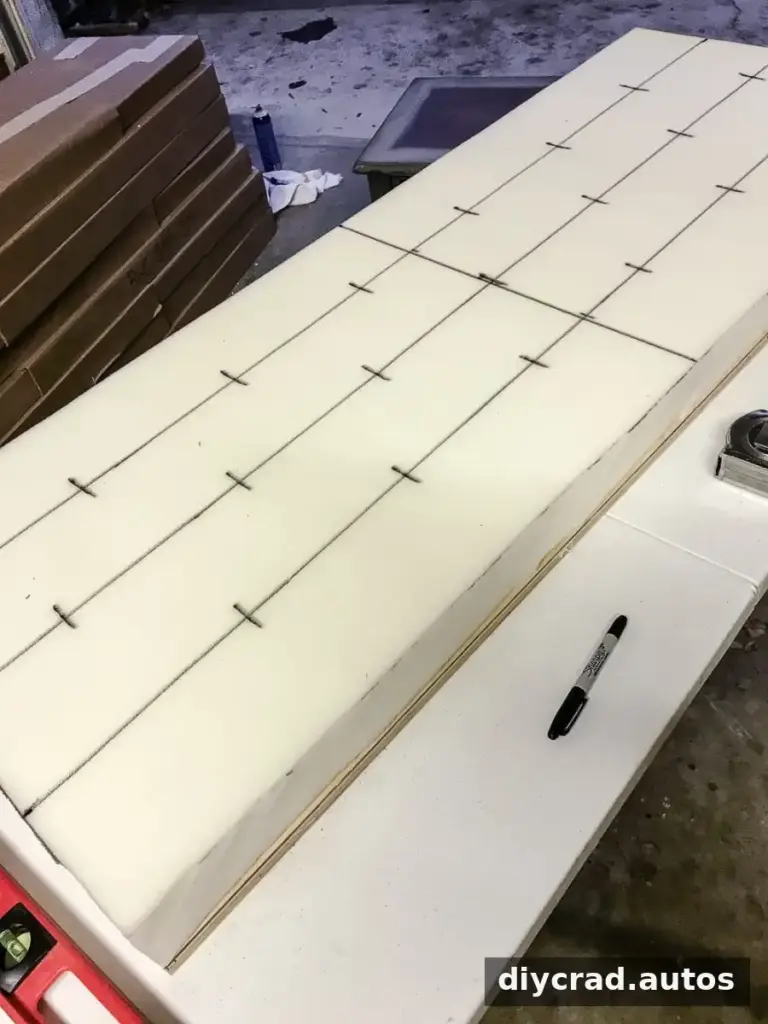
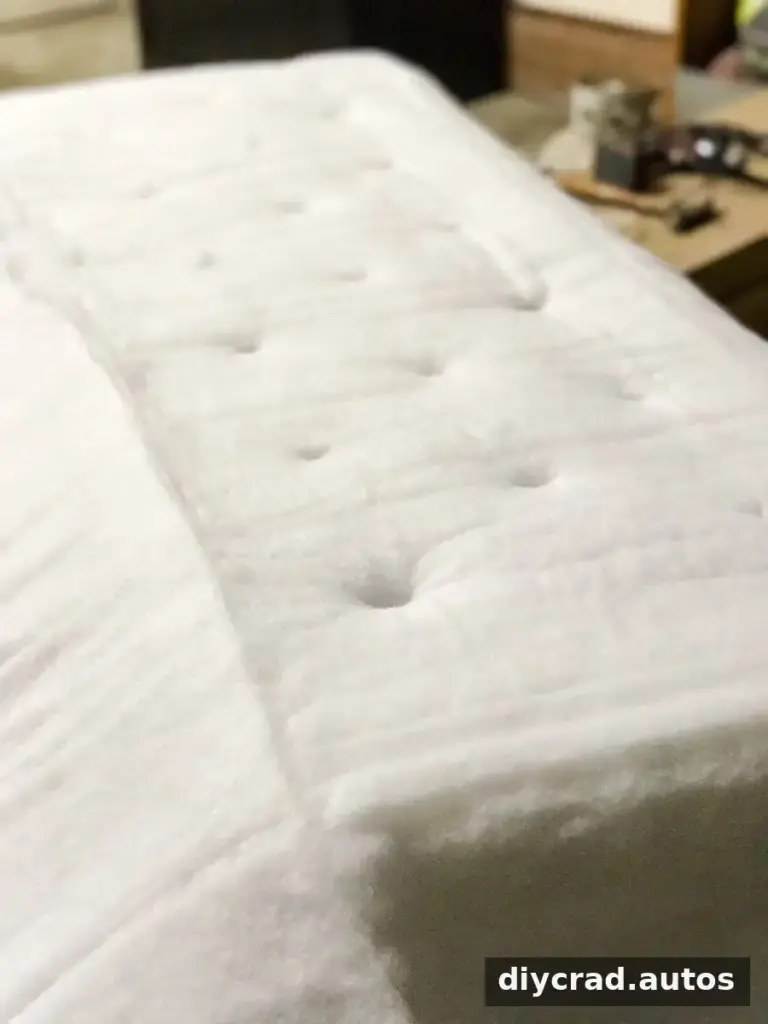
Lay two layers of hi-loft batting over the foam. Find each foam opening by touch and gently press a passage through the batting at the same point.
4. Add the fabric and form the tufts
Place the upholstery fabric over the batting, smooth it across the surface, and leave generous excess around every edge. Begin at a corner. Push the fabric into the first opening, arranging the folds as neatly as possible. The fabric may look uneven at first; adjust it gradually as you work.
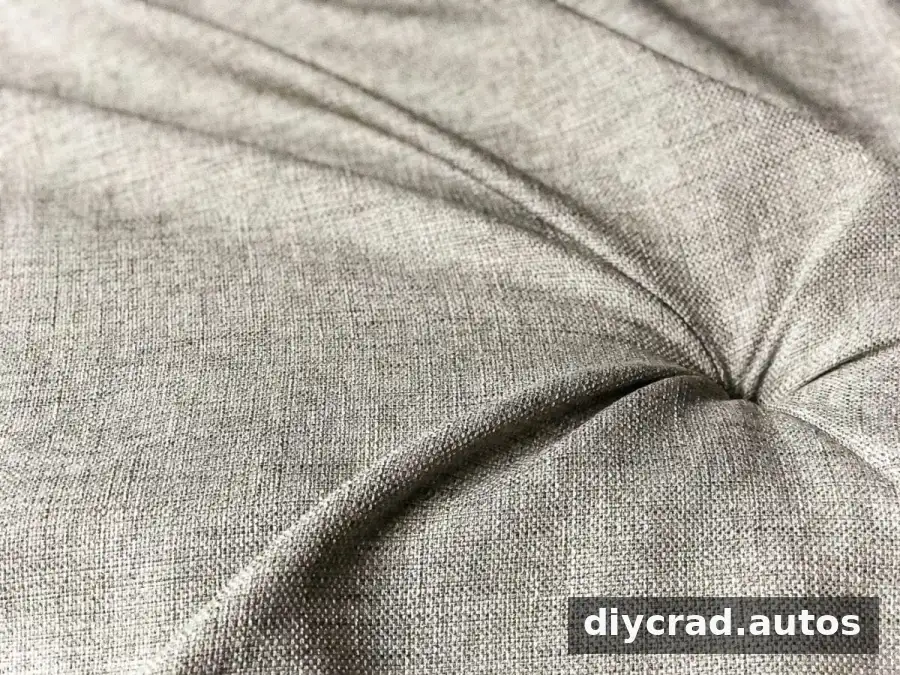
Secure the first tuft by driving a #8 screw with a #10 washer into the opening. For the next tuft, draw slack from the area opposite the one you are fastening. Avoid pulling fabric out of a tuft that is already secured, as that can create puckers. Keep the material between tufts smooth without stretching it so tightly that unwanted creases form.
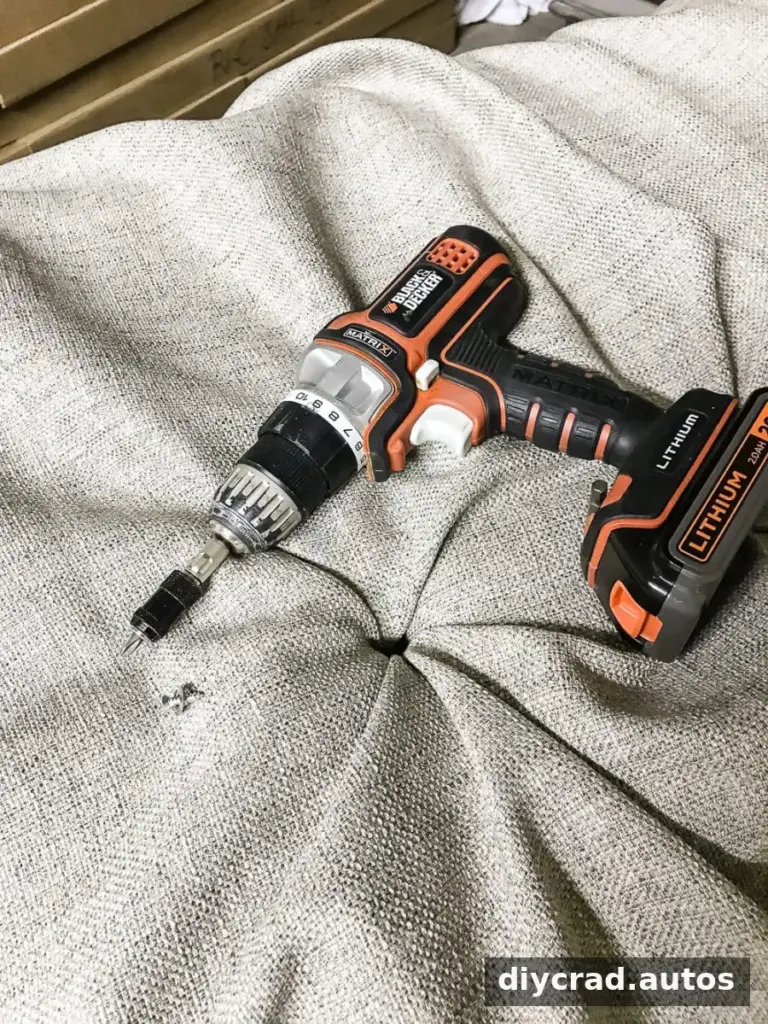
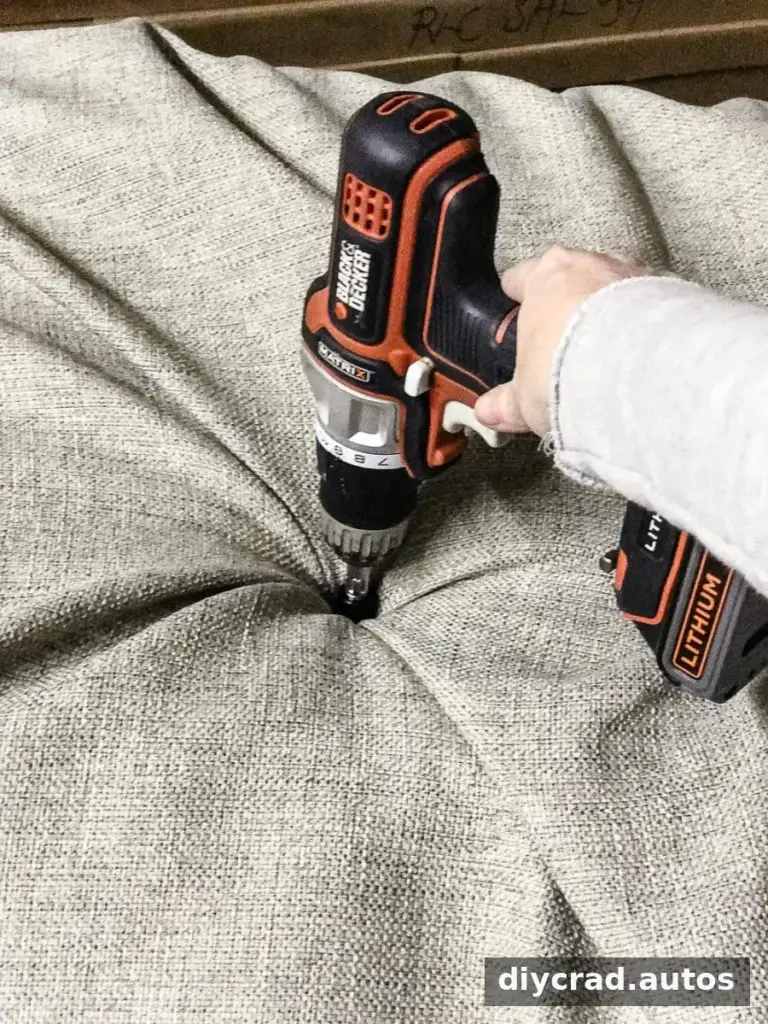
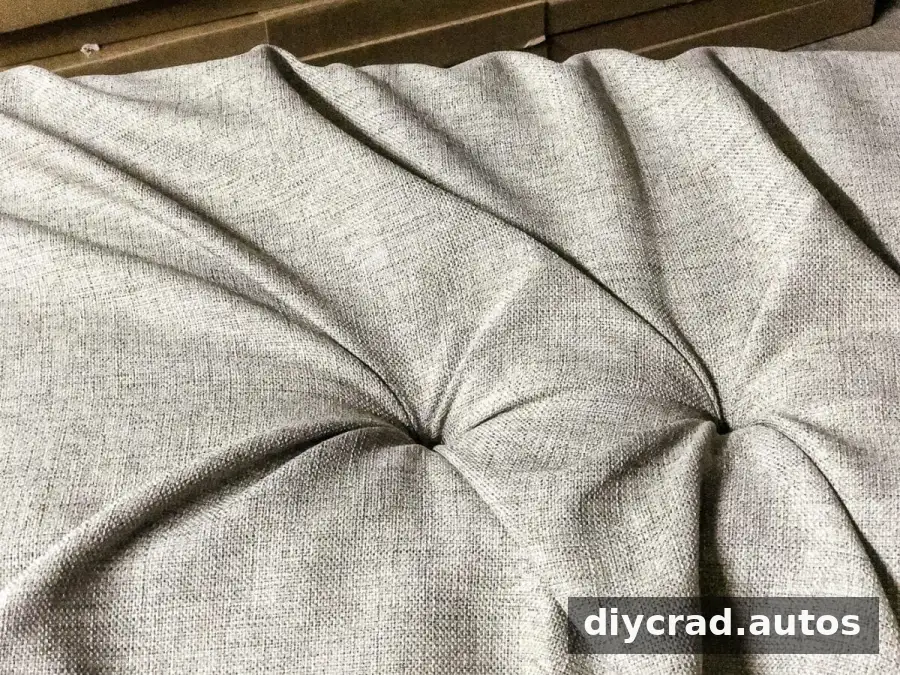
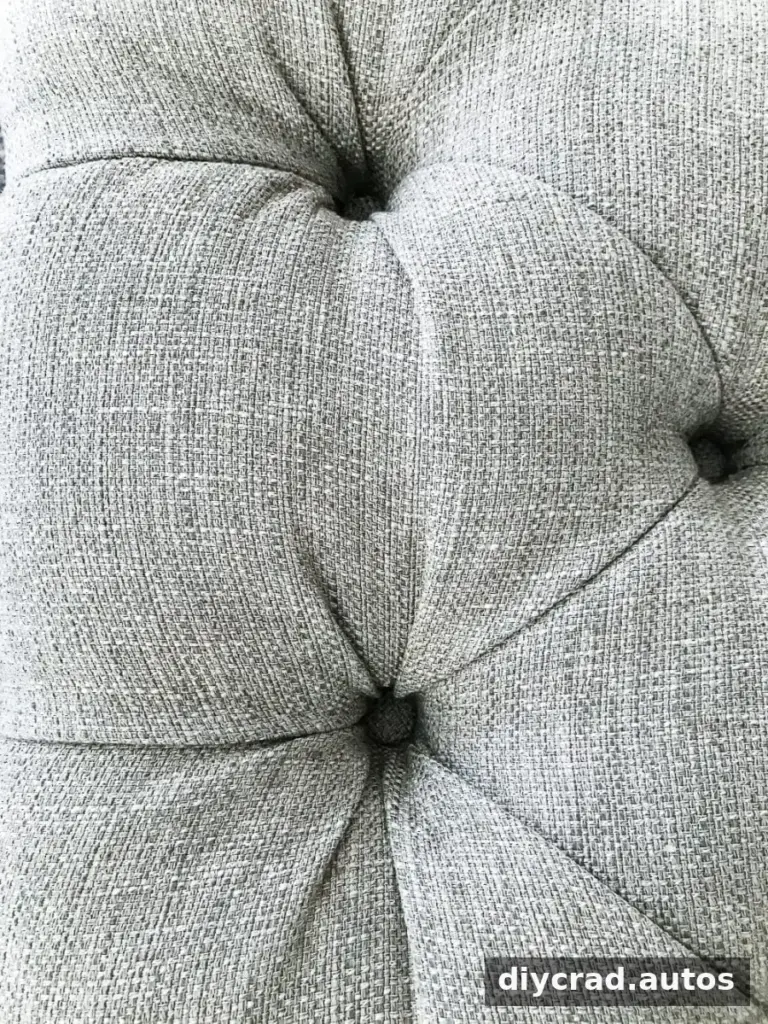
Work along the row, fastening each tuft with a screw and washer, but leave the middle row until last. The center row needs more careful folding to create the diamond pattern. Pinch and tuck the fabric at the corners of each tuft, forming clean lines like the folds used to wrap a present, then secure the fabric in place.
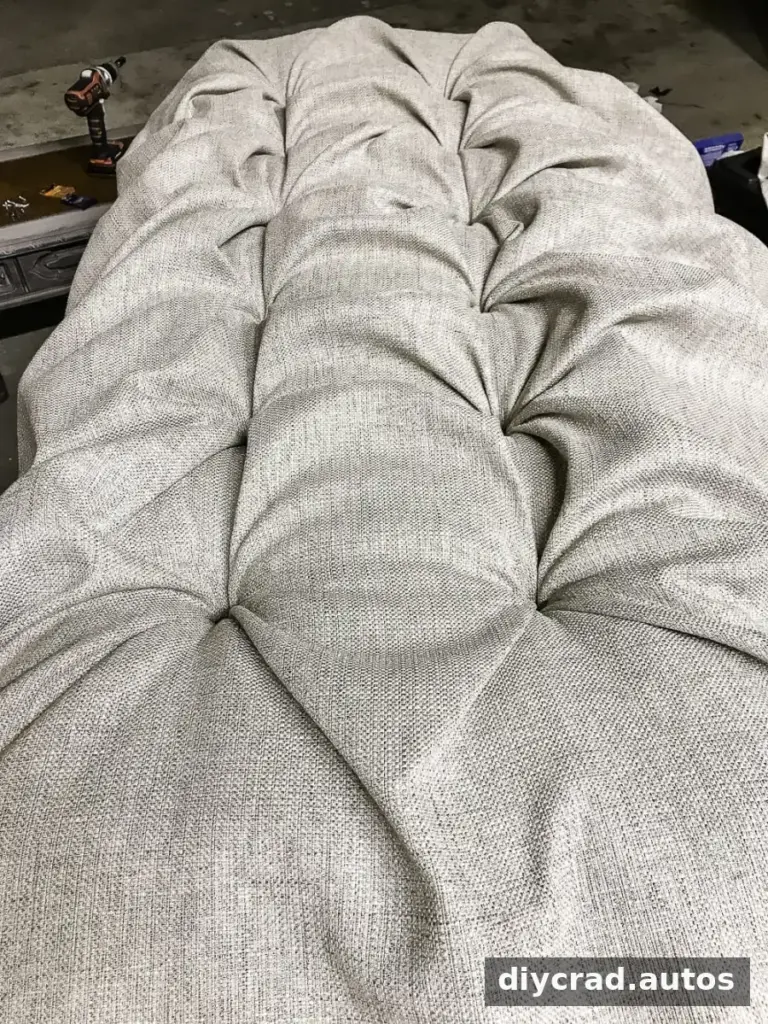
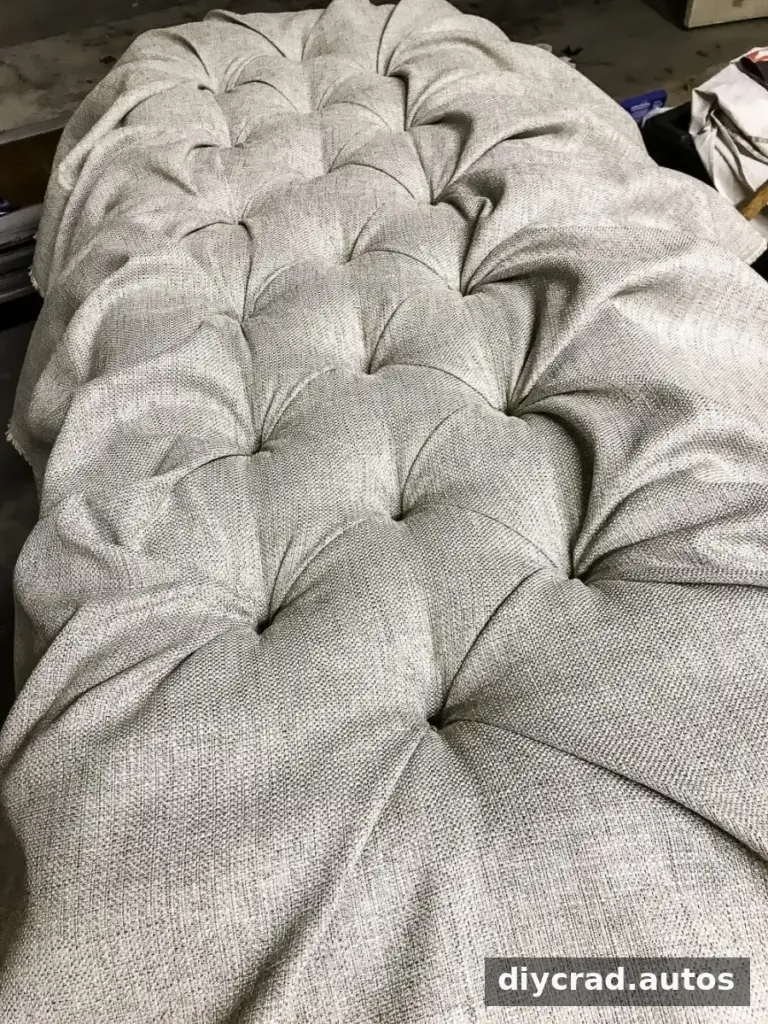
Continue shaping the folds around the edges and corners. As you go, pull the fabric over the underside of the plywood and staple it in sections. Keep checking the top surface so the folds remain orderly and the fabric is not pulled unevenly. Trim excess batting and fabric from the underside when the upholstery is secure.
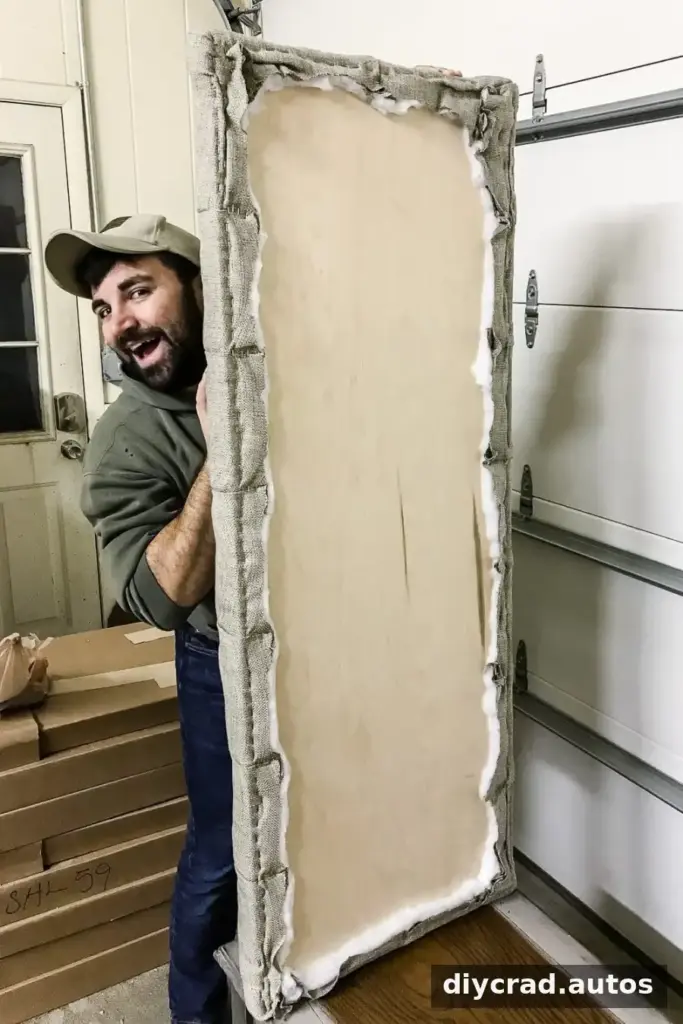
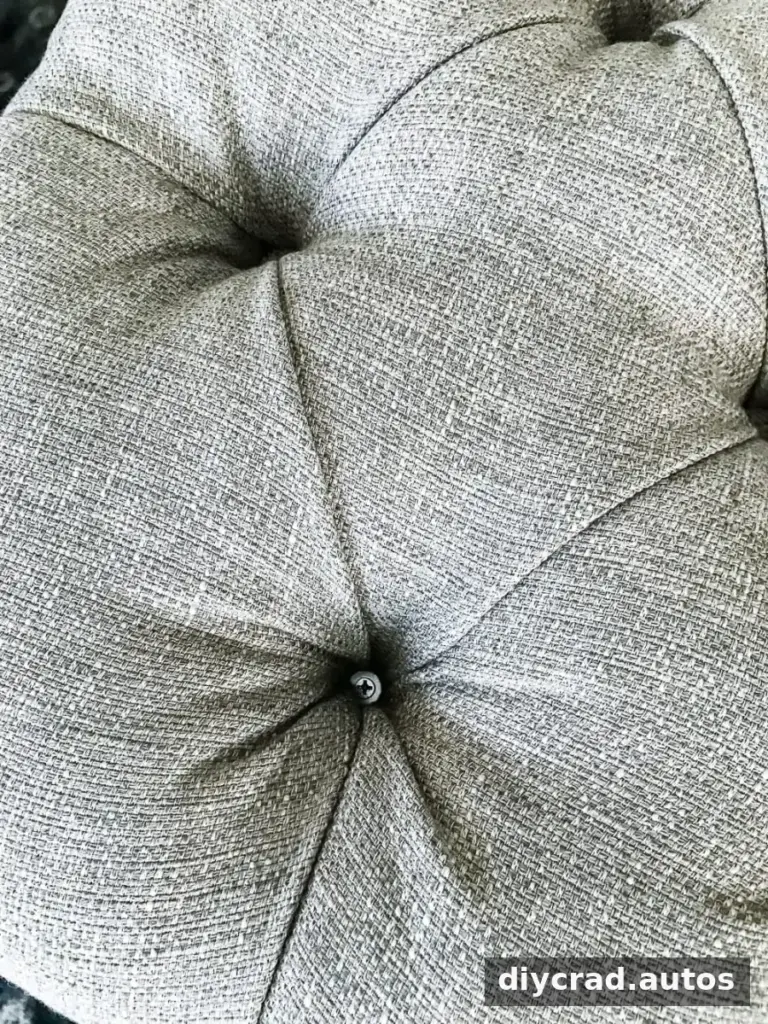
5. Cover the screws and attach the top
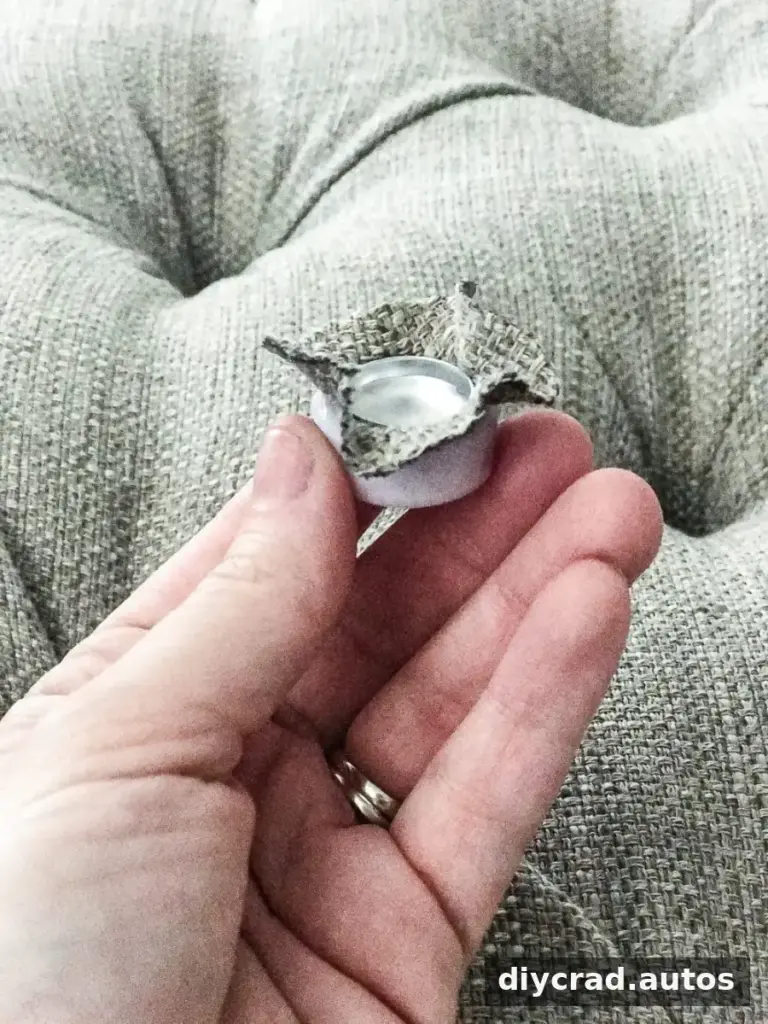
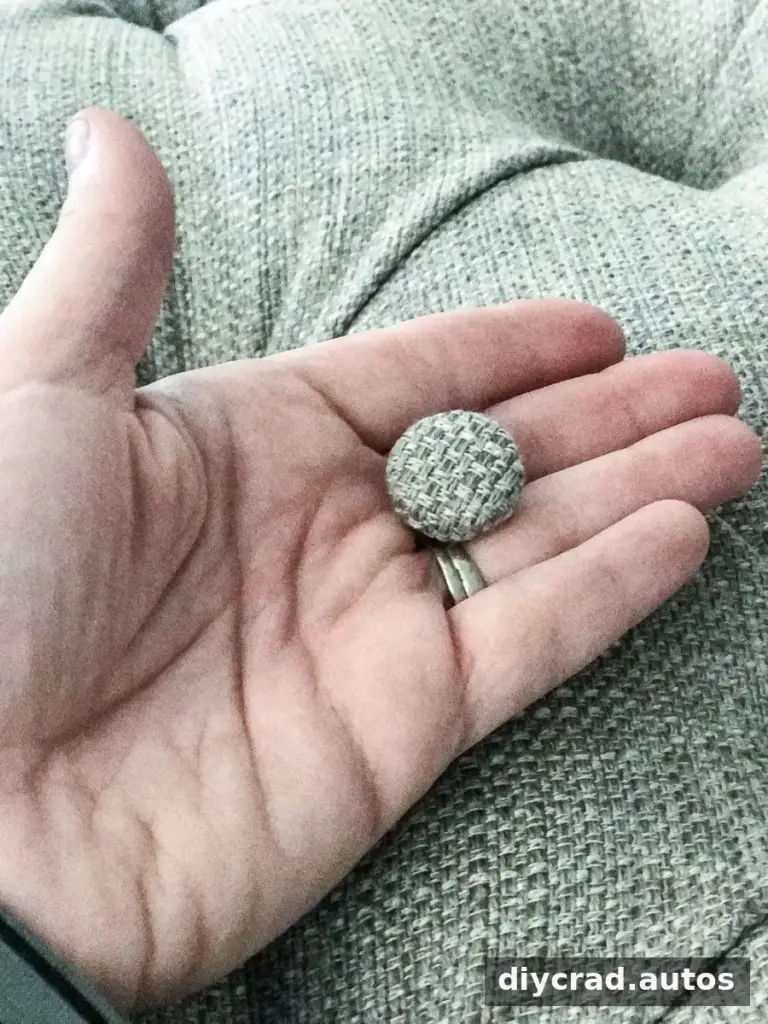
Make fabric-covered buttons with an upholstery button kit to conceal the screw heads. Thick fabric may not snap easily into the button backing. If that happens, press the button into its cup and use hot glue to secure the fabric at the back. Add a small amount of hot glue to each finished button and press it over a screw.
Apply construction adhesive to the coffee table top and position the upholstered panel on it. Follow the adhesive manufacturer’s instructions for application and drying time, and avoid using the bench until the bond has cured as directed.

Finishing and Using Your Ottoman Bench
A narrow gap between the upholstered top and the table base can be finished with piping or trim if desired. The bench can work as a footrest, a dressing bench at the foot of a bed, or additional living-room seating. Before anyone sits on it, confirm that the original table frame and legs are sturdy enough for that use; an upholstered top does not increase the table’s weight capacity.

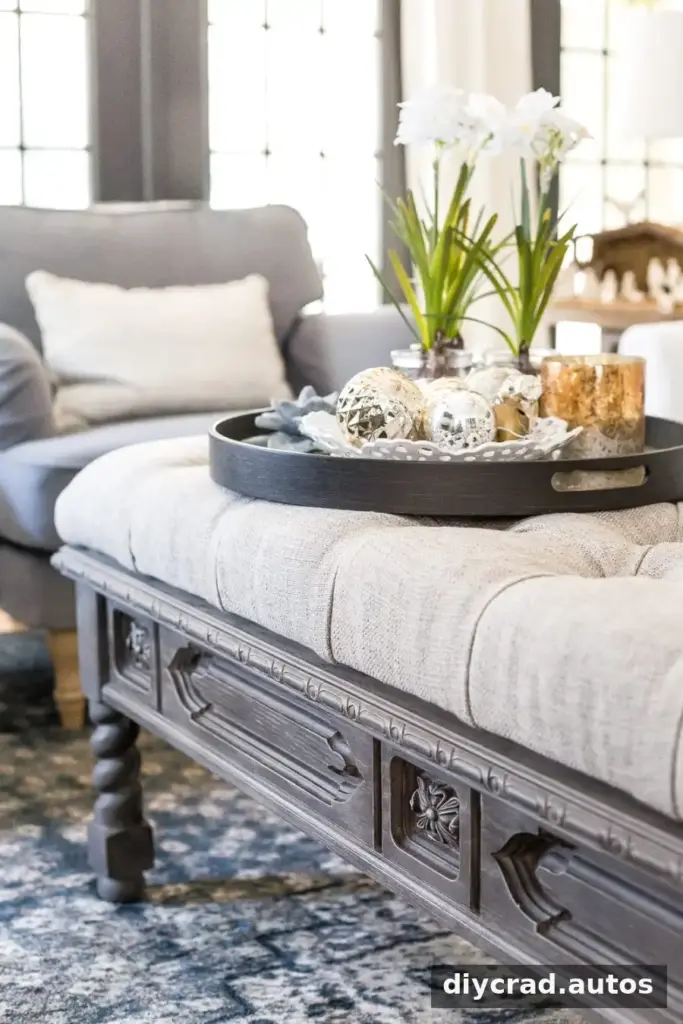
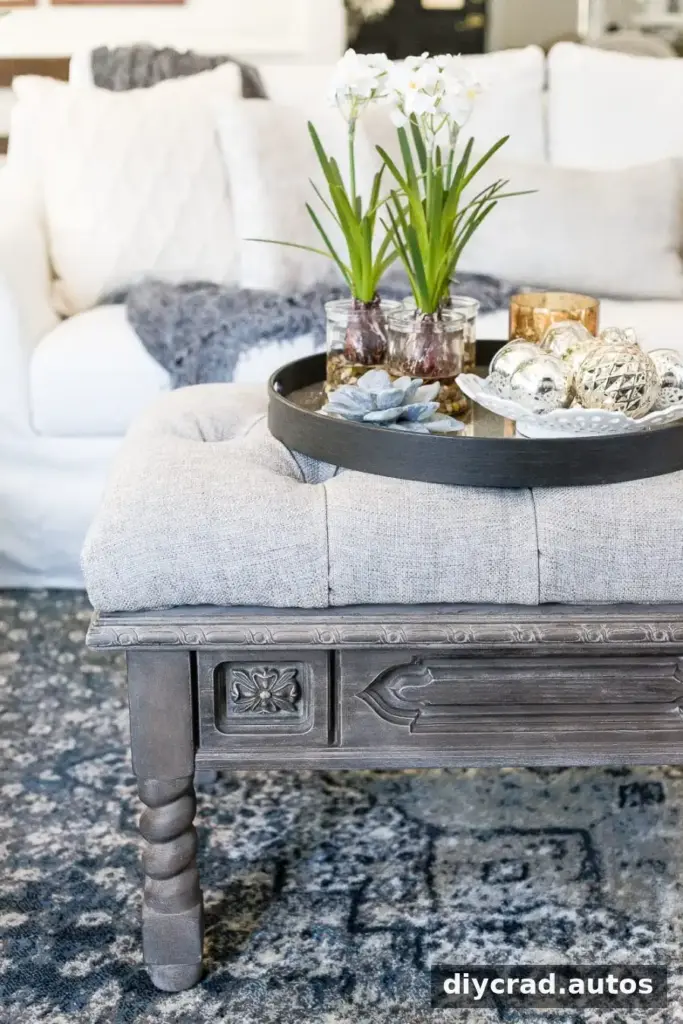
This coffee-table makeover shows how paint, foam, batting, and carefully arranged fabric can transform a piece that might otherwise go unused. For a successful DIY ottoman bench, measure and mark the tufting before cutting, use small amounts of wax, and take time to shape each fold before fastening it.