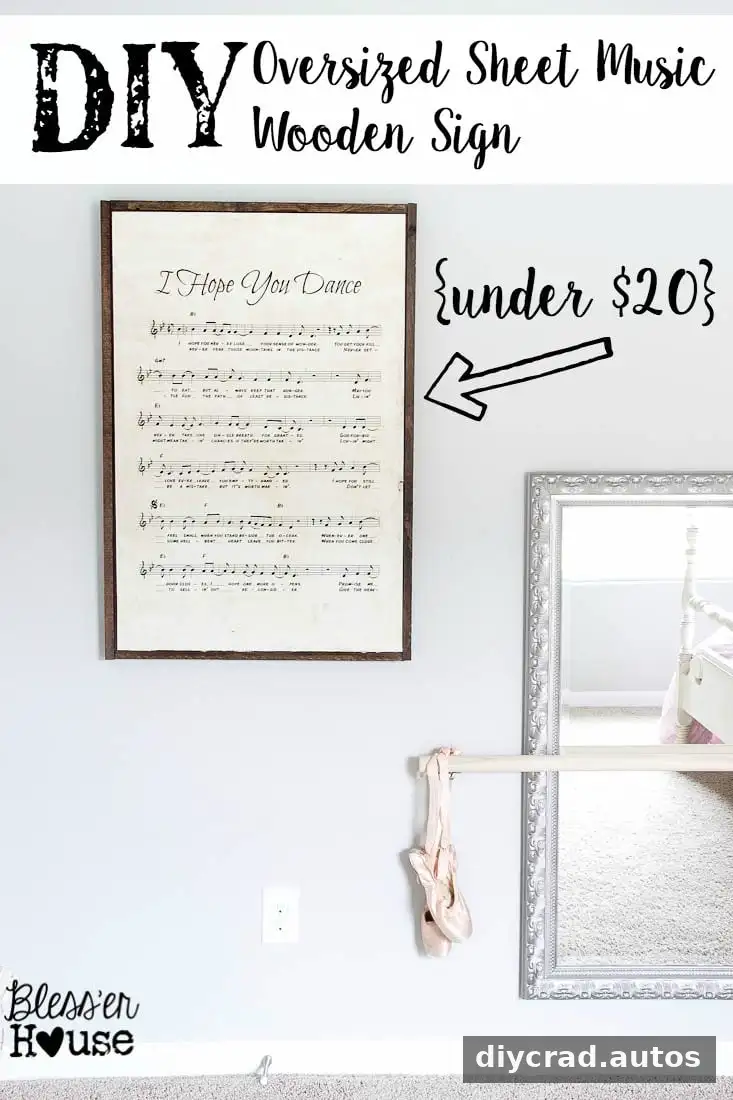
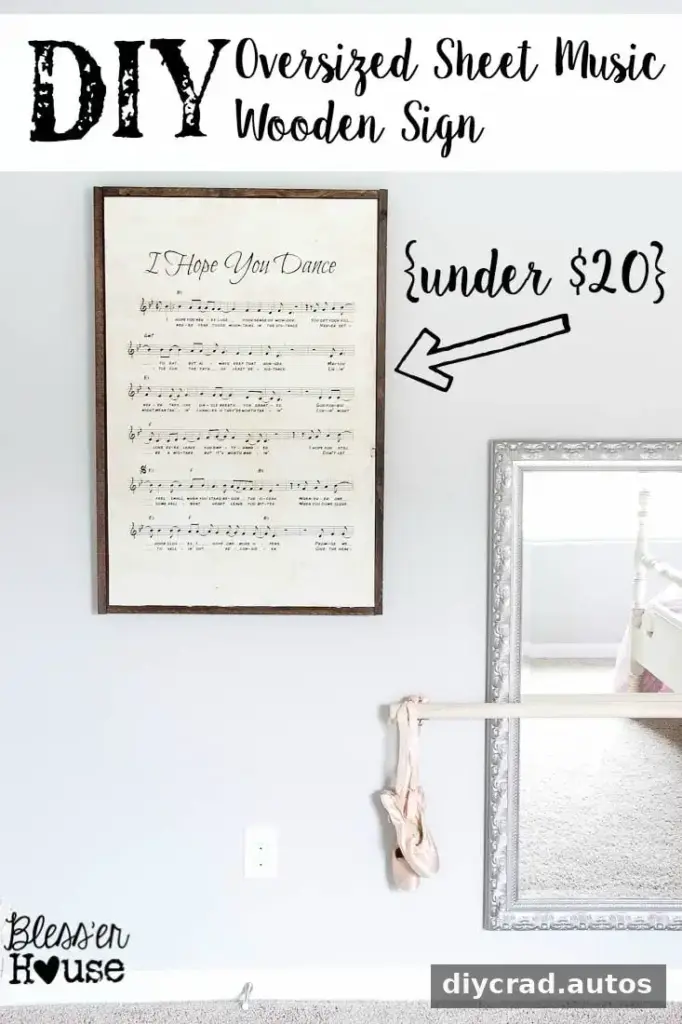
A DIY oversized sheet music sign can turn a favorite song into distinctive wall decor without the expense of buying a large framed print. This project combines a large paper print, a simple particle-board backing, and a frame made from pine strips. You can choose the song, print size, and finish to suit your room.
Plan your DIY oversized sheet music sign
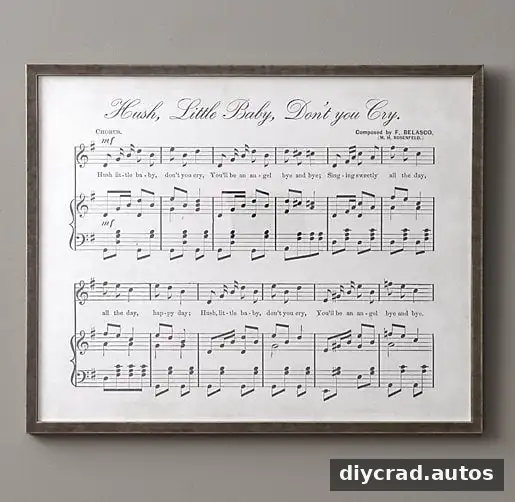
Choose a song and decide where the finished sign will hang before preparing the materials. Measure the wall space and select a print size that fits. The example used a 24×36-inch engineer print and a matching piece of 3/4-inch-thick particle board. If you prefer a smoother finish, plywood is an alternative to particle board.
For this project, the song was meaningful to the family and its lyrics were intended as a personal keepsake. A music page can also make a thoughtful accent in a bedroom, music room, or creative workspace.
Materials and tools
- 24×36-inch piece of 3/4-inch-thick particle board, cut to match the print
- 1×2×8-inch pine furring strips for the support and frame
- Brad nails and wood nails
- Nail gun or hammer
- Circular saw or jigsaw for straight cuts
- Black tea for aging the paper
- DIY wood stain made with tea, apple cider vinegar, and steel wool, or a ready-made stain
- 24×36-inch engineer print, or another size that suits your space
- A legally obtained sheet music file
- Matte decoupage medium
- Large craft brush or paintbrush
- Paper towels
Check that the print and backing are the same size before assembly. If you are cutting the board or pine strips yourself, work on a stable surface and follow the tool manufacturer’s safety instructions.
Build the backing and frame
Cut the particle board to the dimensions of the large-format print. Measure and cut 1×2 strips to fit along the back edges. These strips support the board and help reduce bowing. Attach them with brad nails, using a nail gun or hammer.
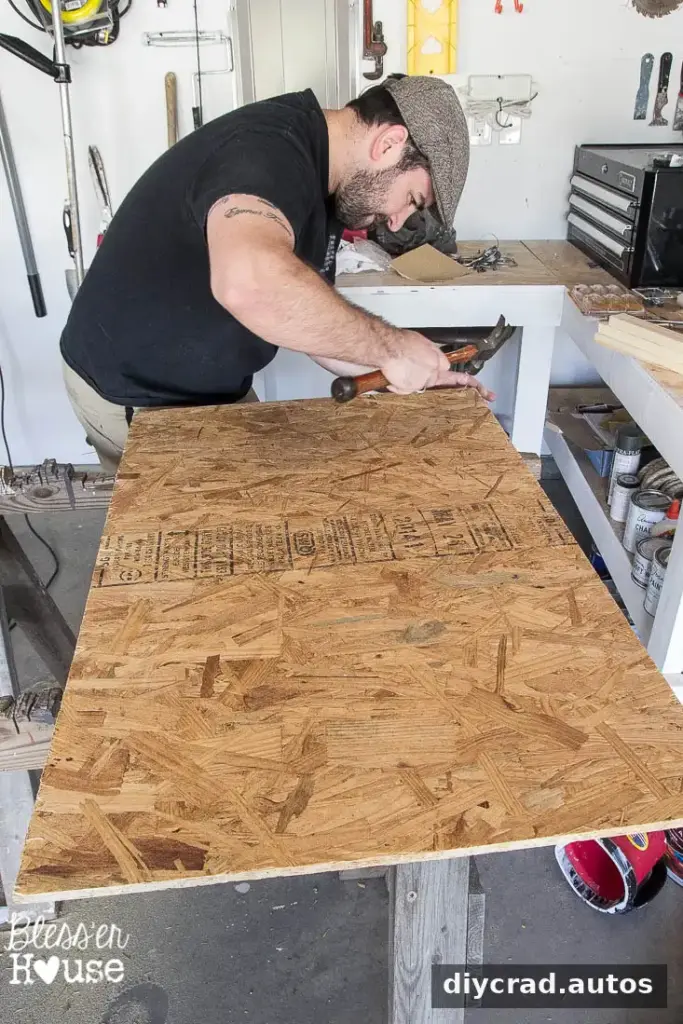
Measure each strip carefully before cutting so the supports sit neatly around the perimeter. The original build used strips on the back as reinforcement.
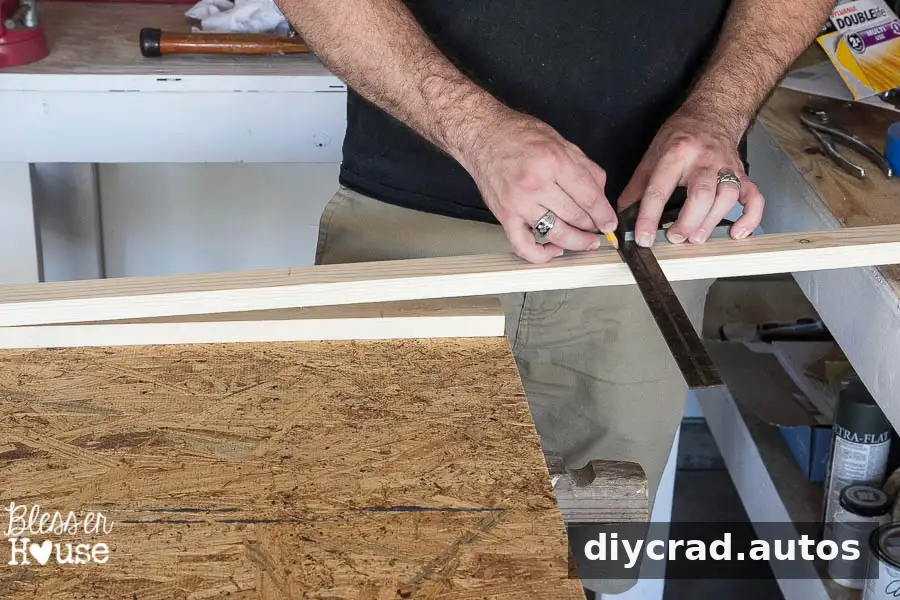
Cut additional 1×2 pieces for the sides of the sign. Dry-fit the pieces first to check that their lengths line up with the board.
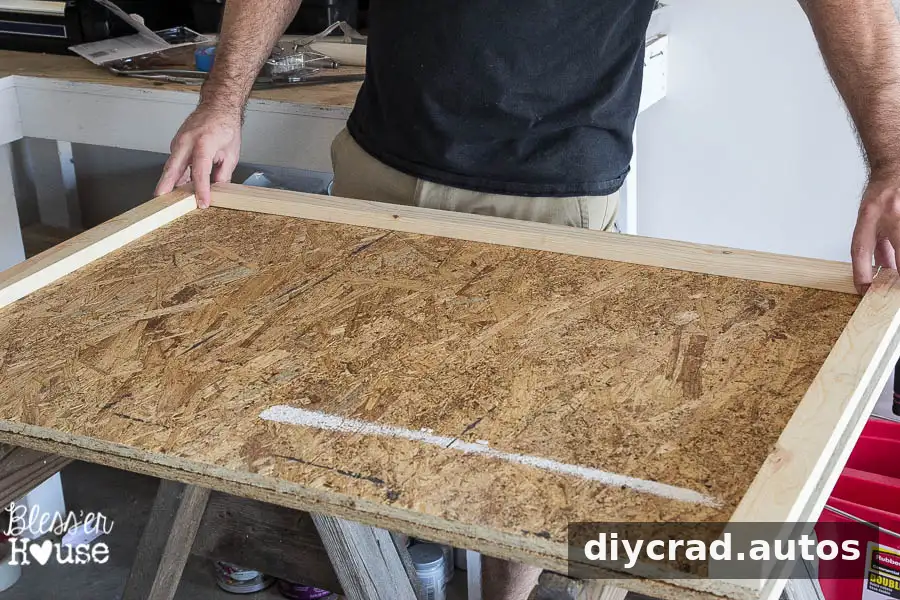
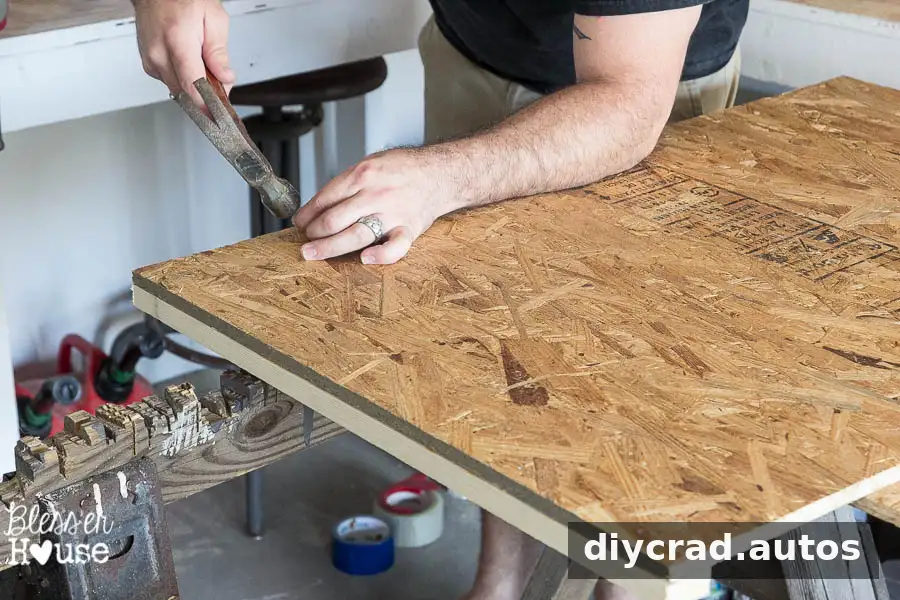
A nail gun can make assembly faster, but a hammer can also be used. Attach the back supports by driving brad nails through the front of the particle board and into the strips. Take care to keep the pieces aligned as you work.
The support strips form a simple frame on the back of the sign.
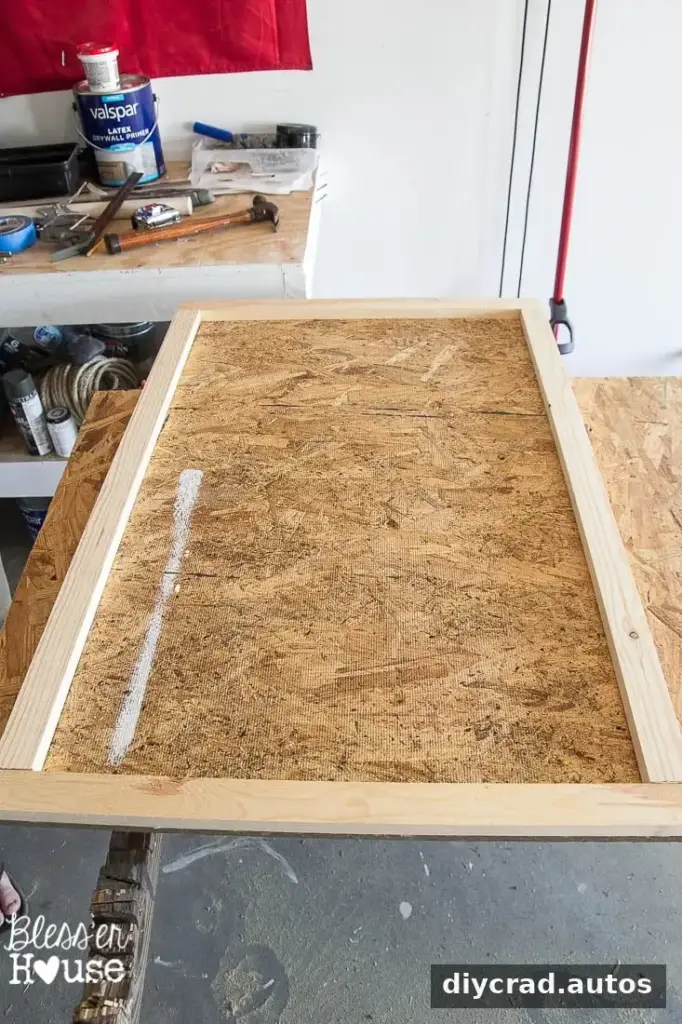
For the visible frame, measure and cut 1×2 strips for the top and bottom. Nail these to the side pieces attached at the back.
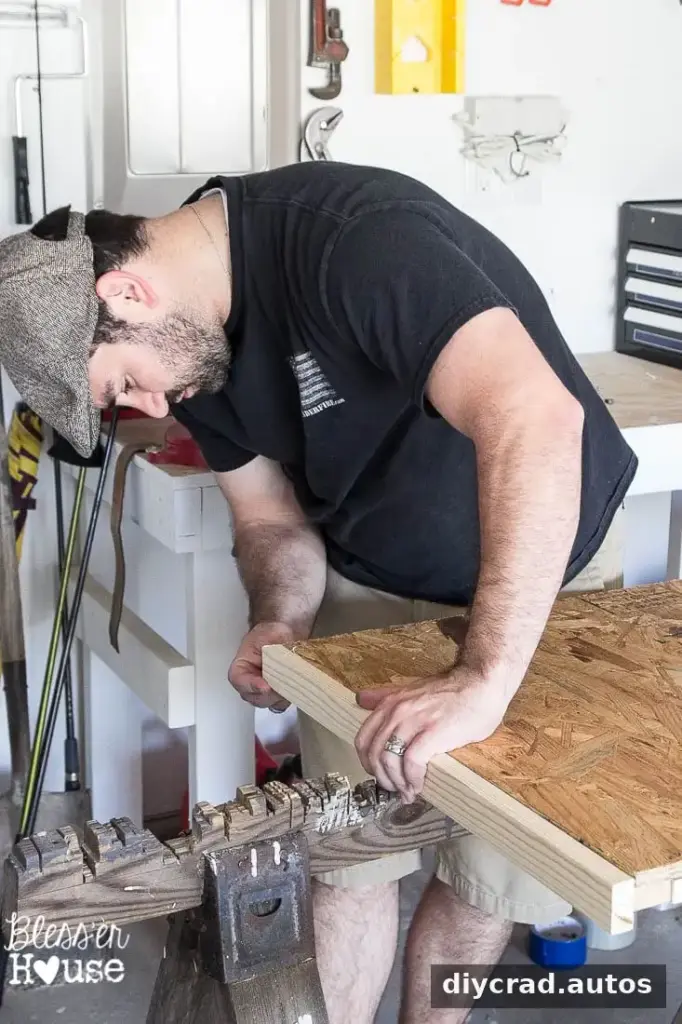
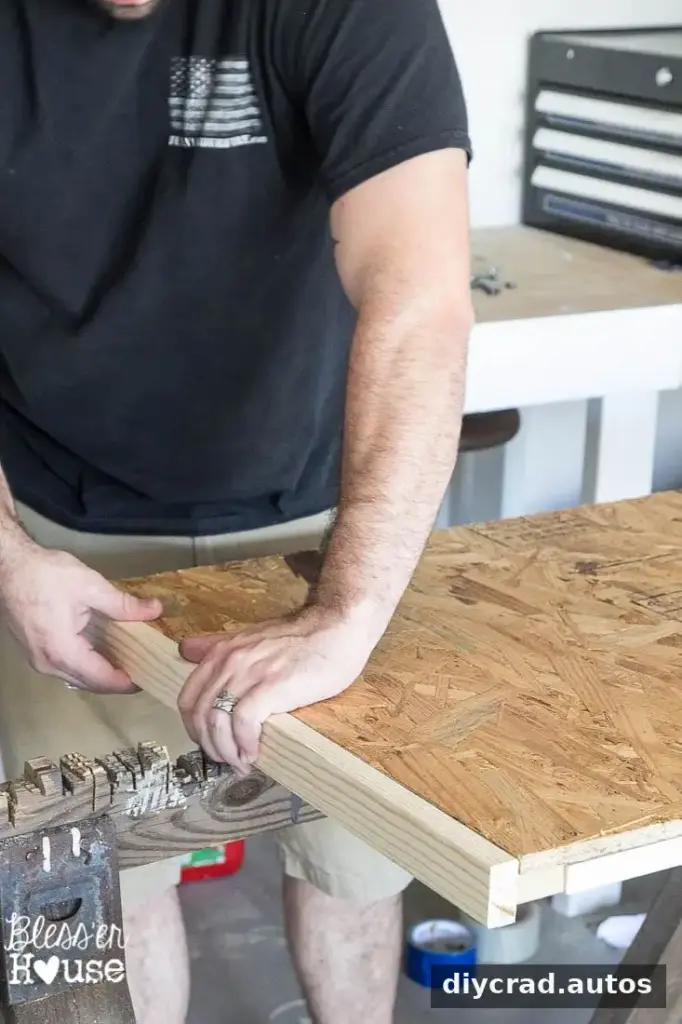
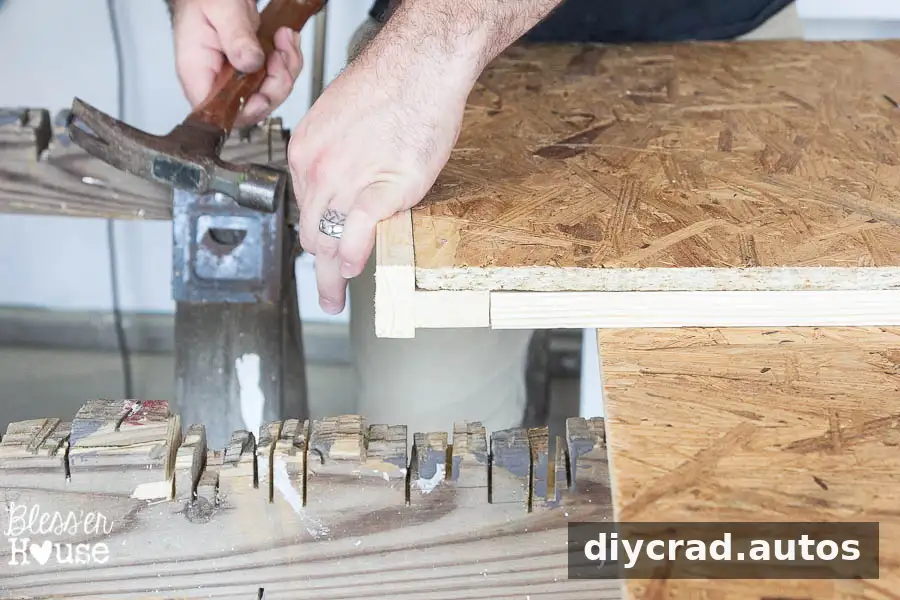
Add any remaining 1×2 strips needed to complete the sides. Before moving on, check the frame and backing for loose pieces.
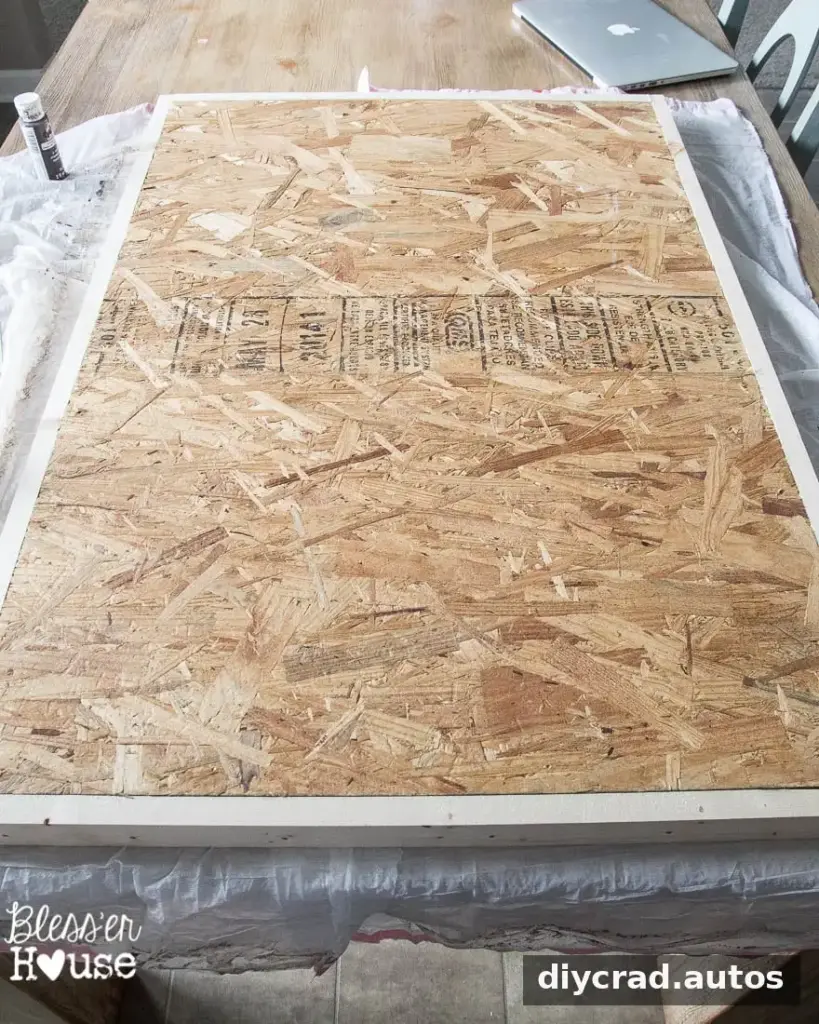
Weather the wood and prepare the print
Untreated pine can look bright and new beside aged sheet music. To give the frame a more weathered appearance, apply a DIY stain made with tea, apple cider vinegar, and steel wool, or use a store-bought wood stain. Follow the product directions if using a commercial stain, and allow the wood to dry as needed.
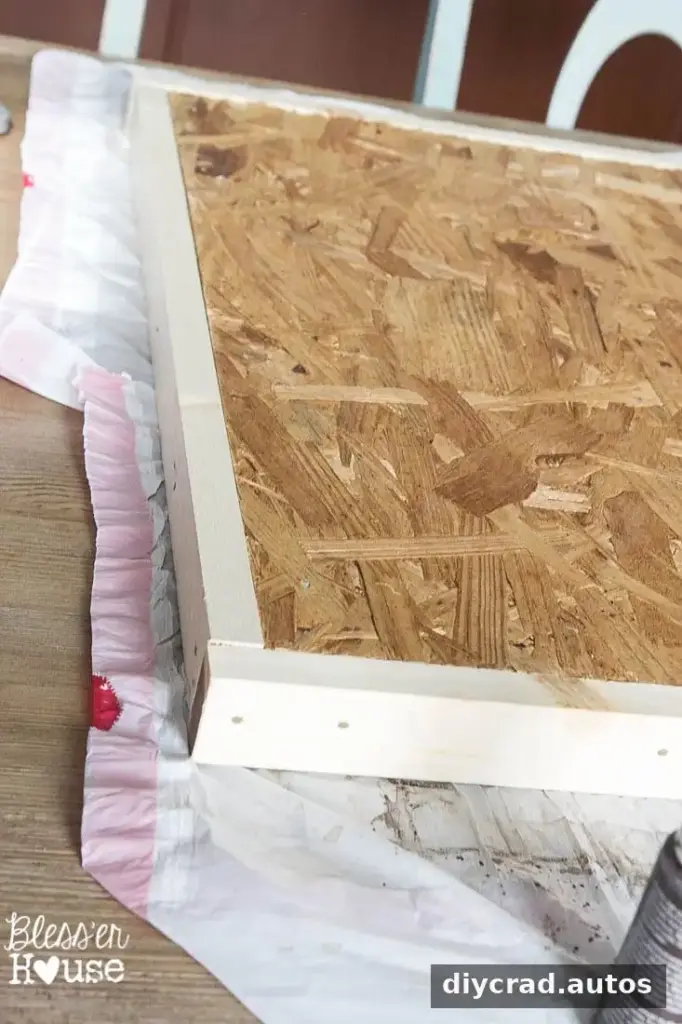
Apply a little stain to the exposed edges of the particle board as well. This helps the edges blend in if any of the backing remains visible around the paper.
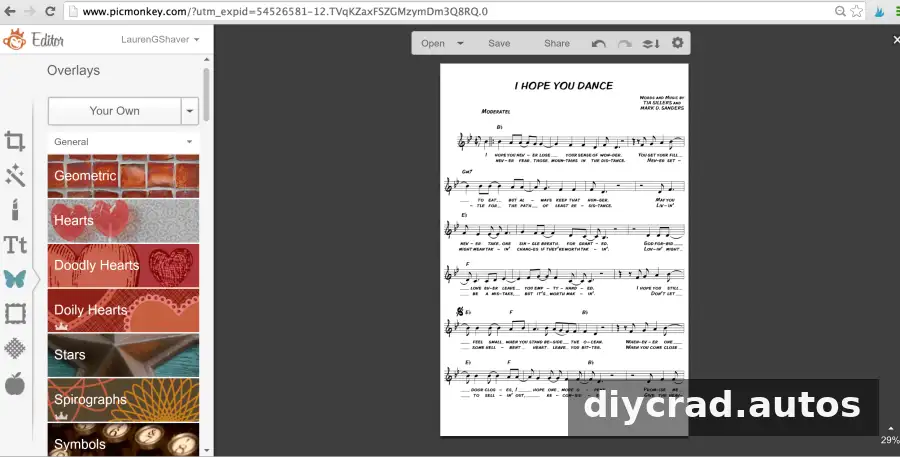
Obtain the sheet music legally and check that the file is suitable for the intended print size. In this project, the digital sheet music file cost about $2, and a large-format engineer print was made from it. If the file resolution is too low for a large print, enlarging it may make the notation appear soft or pixelated, so check print quality before ordering.
Personal use and commercial use are not the same. Copyright rules vary, and purchasing a digital file does not automatically grant permission to reproduce or sell copies. Check the applicable license and copyright requirements before making additional copies or offering a finished sign for sale.
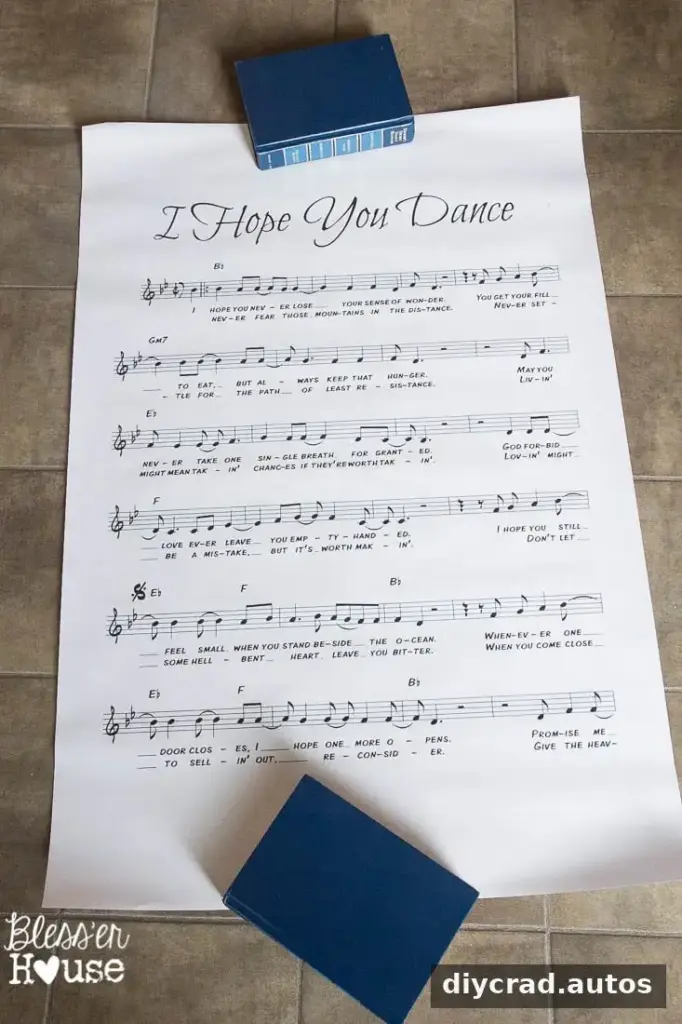
The 24×36-inch engineer print used for this project cost $3 and some change. Other sizes may be available, but confirm the final print dimensions before cutting the backing.
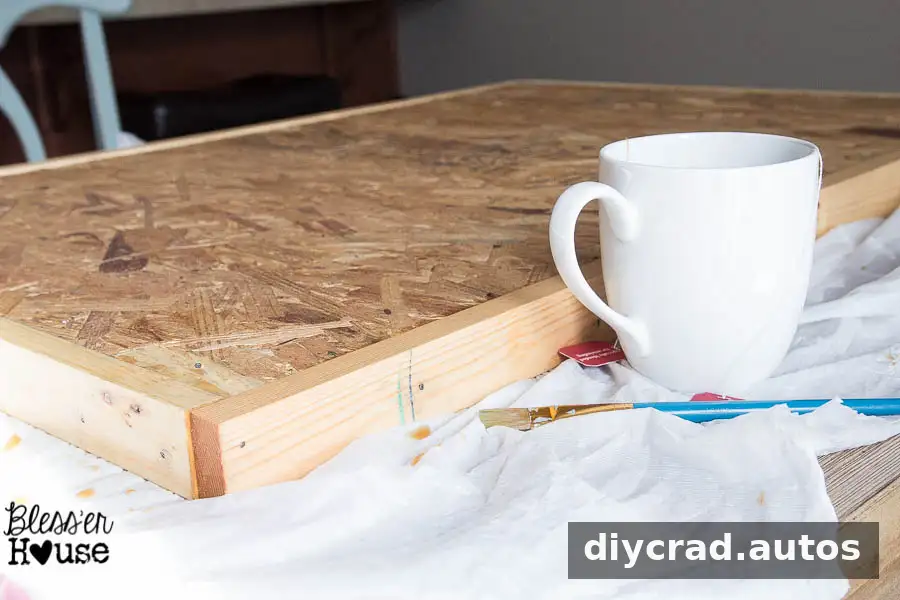
To create an aged-paper effect, brew a cup of black tea and let it steep for about five minutes. Place the print on a protected, flat work surface. Keeping the paper white is also an option if you prefer a cleaner, more modern look.
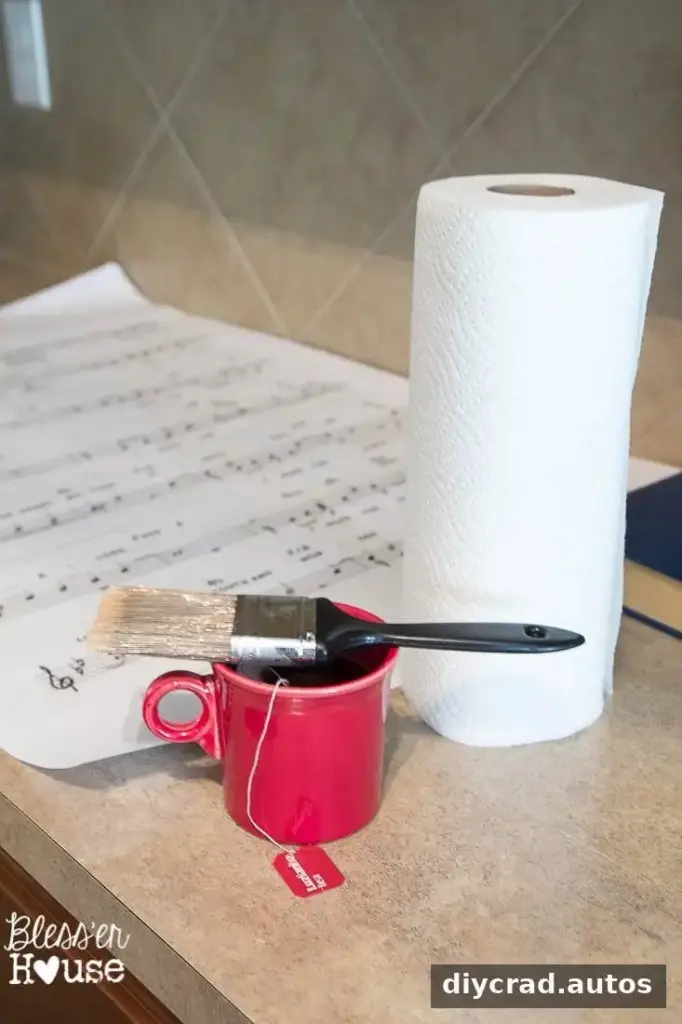
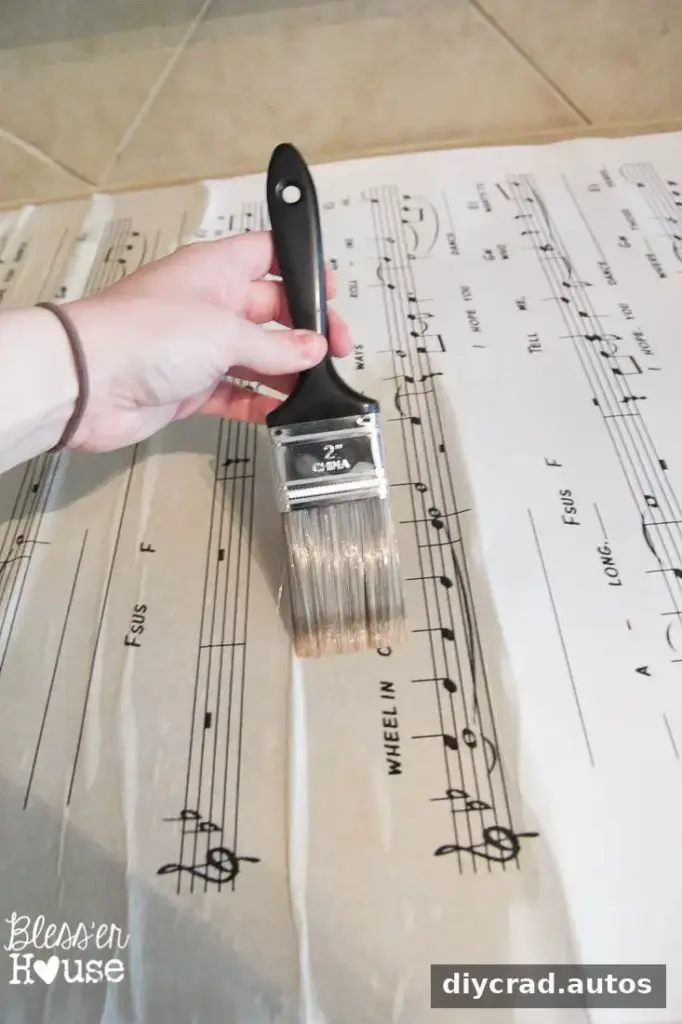
Dip a clean paintbrush into the tea, remove excess liquid, and brush it over the paper in sections. Work gently to avoid tearing or oversaturating the print.
Blot each section with paper towels to control how dark the paper becomes. Skip blotting if you want a deeper stain, but use a light touch so the paper stays intact.
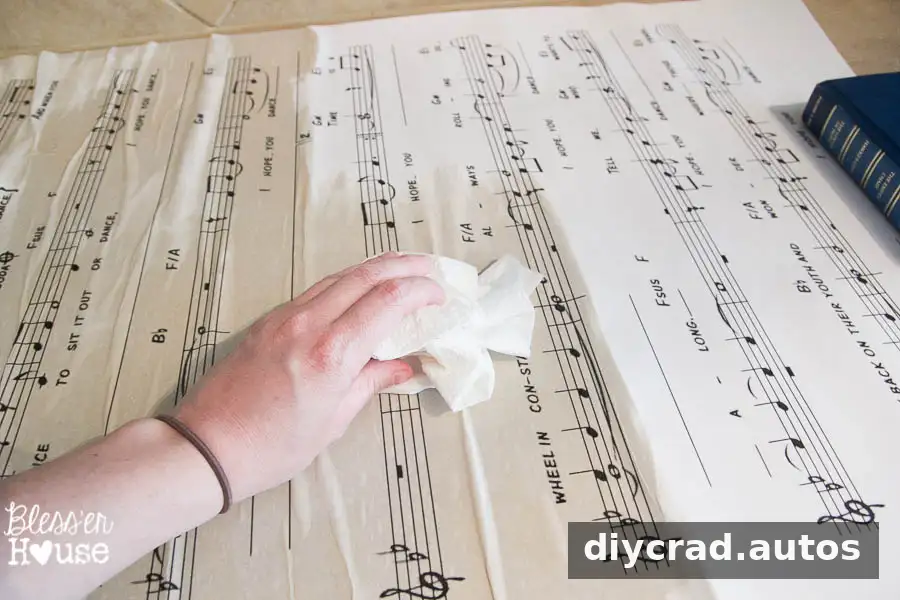
Leave the tea-stained print to dry overnight. Make sure it is fully dry before attaching it to the board; damp paper can wrinkle or shift during application.
Attach the sheet music and seal the sign
Lay the dry print over the particle board and align the edges. Apply matte decoupage medium to a small section of the board, then press the paper into place. Continue gradually from top to bottom, smoothing the print as you go to reduce air bubbles and creases. Having another person hold the loose end of the paper can make it easier to keep the print aligned.
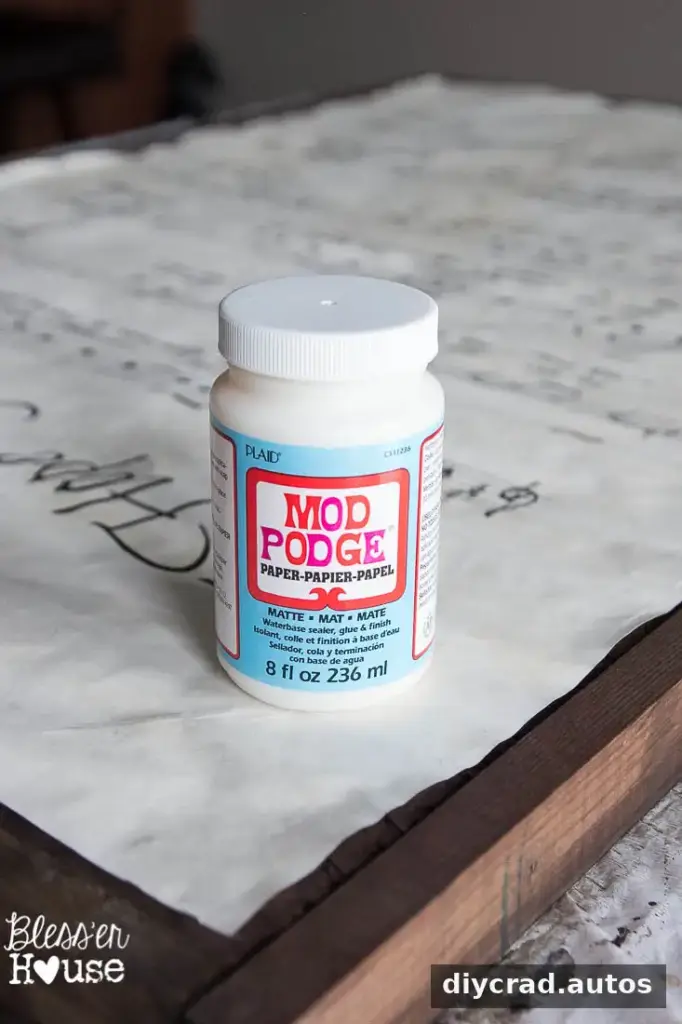
When the paper is attached, brush a coat of decoupage medium over the surface to seal it. Let the sign dry completely before handling or hanging it. Use hanging hardware suited to the sign’s size and weight, and check that the wall fixing is secure.
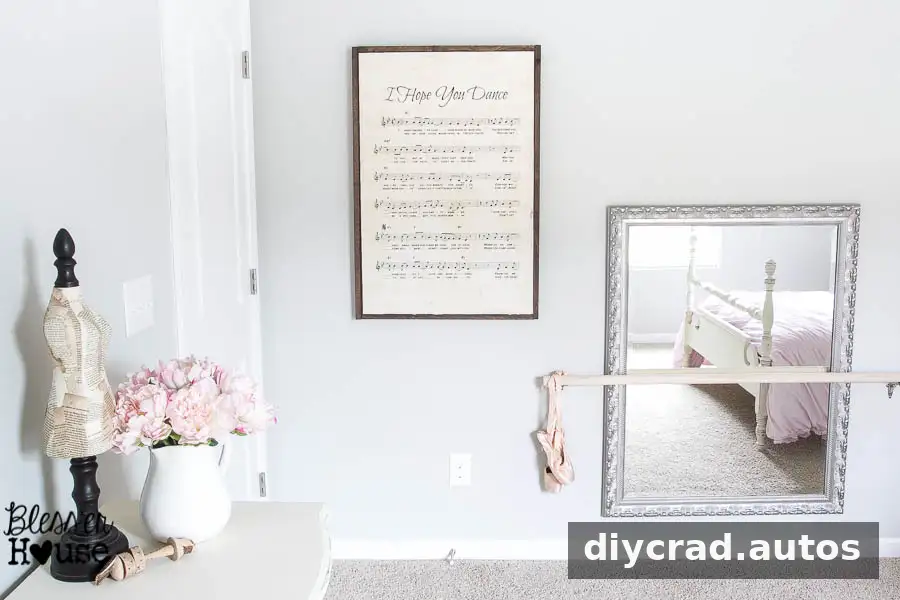
A second sign can be made for another part of the song or to create a pair of coordinated prints. Measure the available wall area first so both pieces have room and look balanced together.
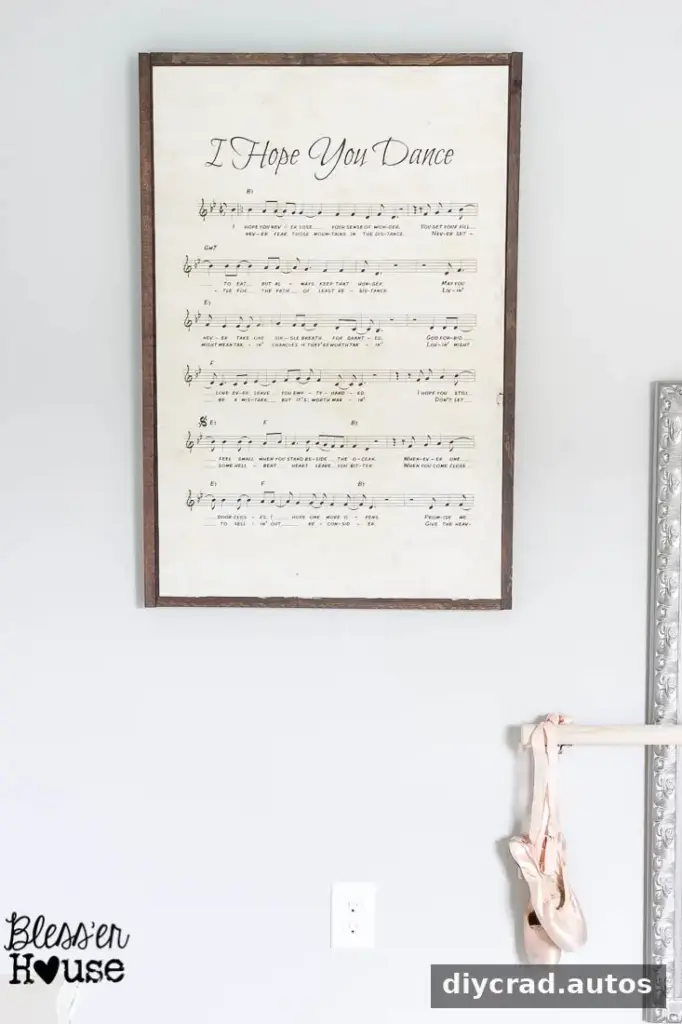
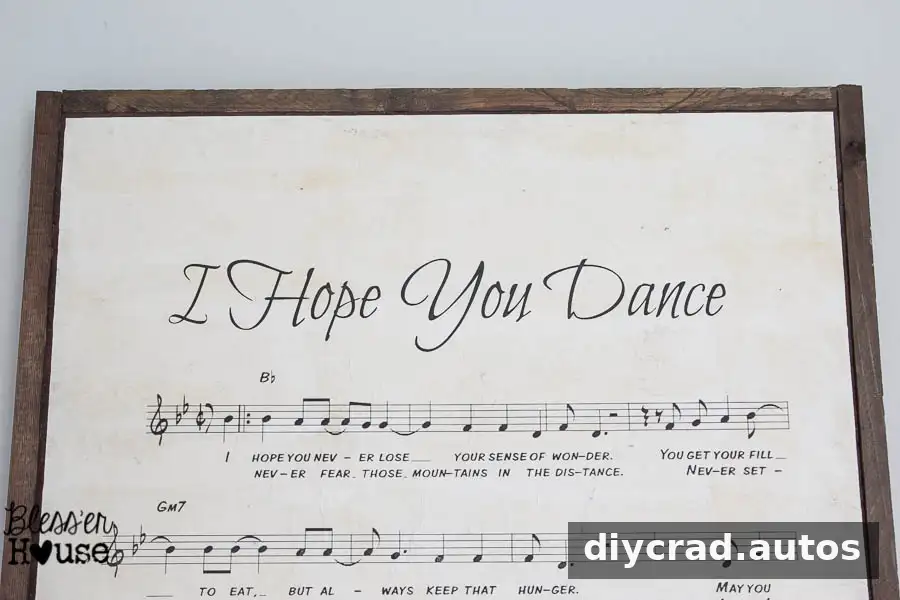
The finished paper may have small variations from the tea and brush application, which contribute to its aged appearance. Particle board can also create a slightly textured finish. Choose smooth plywood instead if you would rather have a flatter surface.
This type of large sign can fill an otherwise empty wall, but placement is a practical consideration. Before hanging it behind a door or near furniture, check that the door can open freely and that the sign will not be bumped.
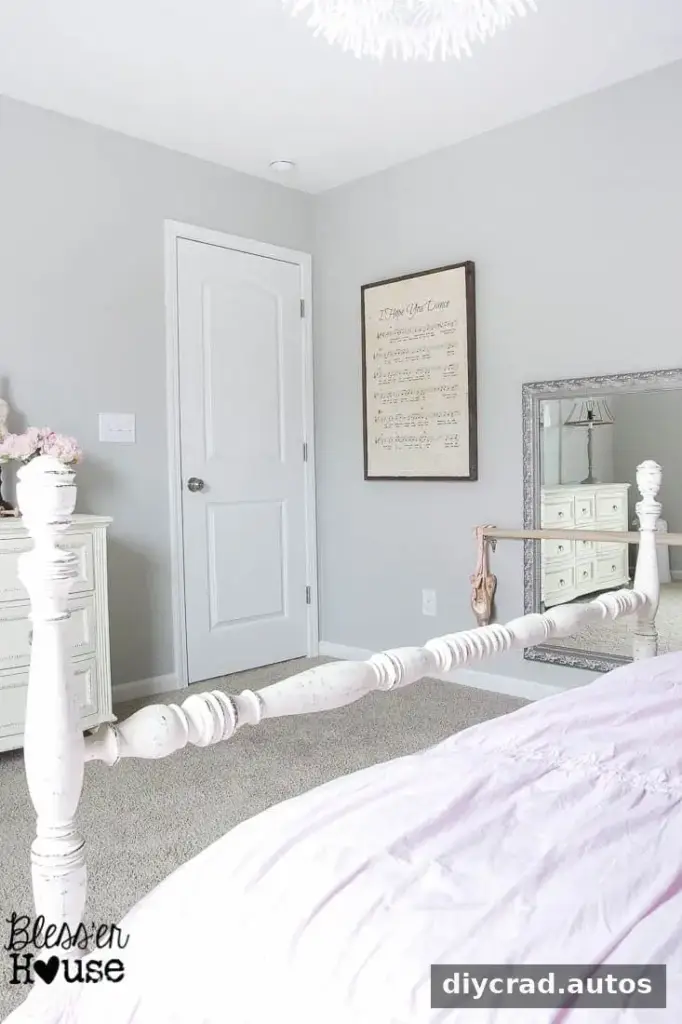
Think about how the sign will relate to nearby decor. Leaving enough space around it helps the sheet music remain easy to see and makes it simpler to add another piece later.
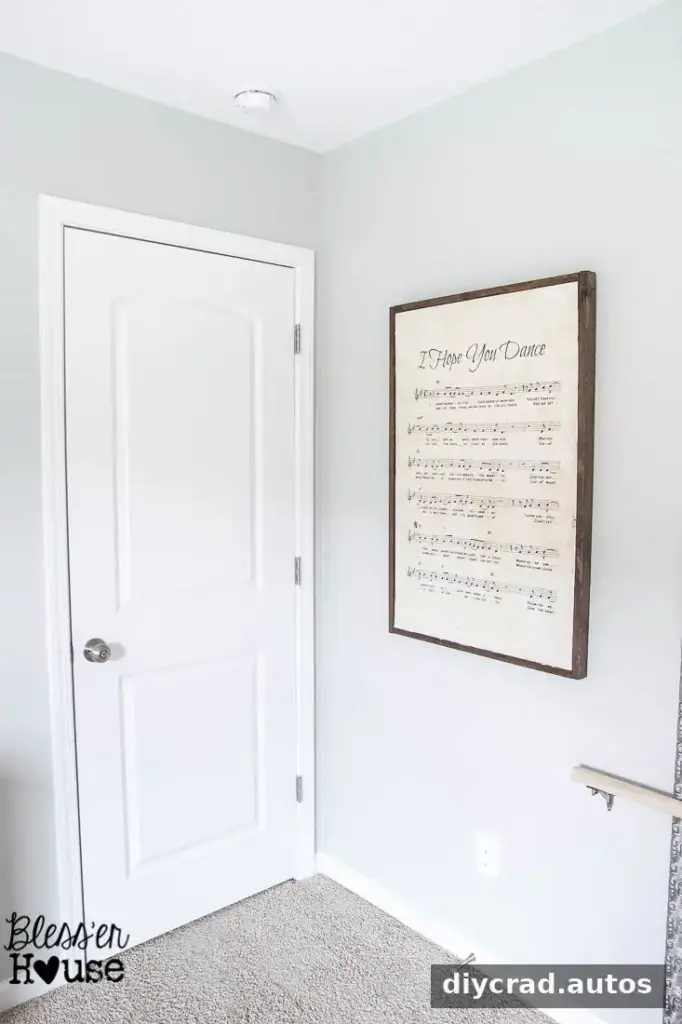
The project cost less than $20 to make. Because the particle board was already available as scrap, the materials cost about $13 in this case. Your total will depend on print size, materials on hand, and the price of supplies in your area.
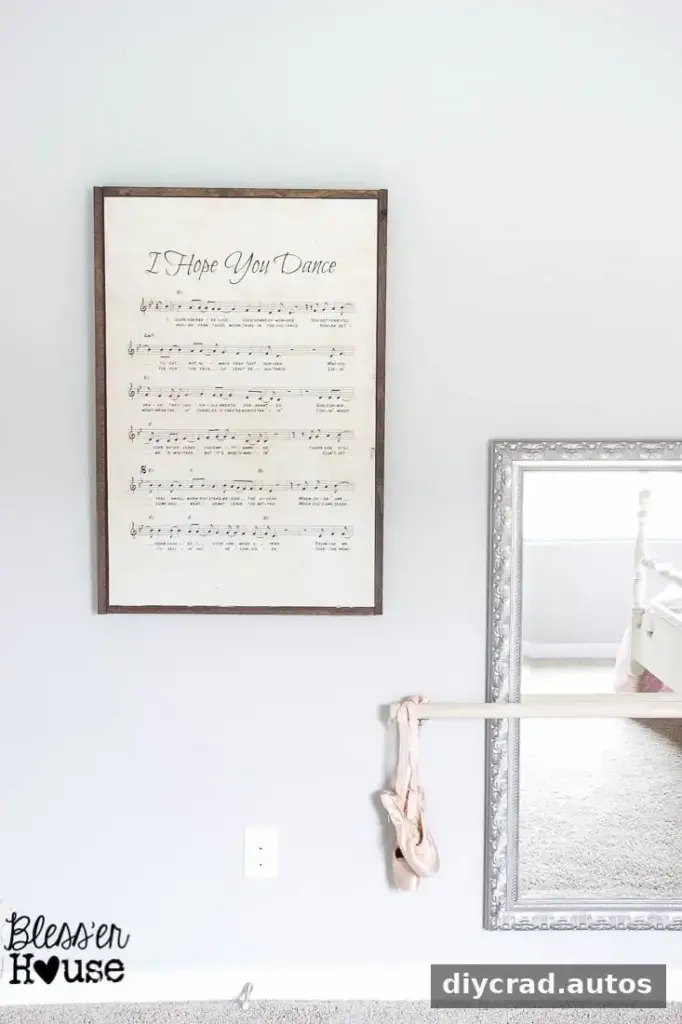
Once you know the process, the same approach can be adapted for other large-format prints. Keep the backing size matched to the paper, and test any stain or adhesive on spare material if you are unsure how it will look.
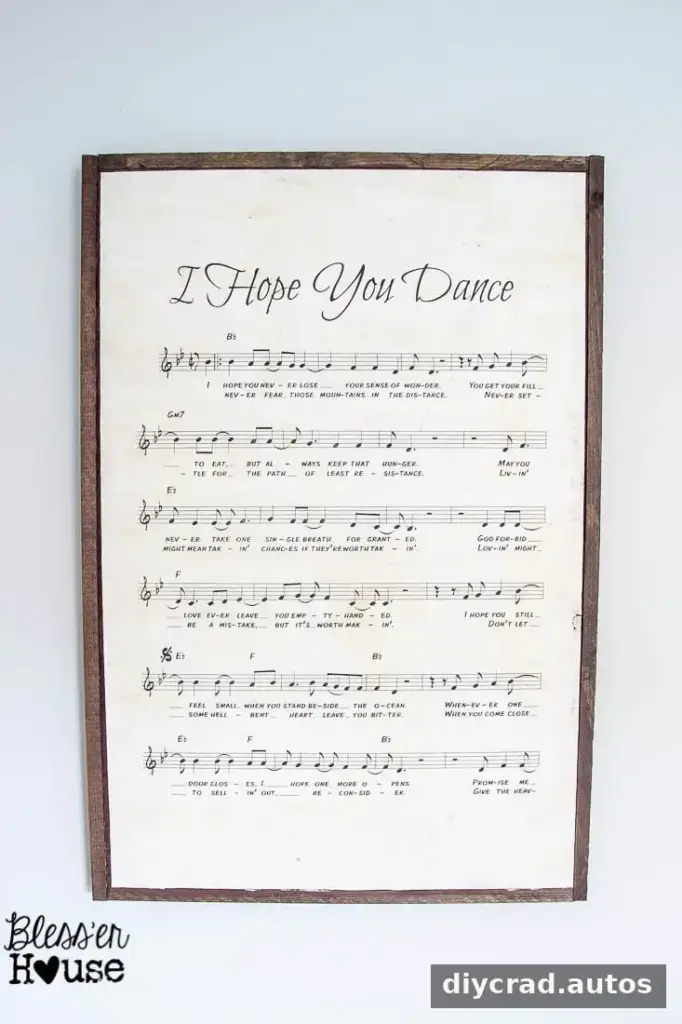
A printed book page or another piece of public-domain or properly licensed artwork could also be used as the focal point. Whatever you choose, confirm that you have permission to reproduce the material at the desired size.
With a measured backing, a straightforward pine frame, and a carefully prepared print, a DIY oversized sheet music sign can become an affordable, personal piece of wall decor. Select a song you love, check the print and copyright details, and let every layer dry fully for a neater result.