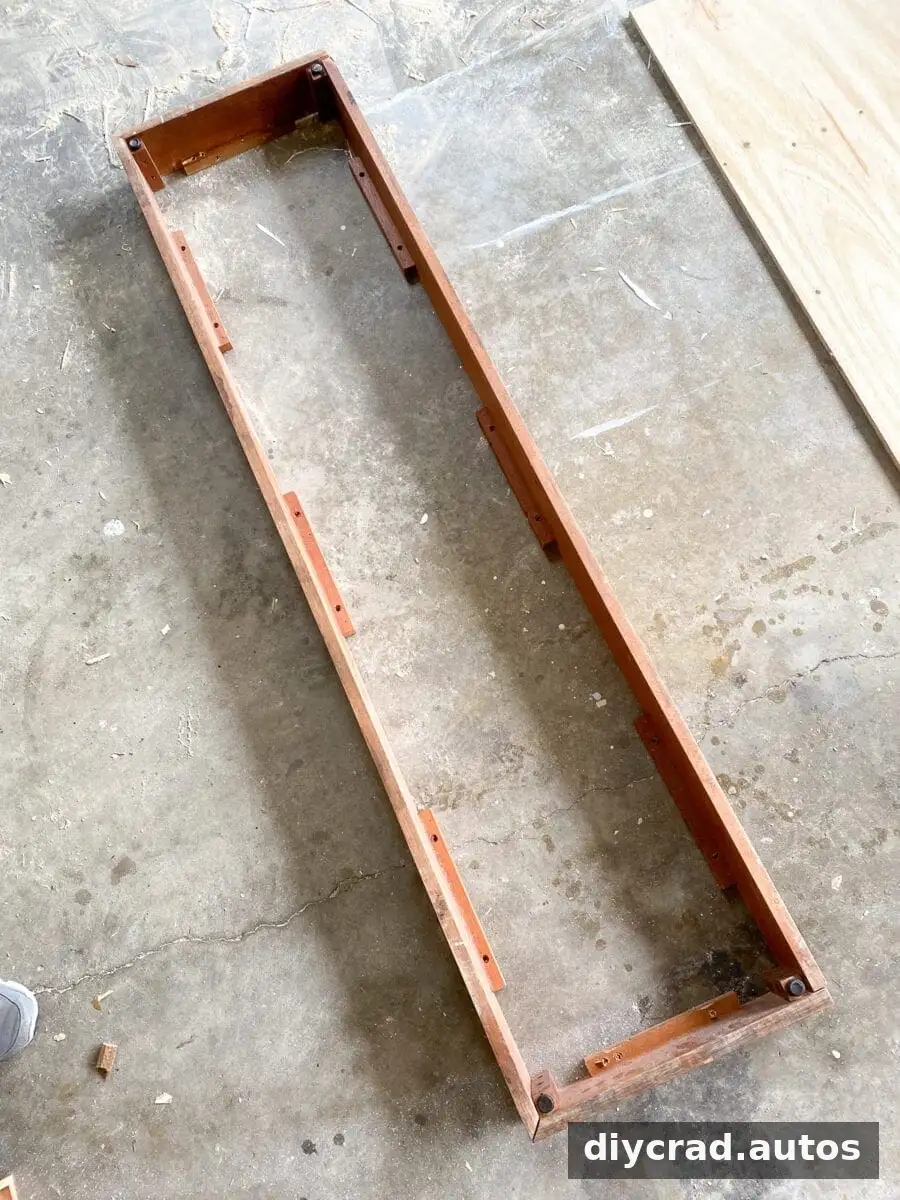
A DIY vertical wall planter is a space-saving way to display succulents and reuse scrap wood. With a simple wooden frame, hardware cloth, and a few basic tools, you can create a living feature for an indoor wall or an outdoor space such as a porch. Adjust the frame to suit the area where you plan to hang it, and choose plants that are appropriate for the light and conditions there.
This project uses leftover boards and plywood to form a shallow box. A plastic liner helps separate the soil from the wood, while steel hardware cloth holds the soil and plants in place. Before starting, check that the boards are in sound condition and that the finished planter can be safely supported by the wall and hanging hardware.
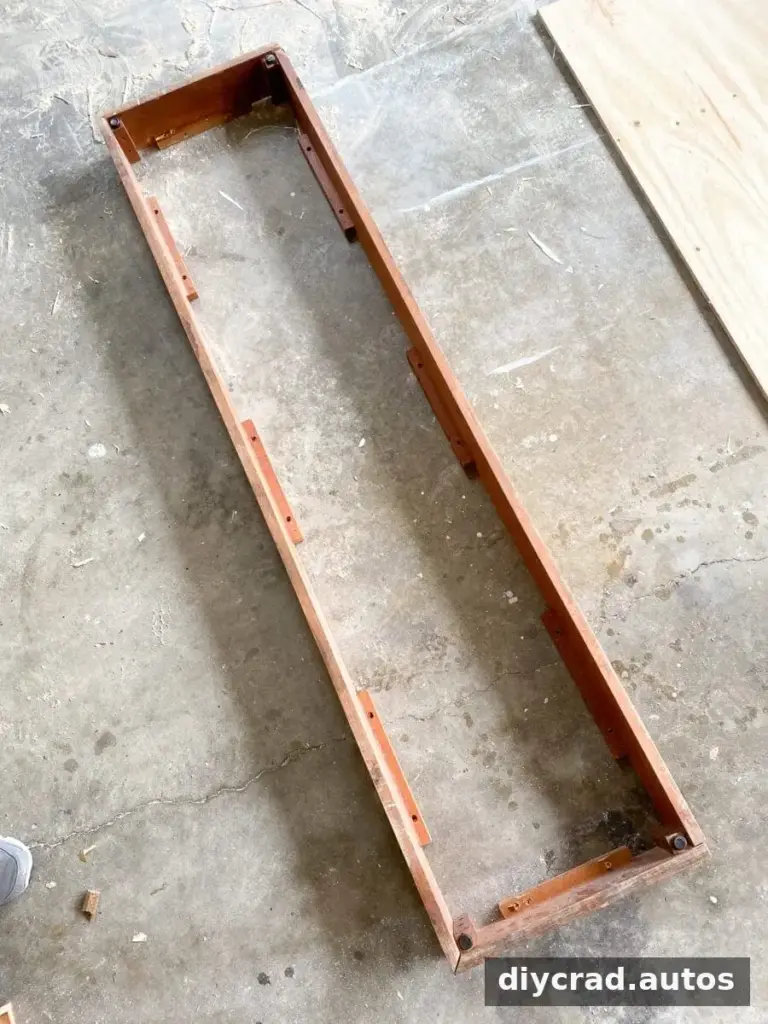
Scrap boards left over from another project can be cut to create the frame. Reusing suitable wood reduces waste and lets you choose the planter’s dimensions to fit your available wall space.
Plan the location before assembling the box. Consider how much light the plants need, how easy the planter will be to water, and whether the wall can support the planter once it contains soil.
How to Make a DIY Vertical Wall Planter
Materials and tools
- Scrap wood boards, approximately 1×4 in the example; choose a size suited to your intended location
- 1/2-inch-thick plywood scrap
- #8 1/2-inch wood screws
- Roll of 1/2-inch steel hardware cloth
- Small plastic drop cloth
- A hanging kit suitable for the planter and wall
- Circular saw and power drill
- Heavy-duty stapler and hammer
- Wire snips and scissors
- Measuring tape, carpenter square, and pencil
- Spray paint or wood stain, with a paint brush if needed
- Potting soil
- Succulents or other suitable plants; artificial plants can also be used without soil
- One or two packs of moss
- Hot glue gun
Build and prepare the frame
- Decide on the planter’s dimensions. Measure and mark the 1×4 boards and 1/2-inch plywood, using a carpenter square to help keep the lines straight.
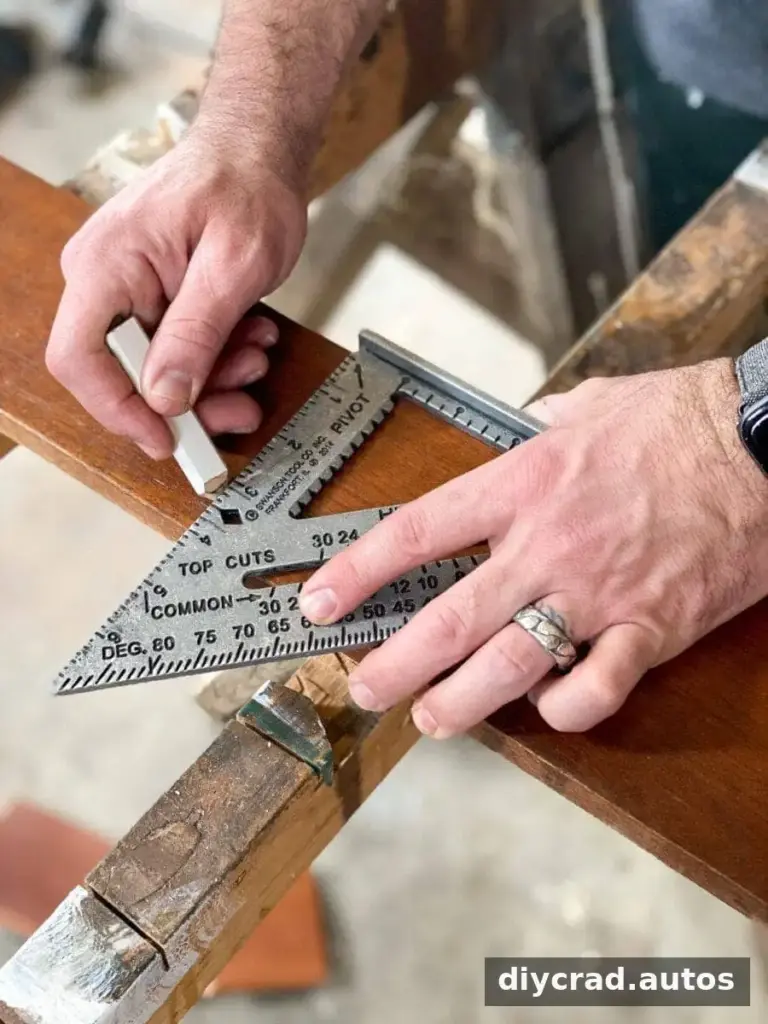
- Cut the boards and plywood with a circular saw. Work on a stable surface, and follow the tool manufacturer’s safety instructions.
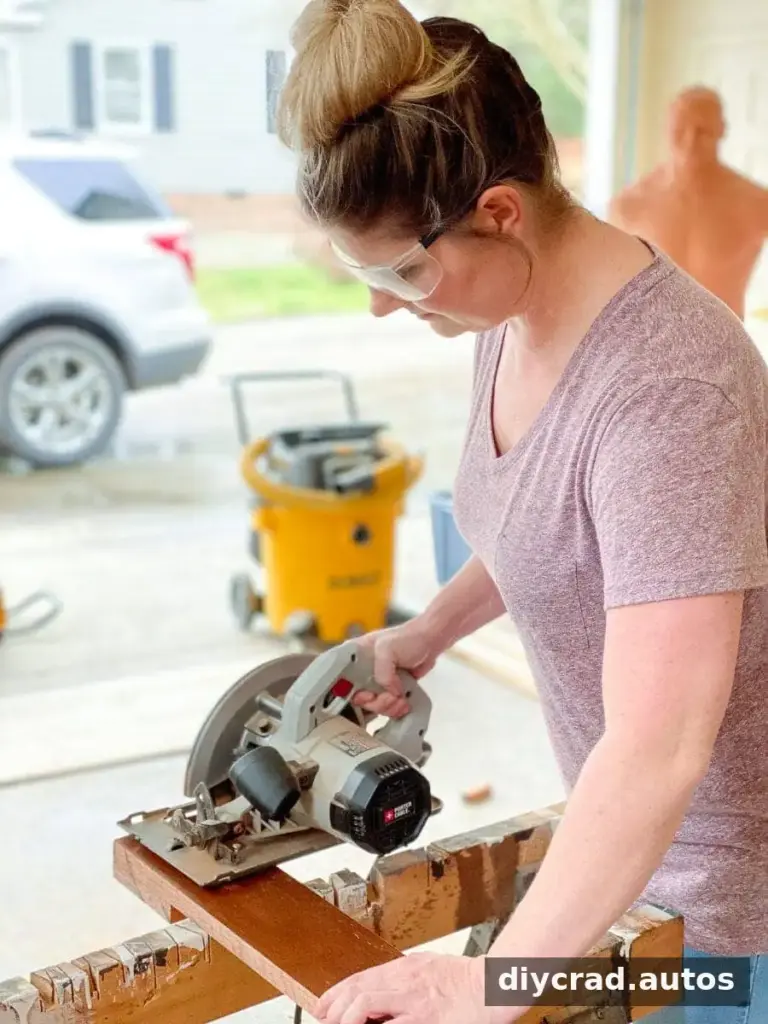
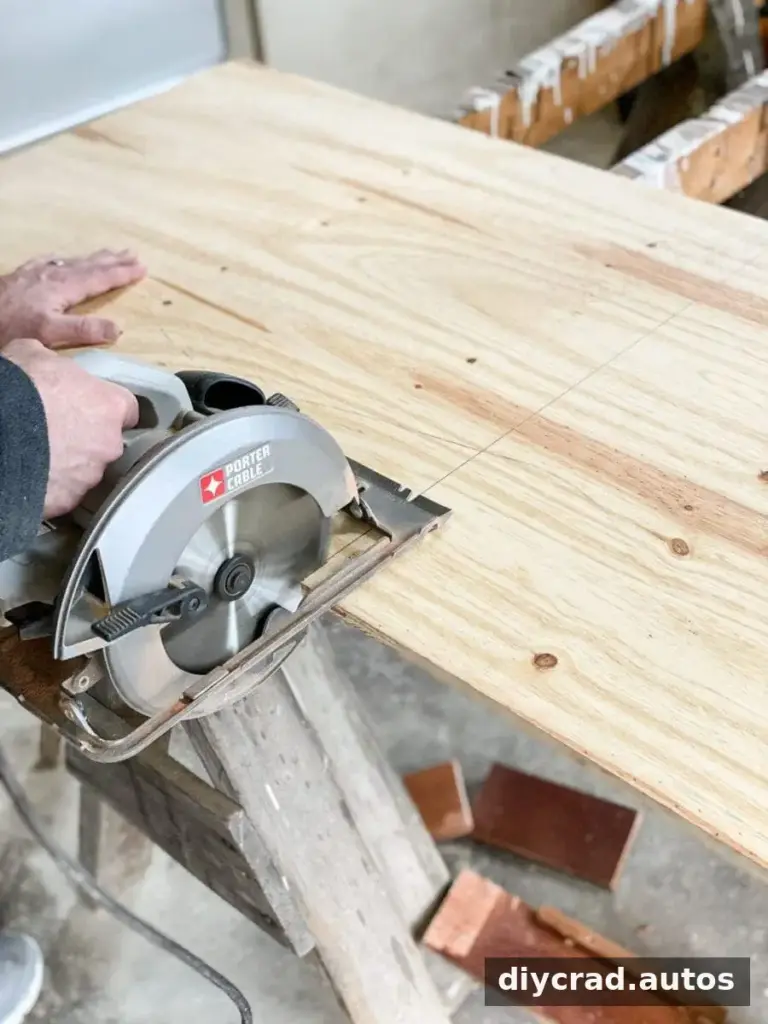
- Arrange the 1×4 pieces into a square or rectangular frame. Drill pilot holes before driving the wood screws into the corners to help reduce the risk of splitting the wood.
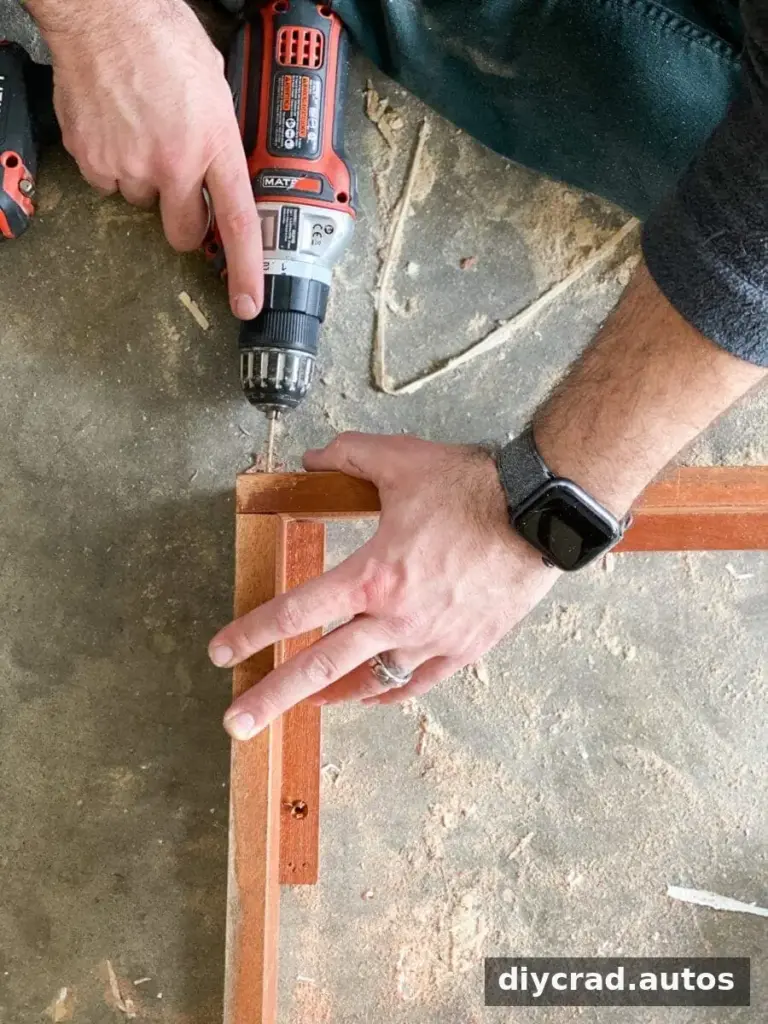
- Position the cut plywood over one side of the frame and secure it with wood screws. This panel forms the back of the planter.
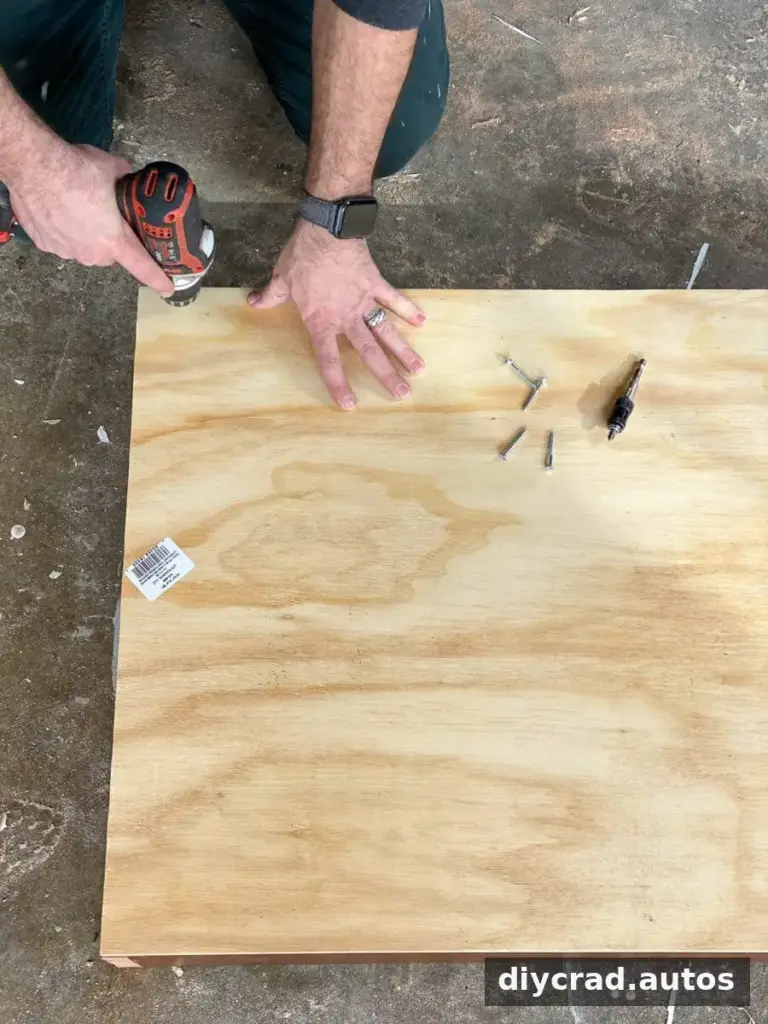
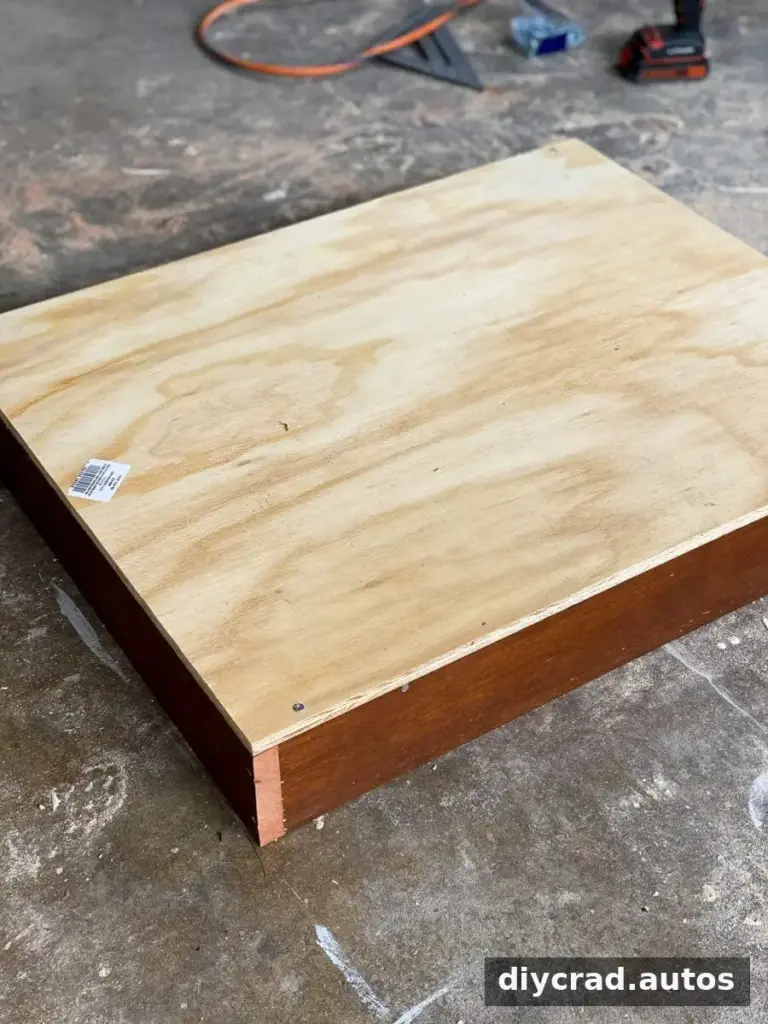
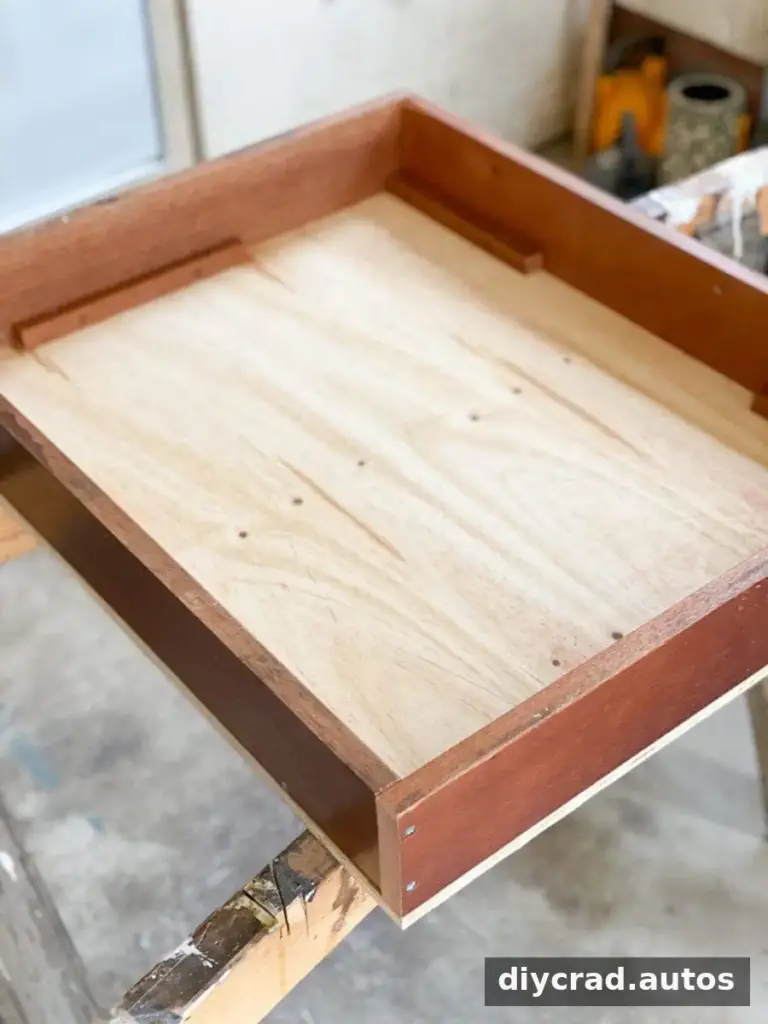
- Apply paint or stain to the box if desired. If you plan to spray-paint the hardware cloth as well, you can wait until it has been attached.
- Turn the box so the plywood rests flat on the bottom. Place the plastic drop cloth inside, smoothing it into the corners.
- Staple the liner securely inside the box, keeping it as flat as possible so it does not bunch beneath the soil.
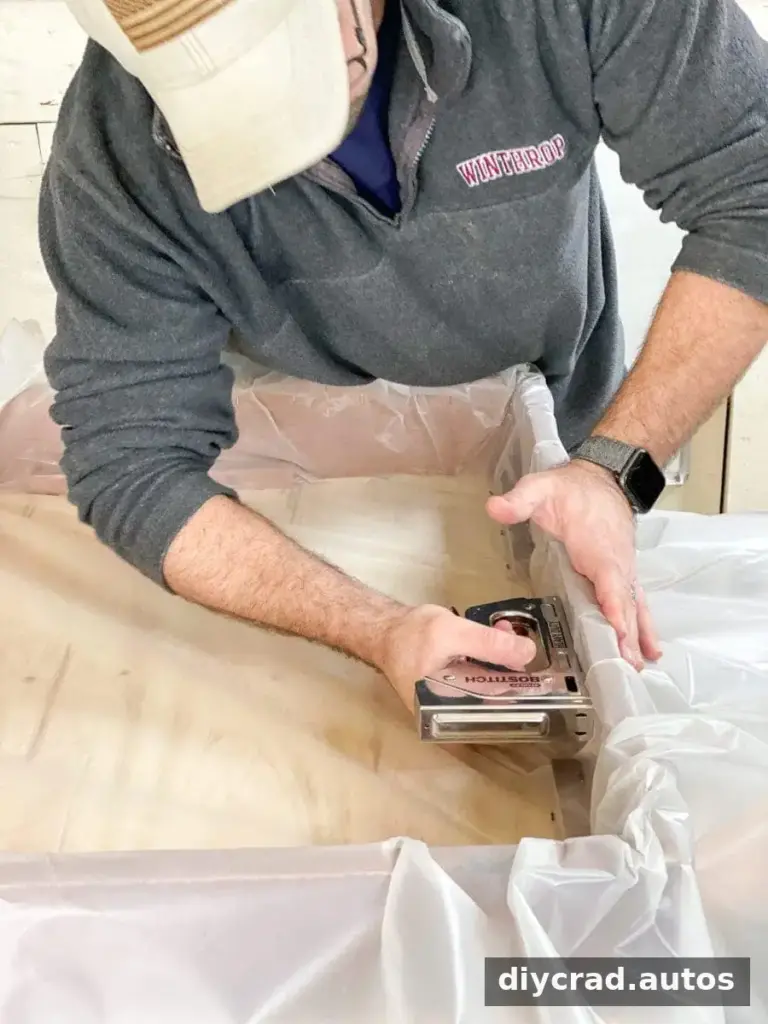
- Trim excess plastic with scissors. Keep the liner neat around the edges and avoid cutting it below the staples.
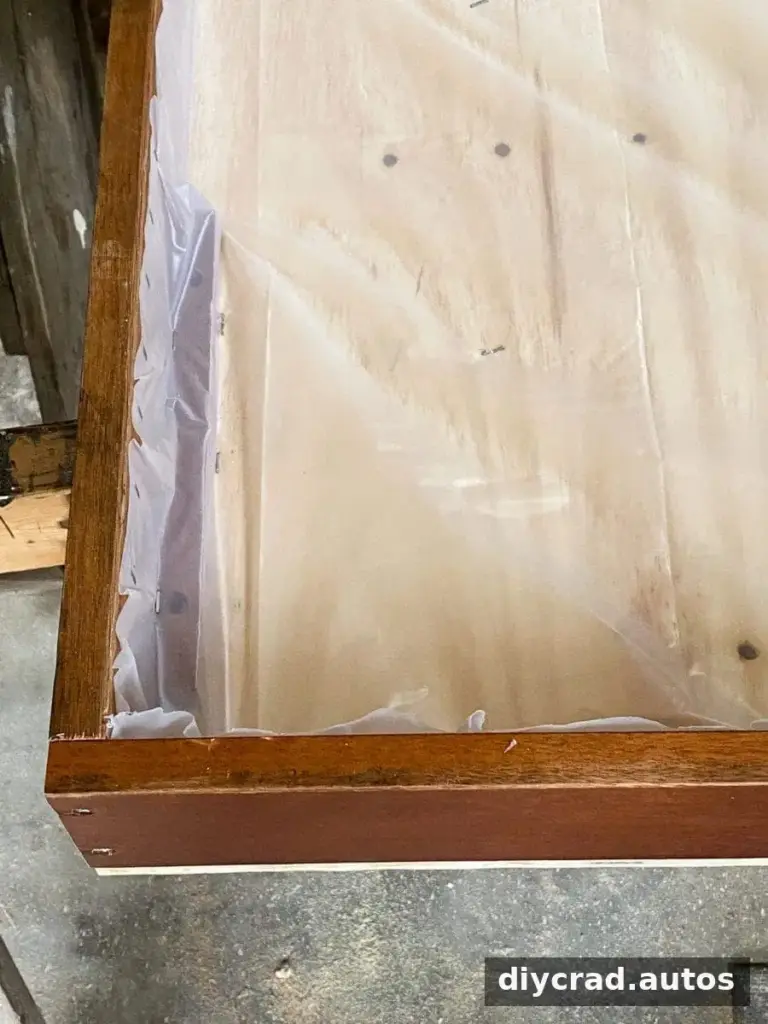
- Roll out the 1/2-inch steel hardware cloth and staple it around the edges of the box. Check that it is attached evenly and sits firmly across the opening.
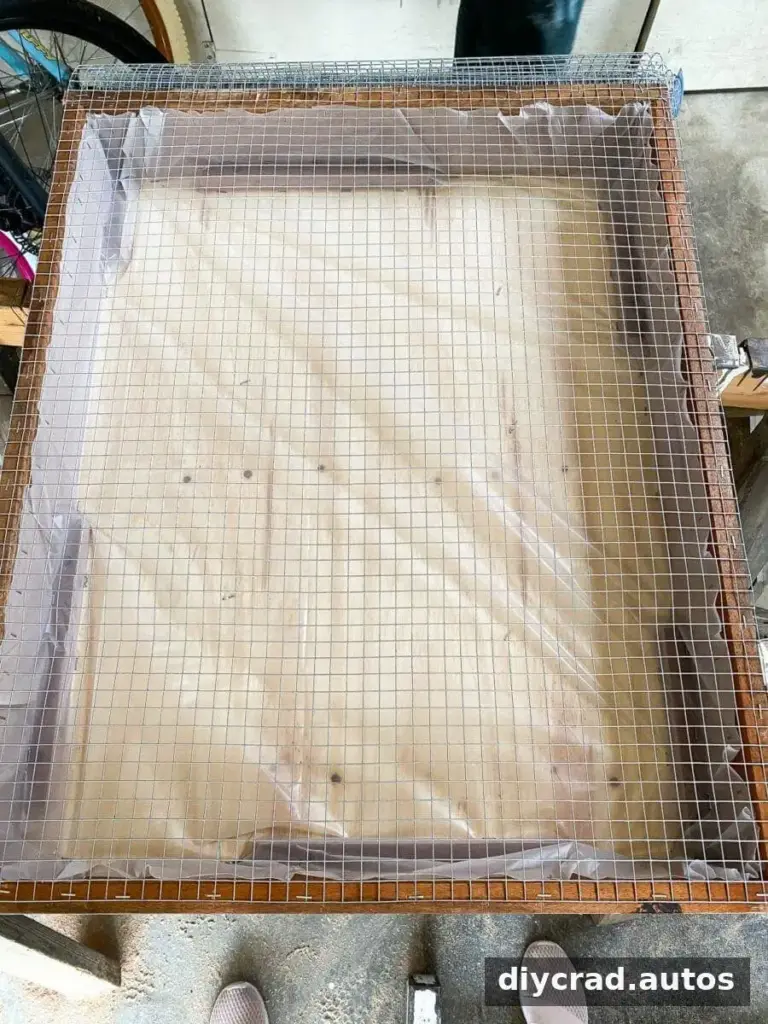
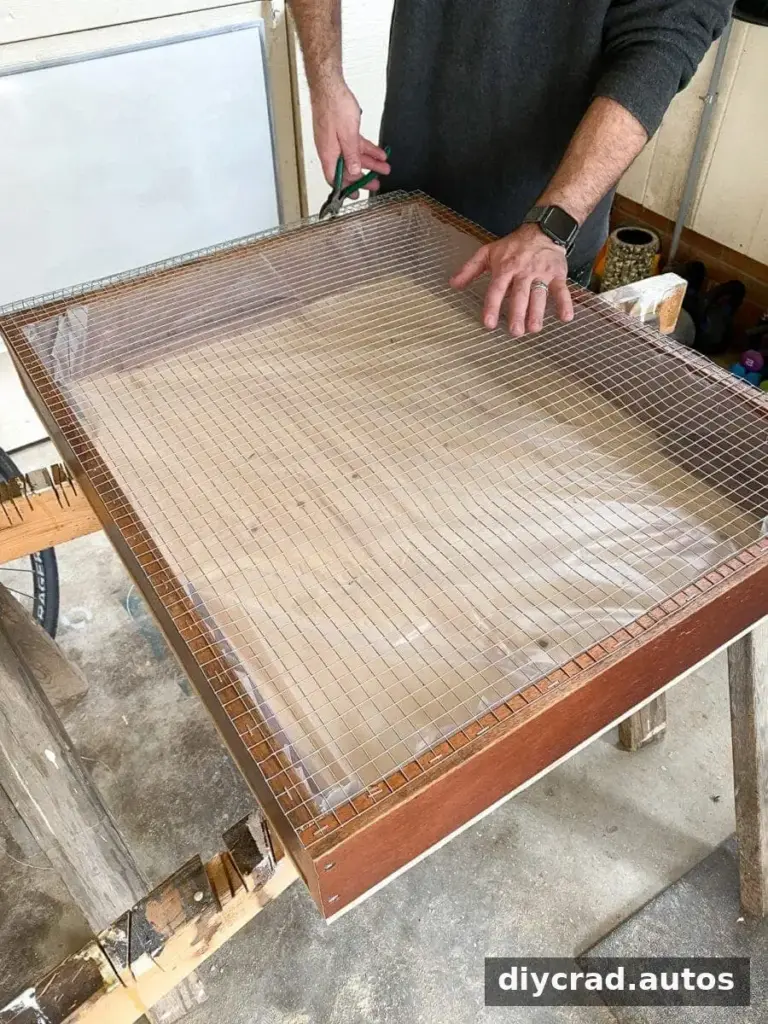
- Use wire snips to remove excess hardware cloth. Carefully flatten any protruding wire ends with a hammer so they are less likely to snag hands or plants.
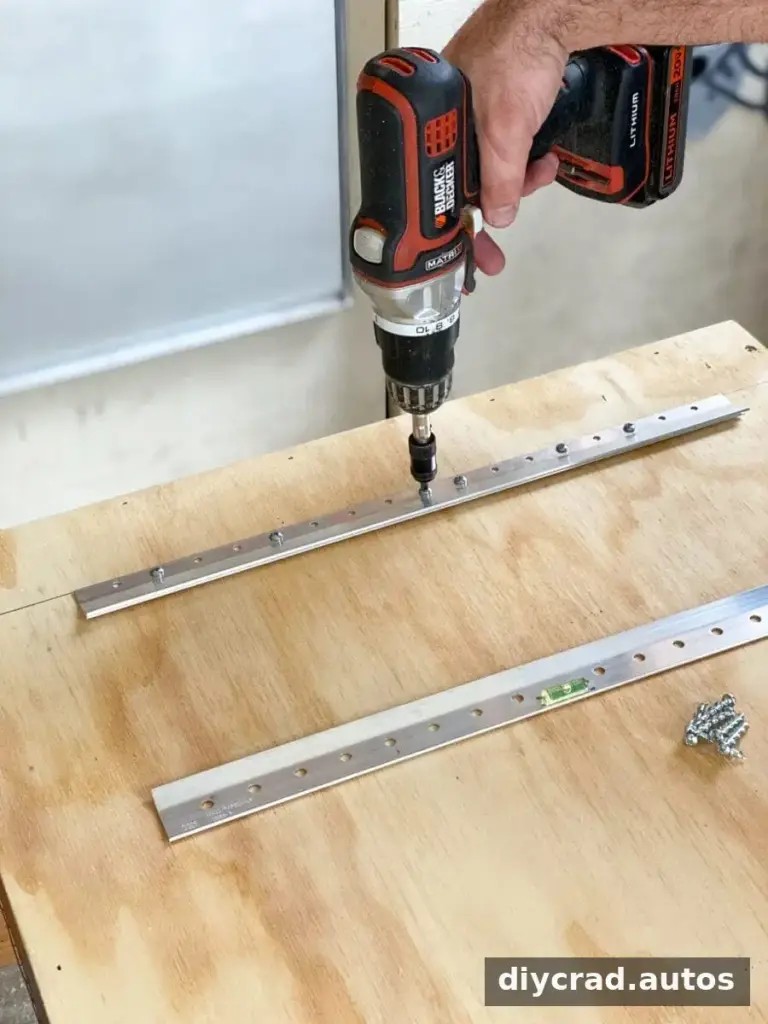
- Turn the box over so the plywood side faces up, then attach the hanging kit according to its instructions. Choose hardware appropriate for the wall and the planter’s filled weight.
- Apply spray paint if you have not already painted or stained the frame. Let the finish dry before adding soil and plants.
Add soil, succulents, and moss
- Fill the box with potting soil. Gently shake it to distribute the soil evenly, bringing it level with the hardware cloth.
- Trim the bottom of each succulent as needed, then guide its roots through the hardware cloth and into the soil. Arrange the plants with enough room for them to grow.
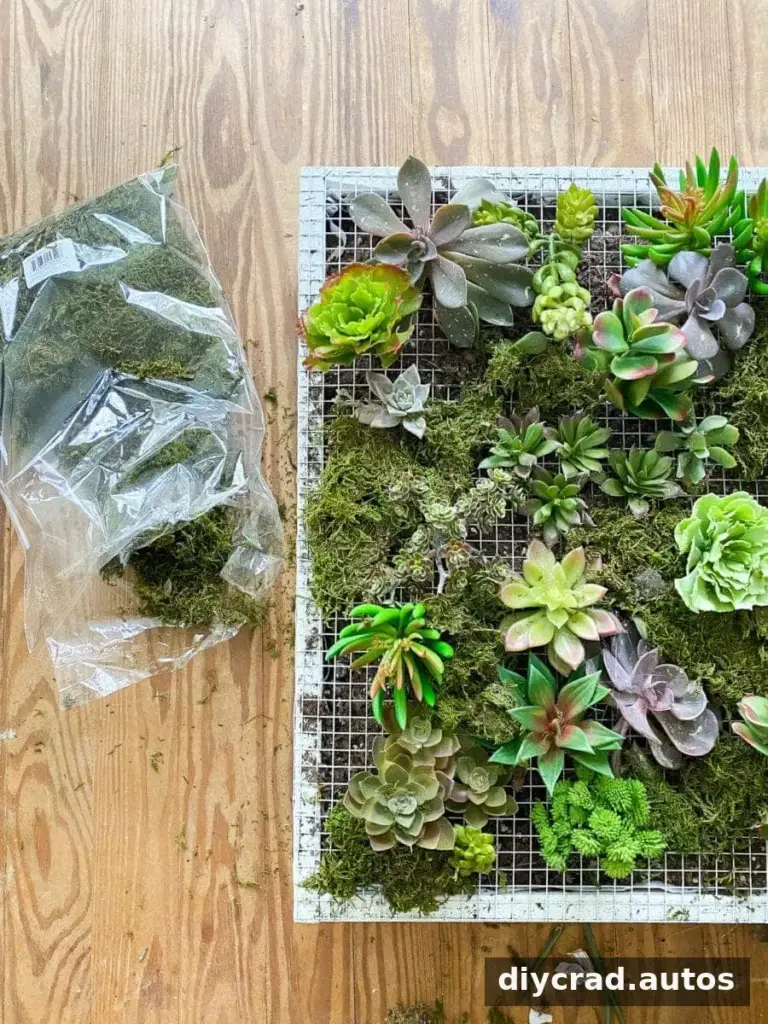
- Fill open spaces between the plants with moss. If needed, use a few small dabs of hot glue to hold the moss to the hardware cloth. As the succulents spread, remove moss that is no longer needed.
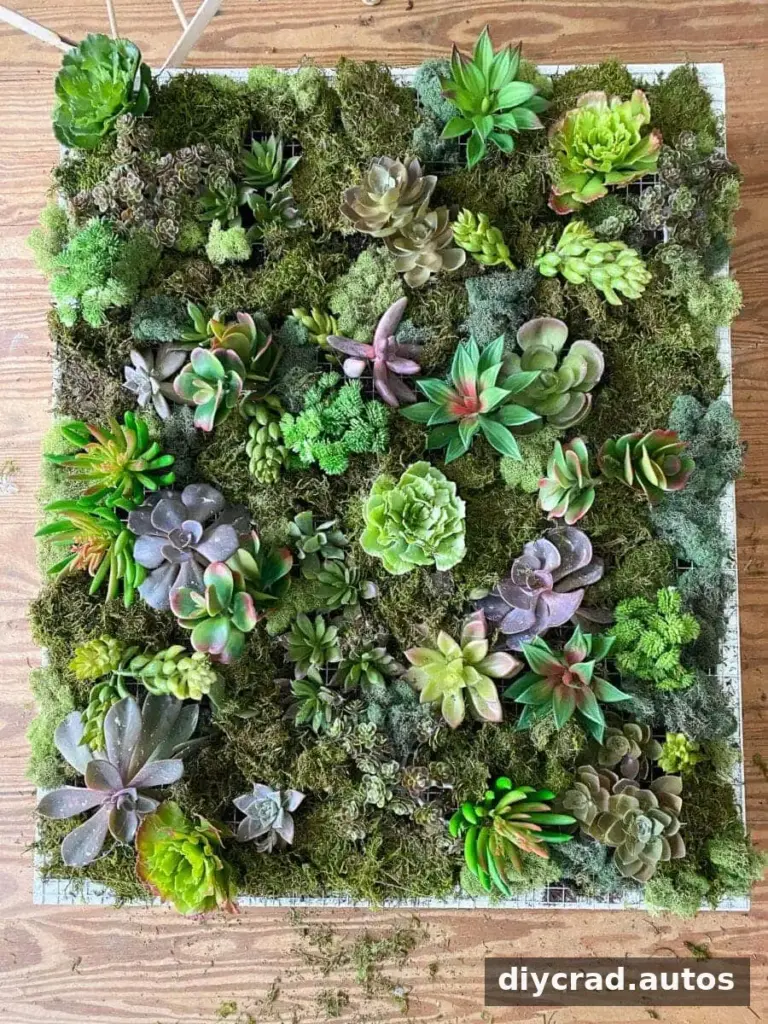
Once planted, the frame creates a compact display that makes use of vertical space. The combination of reclaimed wood, greenery, and moss can suit a porch or an indoor area, provided the plants receive appropriate light and care.
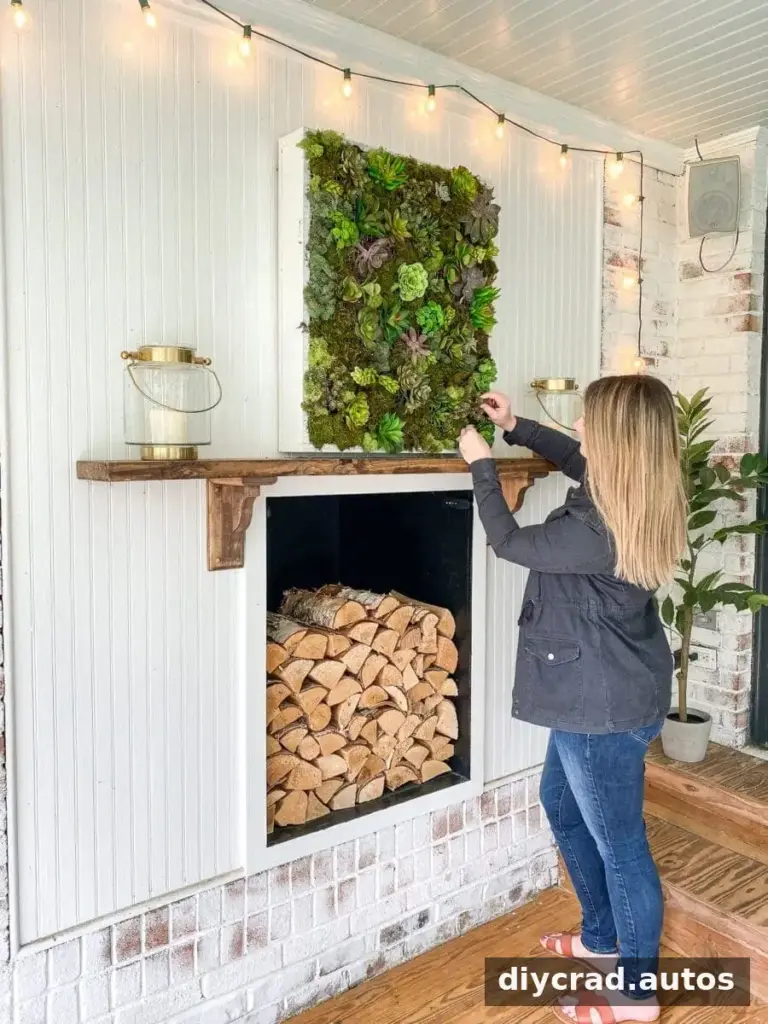
Before hanging the finished piece, confirm that the mounting hardware is firmly installed and suitable for the wall surface and loaded planter. When watering, use a measured amount and check that excess moisture will not damage the wall or surrounding surfaces. The plastic liner can hold moisture, so avoid leaving the soil overly wet.
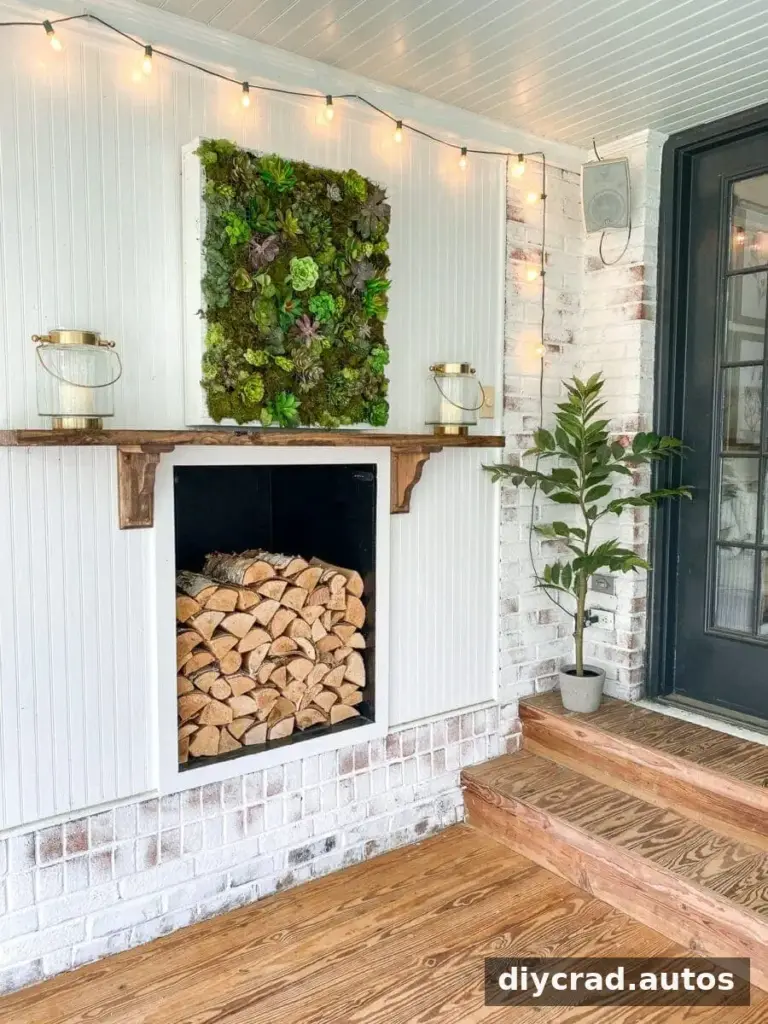
This DIY vertical wall planter turns leftover materials into a useful planting display. Customize the frame dimensions and finish, select plants suited to the location, and take care with watering and mounting to help the planter remain attractive and secure.