

To install a picture light without hardwiring, you can choose a plug-in fixture or a battery-powered wireless model. Both options let you highlight artwork without adding wiring inside the wall or hiring an electrician for a hardwired installation. The right choice depends on whether there is a convenient outlet nearby and how you want to manage the light’s cord or batteries.
A picture light can draw attention to a painting or photograph and add a layer of ambient light to a room. Before choosing a fixture, consider the artwork’s position, the distance to a power source, and whether you want to adjust the light regularly.
Why Choose a Picture Light Without Hardwiring?
Hardwired picture lights may require electrical work, which can add cost and make it more difficult to move the fixture or rearrange the art later. A plug-in or battery-powered light offers a less permanent alternative and can be suitable for renters or rooms where opening the wall is not practical.
Installation is often straightforward, but always follow the fixture’s instructions and use hardware suited to your wall. If you are unsure about the wall material or the weight the fasteners can support, check the manufacturer’s guidance before drilling.
How to Install a Picture Light Without Hardwiring
Option 1: Use a Plug-In Picture Light
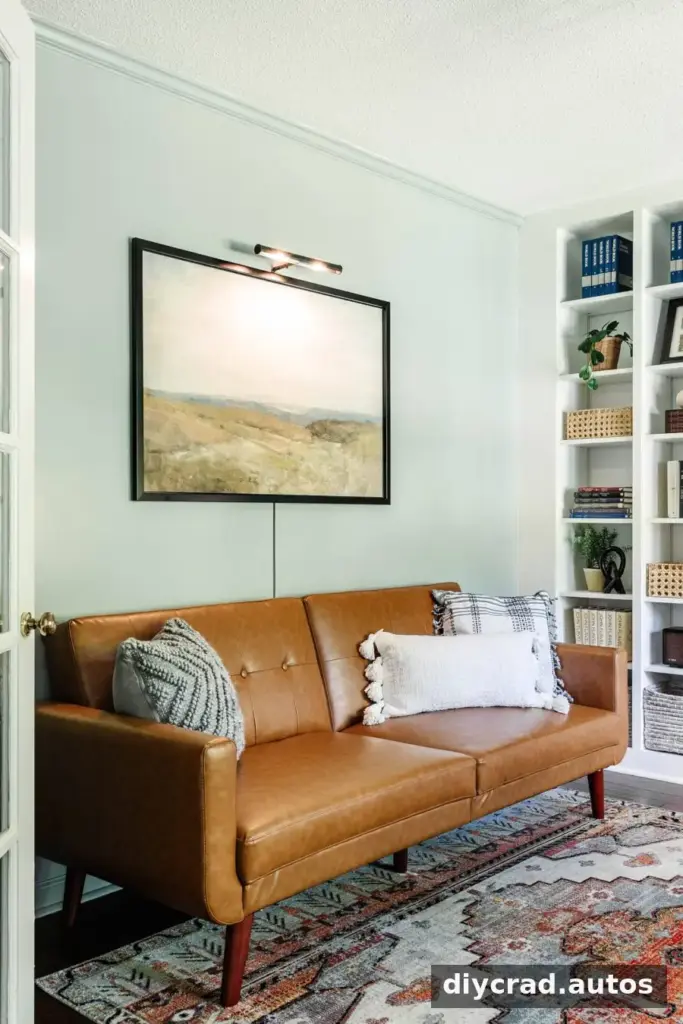
A plug-in art light is a useful option when there is an outlet within reach. The cord can be routed down the wall and covered with a paintable cord channel. This method can also work when you want the light to serve as an additional lamp near a sofa or seating area.
Supplies
- Plug-in picture light
- Level
- Cord covers
- Paint that matches the wall
- Small sash brush
- Pencil
Step 1: Hang the Artwork
First, place the artwork where you want it on the wall. This makes it easier to center the light above the actual position of the art. A common starting point is to hang artwork with its center about 60 inches from the floor, then adjust for the room, furniture, and ceiling height.
Step 2: Mark and Mount the Light
Hold the picture light above the artwork and mark its position with a pencil, checking that it is centered. Remove the artwork before installing the fixture. Use the supplied screws and mounting instructions, and check the alignment with a level if needed. For drywall or masonry, use fasteners appropriate for the surface and the fixture’s weight.
Step 3: Cover and Route the Cord
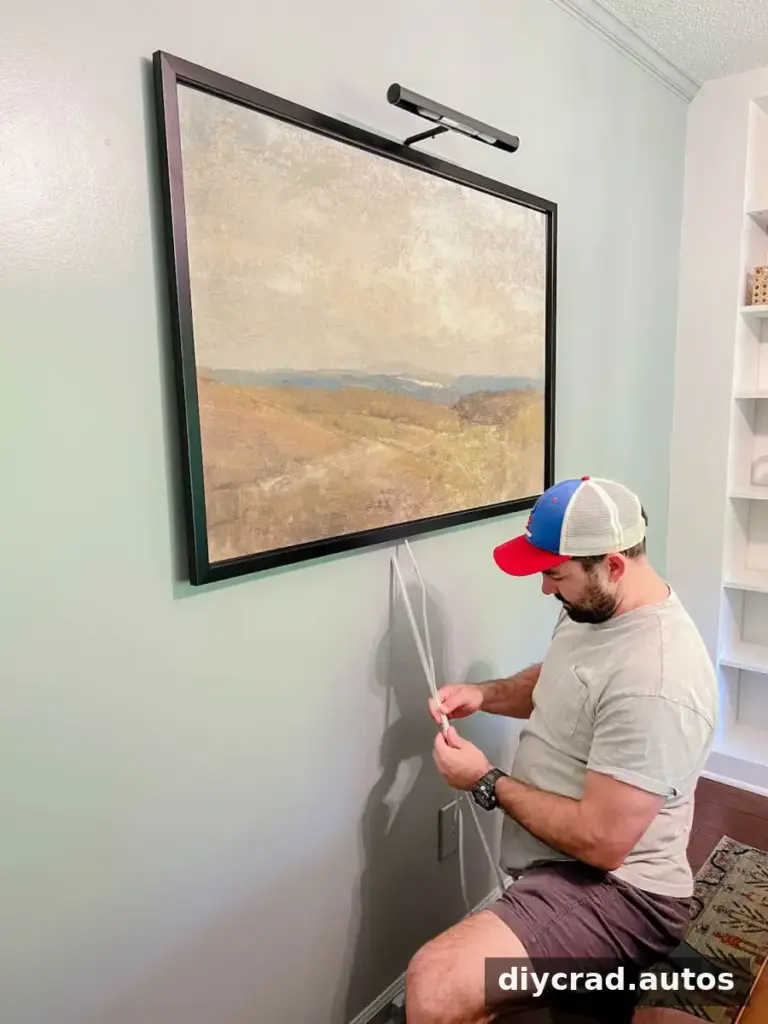
Choose the outlet the light will use and plan the cord route before attaching anything. Fit a cord cover around the cable, then press the adhesive-backed cover onto the wall. Keep the channel straight and vertical where possible, and use a level to check its alignment. Avoid routing a loose cord across a walkway.
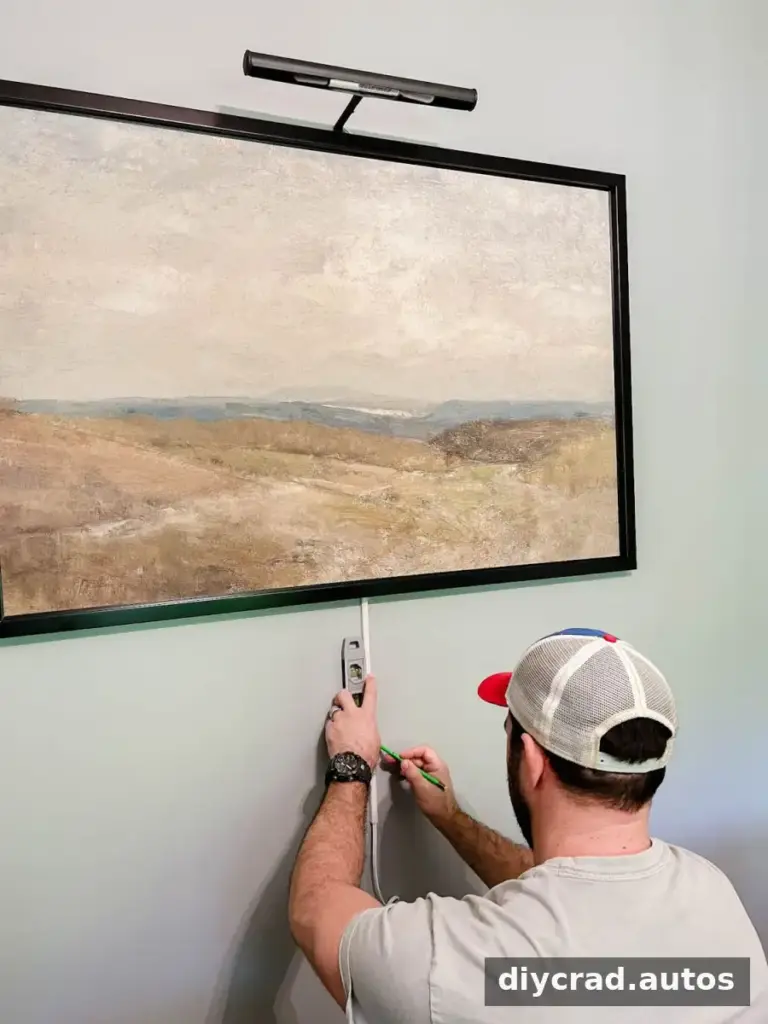
Step 4: Paint the Cord Cover
If the cord cover is paintable, use a small angled brush and wall-matching paint to help it blend in. Check the product directions before painting, and keep paint away from the electrical plug and cable. Let the paint dry before plugging in or handling the cord cover.
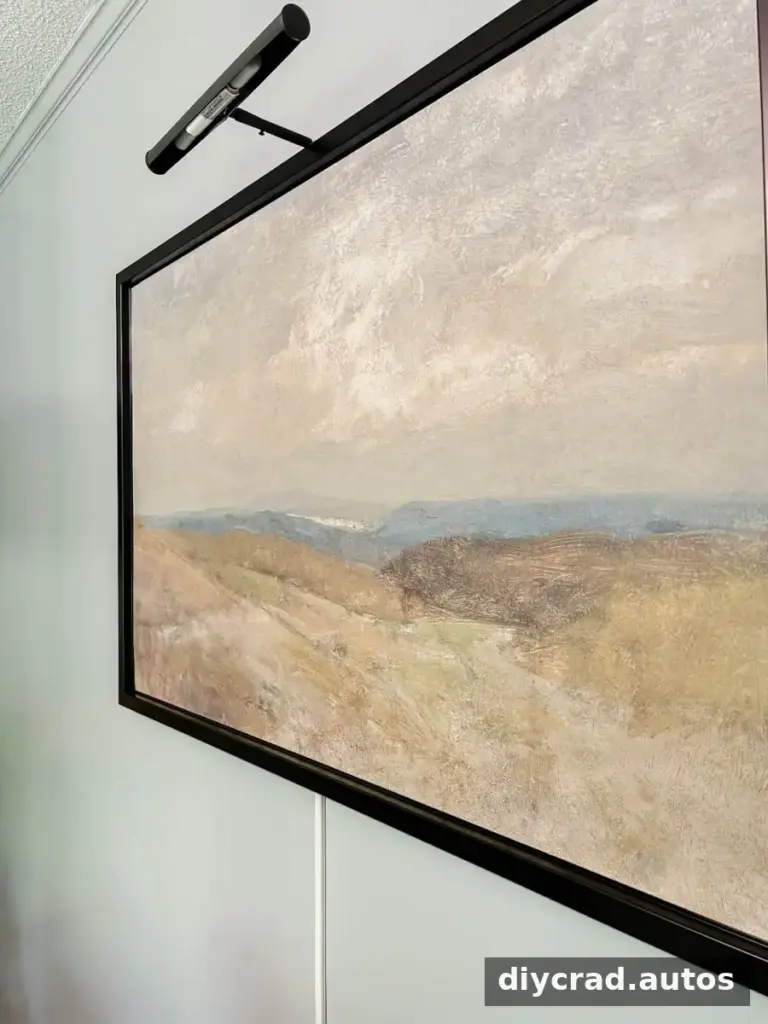
Once the cord is connected, switch on the light and check that it illuminates the artwork evenly. Additional cord covers can help organize other visible cables, but keep all cords accessible and in good condition.
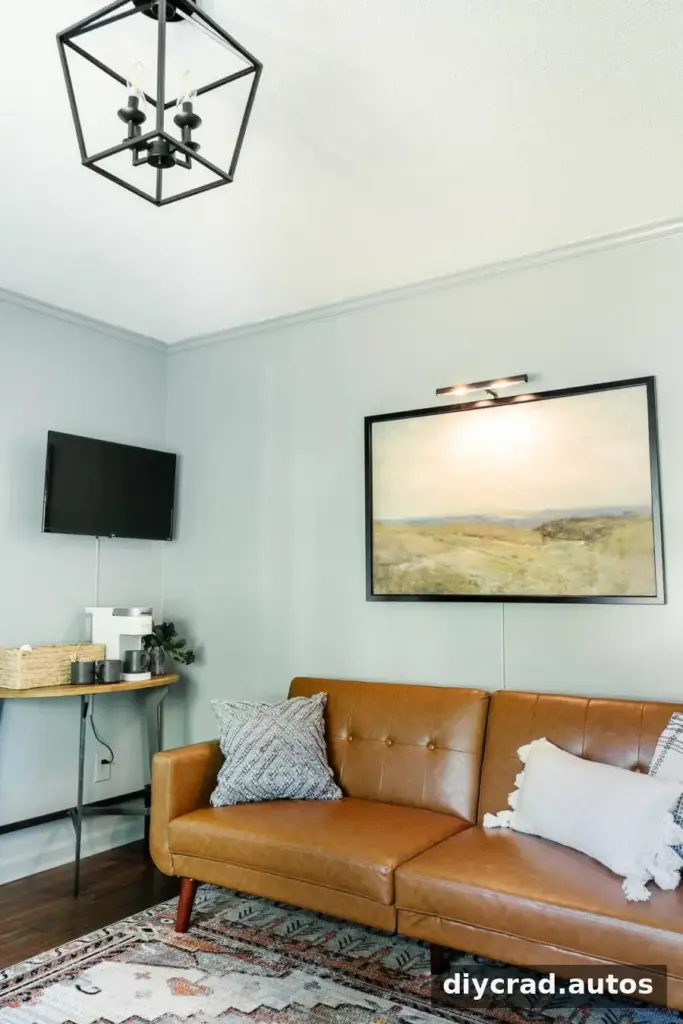
Option 2: Install a Wireless Picture Light
A battery-powered picture light is a practical choice when there is no nearby outlet or when you want to avoid a visible cord. Some models include a remote control, timer, and adjustable brightness or color settings. Features vary, so check the product instructions to confirm how the controls and batteries work.
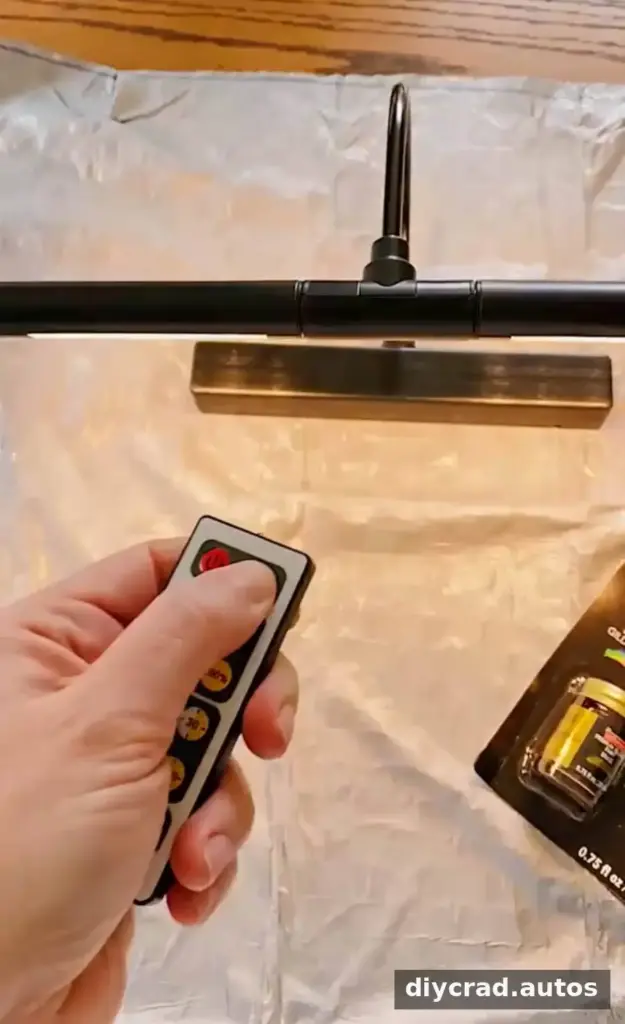
Step 1: Mount the Wireless Light
Many wireless fixtures include a positioning template. Use it to mark the screw locations above the artwork, then mount the light according to the supplied guide. Check that it is centered before tightening the screws. If the template is not included, measure the artwork’s width and mark the midpoint to help position the fixture.
Step 2: Set the Timer and Brightness
Use the remote or fixture controls to select the brightness and light setting that suits the room. A softer, warmer setting can create a relaxed atmosphere, while a brighter setting may make details easier to see. If the light has a timer, set it for the hours you need rather than leaving it on longer than necessary.
Battery life depends on the battery type, brightness, and how often the light is used. Check the instructions for compatible batteries and replace or recharge them as recommended. Keep spare batteries available if the light is used regularly.
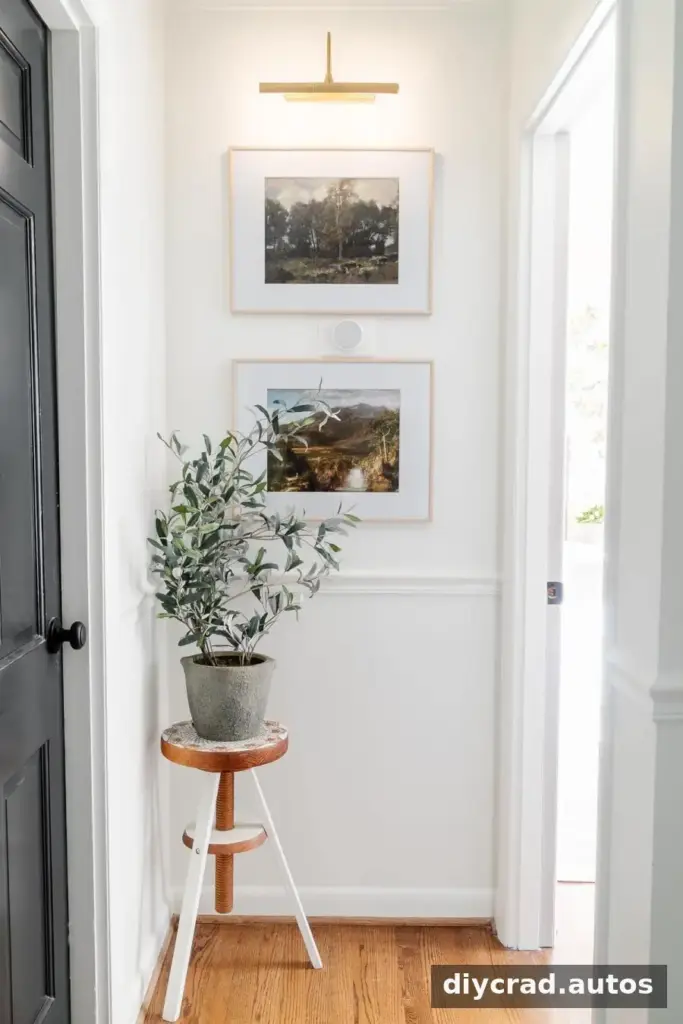
Choosing Between Plug-In and Wireless Lighting
Choose a plug-in picture light if an outlet is close enough and you are comfortable concealing a cord. Choose a wireless light if you want a cleaner wall appearance or do not have convenient access to an outlet. In either case, confirm the fixture’s size is appropriate for the artwork and follow the mounting and maintenance instructions.

Conclusion
It is possible to install a picture light without hardwiring by using either a plug-in fixture with a covered cord or a battery-powered wireless model. Plan the placement around the artwork, use suitable mounting hardware, and follow the product’s safety instructions for a tidy, practical result.

