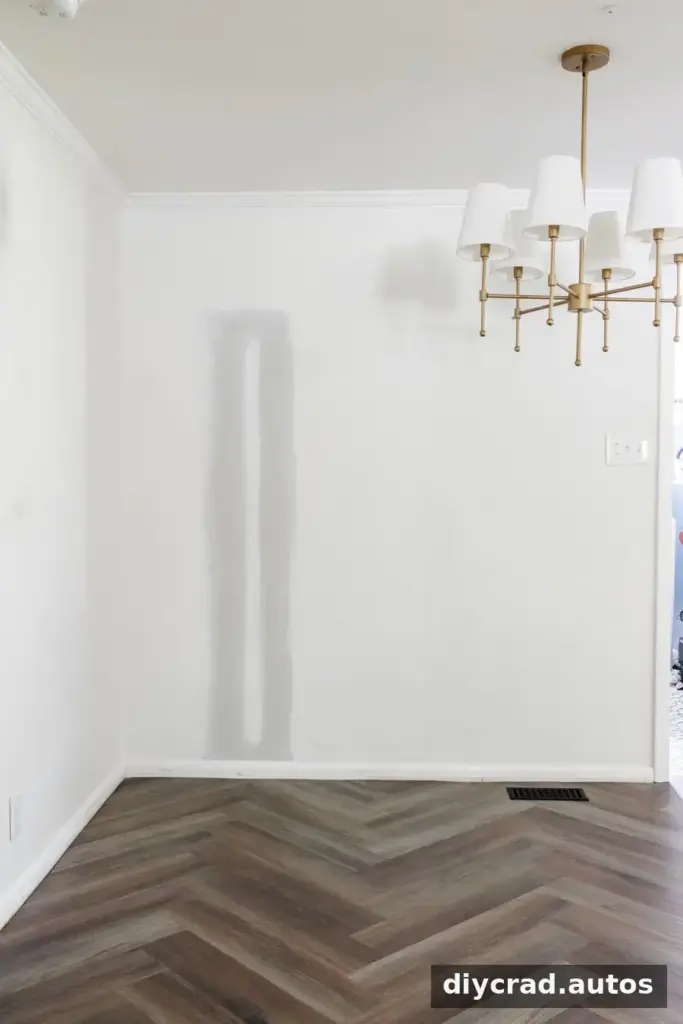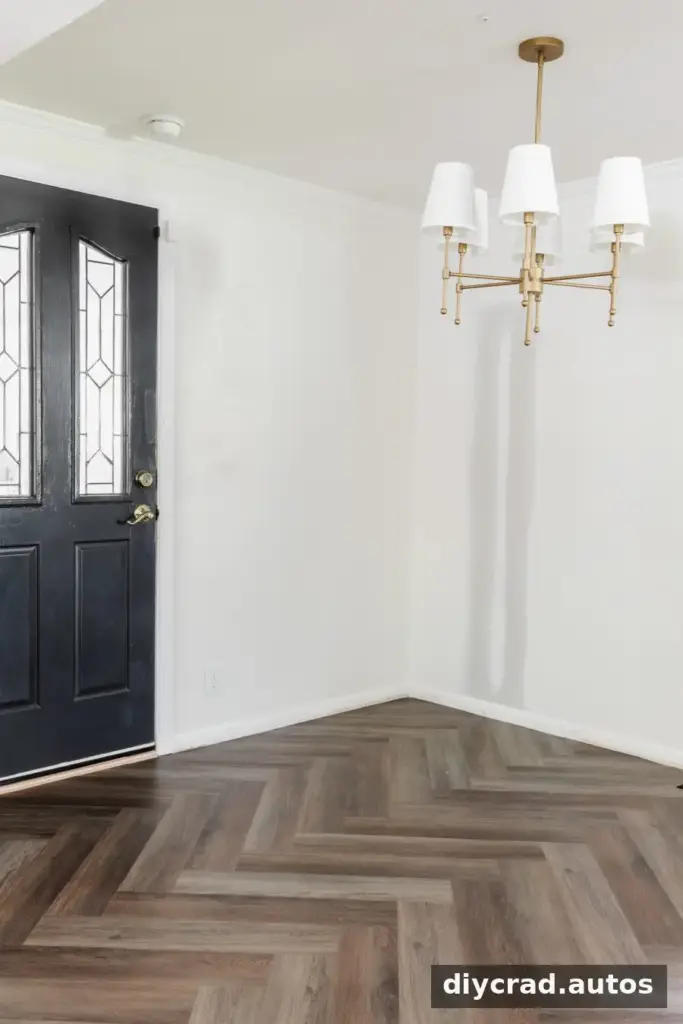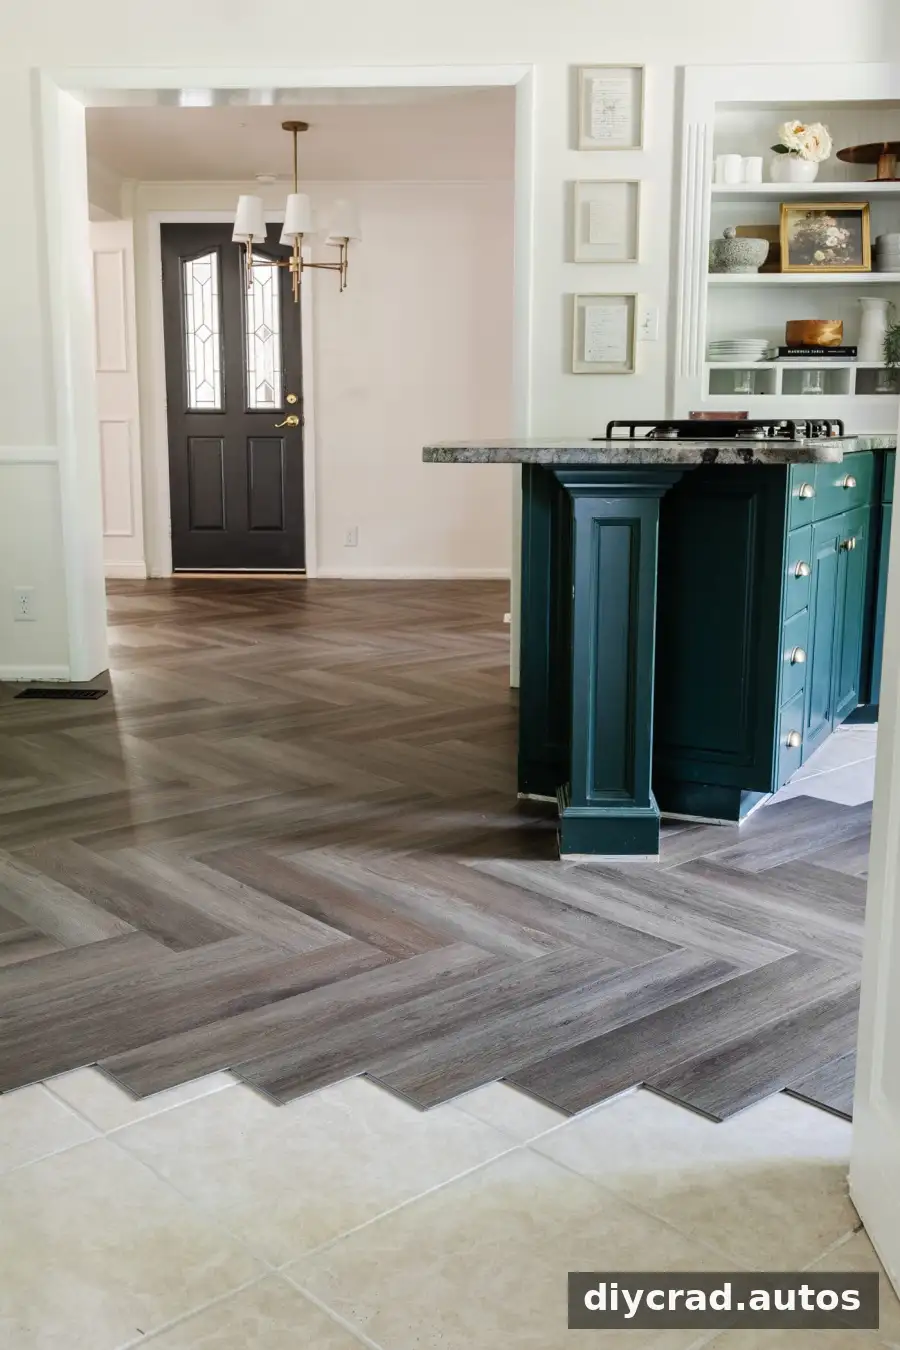
A herringbone LVP floating floor over tile can refresh a room without the dust, time, and expense of removing an existing floor. The key is to start with sound, level tile and choose a rigid-core luxury vinyl plank (LVP) product approved by its manufacturer for floating installation over that type of surface. With careful layout and patient trimming, the interlocking planks create a distinctive pattern without glue or nails.
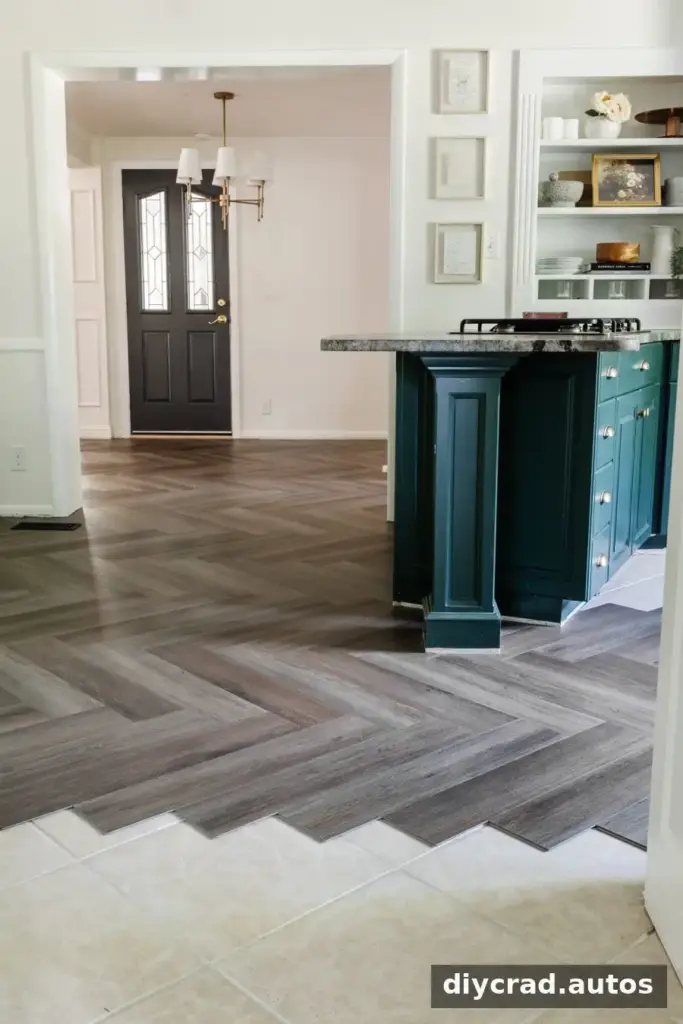
Herringbone adds visual interest to kitchens, breakfast nooks, and other busy areas, while LVP can provide a warmer, more cushioned feel underfoot than tile. Before purchasing materials, measure the room, check the flooring instructions, and confirm that the product is suitable for your subfloor and intended use.
Why Choose Luxury Vinyl Plank Flooring?
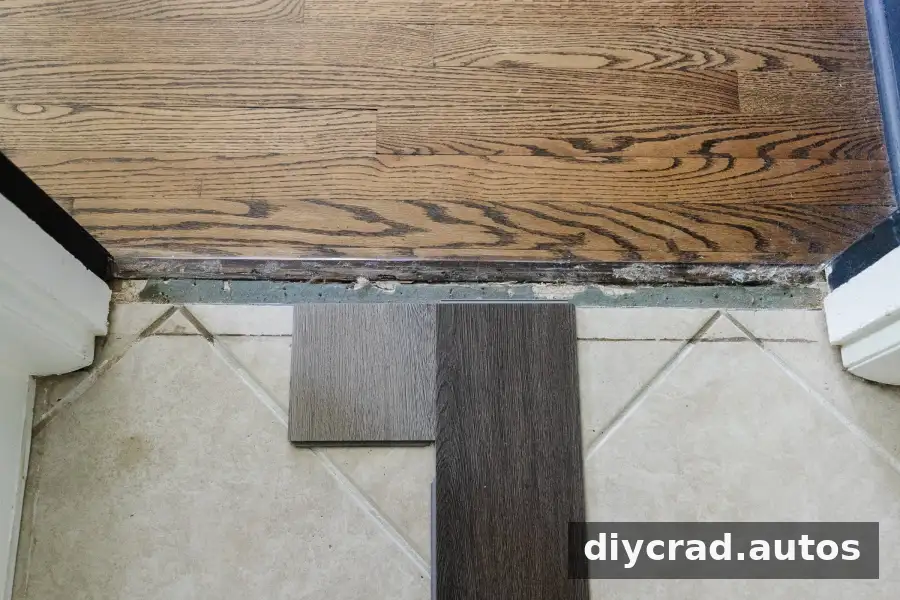
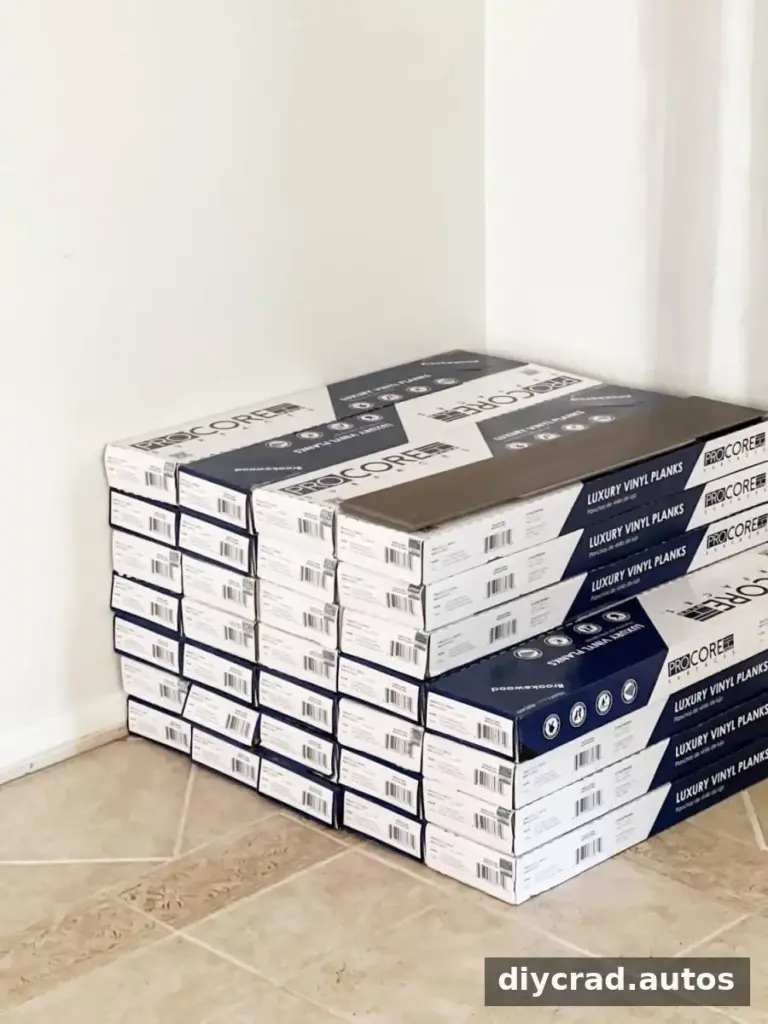
LVP is available in wood-inspired colors and textures, including the Brookewood color used in this project and the lighter Ashewood option. A lightly textured surface can make the planks look more like wood. Choose a color and pattern that work with the room’s lighting and existing finishes; viewing samples in the space can help you compare them.
Benefits of an LVP Floating Floor Over Tile
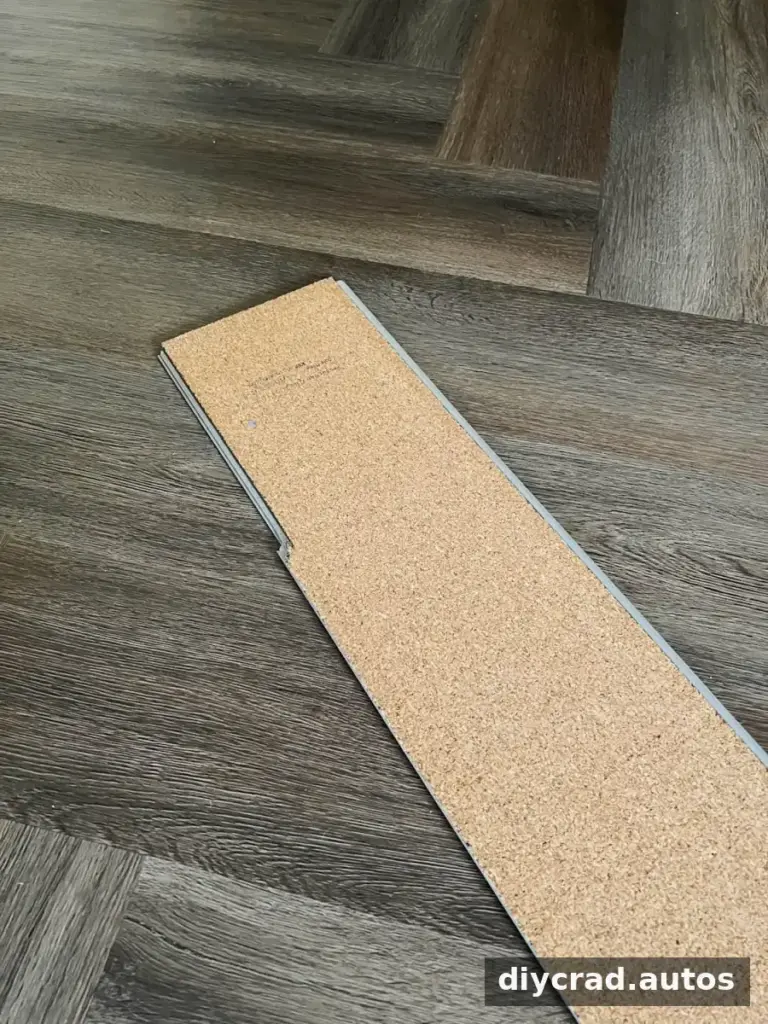
A floating floor uses interlocking planks that connect to one another rather than being fastened directly to the subfloor. Many rigid-core LVP products are designed for straightforward installation and everyday use, but features vary by product. Check the packaging and installation guide to confirm whether the flooring is waterproof or water resistant, what underlayment is included, and which substrates are allowed.
Potential advantages of LVP
- Some products offer waterproof or water-resistant construction.
- Many have surfaces designed to resist stains and scratches.
- Rigid-core planks can be durable in busy household areas.
- Routine care is generally simple; follow the flooring maker’s cleaning guidance.
- Some products include a backing or underlayment that can help with sound and comfort.
- Interlocking planks can be easier to install than tile, although a herringbone layout requires extra measuring and cutting.
These benefits depend on the specific flooring and installation. Keep spills from standing on the surface, use suitable furniture protectors, and follow the manufacturer’s recommendations for cleaning and maintenance.

What Is a Floating Floor?
A floating floor is not glued or nailed to the subfloor. Its planks connect through a tongue-and-groove or click-lock system, forming a joined surface that rests over the prepared base. The floor still needs the required expansion space and any specified underlayment or moisture protection, so use the product’s instructions rather than assuming all LVP installs the same way.
When to Install a Floating Floor Over Tile
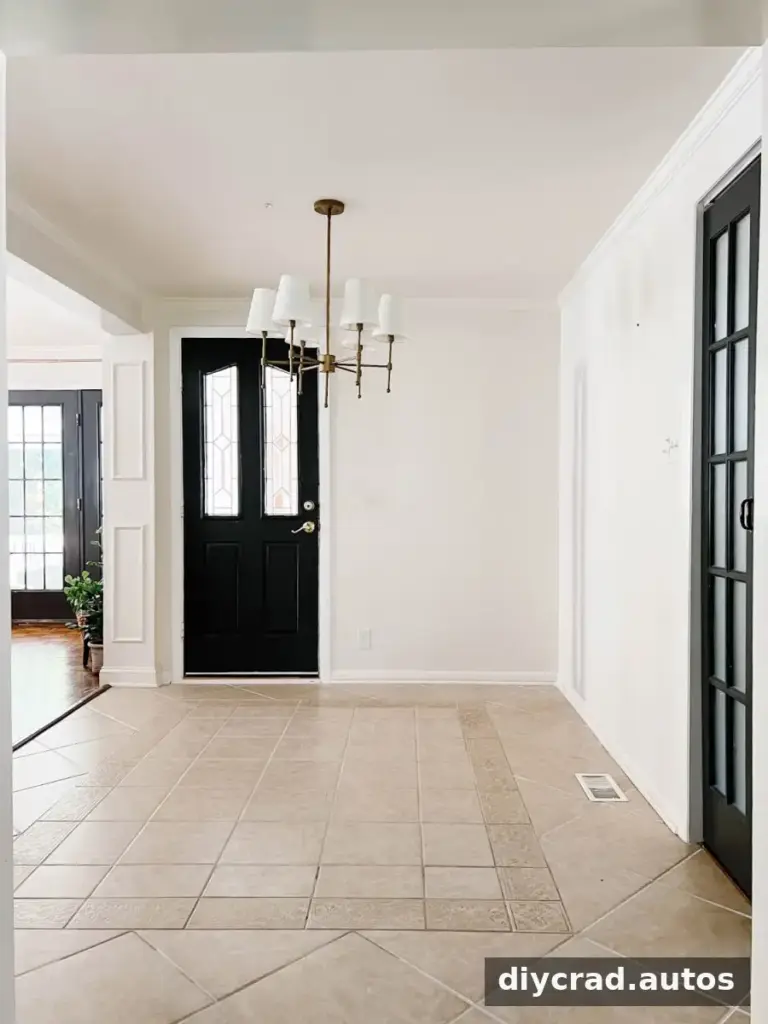
Installing over existing tile may be a practical option when demolition is not feasible, but it is suitable only if the tile is firmly attached, clean, and sufficiently flat. Repair or address cracked, loose, uneven, or missing areas before proceeding. Raised tile texture and deep grout lines may also affect the finished floor, depending on the product’s requirements.
Use a rigid-core flooring product specifically approved for installation over tile. Some products have a built-in cork underlayment, but that does not mean every floor can go directly over every surface. Check the instructions for flatness tolerances, moisture conditions, expansion gaps, and transitions. For concrete, use a 6 mil polyethylene moisture barrier if the flooring instructions call for one.
Surfaces that may be suitable
- Existing ceramic tile in good condition, without cracks or holes
- Concrete, when prepared and protected as required
- Sheet vinyl flooring, if permitted by the product instructions
- Particle board, if it meets the flooring requirements
- Hardwood floors that are sound and suitable as a substrate
Always confirm the approved substrates for your particular product. A smooth, clean base helps the click-lock joints connect properly and reduces the risk of movement underfoot.
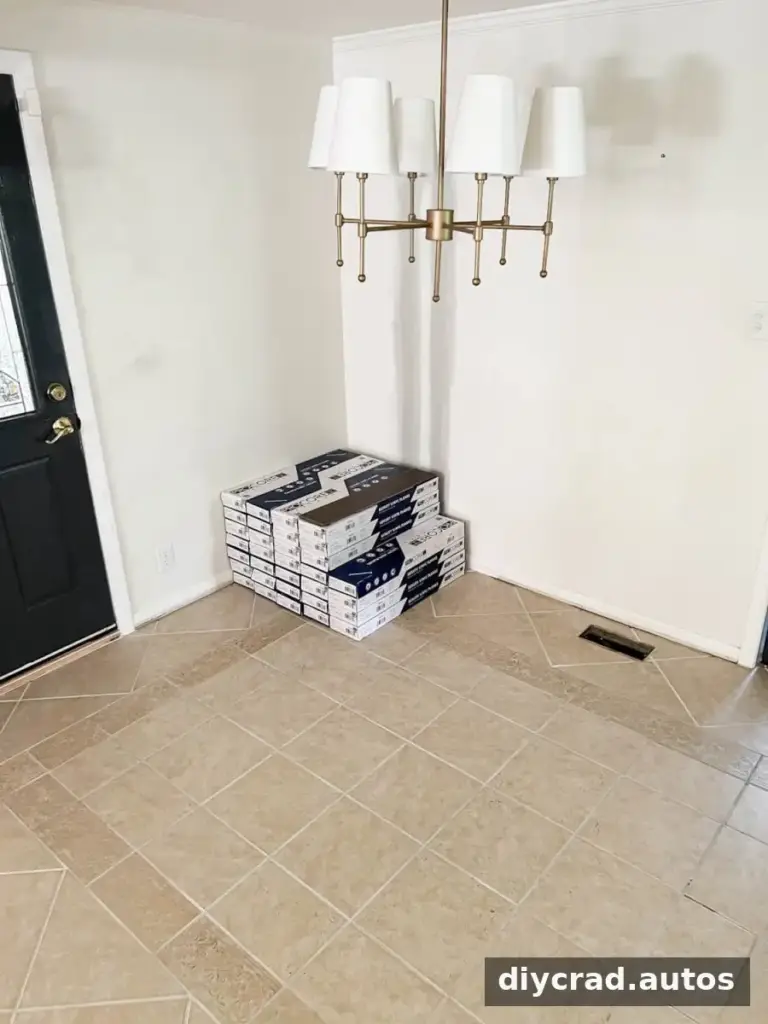
How to Install a Herringbone LVP Floating Floor Over Tile
Tools and materials
- Rigid-core herringbone LVP flooring
- Safety glasses, dust mask, and work gloves
- HEPA-filtered vacuum and broom
- Rubber mallet and a scrap piece of flooring
- Knee pads and utility knife
- 6-foot and 1-foot levels or straightedges
- Speed square, chalk line, pencil, and tape measure
- Jigsaw with carbide blades
- Oscillating multi-tool, pry bar, and brad nailer or hammer with brad nails
- 5-in-1 flooring transitions
- 6 mil polyethylene sheeting or moisture barrier, if required over concrete
Prepare the room and layout
Step 1: Remove shoe molding
Score the caulk along the shoe molding with a utility knife. Carefully use a pry bar to remove the molding and set it aside for reinstallation. Removing it first makes it easier to leave the required perimeter gap and gives the finished edge a neat appearance.
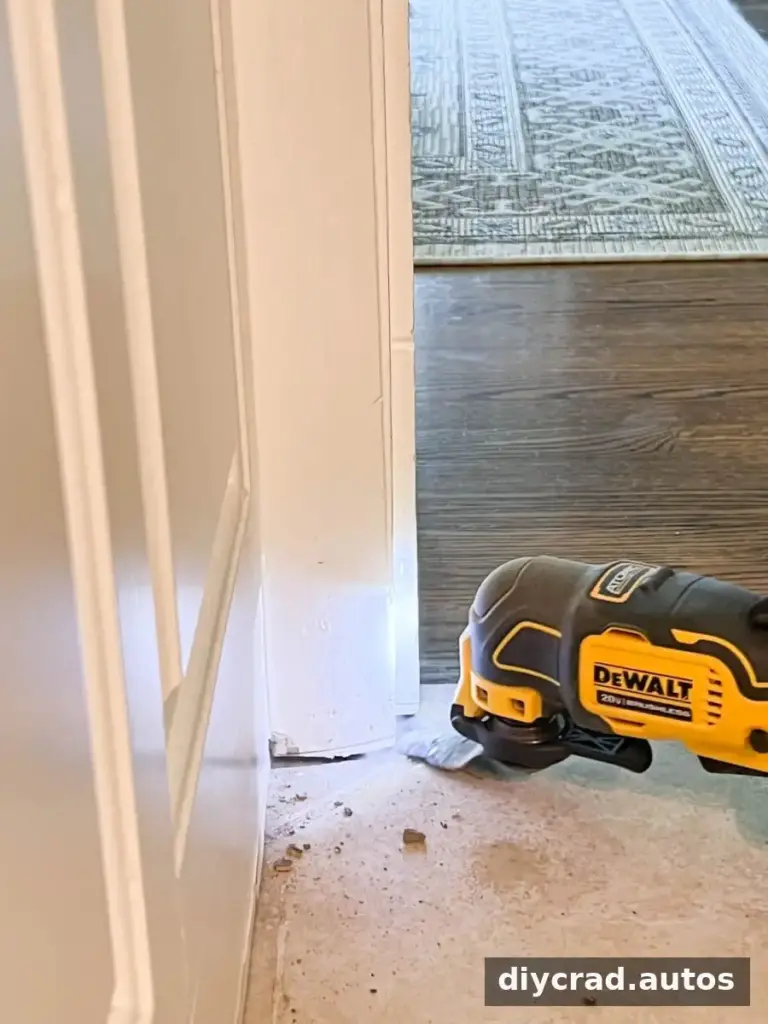
Step 2: Undercut the door jambs
Use an oscillating multi-tool to trim the bottom of each door jamb to allow the flooring to slide underneath. Make the cut to suit the installed floor height, and work carefully to avoid damaging the jamb.
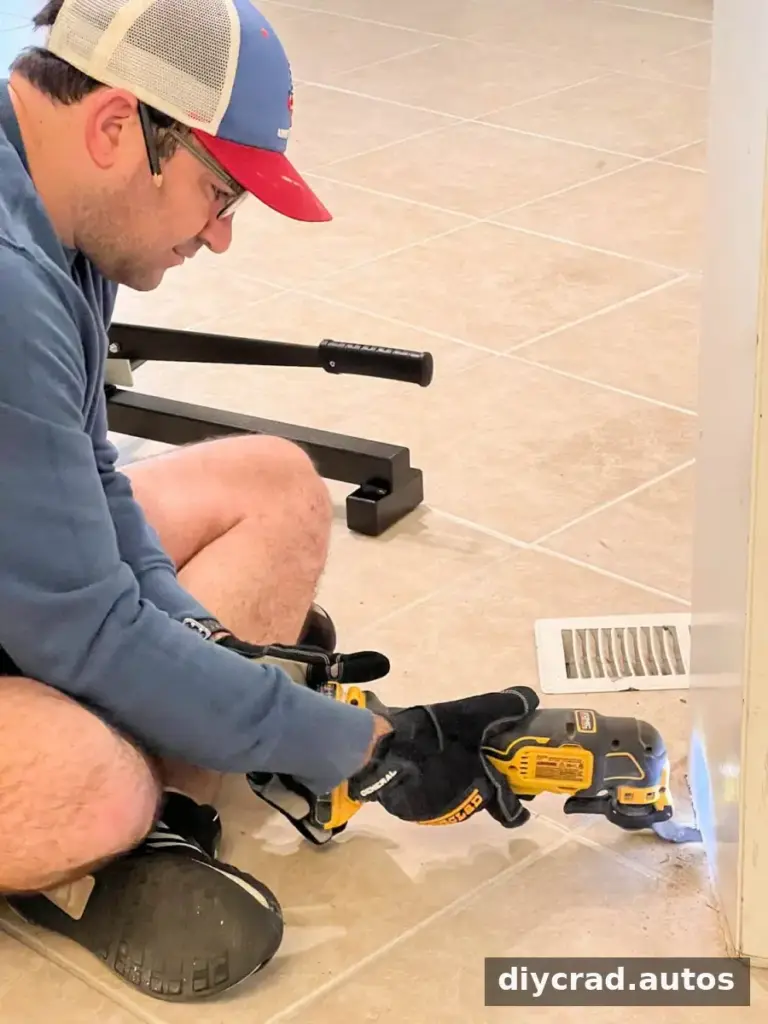
Step 3: Mark the starting line
Vacuum the tile and decide which direction the herringbone pattern should run. Measure the room and mark its center. Use a chalk line or a straightedge and pencil to extend a clear center reference line across the floor.
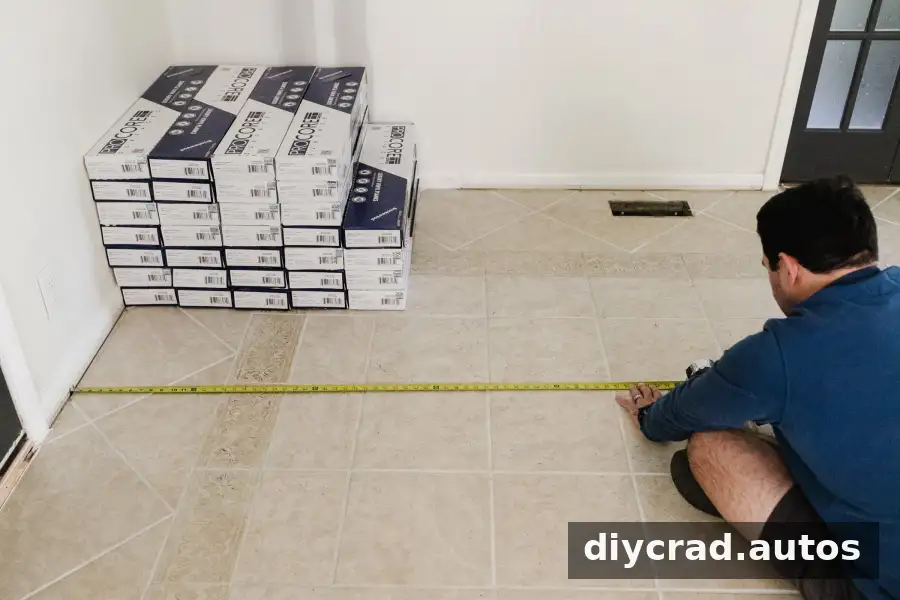
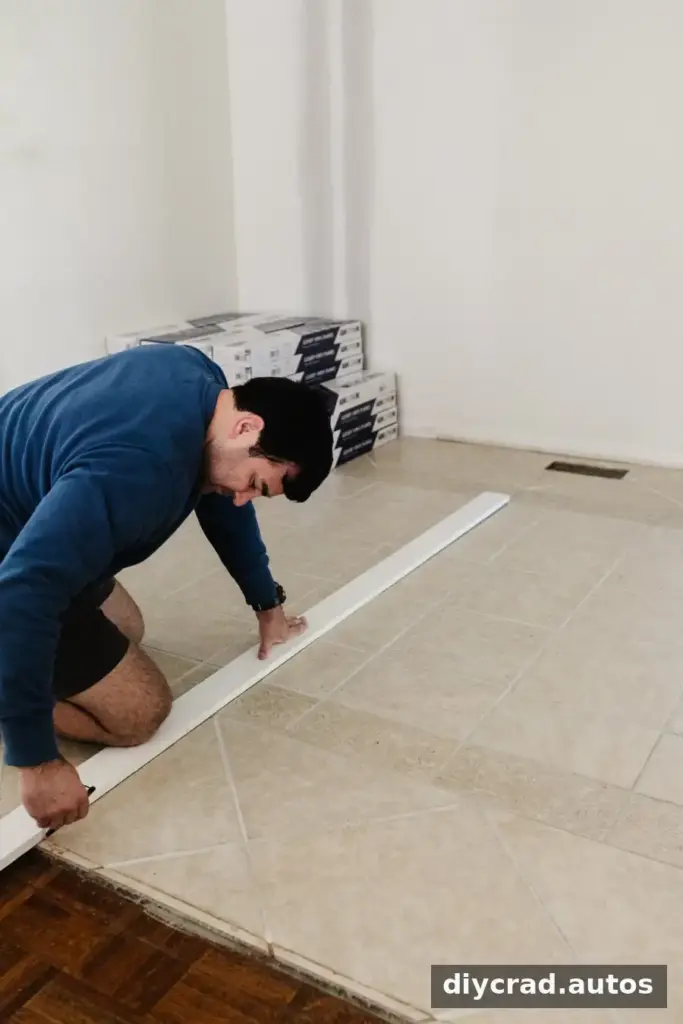
Step 4: Mark a second guide
Mark another line 2 inches from the center line. This line guides the first row of planks in this layout. Check the flooring instructions and dry-fit several pieces before locking them together so you can confirm the pattern’s direction and alignment.
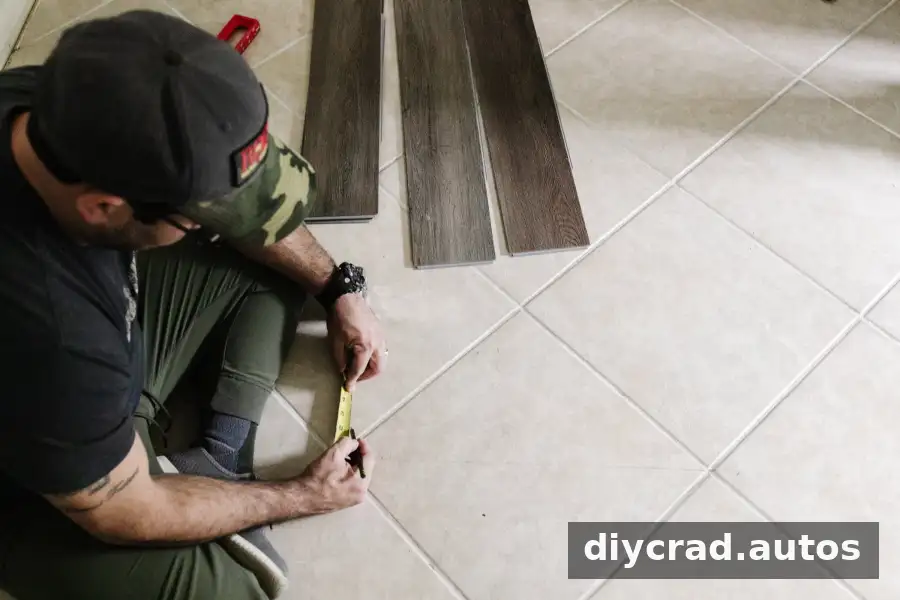
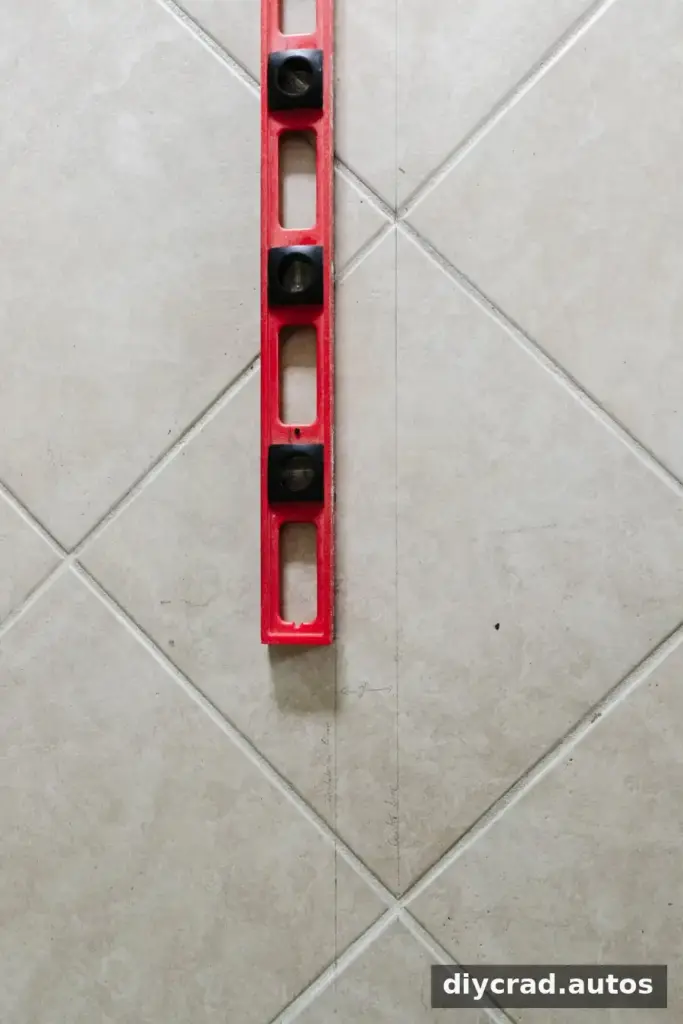
Step 5: Place the first planks
Connect the first few planks and align the V shape of the herringbone pattern with your markings. Take time to check that the starting pieces are straight; a small error at the beginning can become more noticeable as the pattern spreads across the room.
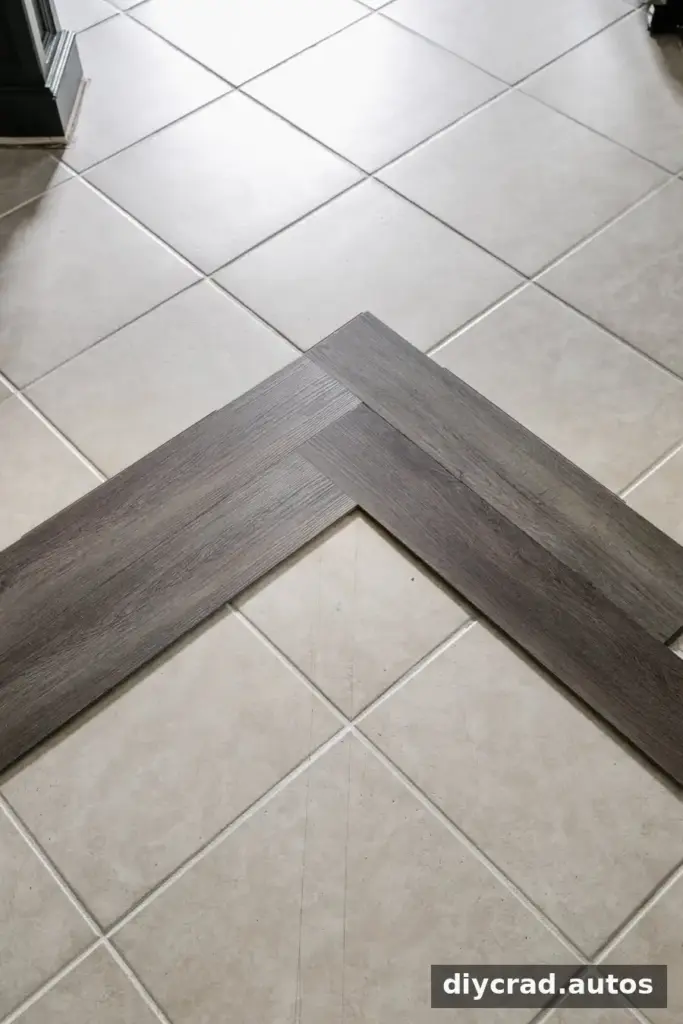
Step 6: Fit the plank seams
Use a rubber mallet and a scrap piece of flooring to help bring the seams together snugly. Do not strike the finished plank edge directly, and use the method recommended by the product instructions to avoid damaging the locking system.
Step 7: Lock the seams
Tap the top of the seams with the mallet as needed to lock the planks together. Check each connection as you work; gaps or damaged joints may affect the stability and appearance of the floor.
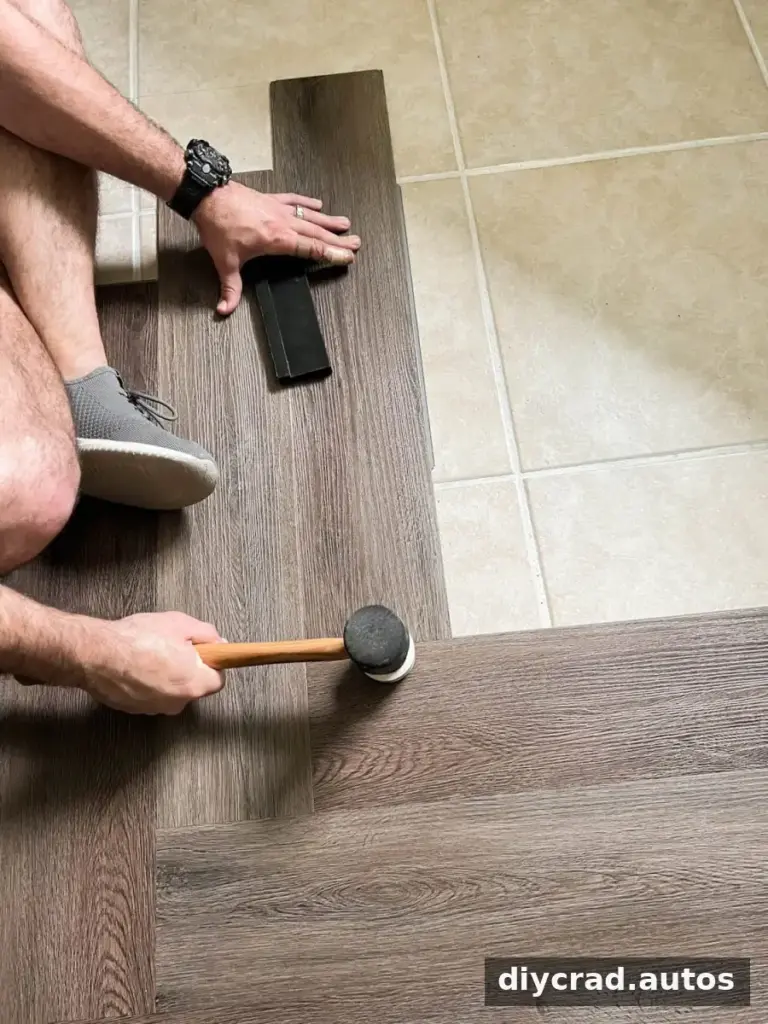
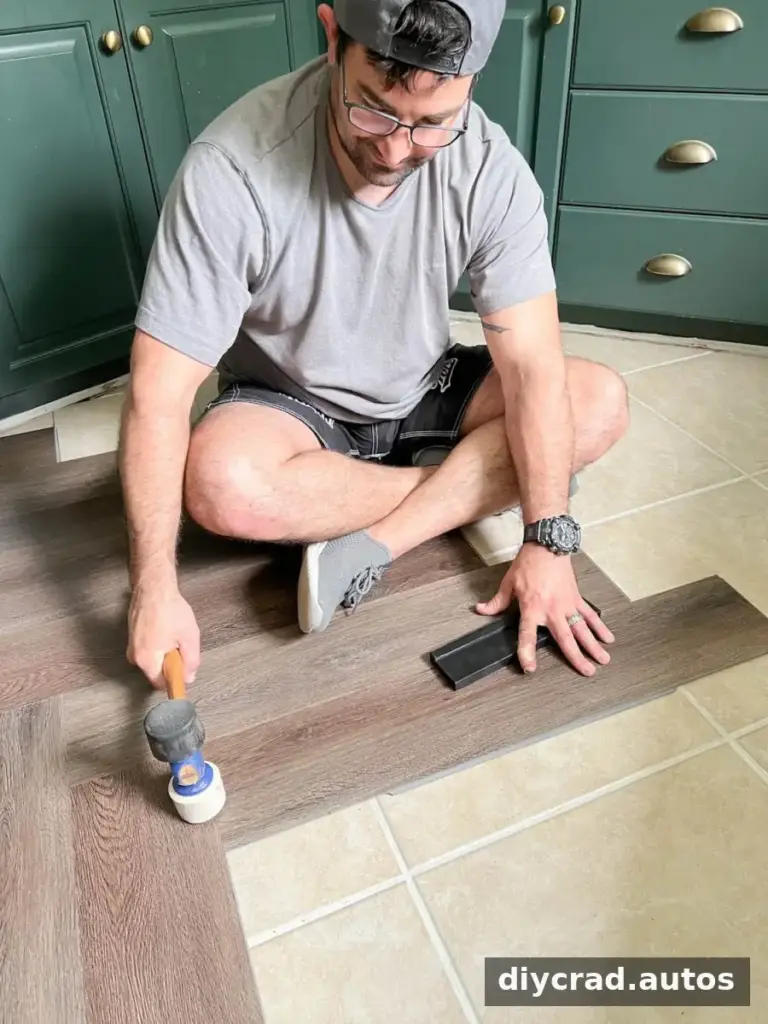
Step 8: Vary the plank appearance
Mix planks from several boxes as you install them, and avoid placing identical patterns or shades directly beside one another. This simple check helps create a more varied, natural-looking floor.
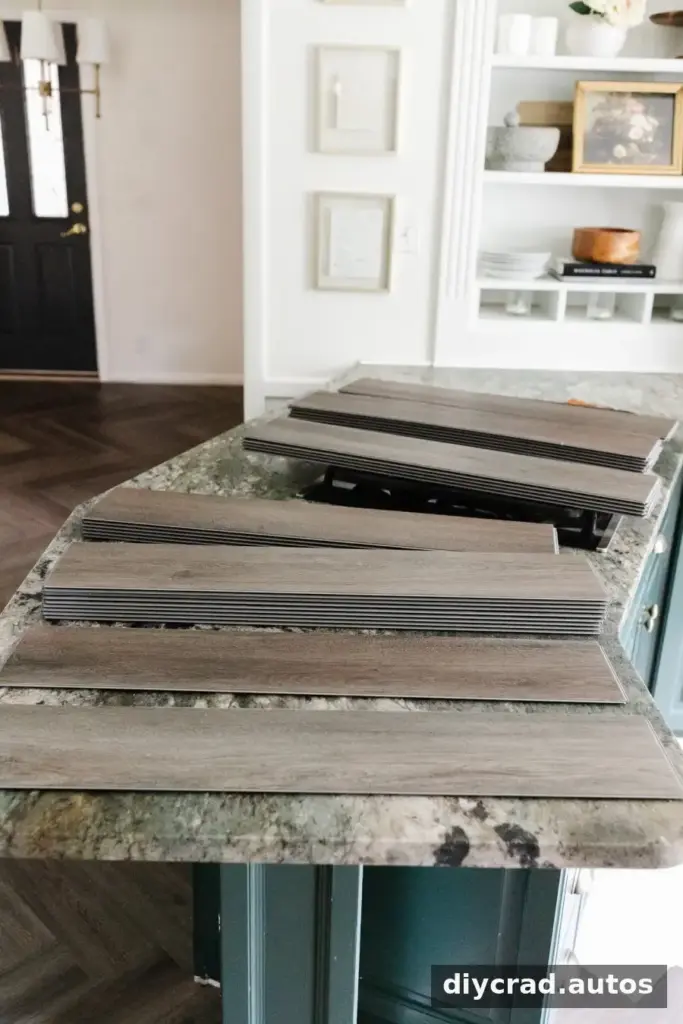
Step 9: Continue across the center
Repeat the process of positioning, connecting, and locking full planks through the middle of the room. Pause occasionally to check that the pattern remains aligned with the guide lines.
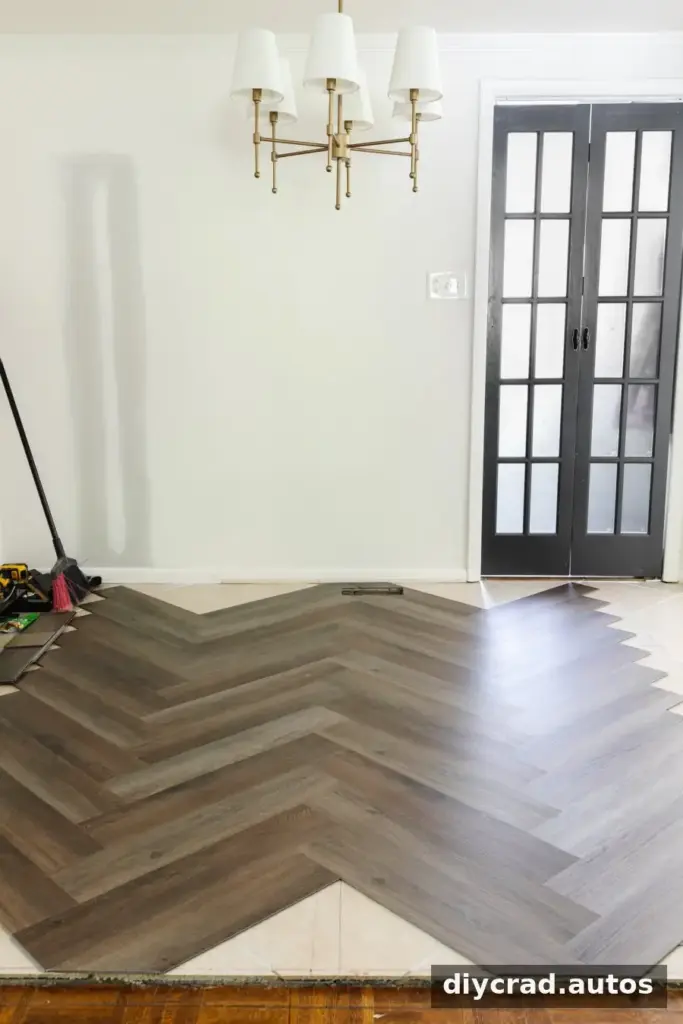
Step 10: Fill the edges and corners
Once the center area is covered, measure and cut pieces for the perimeter. Herringbone cuts can be more demanding than cuts for straight-laid planks, so measure twice and keep track of which piece belongs in each location.
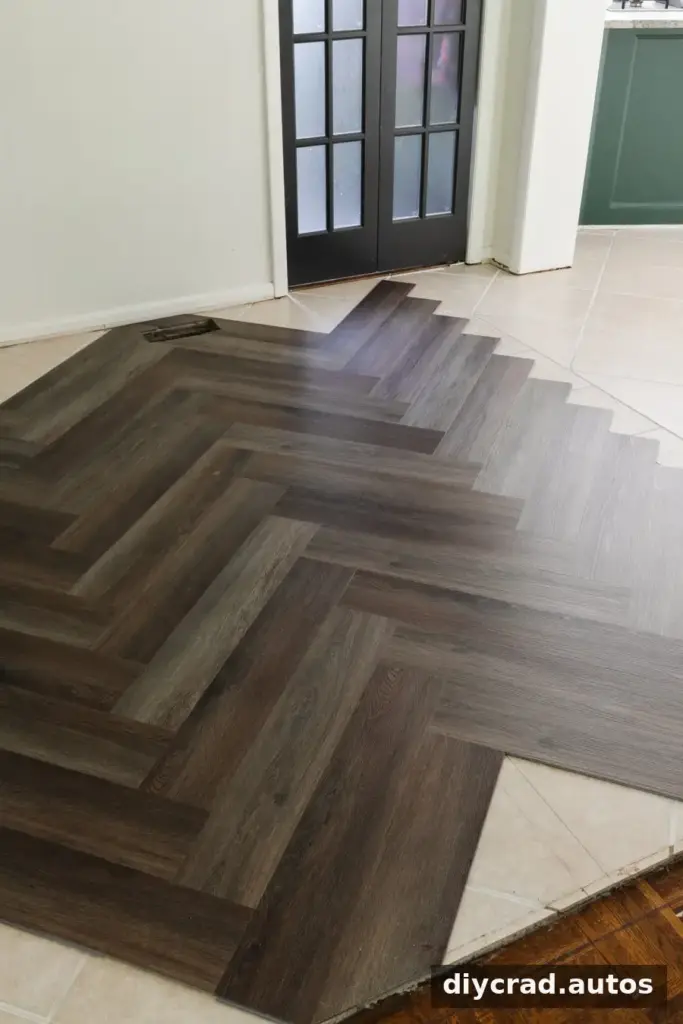
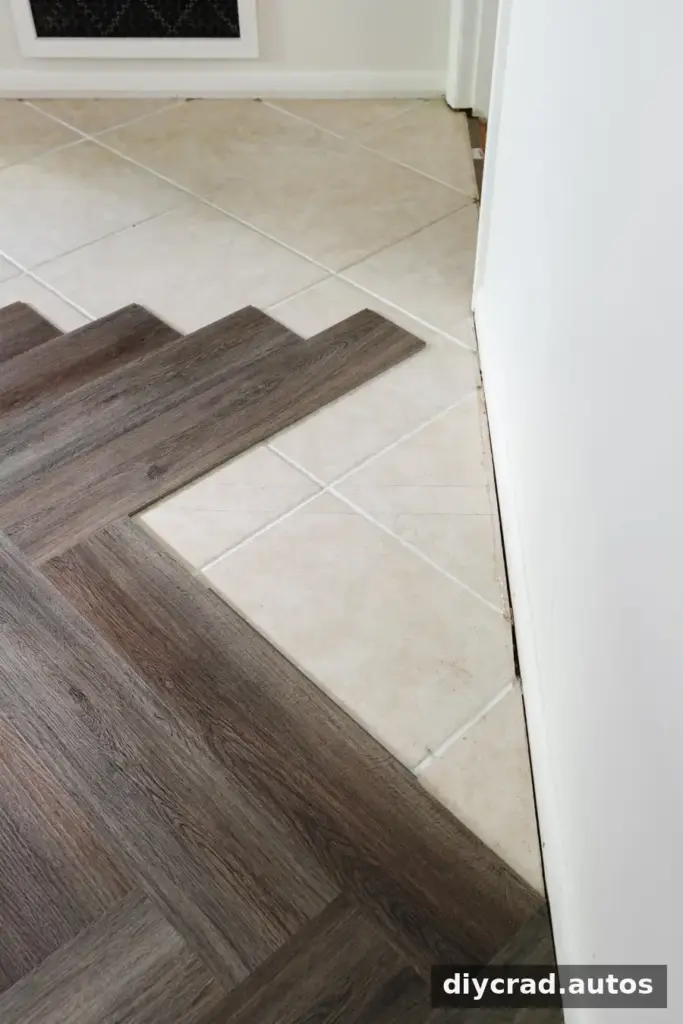
Step 11: Measure the edge space
Measure the distance between the wall and the nearest plank. Keep the expansion space required by the flooring instructions; do not push planks tightly against the wall.
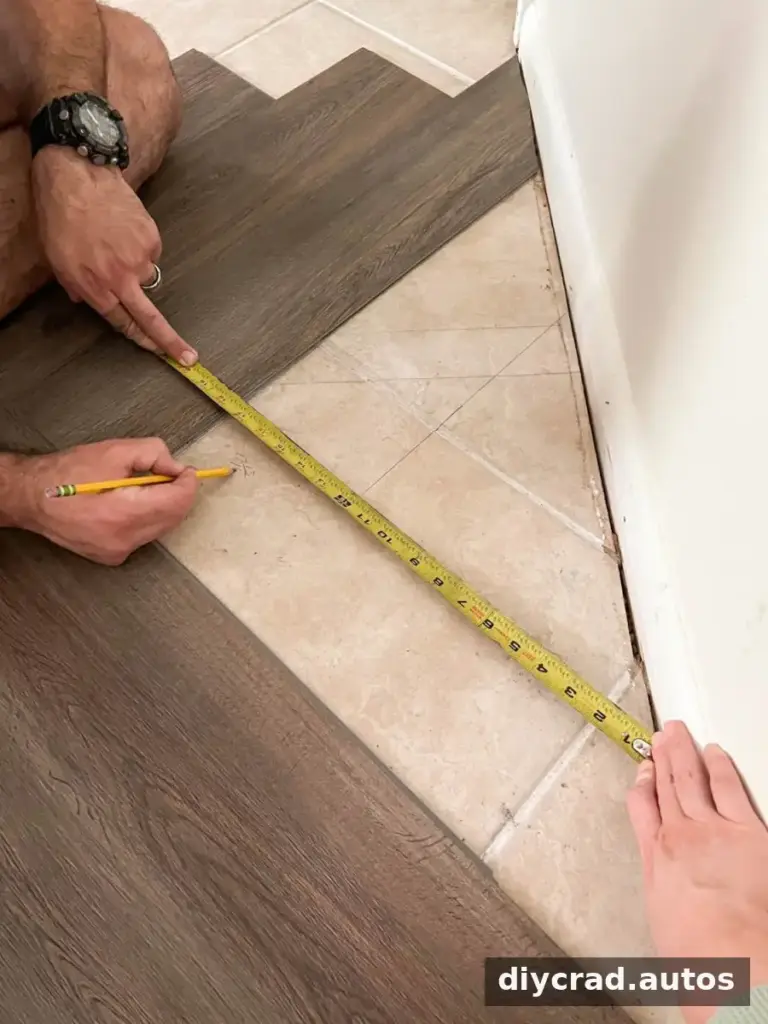
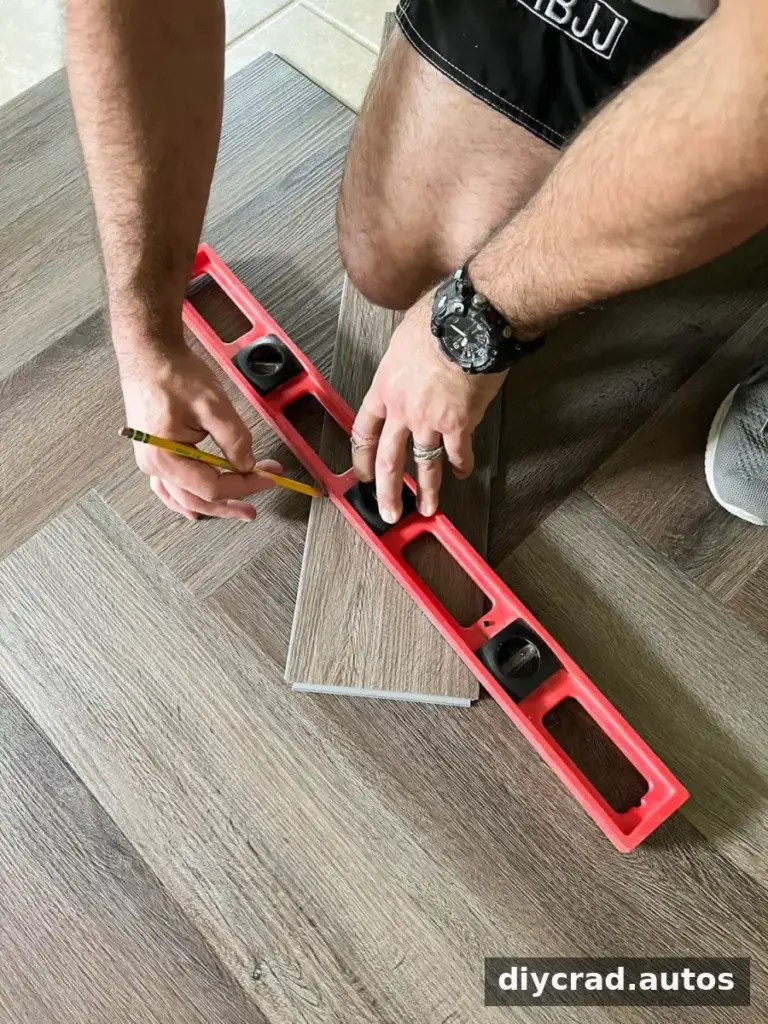
Step 12: Transfer the plank width
Use a spacer cut from a plank to mark the width needed for the edge piece, then measure the marked distance. A consistent spacer helps maintain a uniform perimeter gap.
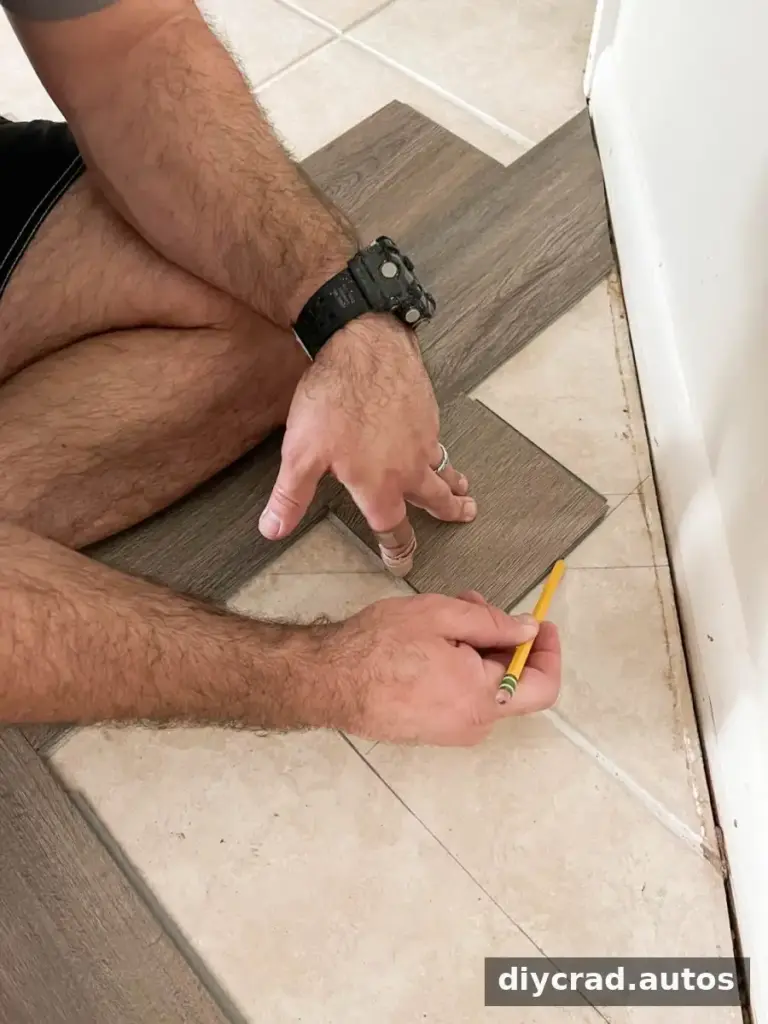
Step 13: Mark the cut
Transfer the measurements from the wall and spacer onto a new plank. Mark the cut clearly and double-check its orientation against the herringbone pattern before cutting.
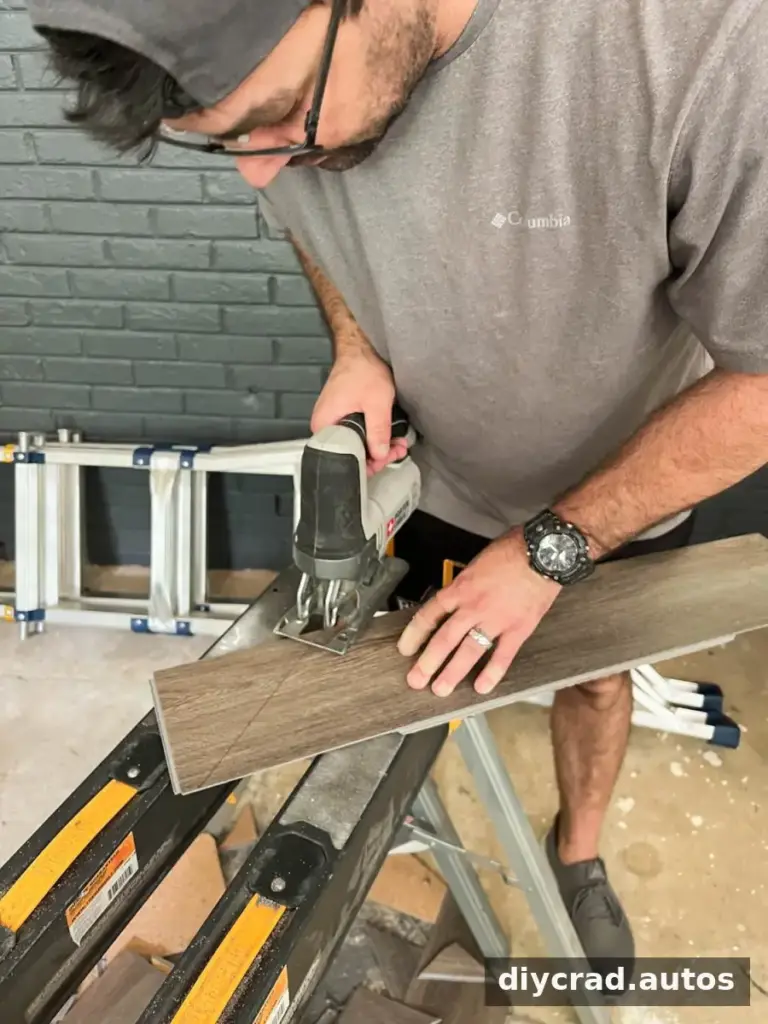
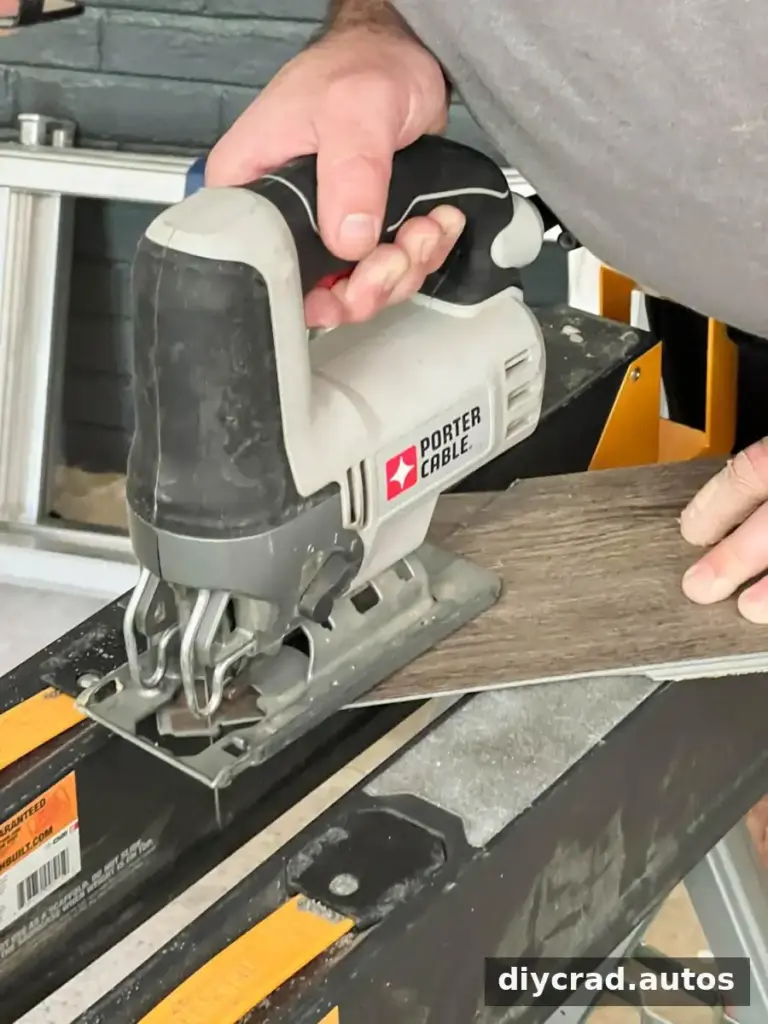
Step 14: Cut the plank
Use a jigsaw with a carbide blade to cut along the marked line. Wear safety glasses and follow the tool’s safety instructions. Test the fit before locking the piece into place.
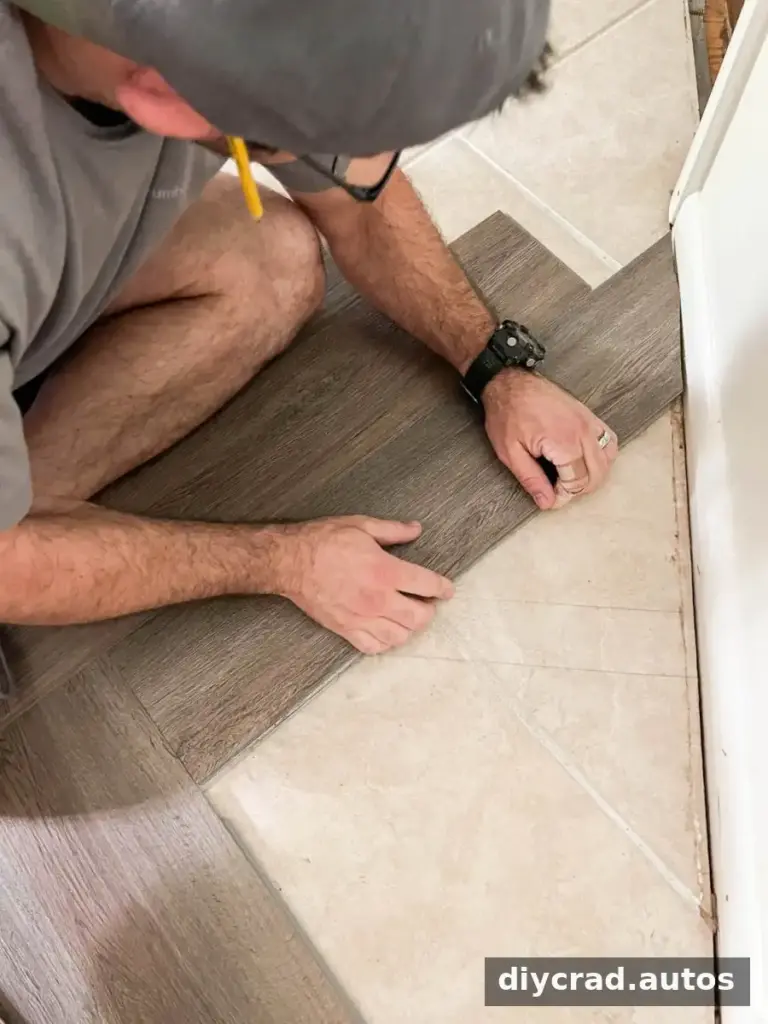
Step 15: Finish the perimeter and obstacles
Continue measuring and cutting pieces for the remaining edges and corners. Use the same careful approach around obstacles such as floor vents, making sure the cut allows the required movement and does not interfere with the vent opening.
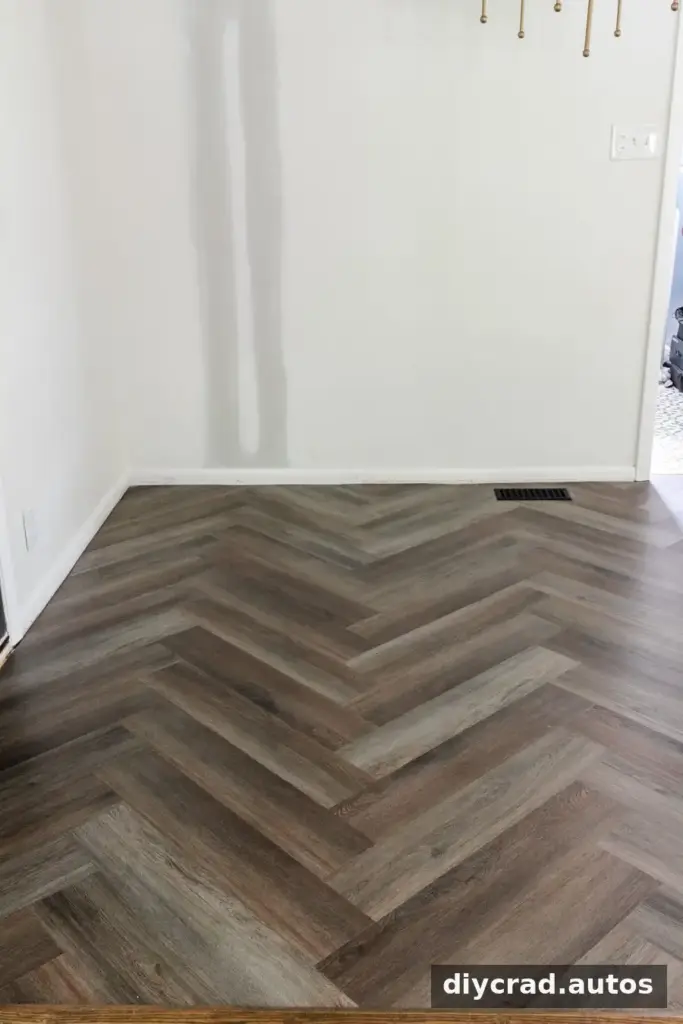
Step 16: Install transition strips
Fit transition strips at doorways and other required changes between flooring surfaces. Choose and install transitions according to the floor manufacturer’s instructions so the edges are covered and the adjoining floors can function correctly.
Step 17: Reattach the shoe molding
After the flooring is in place, reattach the shoe molding to the baseboards to cover the perimeter gap without fastening it through the floating floor. Use a finish nailer or a hammer and brad nails, then caulk and paint as needed.
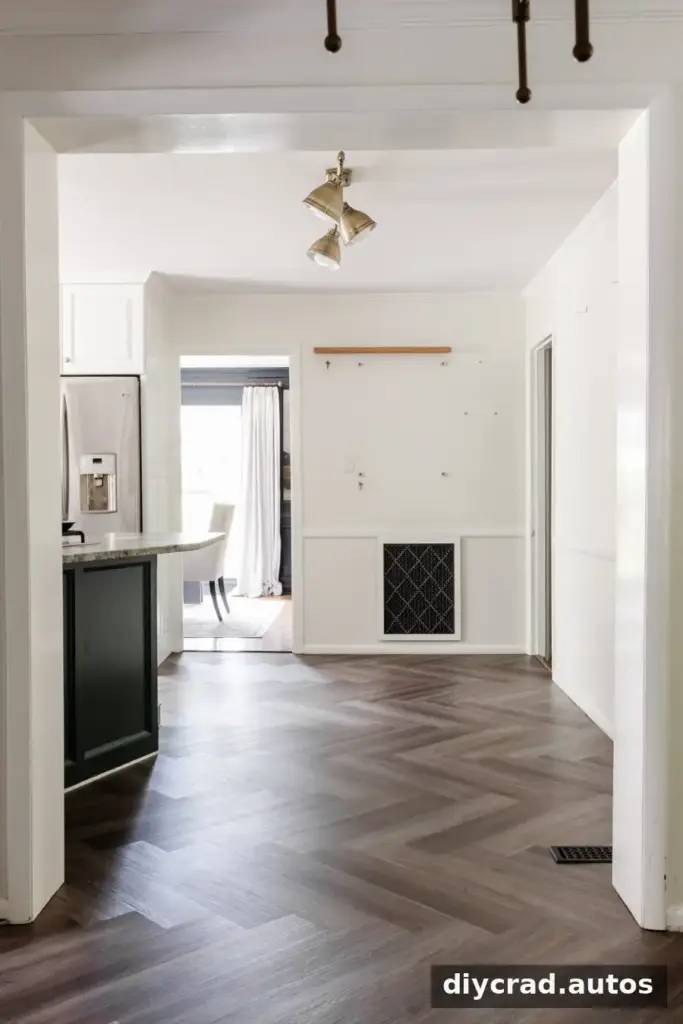
Finishing a Herringbone LVP Floating Floor Over Tile
A herringbone floor can give an older tiled room a noticeably different look without removing the tile, provided the existing surface is suitable and the product is installed according to its instructions. The pattern takes more planning and edge cutting than a standard plank layout, but careful alignment, clean cuts, and secure click-lock joints help produce a tidy result.
Before moving furniture back, check the finished floor, transitions, and perimeter for gaps or movement. Follow the product guidance for cleaning, furniture placement, and any waiting period. A well-prepared surface and accurate layout are the most important steps when installing a herringbone LVP floating floor over tile.