

A faux flower arrangement can make a lasting centerpiece for a wedding, holiday gathering, or everyday display. With a footed bowl, florist foam, and a mix of artificial blooms, you can build a full-looking design without needing fresh flowers or professional floral skills. This step-by-step method uses hydrangeas as the main flowers, then adds roses, ranunculus, and greenery for texture.
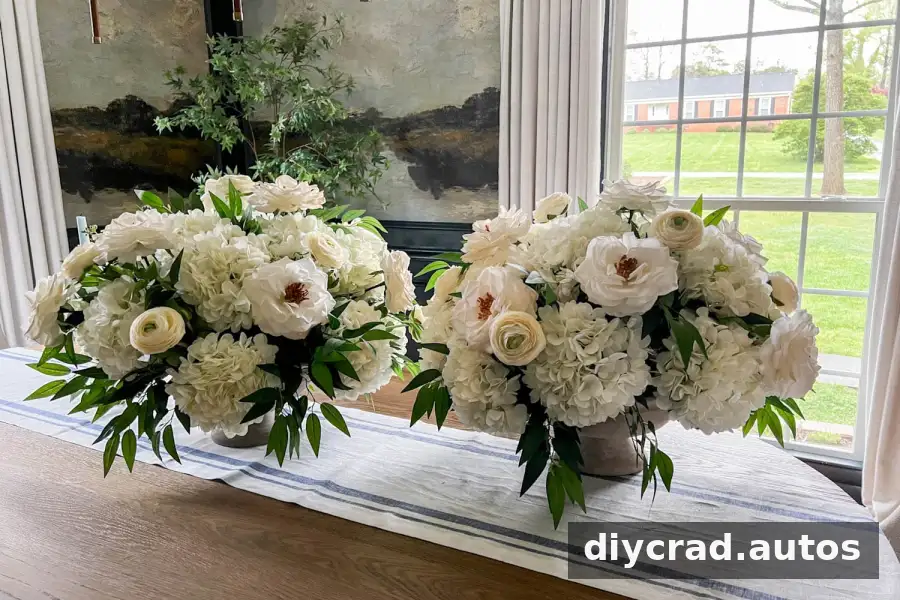
Artificial flowers are convenient when you want to prepare decorations well before an event or reuse them later. Choose realistic-looking stems, and take a few minutes to shape the petals and leaves before arranging them. The finished centerpiece can also be updated with different accent colors to suit the season or occasion.
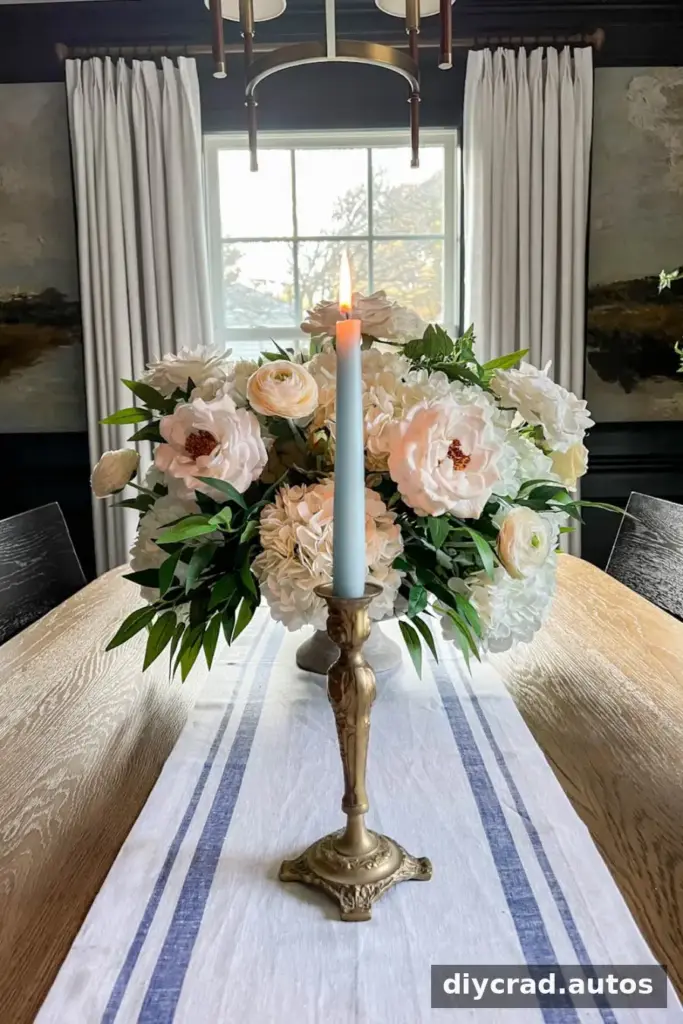
This design works for table centerpieces, an altar display, or other areas that need a decorative focal point. Before starting, decide where the arrangement will sit and check that the bowl’s size and shape suit the space. A low, wide design is often practical for dining tables because it can leave more room for guests to see one another.
How to Make a Faux Flower Arrangement for a Centerpiece
Supplies
- 1 footed bowl
- 1 half-sphere of florist foam sized to fit the bowl; use wet floral foam if arranging fresh flowers
- Wire cutters; florist shears can be used for fresh flowers
- 12 stems of large faux hydrangea
- 12 stems of large faux roses
- 4 stems of faux ruscus
- 8 stems of faux ranunculus
- 1 bush of mixed faux eucalyptus
Gather the materials before you begin and check that the foam fits securely inside the bowl. If the arrangement is for a special event, make a small test arrangement first to confirm the height and color balance you want.
Choose a Footed Bowl
Steps
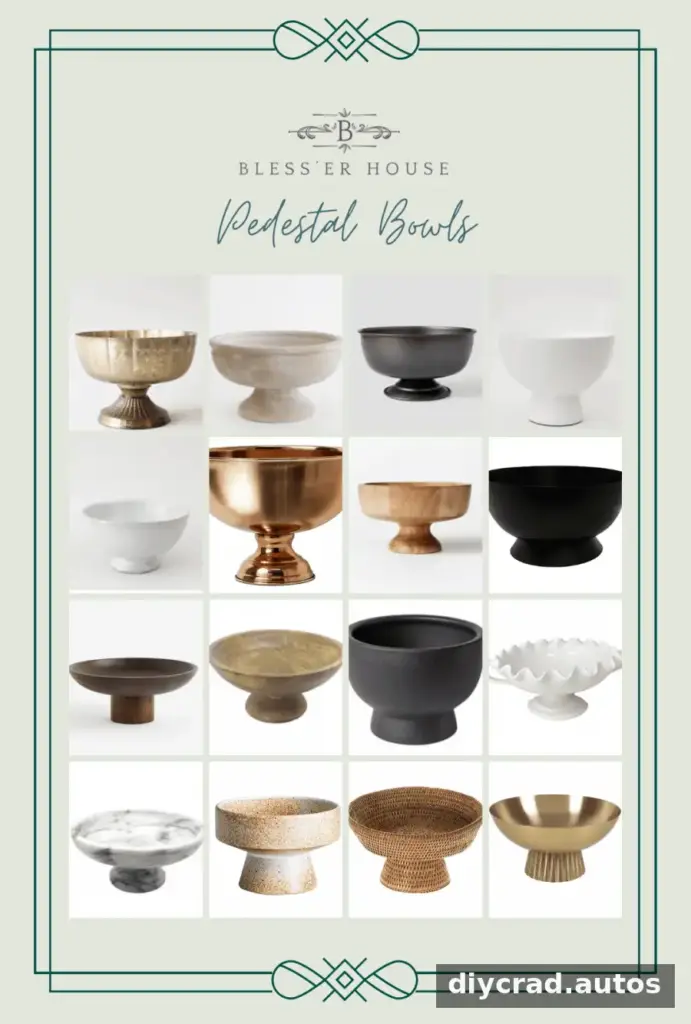
A footed bowl gives the flowers a raised base and helps create a defined centerpiece. Select a container that is wide enough to support the arrangement without making it difficult to carry or place on a table.
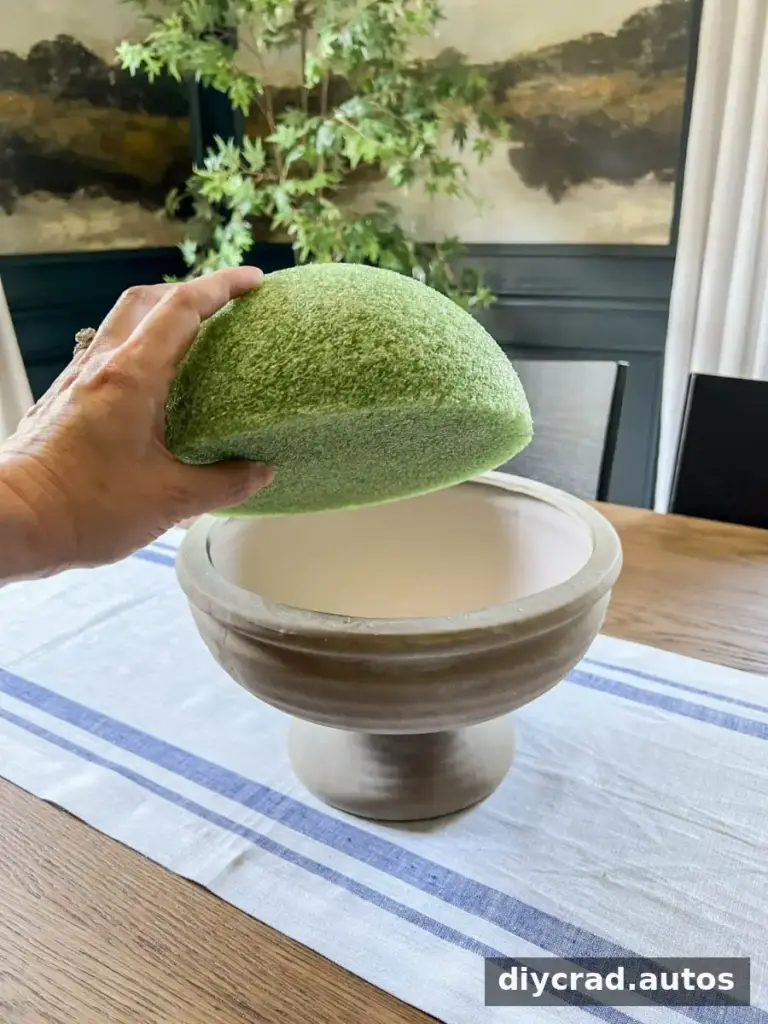
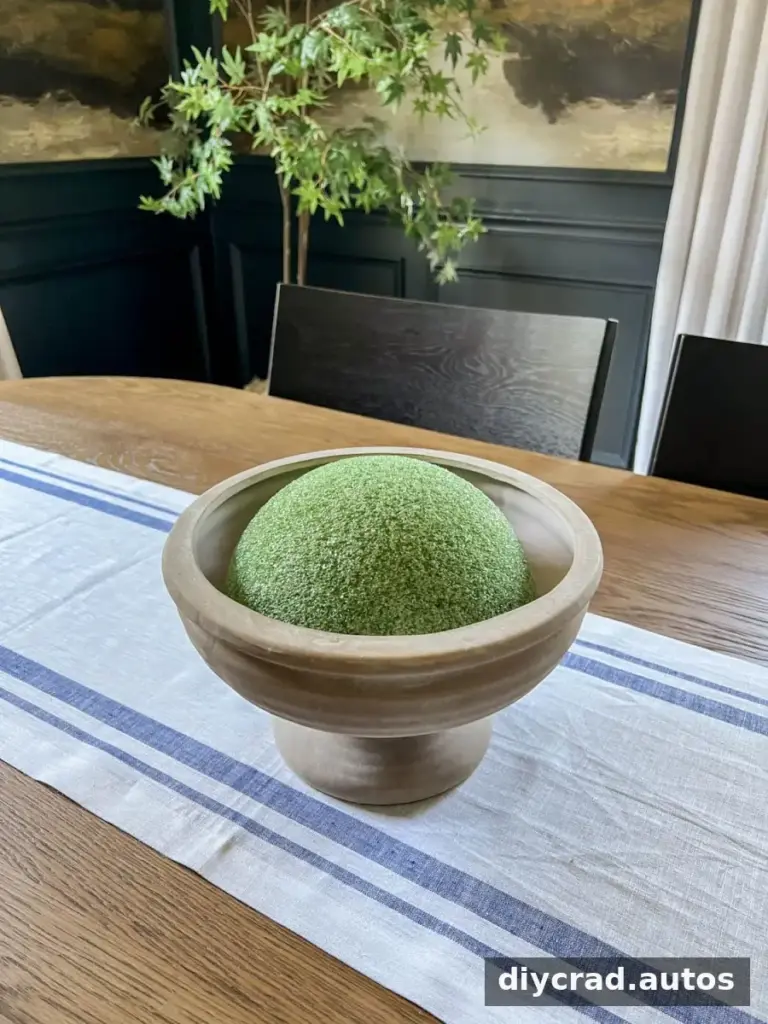
Step 1: Place the Foam
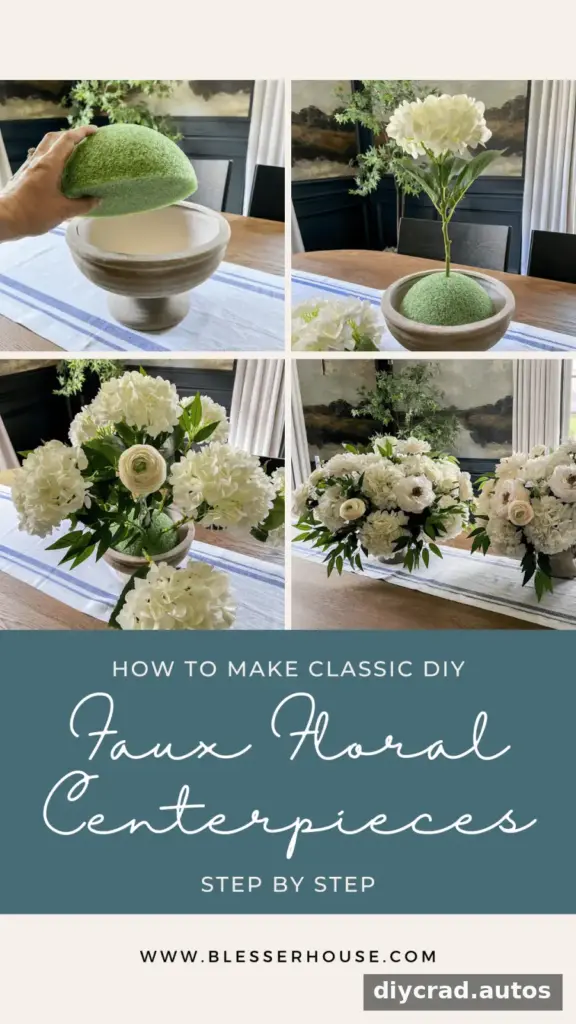
Set the half-sphere of florist foam inside the footed bowl. If you only have a block, carefully trim it with a knife until it fits a similar shape. To keep the foam in position, use a small amount of double-sided duct tape or hot glue at the bottom of the bowl.
You can leave the foam unattached if you want to switch out the flowers and reuse the bowl for different seasons. For an arrangement that will be transported, secure the foam so it is less likely to shift. If you do not have florist foam, a chicken-wire floral cage or floral tape stretched across the bowl’s rim can help keep stems separated and supported.
Step 2: Trim and Fluff the Faux Flowers
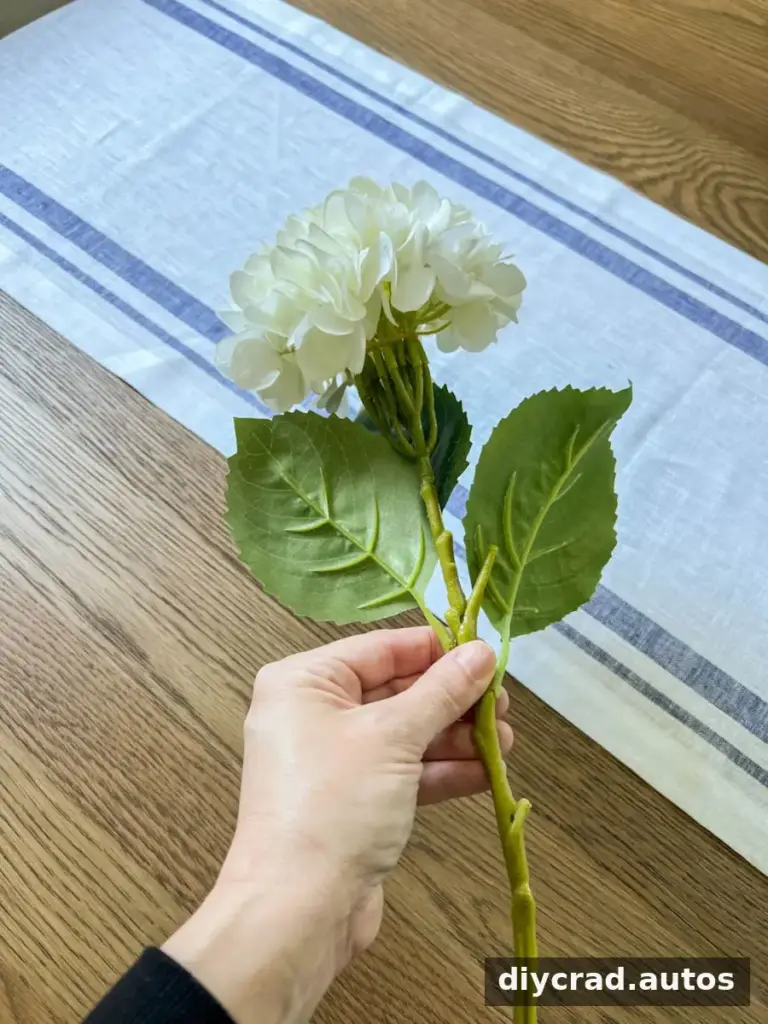
Gently loosen the petals and leaves before placing the flowers. Shake each stem lightly, spread the petals by hand, or use a hair dryer on a gentle setting to help the blooms look fuller. Avoid pulling hard, since some artificial petals can detach.
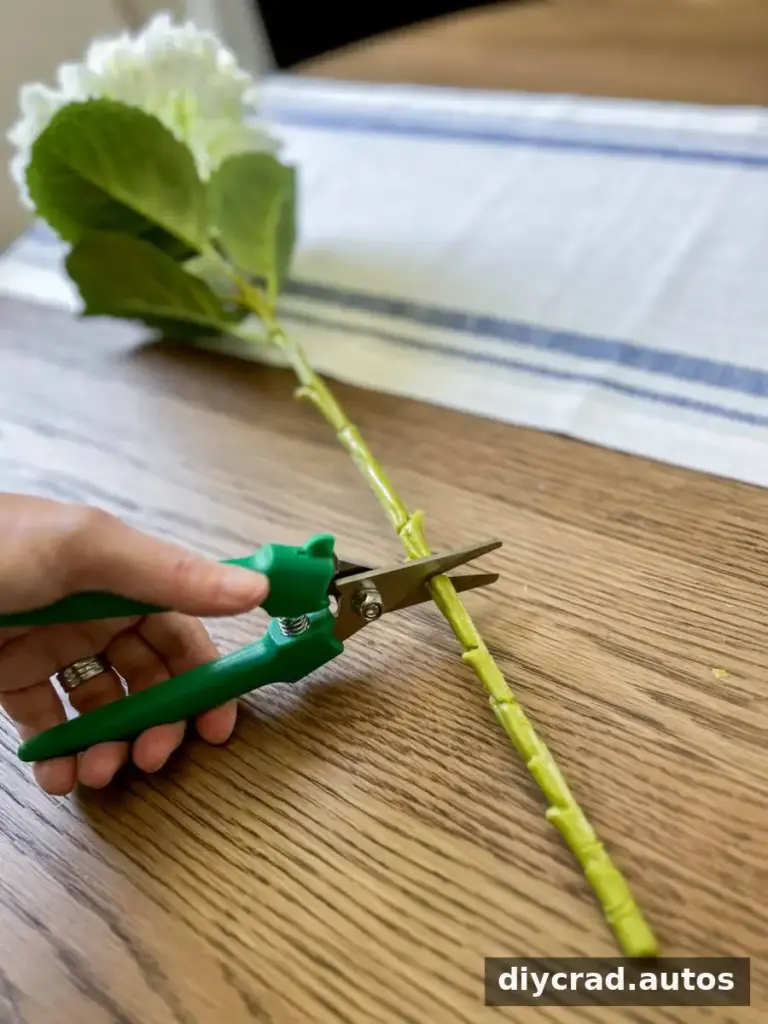
Choose the approximate height of the centerpiece, then trim the stems with wire cutters. Leave at least 2 inches of stem below each bloom so it can be pushed into the foam. The stems in this arrangement were trimmed to about 16 inches, but adjust the length to suit your bowl and display location.
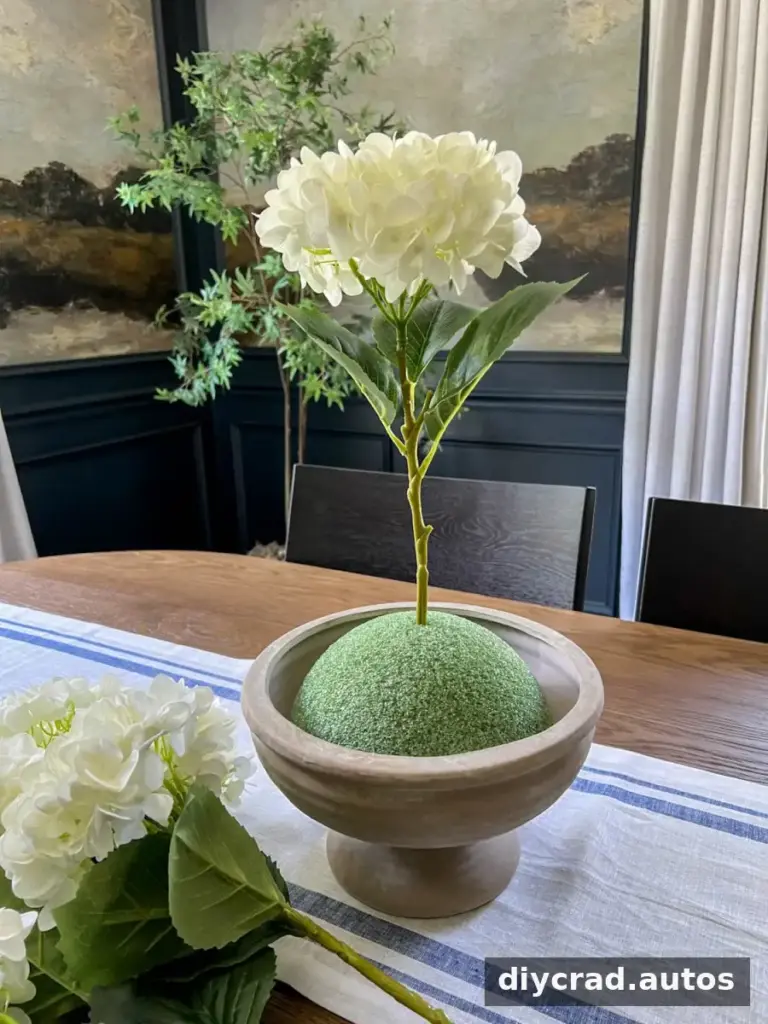
Step 3: Add the Center Bloom
Push one hydrangea stem into the middle of the foam so the bloom stands upright. This first flower establishes the arrangement’s maximum height. Check it from the side before continuing, since the center bloom will guide the overall shape.
Step 4: Place Two Stems in a Triangle
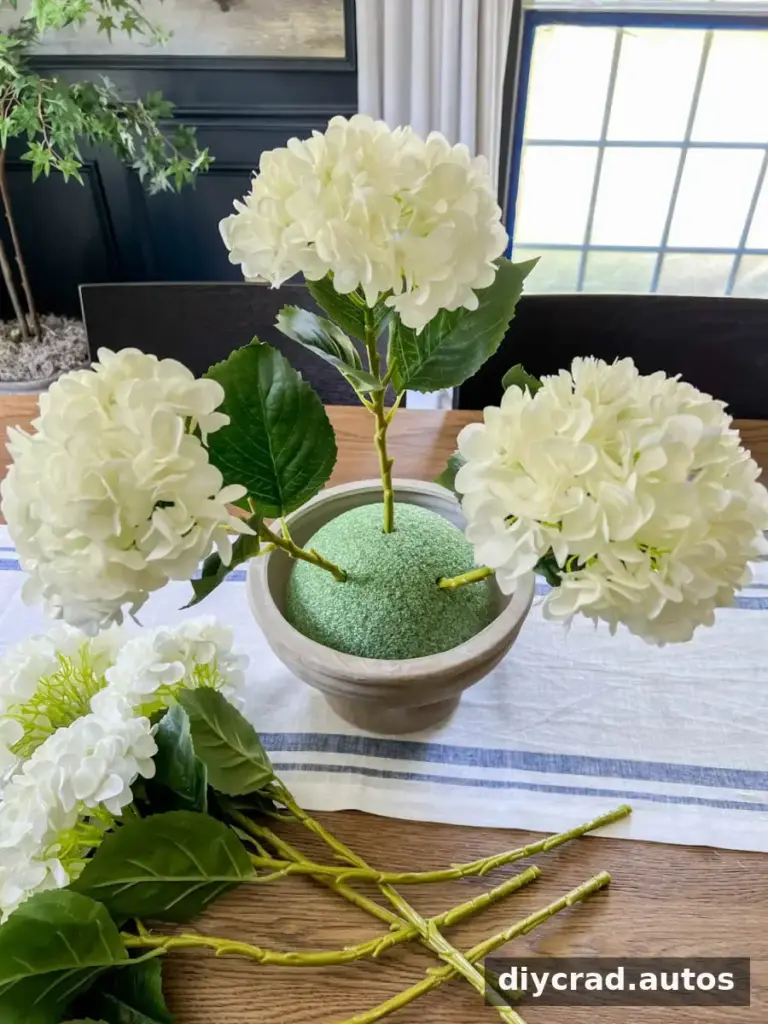
Insert two more hydrangea stems below the center bloom, angling them outward to create a triangular outline. Turn the bowl 180 degrees and repeat on the opposite side. A balanced pattern helps the arrangement look even when viewed from different directions.
Working with small clusters and an odd-numbered visual pattern can make a floral design feel more natural. Step back occasionally to check the shape rather than judging it only from above.
Step 5: Build the Outer Rows
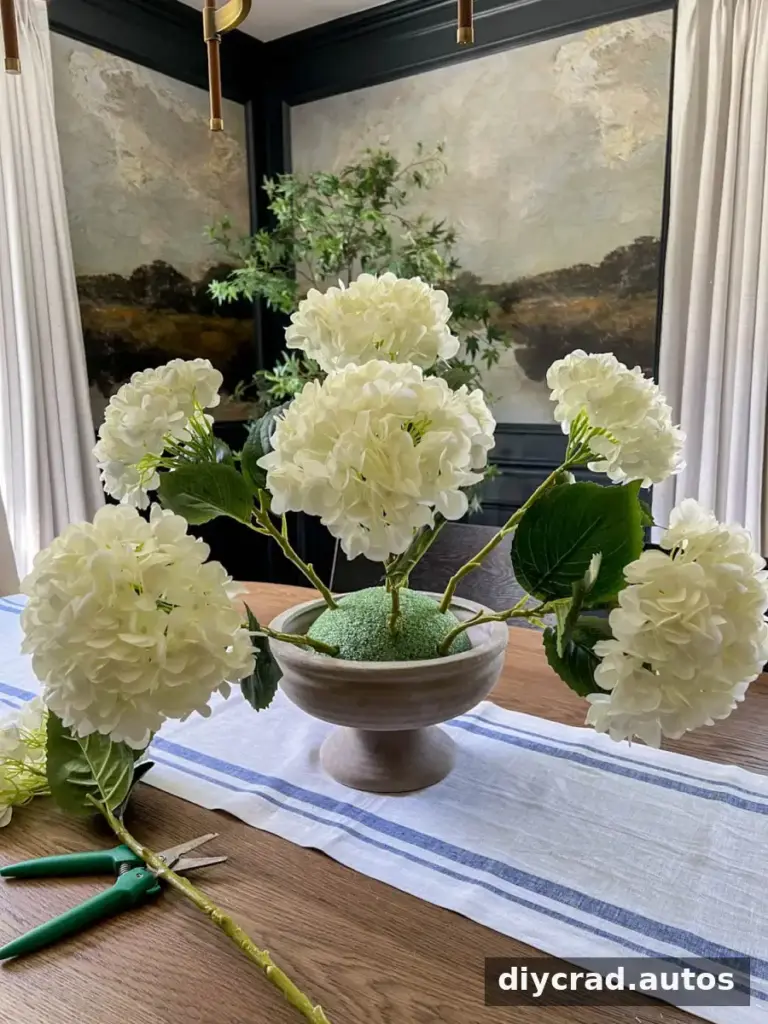
Continue adding hydrangeas around the foam, placing the outer stems near the bowl’s rim. Stagger these blooms in relation to the previous row instead of lining them up directly. This creates a fuller outline and helps cover the foam from the sides.
Step 6: Divide the Ruscus
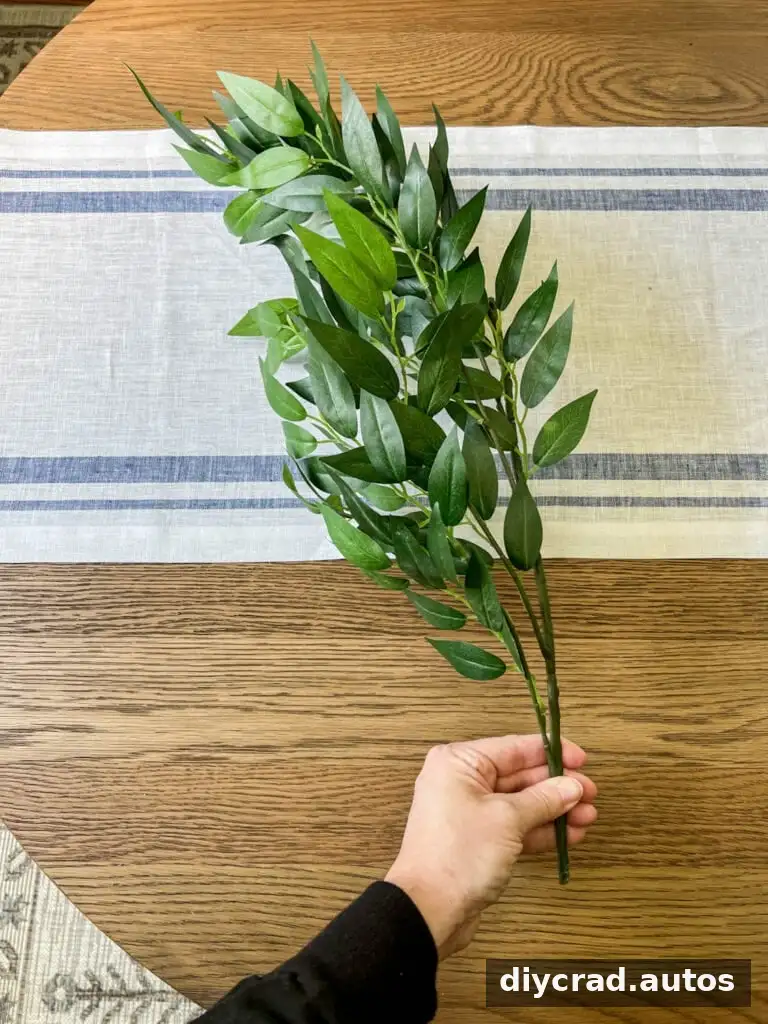
Use wire cutters to separate the larger ruscus stem into smaller leafy sections. Smaller pieces are easier to place where the arrangement needs greenery. Keep the cut ends long enough to anchor securely in the foam.
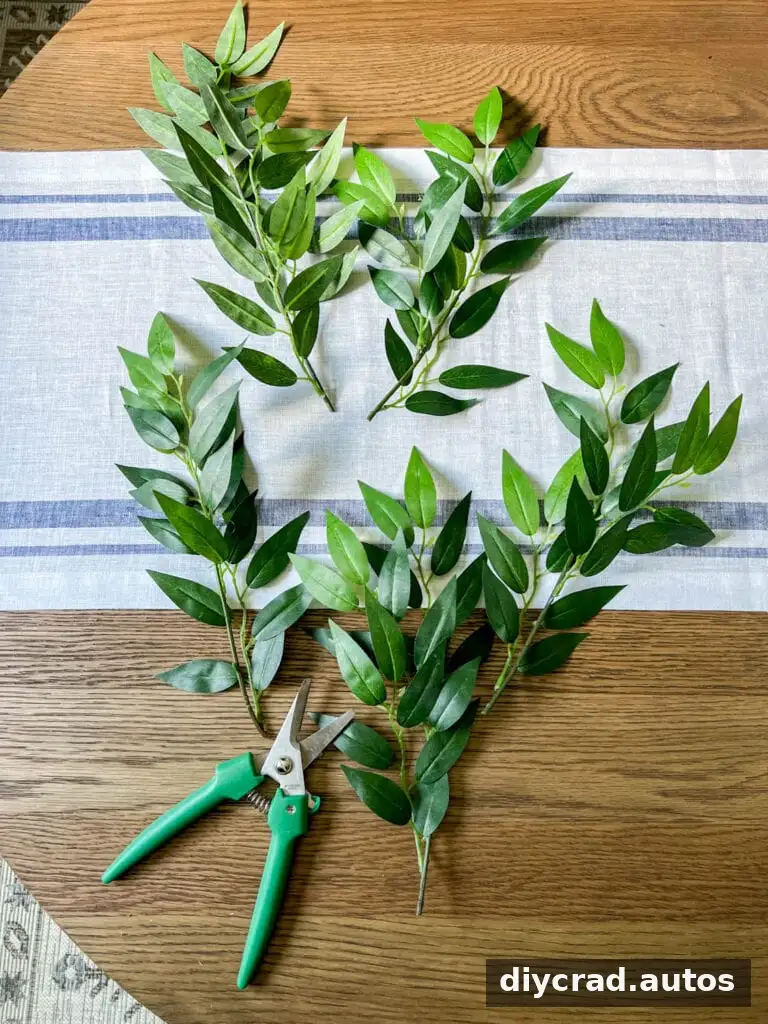
Step 7: Fill Gaps with Greenery and Flowers
Place ruscus between the hydrangea stems to fill open spaces and soften the edges. Then add the large roses and ranunculus, distributing them around the arrangement rather than placing every flower of one type together. This creates a more even mix of bloom shapes and colors.
Turn the bowl as you work and look for visible gaps from each side. Add stems gradually; it is easier to insert a few more flowers than to correct an arrangement that has become overcrowded.
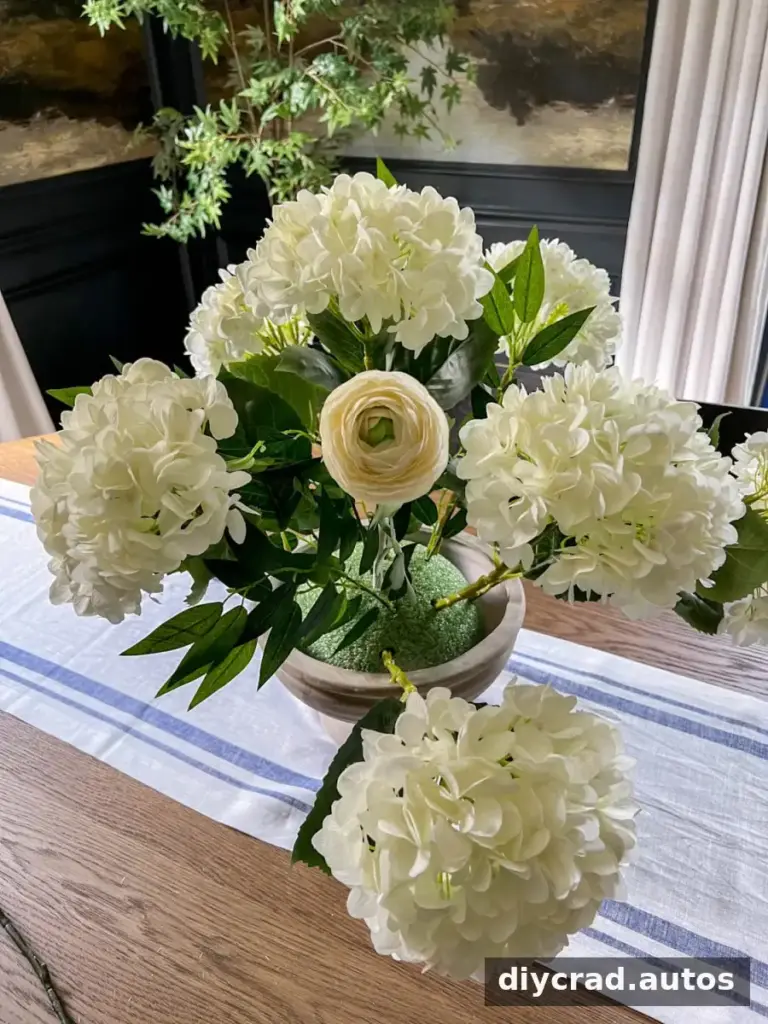
Step 8: Add the Final Accents
Finish with small accents such as mixed eucalyptus. Place these stems where they add texture without hiding the main flowers. Trim any leaves that sit below the bowl’s rim or make the arrangement look untidy.
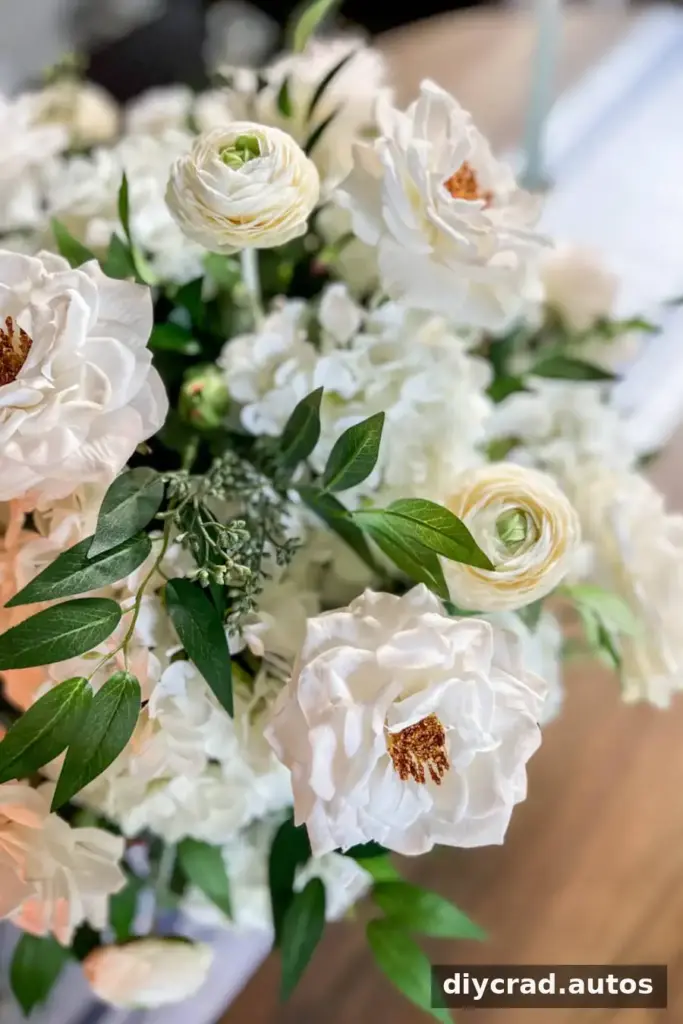
Finishing and Customizing the Faux Flower Arrangement
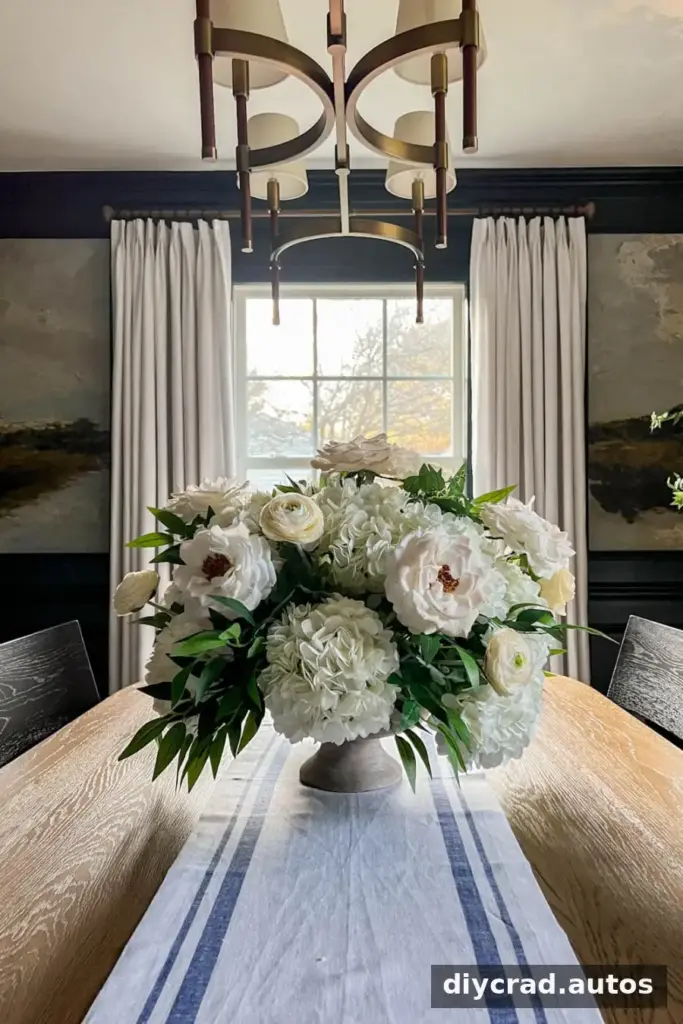
Once the stems are in place, rotate the bowl and inspect the centerpiece at eye level and from above. Adjust any flowers that lean too far or appear uneven. If the foam is visible, add a small stem or greenery piece to cover the opening, taking care not to crowd the blooms.
You can adapt the color palette by replacing or adding accent flowers in pink, blue, or yellow. For a seasonal display, keep the main hydrangea-and-greenery structure and change only a few smaller blooms. This makes it easier to reuse the same base for different occasions.
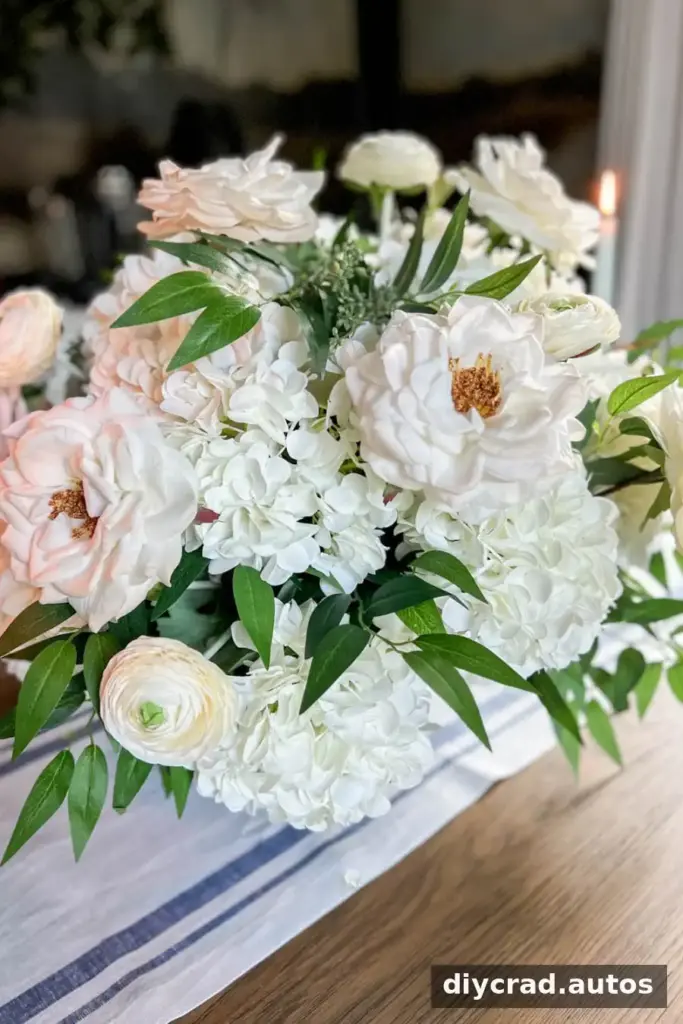
The arrangement can be used as a wedding centerpiece or altar decoration, as well as for birthdays and holiday gatherings. If you are preparing several arrangements, compare them as you work so their heights and overall shapes are consistent. Shopping for artificial flowers during seasonal sales may also help manage the project budget.
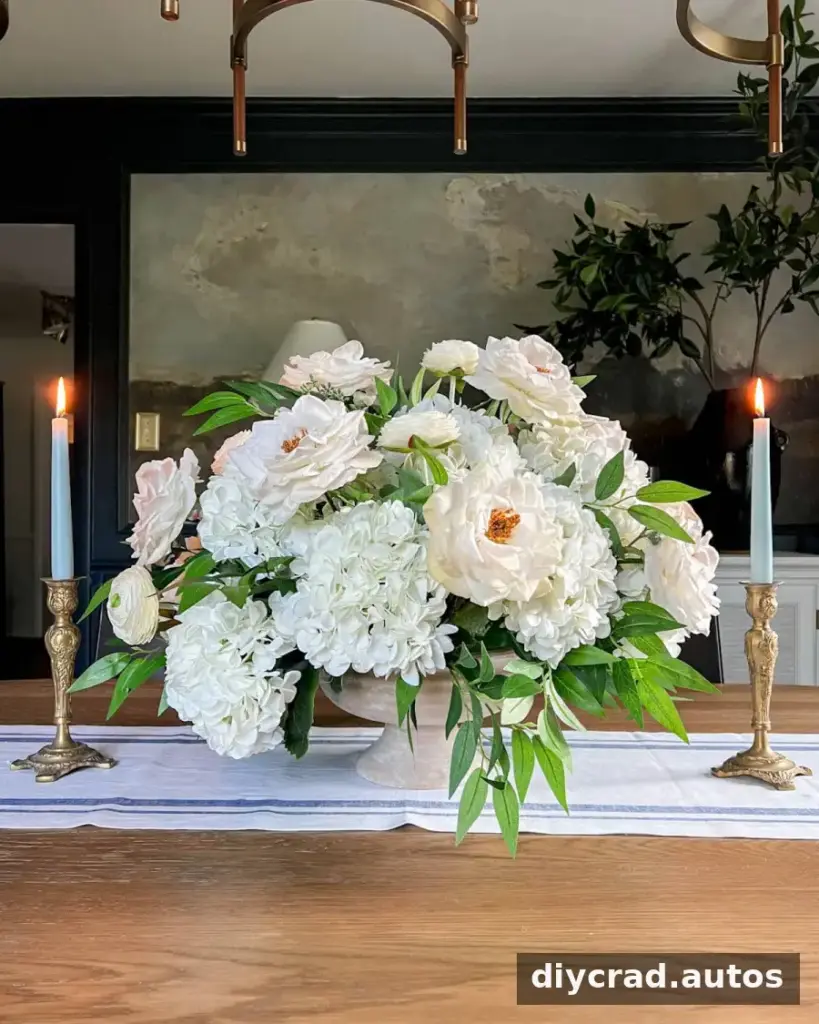
A well-balanced faux flower arrangement starts with secure foam, a simple outline, and flowers added in layers. Take time to shape the petals, distribute the blooms evenly, and check the design from all sides. With those practical steps, you can create a reusable centerpiece suited to your table, event, or seasonal decor.

