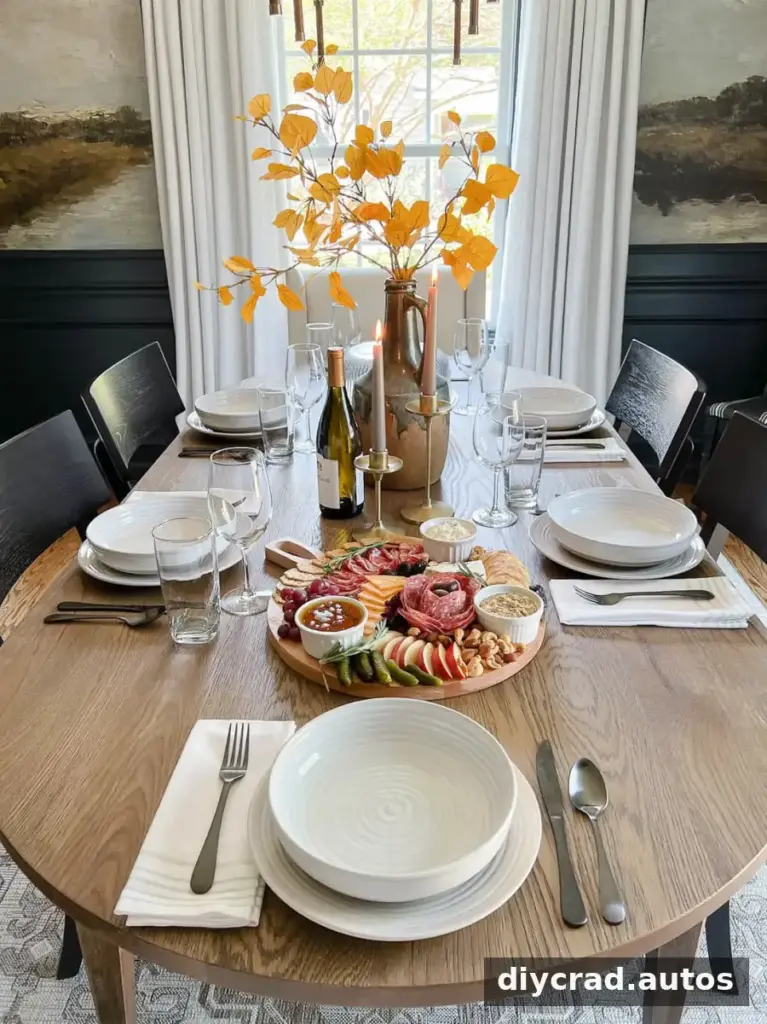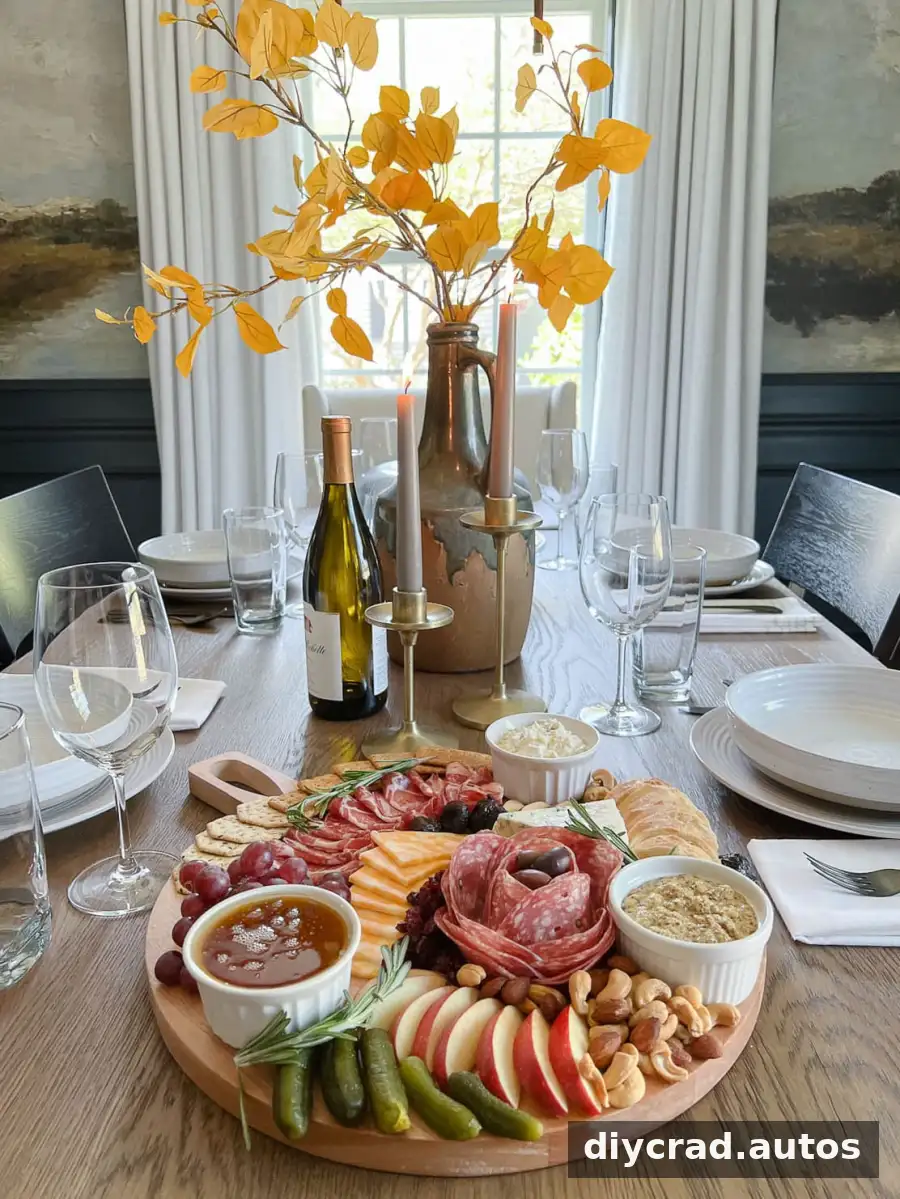
A DIY charcuterie board is an easy, flexible option for parties, family gatherings, backyard meals, or a relaxed evening at home. Combine a few cured meats and cheeses with crackers, fruit, vegetables, and dips for a spread that can come together in about 10 minutes. Use the ingredients you enjoy or already have, and arrange them so guests can serve themselves easily.
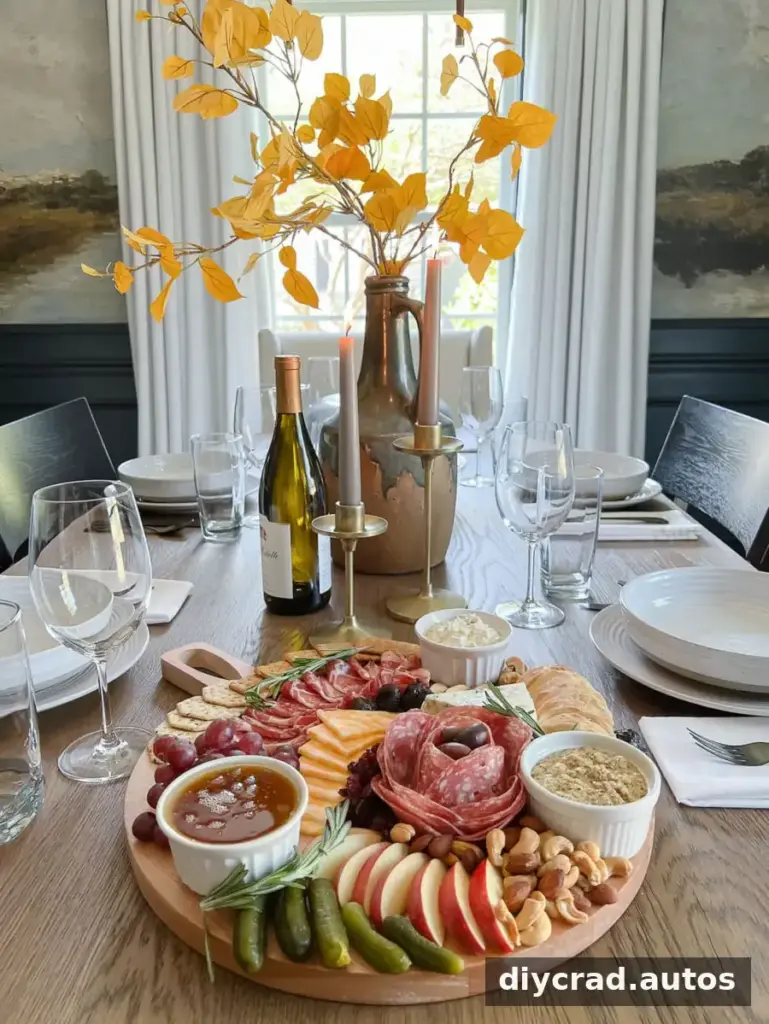
There is no single required menu or layout. A board can be casual and simple or styled for a holiday, and you can use one large platter or several smaller serving boards. The guide below walks through a practical order for assembling one, along with tips for keeping the ingredients easy to reach and the flavors varied.
How to Make a Simple DIY Charcuterie Board
What to Include
Choose ingredients from several of these categories. You do not need every option; a few choices in each category are enough to create variety.
- Cured meats
- Cheeses
- Crackers and/or bread
- Fresh and/or dried fruit
- Fresh and/or pickled vegetables
- Nuts
- Dips and/or spreads
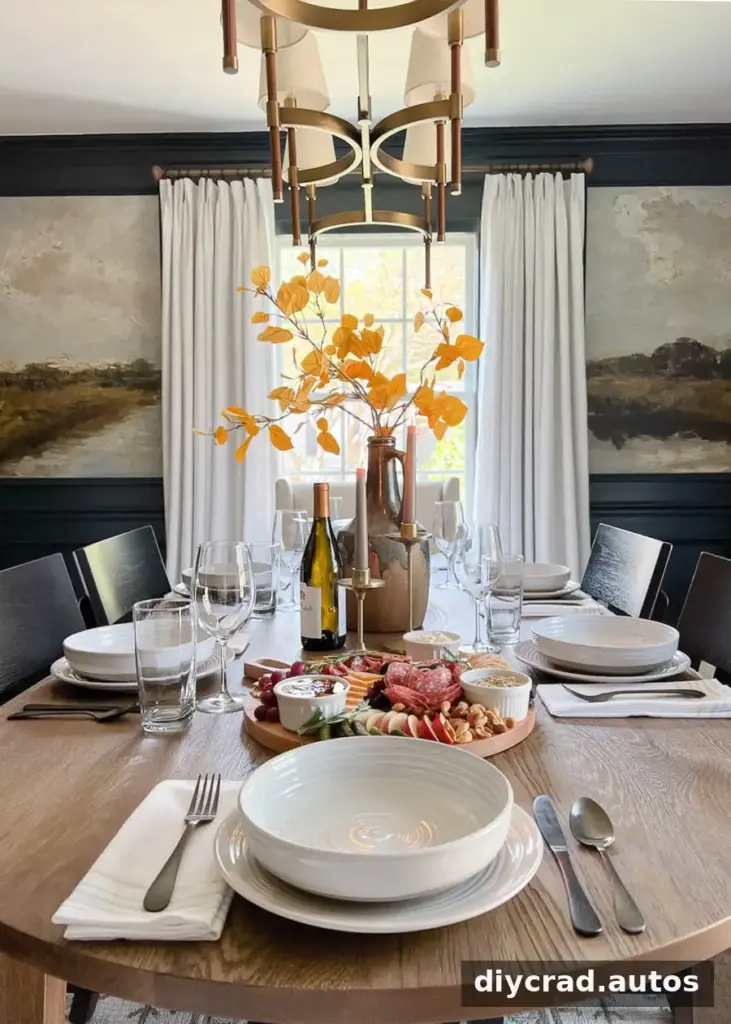
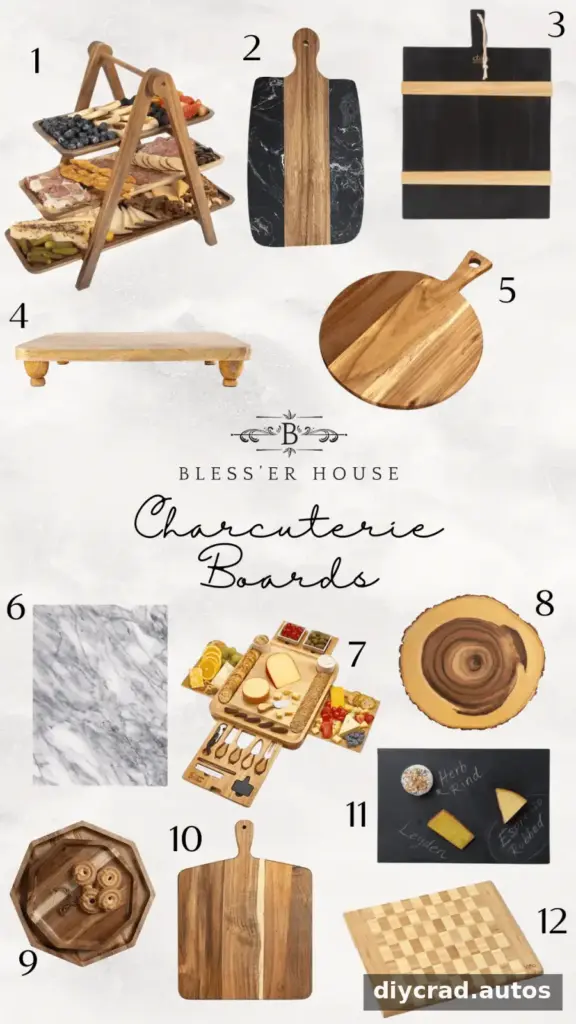
Select a serving board, cutting board, or platter that suits the number of people you are serving. If one board is too small, use multiple boards. A sheet of heavy kraft paper can also work as a casual serving surface. If using a wooden board, make sure it is clean and suitable for food before arranging ingredients.
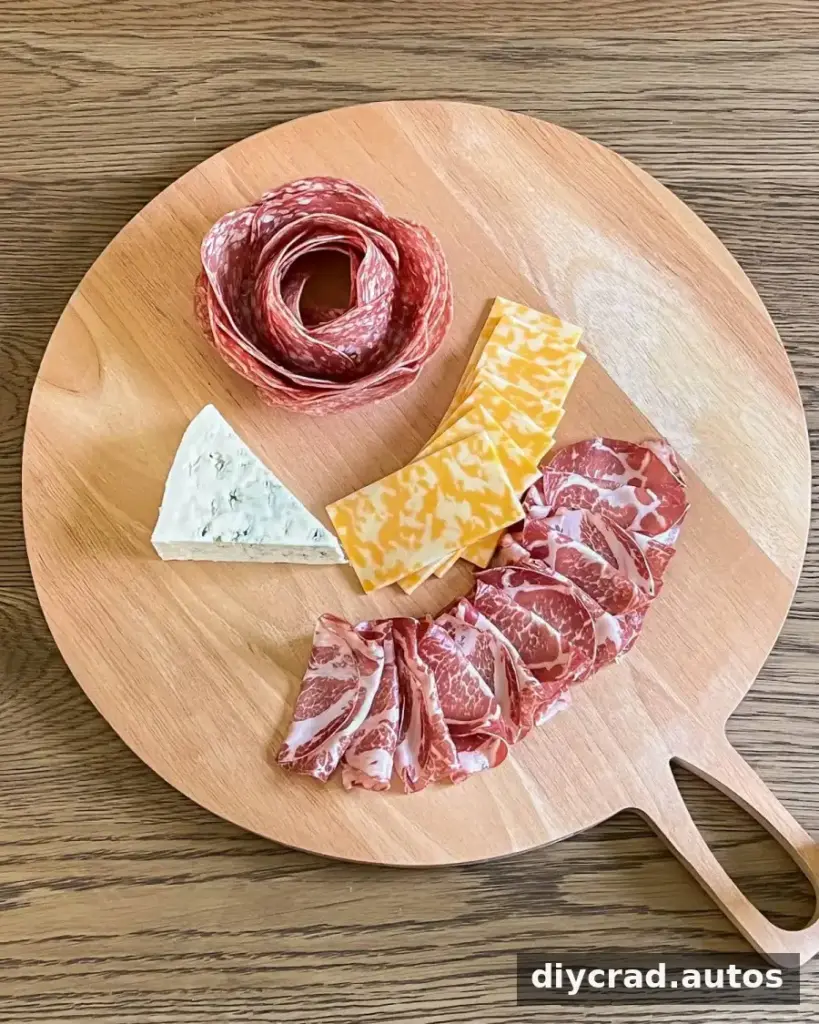
1. Arrange the Cured Meats
Options include prosciutto, salami, soppressata, ham, and capicola. Start with 2–5 varieties and space them around the board. Fold or fan out the slices to make them easier to pick up. For a decorative touch, arrange slices around the rim of a drinking glass, then transfer the formed shape to the platter.
Practical tip: Keep the meat in separate small groupings rather than covering the whole board. This leaves room for the other ingredients and helps guests identify each option.
2. Add the Cheeses
Choose 2–5 varieties, mixing textures if you like. Hard cheeses can include gouda, cheddar, manchego, gruyere, or Swiss. Soft options include brie, goat cheese, burrata, blue cheese, gorgonzola, and havarti.
Slice or cube cheeses when needed so they are easy to serve. Place them in different areas of the board, and provide cheese knives for varieties that are best cut at the table.
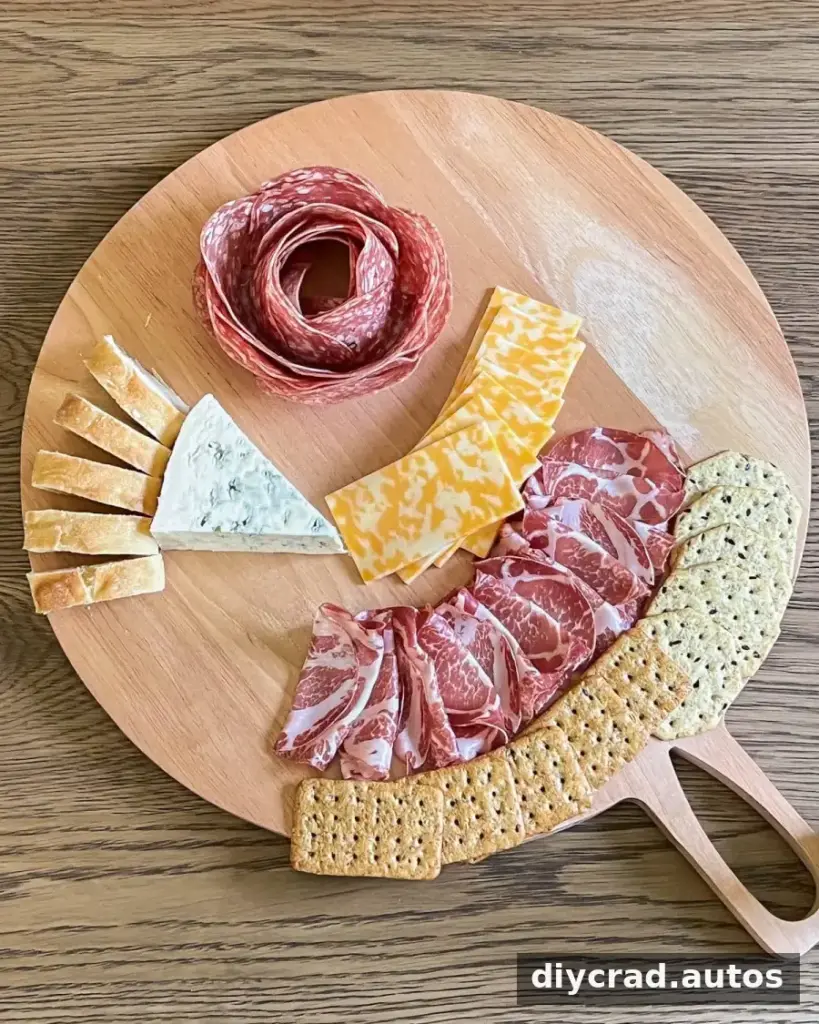
3. Make Room for Bread and Crackers
Offer a selection of crackers, toasted baguette slices, or breadsticks. Arrange them around the outside of the board or in a few easy-to-reach clusters. Keeping bread and crackers separate from juicy fruit and pickled foods helps them stay crisp.
4. Add Something Sweet
Fresh fruit ideas include grapes, blackberries, raspberries, strawberries, apples, and pears. Dried apricots, figs, cranberries, and mango add another texture. Sweet spreads might include whipped honey, fig jam, chocolate hummus, orange marmalade, or balsamic and olive oil.
Cut whole fruit into manageable pieces and divide grape bunches into smaller portions. Place juicy fruit away from crackers and bread to reduce sogginess. Set dips and spreads in small bowls or ramekins to keep them contained.
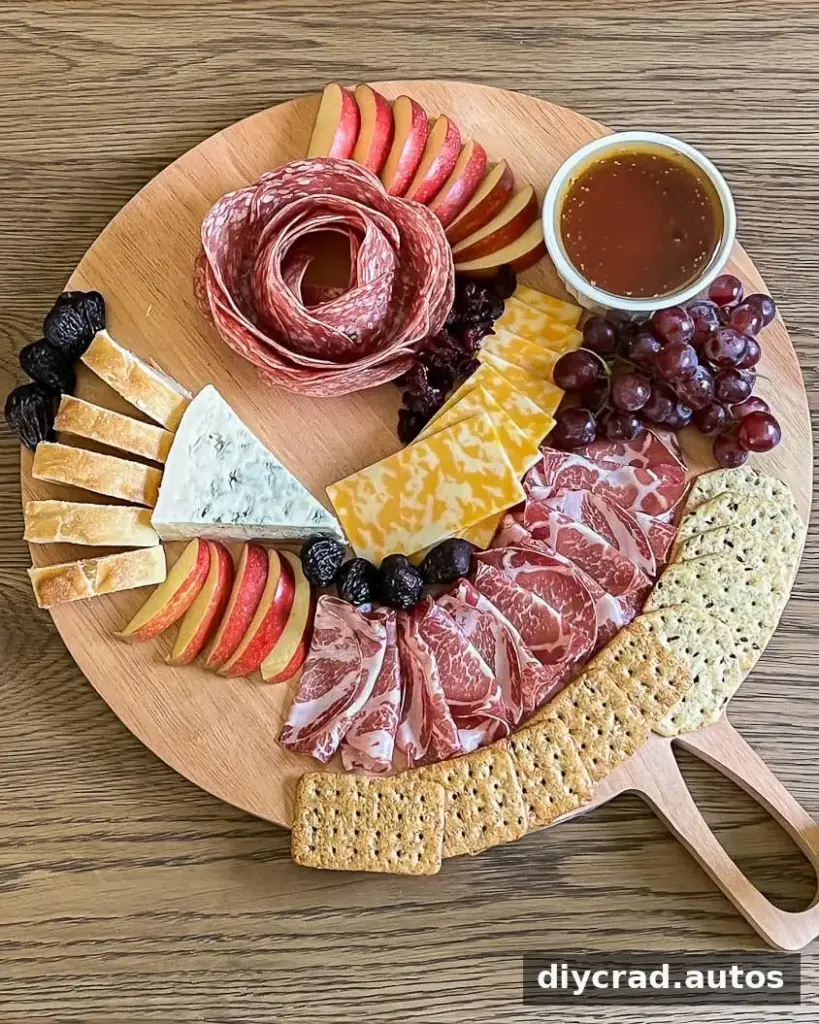
5. Add Savory Sides and Dips
Fresh vegetables such as peppers, cucumbers, baby carrots, cherry tomatoes, and blanched asparagus bring crunch and color. For a briny, tangy contrast, include cornichons, olives, pickles, or pepperoncini. Savory dips can include artichoke dip, whole grain mustard, olive tapenade, hummus, or red pepper jelly dip.
Use small bowls for dips and keep pickled or wet ingredients away from crackers and bread. Add serving spoons so guests can portion dips without using the utensils meant for other foods.
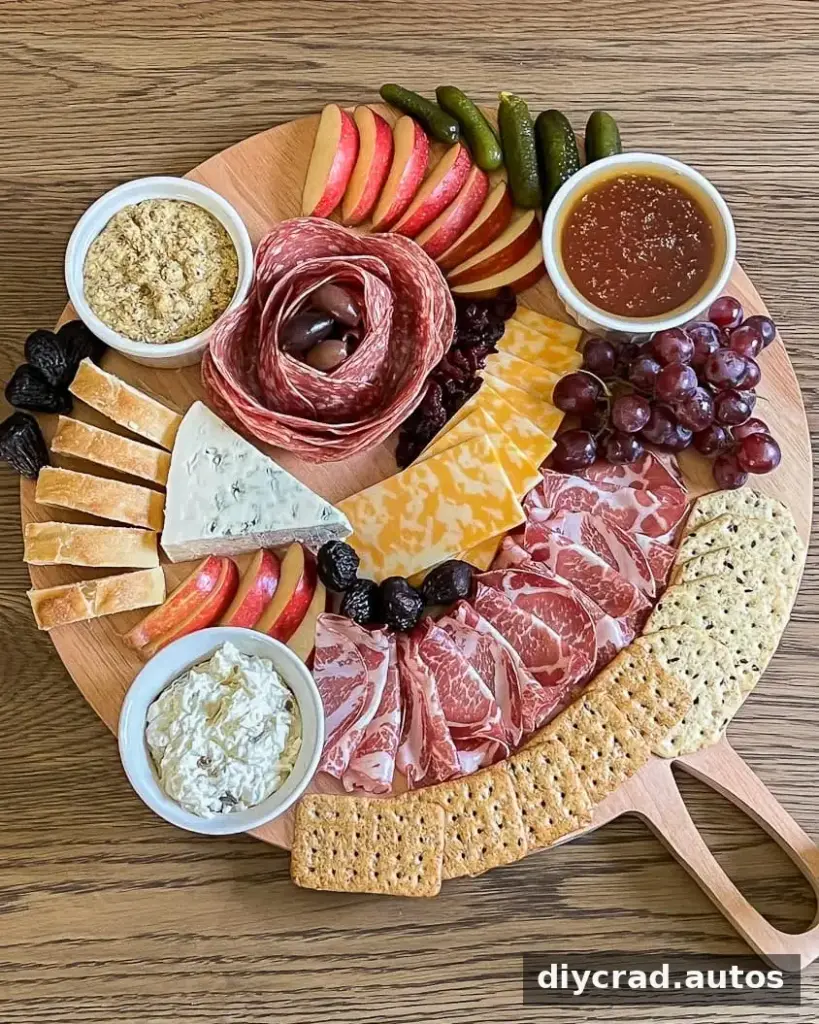
6. Fill Empty Spaces
Once the main ingredients are arranged, fill open gaps with nuts, extra dried fruit, or herbs. Small finishing touches make the board look complete without requiring a complicated design. Add spoons to dips and spreads, and place cheese knives beside the appropriate cheeses.
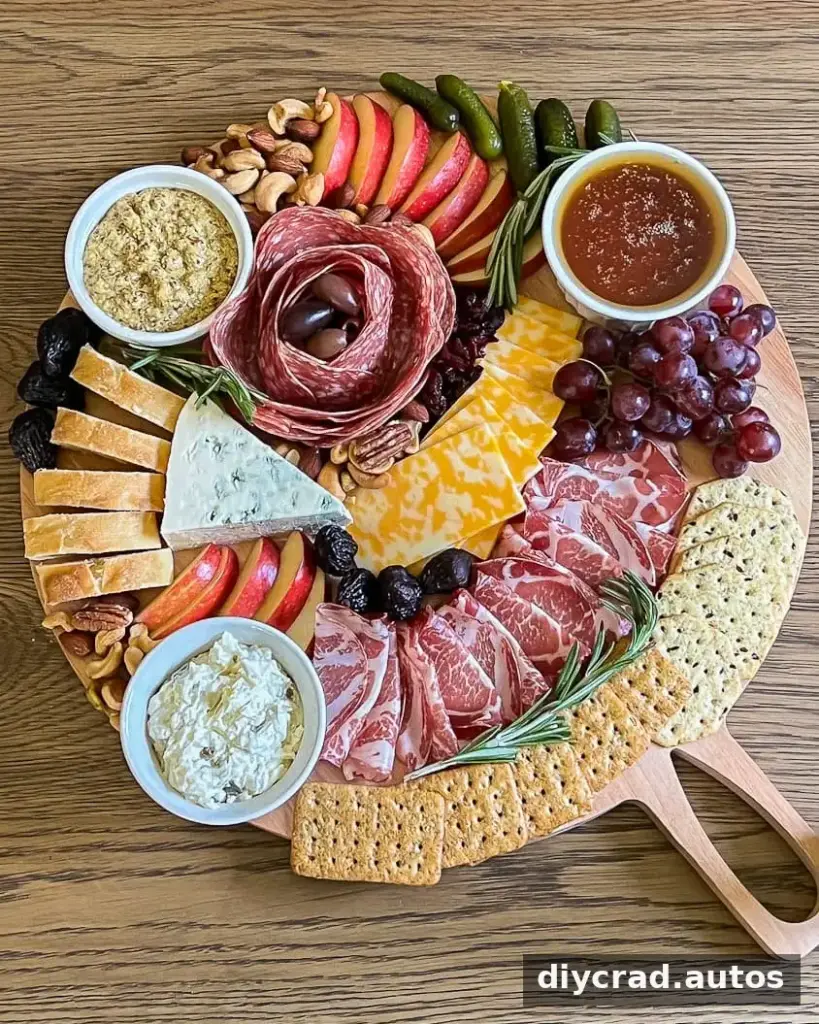
DIY Charcuterie Board Presentation Tips
Use a Seasonal Theme
For a holiday gathering, arrange ingredients in a seasonal shape or choose colors that suit the occasion. Cheese can be shaped into pumpkins for Halloween, or ingredients can be arranged like a wreath for Christmas. Keep the layout practical so the food remains easy to reach.
Balance Color and Texture
Combine ingredients with different colors and textures, such as crisp vegetables, soft cheese, chewy dried fruit, and crunchy crackers. Seasonal produce can add color while helping you tailor the board to the time of year. Keep delicate or juicy items in their own sections.
Offer a Range of Flavors
A useful spread includes contrasting tastes: savory, sweet, sour, salty, bitter, or spicy. Pairing different flavors gives guests options, such as cheese with fruit or a cracker with a savory dip. You do not need every flavor category; choose combinations that suit your guests.
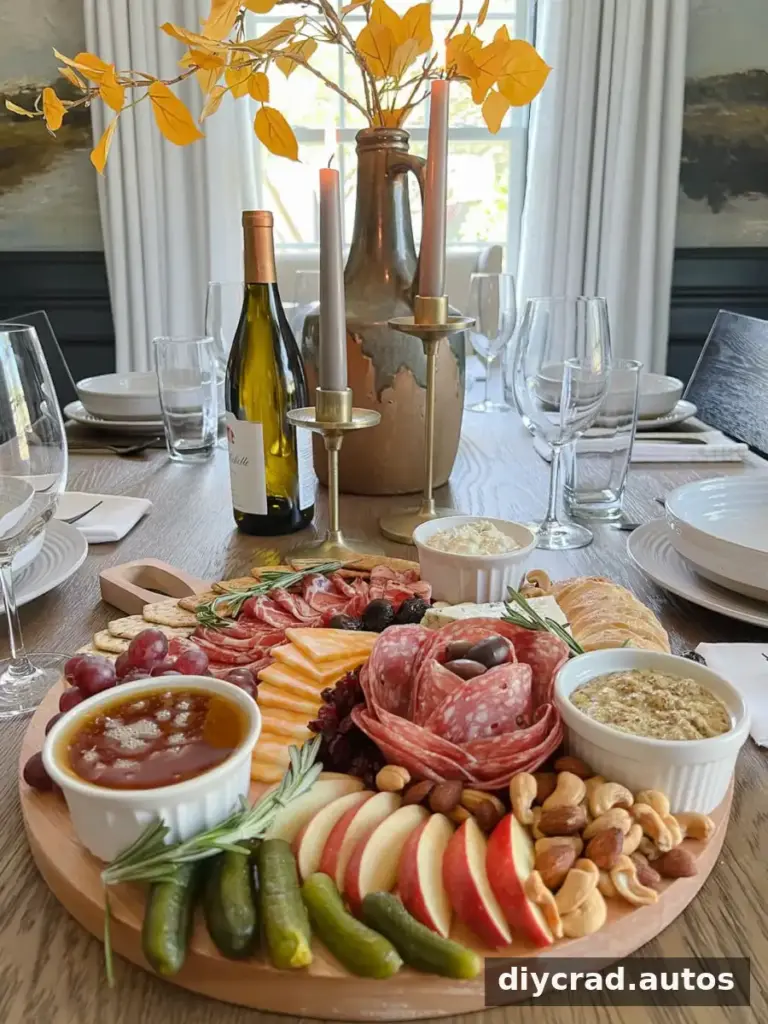
Serving and Storage Tips
Set out small plates and serving utensils so guests can enjoy the board comfortably. For food safety, keep perishable meats, cheeses, and dips chilled until serving, and follow the storage directions on their packaging. Avoid leaving perishable foods at room temperature longer than recommended by local food-safety guidance. If you are preparing ahead, store ingredients separately and assemble the board shortly before serving.
A simple DIY charcuterie board is all about combining a few appealing ingredients in an accessible layout. Start with meats and cheeses, add bread, fruit, vegetables, and dips, then use nuts or herbs to fill gaps. With a little attention to variety and serving setup, you can make a welcoming board in about 10 minutes for almost any occasion.