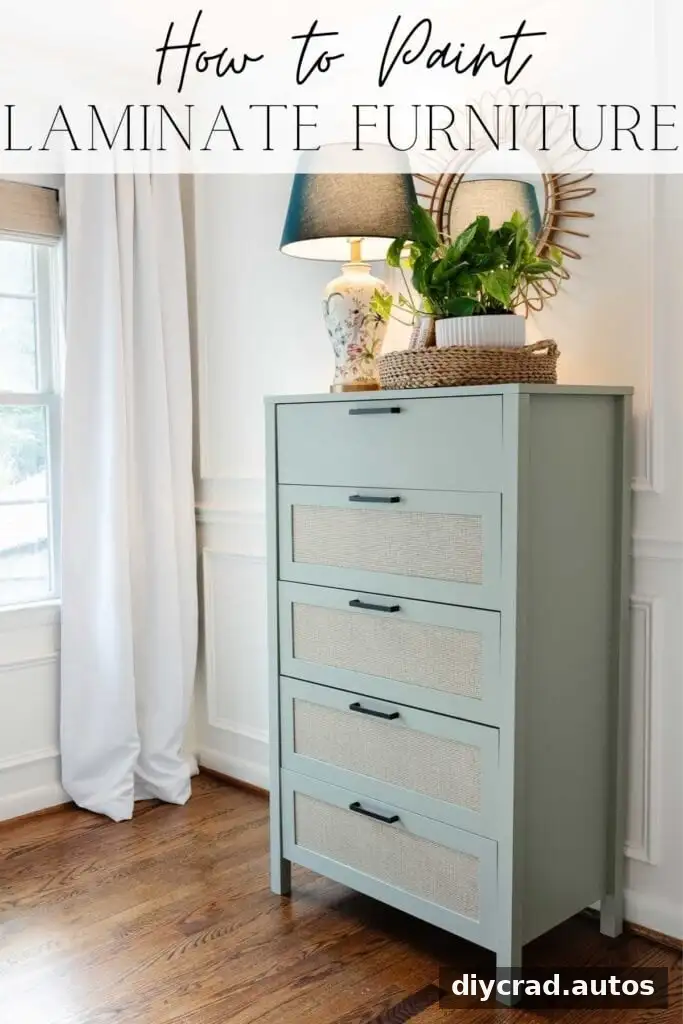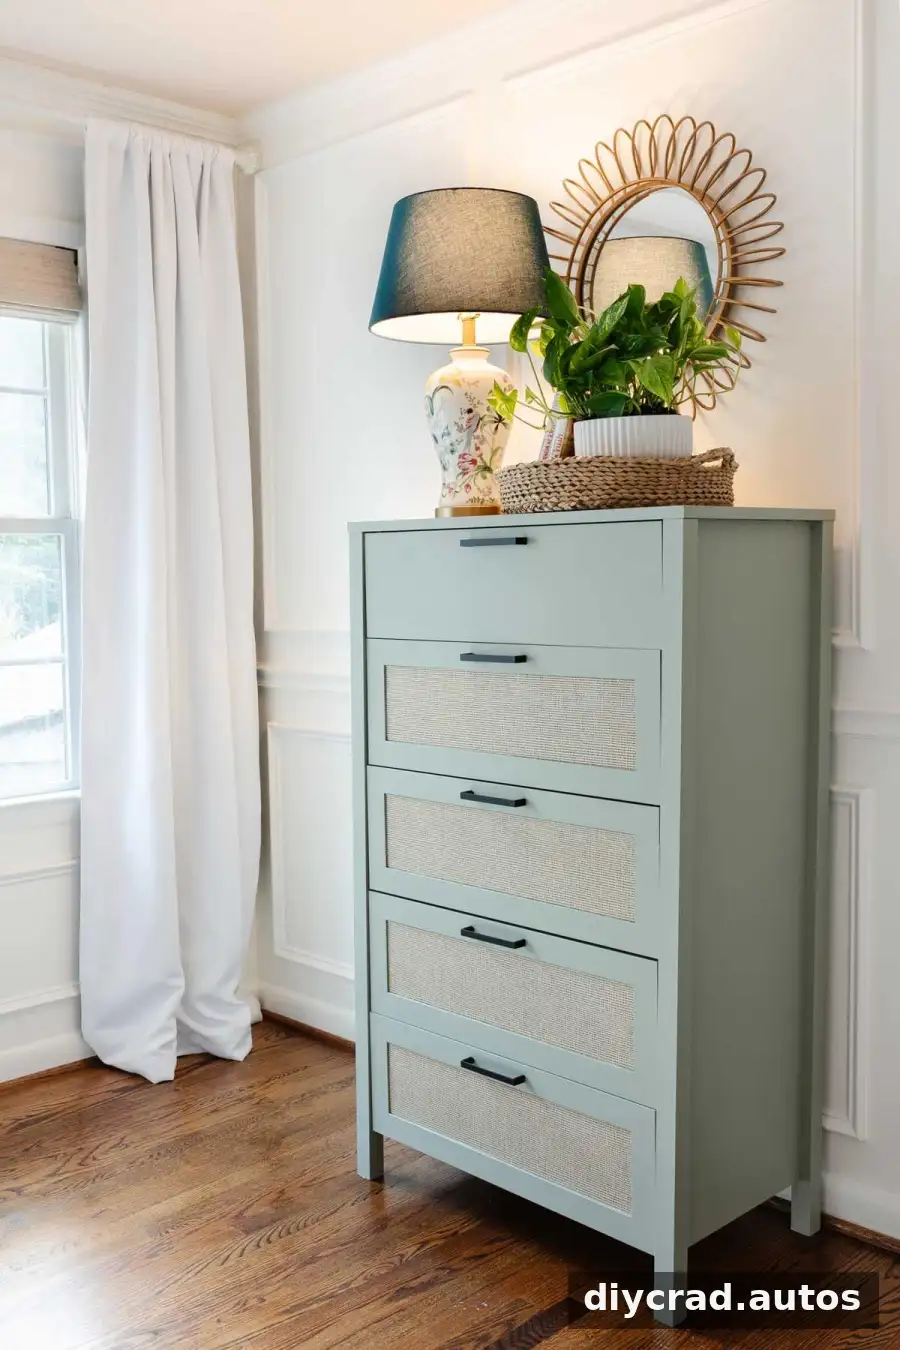
Learning how to paint laminate furniture can help refresh a dresser or other piece without replacing it. Because laminate is smooth and nonporous, paint may peel or chip if the surface is not prepared with a suitable primer and allowed to cure properly. This project transformed a black, five-drawer dresser with faux cane-style drawer fronts into a lighter piece for a child’s bedroom.
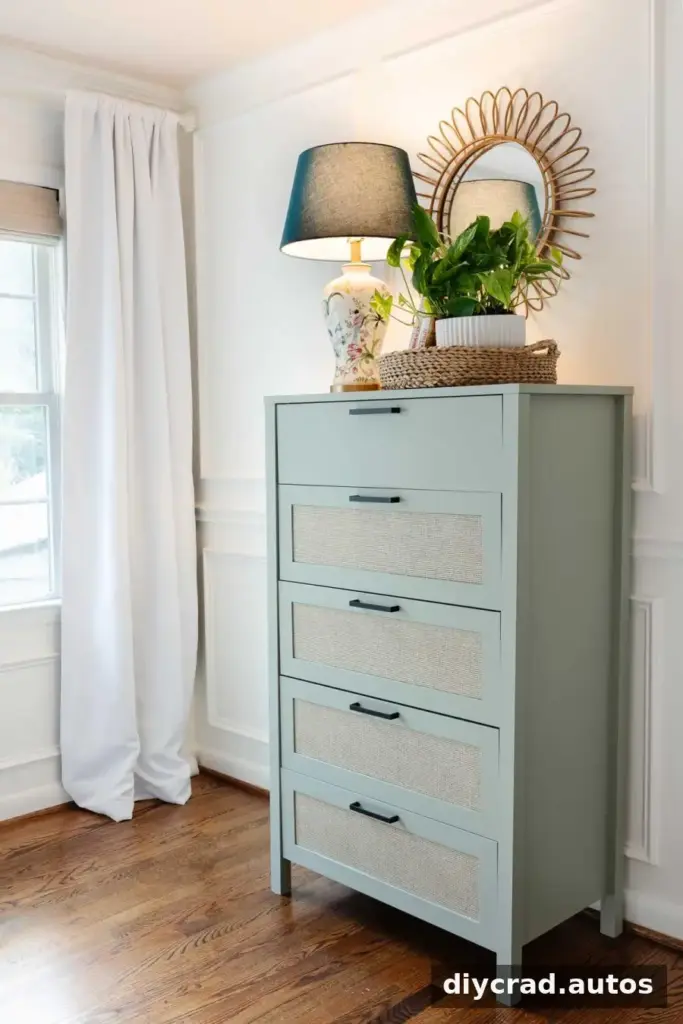
The room layout called for a tall dresser instead of the long one previously used. The dresser’s decorative drawer fronts coordinated with cane details on another piece in the room, but its original black finish did not suit the updated color scheme. Painting offered a straightforward way to make the furniture feel more at home in the space.
Before starting, check that the furniture is stable and that all surfaces you plan to paint are accessible. If assembling the piece first, leave off the handles and other hardware until the finish is complete. Assembly alignment can vary, so follow the furniture’s instructions and check that drawers open and close smoothly.
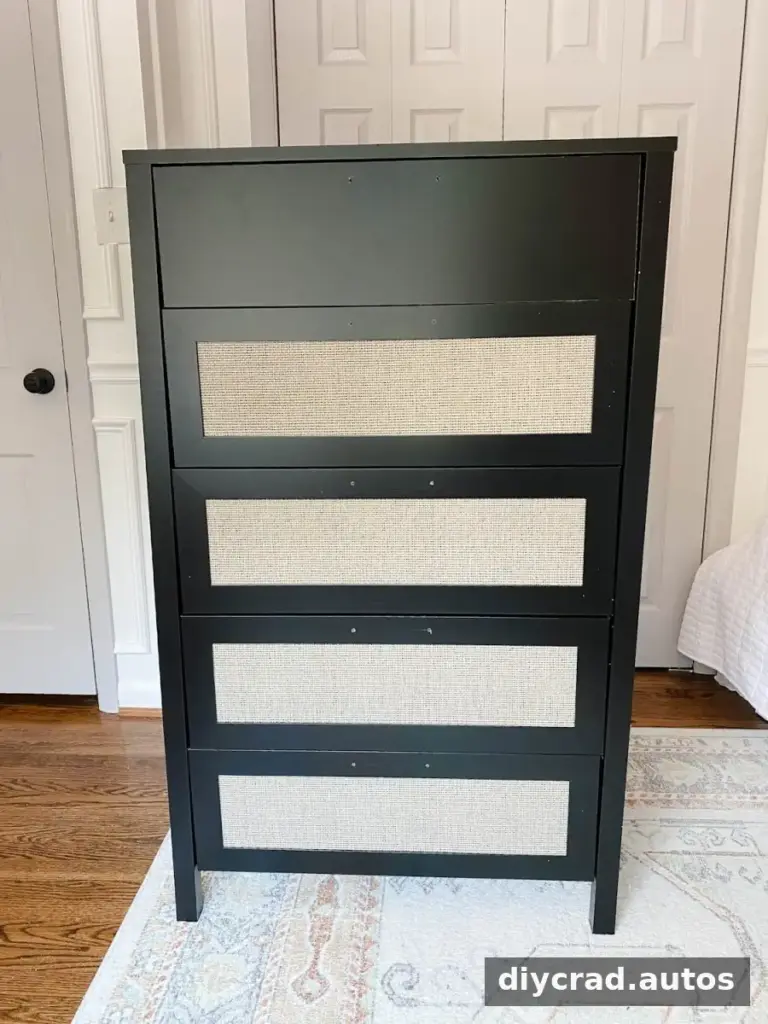
A fresh finish can also help a budget-friendly dresser coordinate with existing bedroom decor. Keep the surrounding palette and materials in mind when choosing a paint color, especially when the furniture has a distinctive texture or woven-look detail.

How to Paint Laminate Furniture
The most important parts of painting laminate are choosing a primer designed to bond to slick surfaces, applying thin, even coats and giving the finish enough time to cure. Work in low humidity when possible, and follow the instructions on the primer and paint containers.
Supplies
- Oil-based or shellac-based bonding primer suitable for laminate
- Respirator appropriate for the product being used
- 1.5-inch angled paintbrush
- Fine-grit sandpaper
- Acrylic-based or waterborne alkyd enamel paint
- Clean cloths and a mild cleaner for surface preparation
Prepare the Work Area
Move the dresser to a well-ventilated workspace and protect the floor. Clean the laminate to remove dust, grease and residue, then let it dry completely. A clean, dry surface helps primer make consistent contact. Read product labels before use, and use the ventilation and protective equipment specified by the manufacturer.
Step 1: Apply Primer
Brush on one even coat of suitable oil-based or shellac-based primer. The primer is intended to improve adhesion on the slick laminate surface. Avoid heavy application, which can create drips or uneven buildup. Leave the hardware off while painting so the drawer fronts and edges are easier to reach.
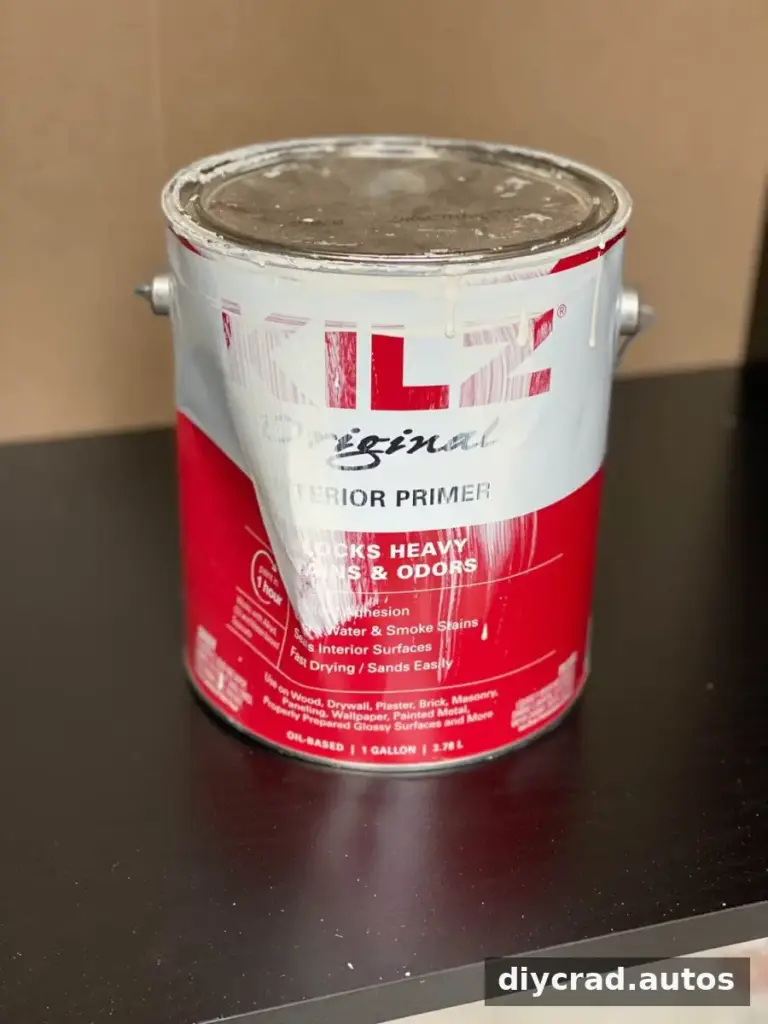
Solvent-based primers can produce strong fumes. Wear the recommended respirator, open windows or provide other suitable ventilation, and follow all safety directions on the container. Keep children and pets away from the work area while products are being applied and dried.
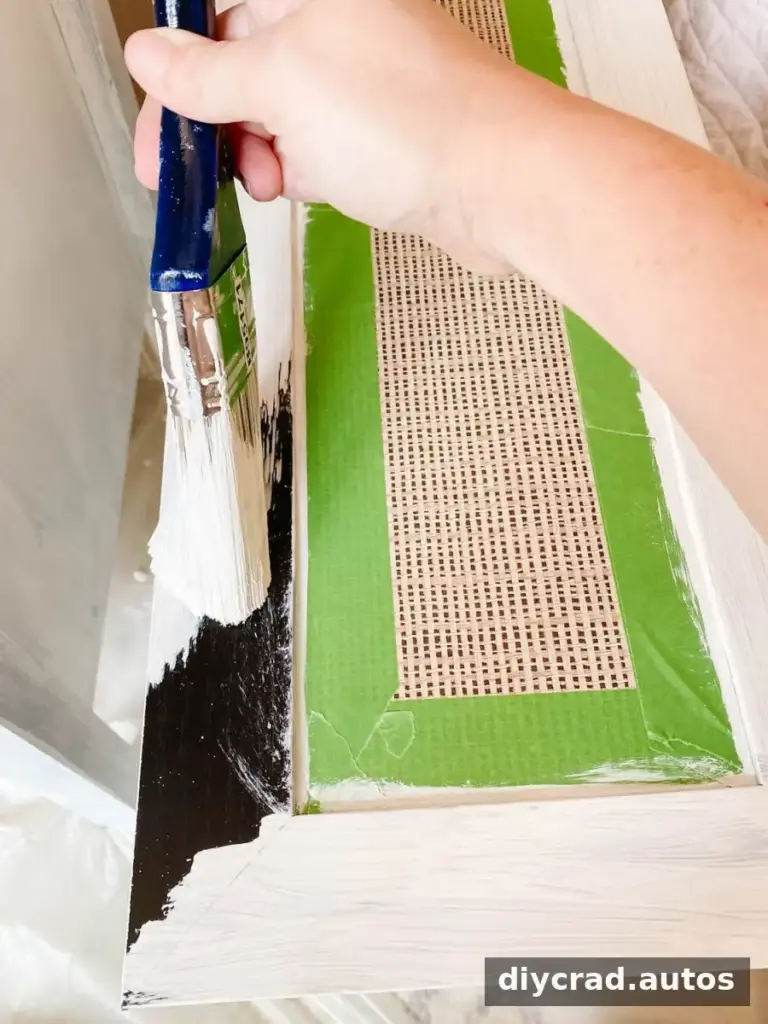
Step 2: Lightly Sand the Primer
Once the primer is fully dry, lightly sand the surface with fine-grit sandpaper. The goal is to smooth minor brush marks and imperfections, not to remove the primer. Wipe away sanding dust with a clean cloth before painting. Check the label for the recommended drying time before sanding.
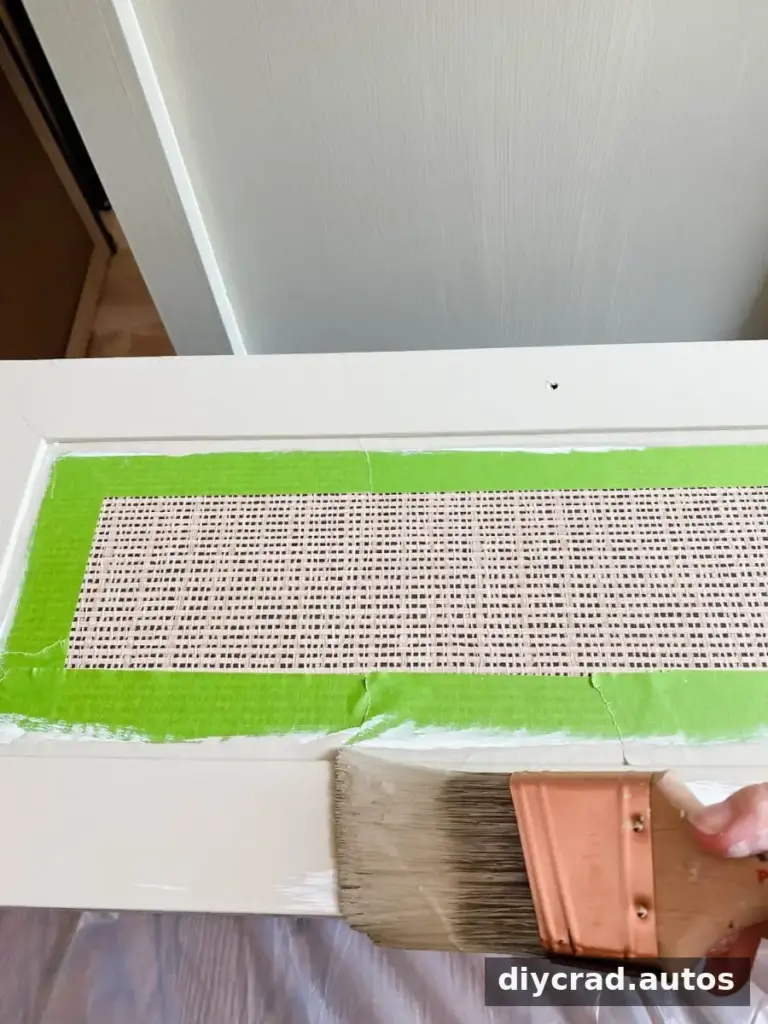
Step 3: Paint in Thin, Even Coats
Apply one or two even coats of acrylic-based or waterborne alkyd enamel paint. Allow each coat to dry according to the product directions before adding another. Thin, controlled coats are generally easier to keep smooth than one thick coat. A brush can be useful for corners and decorative details; work carefully around any textured or woven-look areas.
The dresser in this makeover was painted with a mineral paint in the shade Bellwood. Whatever paint you choose, confirm that it is compatible with the primer and appropriate for furniture use.
Step 4: Let the Finish Cure
Dry-to-touch does not always mean fully cured. Give the paint the curing time stated by the manufacturer before returning the dresser to regular use or placing objects on its surface. Reattach the hardware only when the finish is ready, and handle the drawers gently during the initial curing period.
For a child’s room, secure the dresser to the wall using suitable anti-tip hardware. This is an important safety step for tall furniture, regardless of whether it has been painted.
The finished dresser creates a practical storage spot while giving the room a coordinated look. A lamp, small mirror, plant and shallow basket can make the top useful, but keep heavy items away from the edge and avoid placing objects where a child could use them to climb.
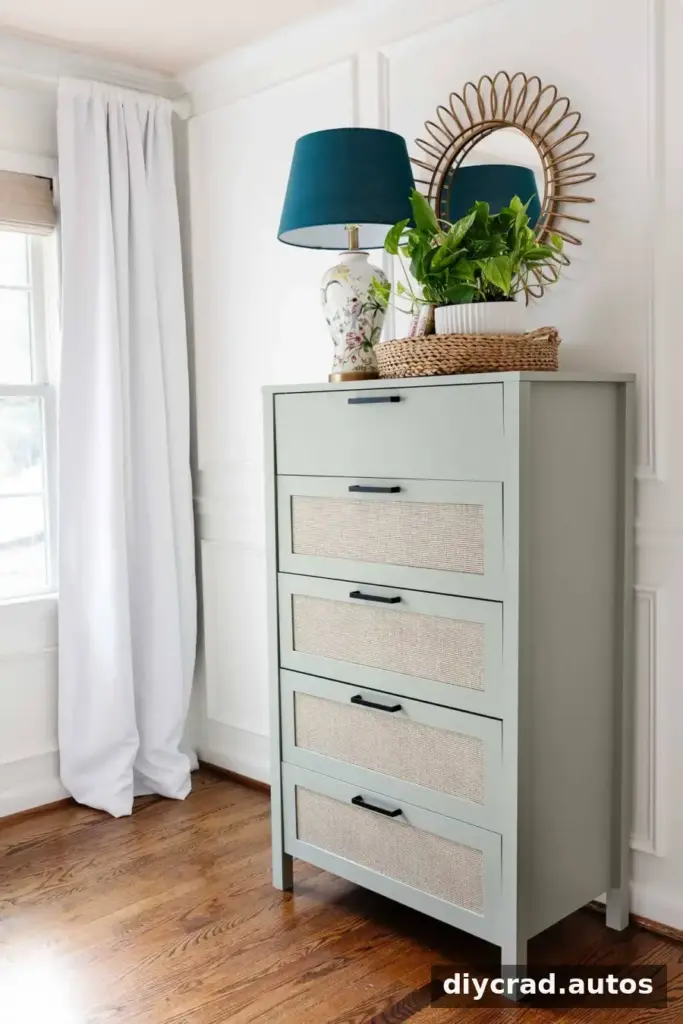
Decorative accessories can echo colors or patterns elsewhere in the room. Choose items that suit the child’s age and keep everyday essentials, such as books or small toys, contained in a stable tray or basket.

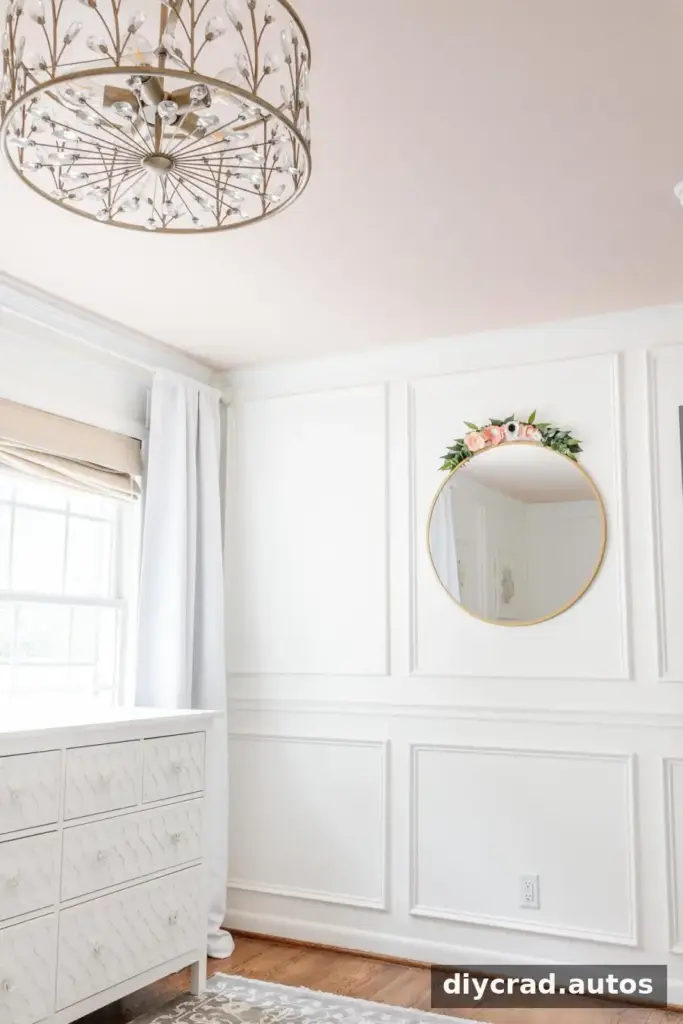
A cheerful mirror or wall decoration can add personality above a dresser. Mount wall decor securely and position it so it does not interfere with opening drawers or create a hazard.
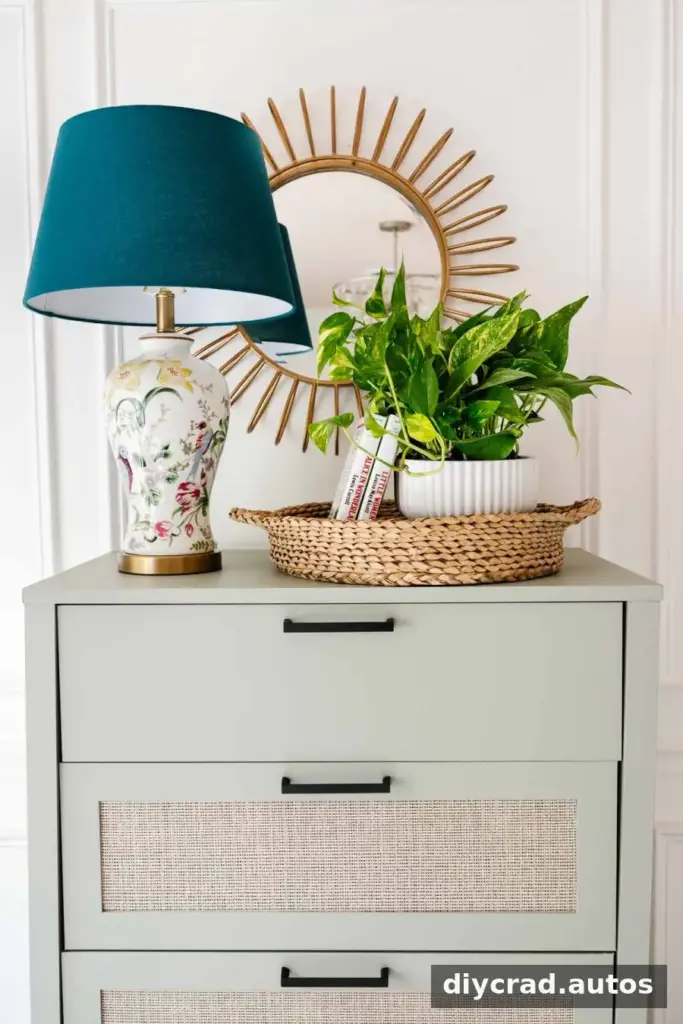
A planter and a basket tray add texture while helping organize loose items. If using a real plant, place it where water cannot spill onto the freshly painted furniture, and keep small accessories out of reach of young children.

With its refreshed finish and added storage, the dresser fits the updated bedroom layout and provides room for clothing and school essentials.
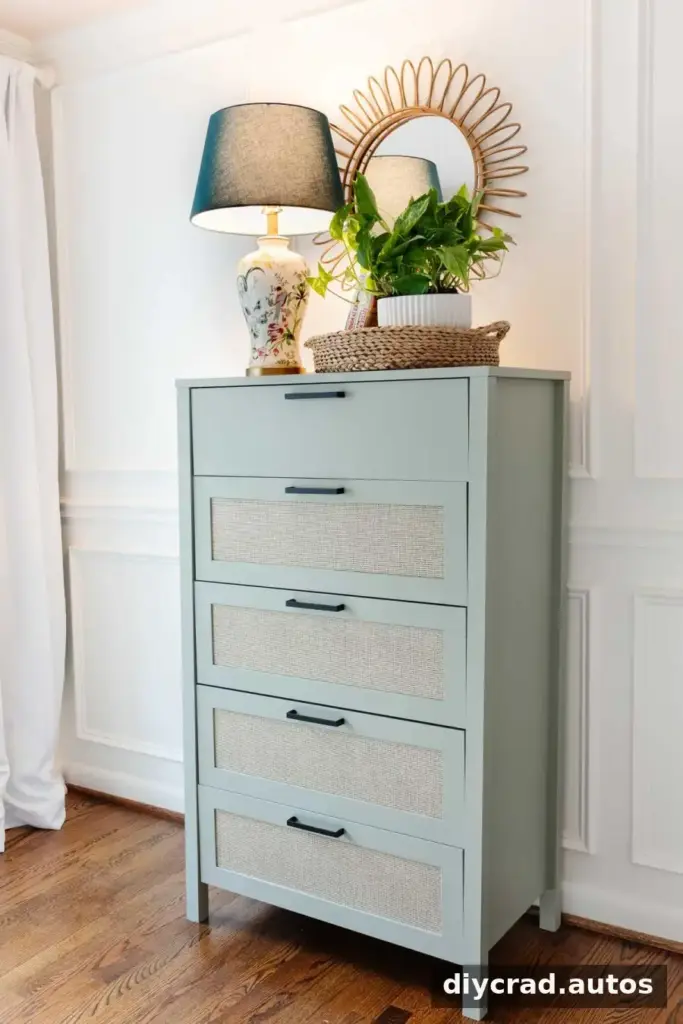
When choosing other furniture or decor for a child’s room, consider durability, storage needs and secure installation alongside appearance.
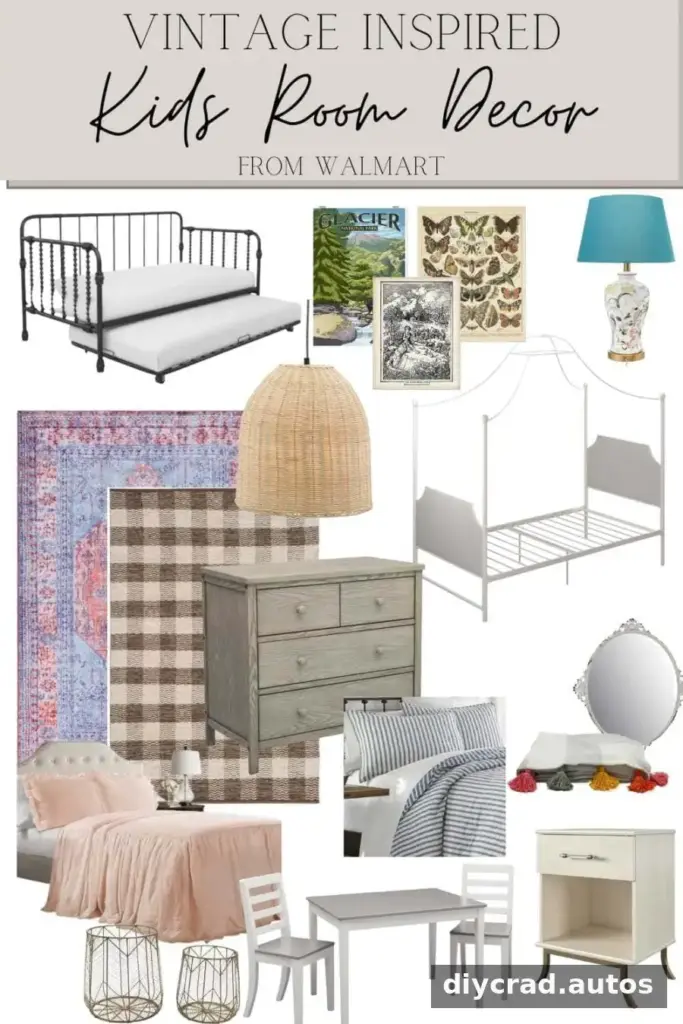
Finishing Touches for a Child’s Room
Once the main furniture is in place, a few coordinated accessories can make the room feel complete without overcrowding it. Leave enough open space for drawers to extend fully and for everyday movement around the room.
Following these steps for how to paint laminate furniture can give a smooth, refreshed finish when the right primer, careful preparation and adequate curing time are used. For the best result, follow the product labels, work safely and anchor tall furniture to the wall.