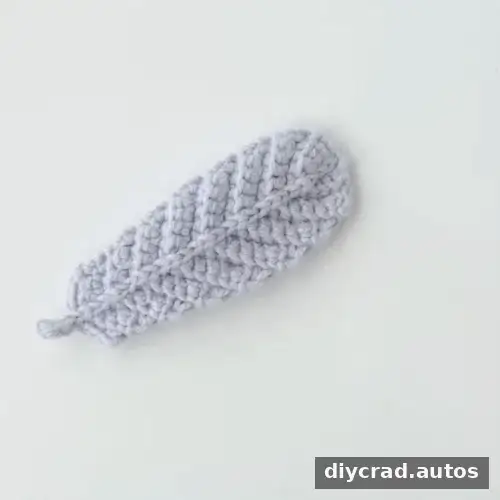
This Crochet Feather Pattern creates a lightweight, flat motif using basic stitches and light blue yarn. It is suitable for beginners who are comfortable with chains and single crochet, and the project can take about 20 minutes once you are familiar with the steps. A video tutorial is available for additional visual guidance.
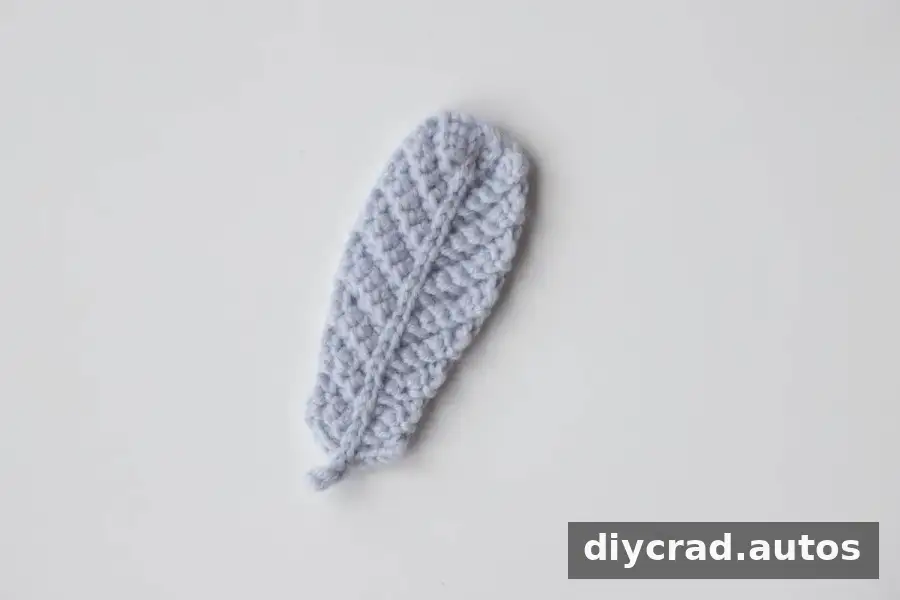
Use the finished feather as a small accessory or decorative detail. The instructions below use US crochet terms and include the materials, abbreviations, main feather shape, and handle.
Ways to Use a Crochet Feather
A finished feather can be turned into a hairpin, brooch, key ring, or bookmark. It can also be sewn onto crochet clothing, bags, or hats as an embellishment.
Before attaching it to another item, weave in the loose ends and check that the feather lies flat. For accessories that will be handled often, secure the attachment with a few extra stitches.
Pattern Notes and Materials
The pattern is written in US crochet terminology. A stitch marker can help you keep track of the starting point as you work. The steps are presented as numbered rounds in the pattern; follow the turn instructions carefully so the feather keeps its intended shape.
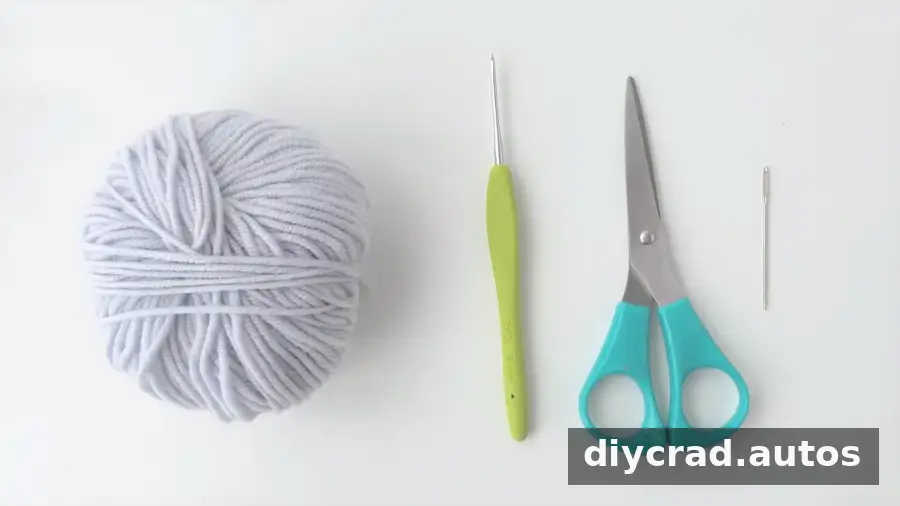
- Light blue yarn
- 2.0 mm crochet hook
- Scissors
- Darning needle
Keep your stitches even, but avoid pulling the yarn too tightly, which can make a small flat motif curl or become difficult to shape. The finished size may vary with yarn thickness and individual tension.
Stitches and Abbreviations
- ch: chain stitch
- ss: slip stitch
- sc: single crochet
- sc2tog: work two single crochet stitches together to decrease
- BLO: work in back loops only
For BLO stitches, insert the hook under the back loop only, rather than under both loops at the top of the stitch. This creates a ridge that helps give the feather its textured appearance.
Crochet Feather Pattern: Step-by-Step Instructions
Main Body of the Feather
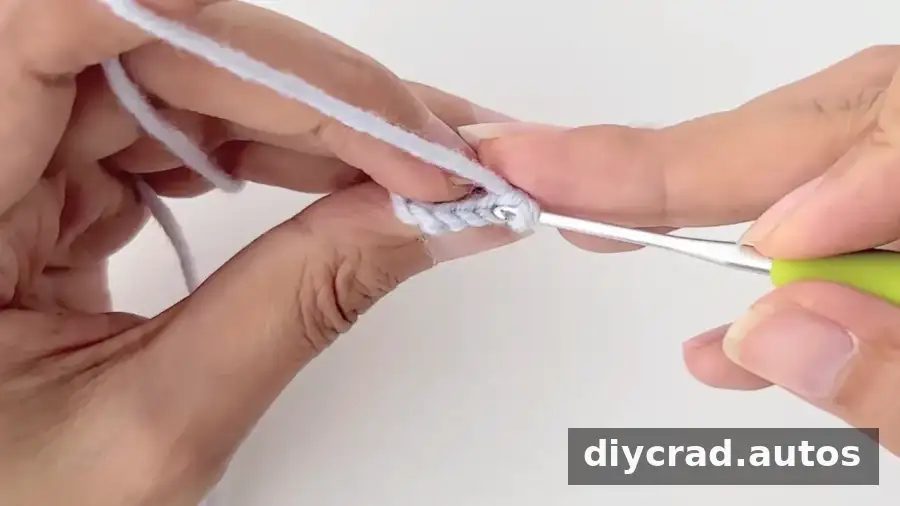
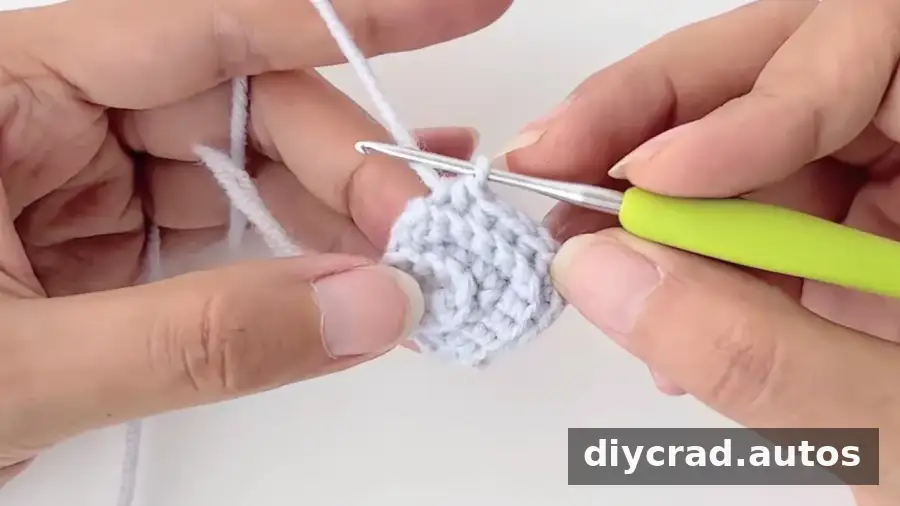
- R1: Work 4 ch. Starting in the second stitch from the hook, make 2 sc, 5 sc in the same stitch, then 2 sc.
- R2: Work in BLO: 1 ch, turn, 4 sc, 3 sc in the same stitch, then 4 sc.
- R3–9: Work in BLO: turn, 1 ch, sc2tog, 3 sc, 3 sc in one stitch, 3 sc, sc2tog.
- R10: Work in BLO: turn, 1 ch, (sc2tog) 2 times, 1 sc, 3 sc in one stitch, 1 sc, (sc2tog) 2 times.
- R11–12: Work in BLO: turn, 1 ch, sc2tog, 2 sc, 3 sc in one stitch, 2 sc, sc2tog.
- R13: Work in BLO: turn, 1 ch, (sc2tog) 2 times, 3 sc in one stitch, (sc2tog) 2 times.
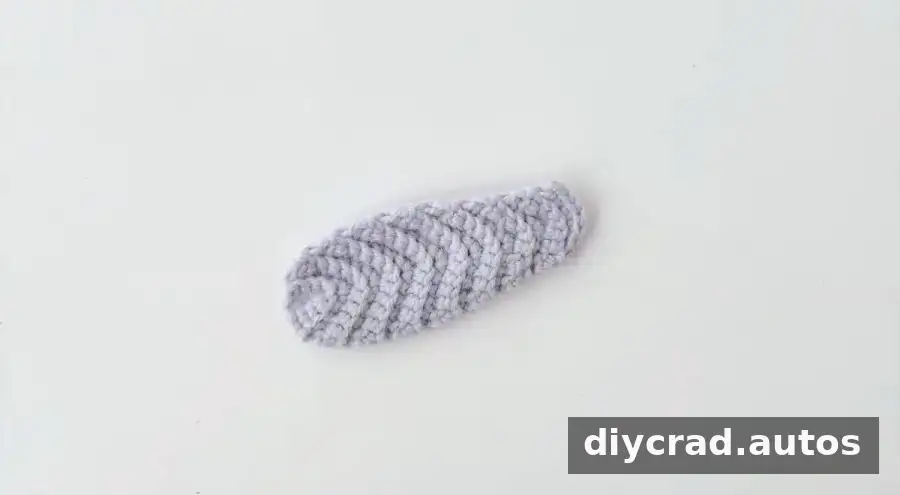
- R14–16: Work in BLO: turn, 1 ch, sc2tog, 1 sc, 3 sc in one stitch, 1 sc, sc2tog.
When a direction is repeated across several rounds, use the same stitch sequence for each round in that range. Check the shape as you go and make sure the increases and decreases remain easy to identify.
Make the Feather Handle
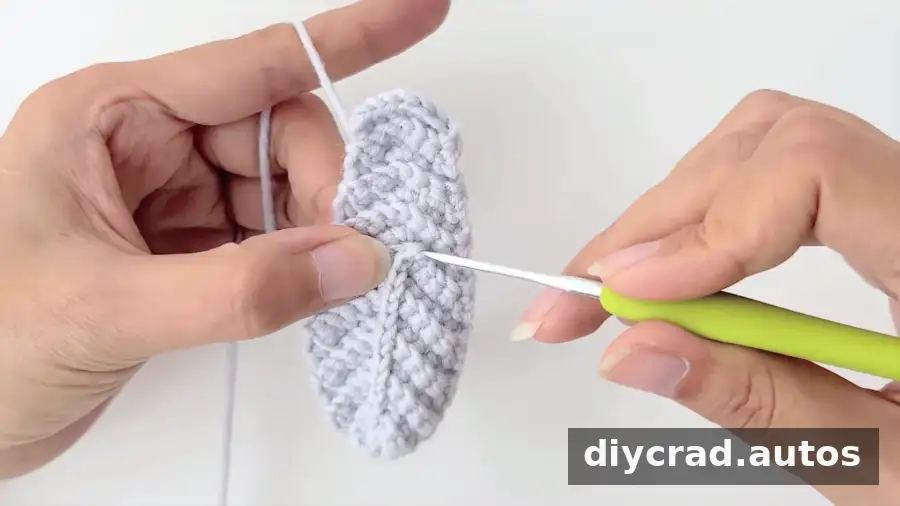
- Make a row of slip stitches down the middle of the feather, then work 1 ch. Do not cut the yarn.
- Work 3 ch. Starting in the second stitch from the hook, make 2 ss.
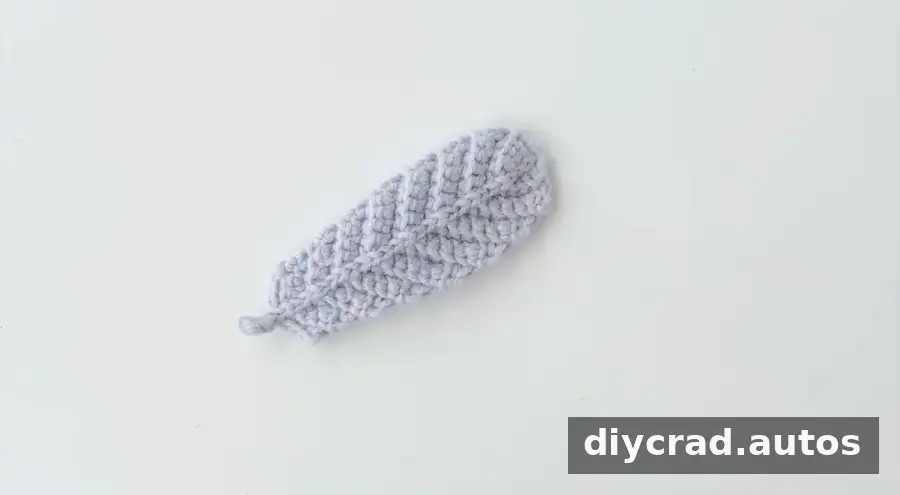
Use the darning needle to weave in any remaining yarn ends. If you plan to attach the feather to a pin, key ring, or another project, position it first and sew it securely in place.
Finishing and Customizing Your Crochet Feather
The feather is complete once its handle and loose ends are finished. You can use a different yarn color or combine colors to coordinate the motif with a decoration project. If changing yarn, choose a thickness that works comfortably with the 2.0 mm hook and keep your tension consistent across the rows.
This Crochet Feather Pattern is a compact project for practicing single crochet, decreases, and back-loop-only stitches. Follow the row sequence, use the video when you want a visual reference, and finish the feather according to how you plan to use it.