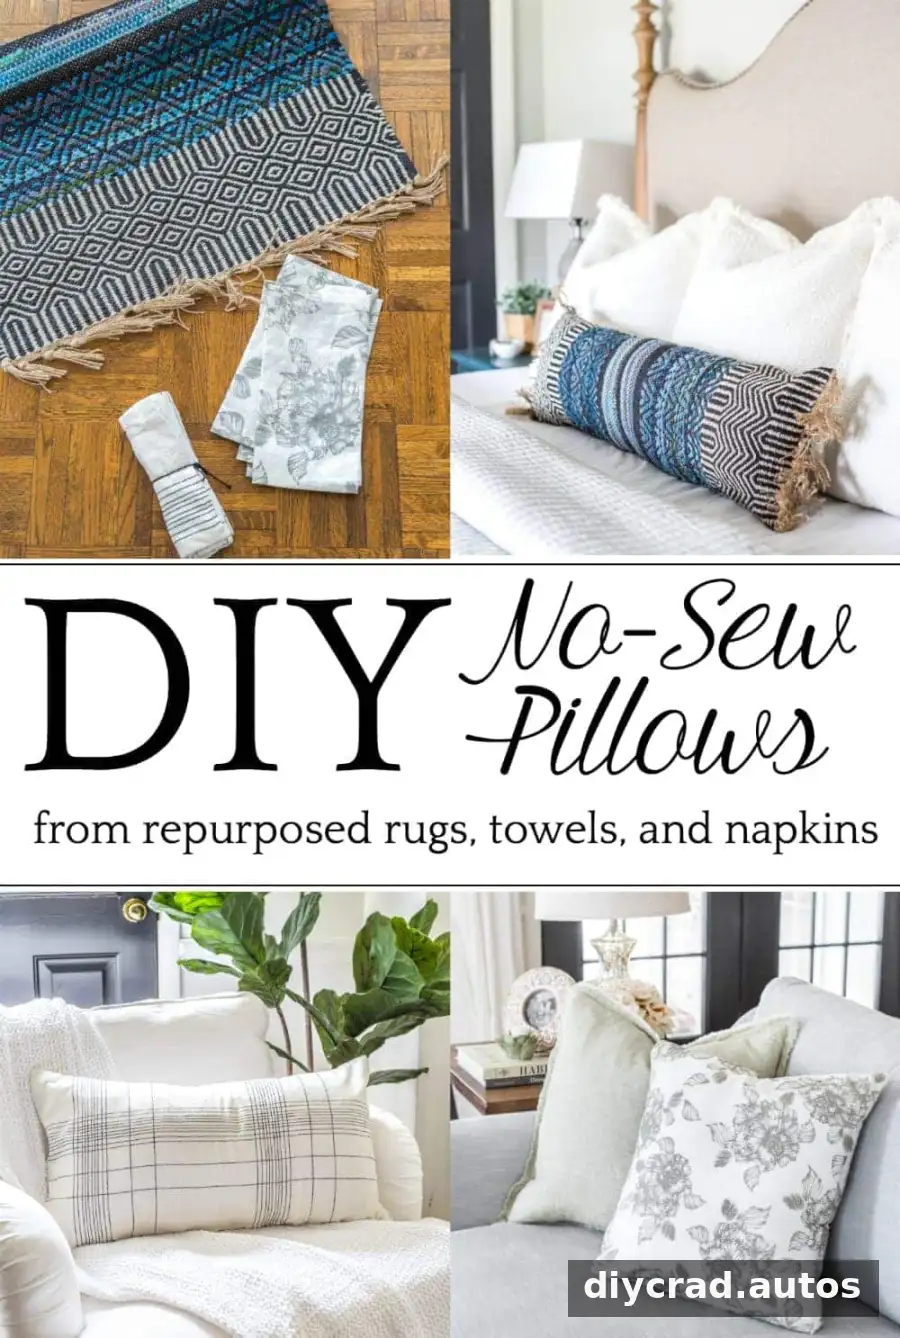
DIY throw pillows can refresh a room without requiring sewing skills or a large budget. Cloth napkins, kitchen towels, and small accent rugs can all become pillow covers, especially when their edges are already finished. With an iron-on hemming tape method, a suitable insert, and a few basic supplies, you can make a cover in minutes once the material is prepared.
This approach is also useful for repurposing textiles you already own. Making covers rather than buying complete pillows lets you reuse inserts and change the look of a room without storing a growing collection of bulky cushions. Before starting, check that the material is clean, large enough for your insert, and appropriate for the heat needed to bond the tape.
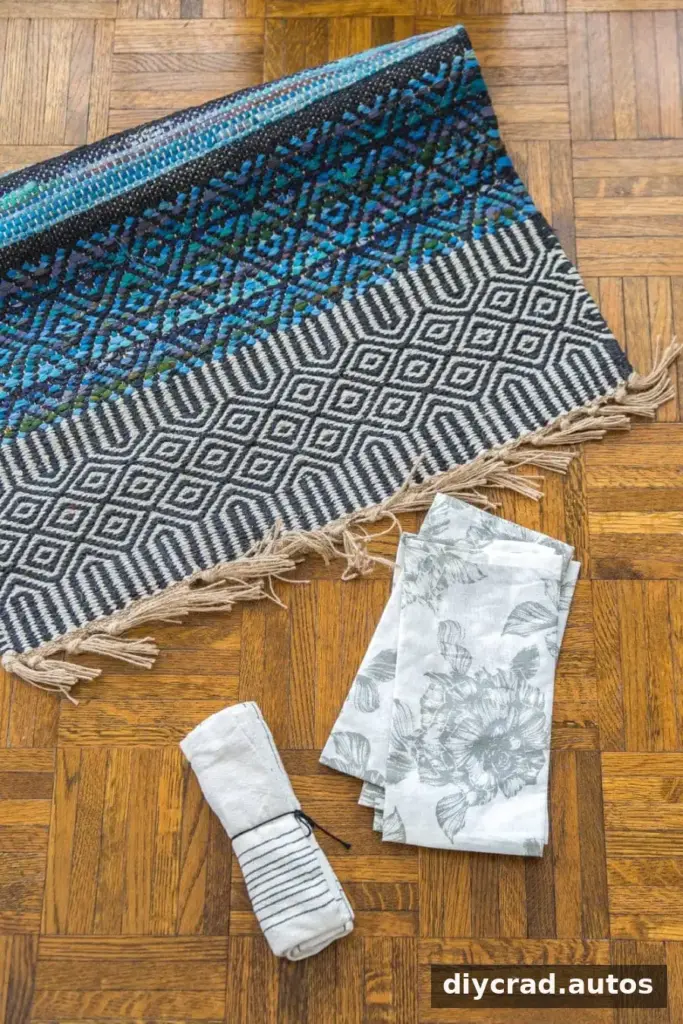
Three easy materials for DIY throw pillows
- Cloth napkins: A matching pair can form the front and back of a small pillow. Napkins with finished edges can help create a tidy cover.
- Kitchen towels: A large towel can be folded in half to create a long, lumbar-style cover.
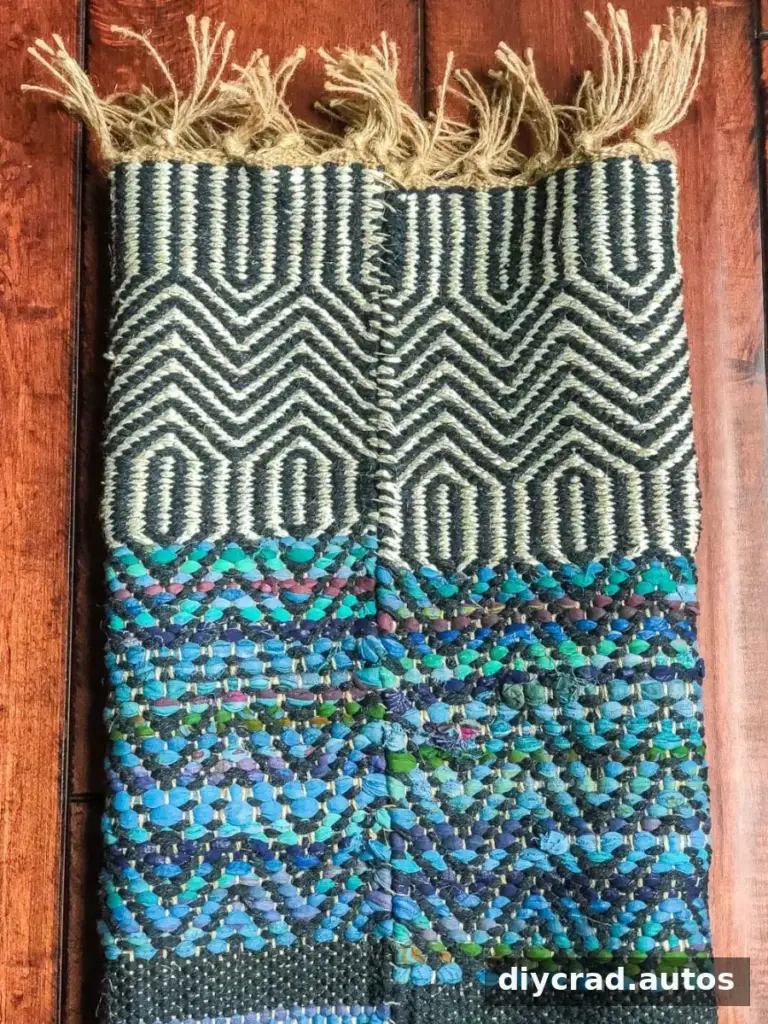
- Accent rugs: A small, flexible rug can make a distinctive long pillow. Thick or stiff rugs may need hand stitching instead of hemming tape.
The original project used a set of four napkins costing $8 to make two pillows, a kitchen towel costing $4, and a rug bought on sale for less than $10. Including hemming tape and hook-and-loop dots, the estimated cost was about $5–$12 per pillow. Prices vary by location, materials, and what you already have at home.
Using covers with existing inserts can also make seasonal changes easier. Measure your insert before cutting or folding the textile; a cover that is too small may strain at the seams, while one that is much too large can look loose.
How to make no-sew DIY throw pillows
The method below works with many fabrics, but napkins, towels, and rugs are convenient because they may already have finished edges. Read the hemming tape instructions before ironing, since suitable temperature and application time depend on the product and fabric.
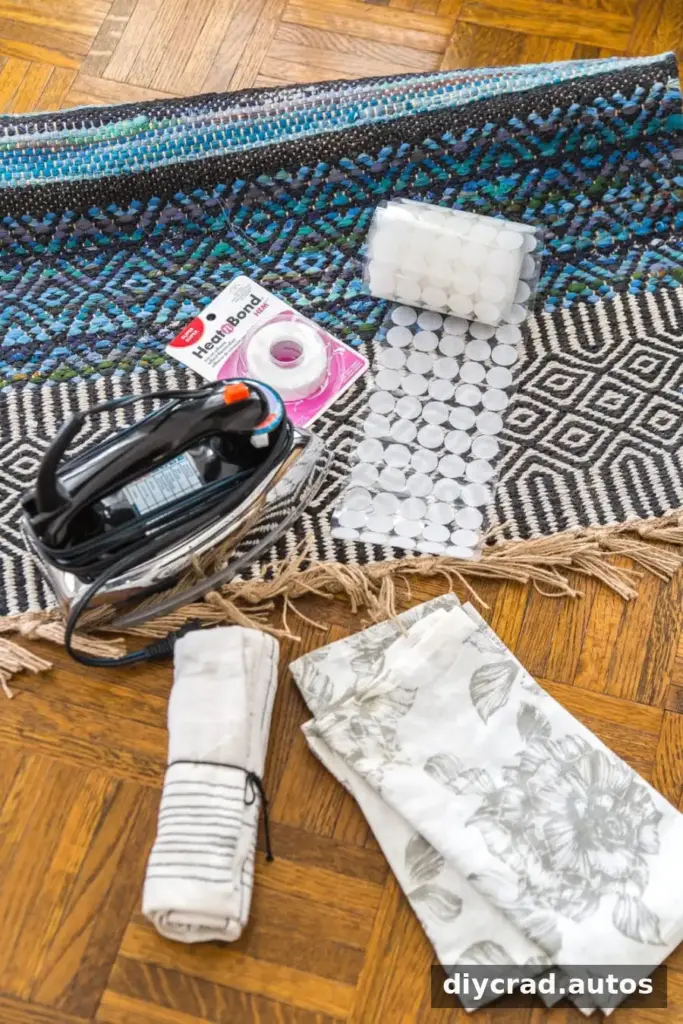
Supplies
- Textile of your choice, such as napkins, a kitchen towel, or an accent rug
- Iron and ironing board
- Iron-on hemming tape
- Scissors
- Hook-and-loop dots
- Pillow insert or clean polyester fiberfill from an old pillow
Work on a stable surface and protect it from heat. If you are unsure how a fabric will respond, test the iron on an inconspicuous area first. Delicate materials may not tolerate the heat required for fusible tape.
Step-by-step instructions
- Press the material. Iron out wrinkles according to the textile’s care instructions so the edges align neatly.
- Arrange the pieces. For two separate pieces, place the first with its printed side facing up and lay the second on top with its printed side facing down. The printed sides should face each other. For a long towel or rug, fold it in half with the finished side facing inward.
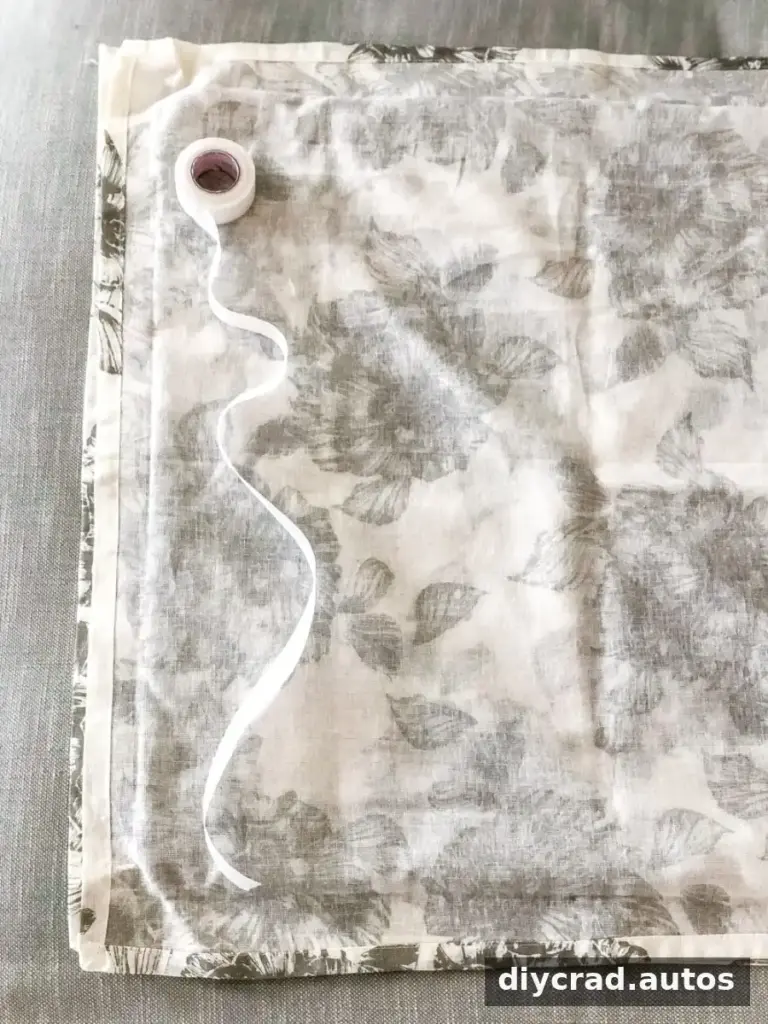
- Measure the tape. Cut a strip of hemming tape to fit one edge. Keep the strip inside the fabric edges so it does not show on the finished cover.
- Bond three sides. Place the tape between the aligned edges and apply the iron as directed on the tape packaging. Join three sides and leave an opening large enough to insert the filling. For a folded textile, bond the open sides while keeping the fold intact.
A very thick or stiff rug may not bond reliably with iron-on tape. In that case, hand-stitching with a suitable needle and sturdy cord is a more dependable option. Avoid forcing the iron onto a material that cannot safely withstand its heat.
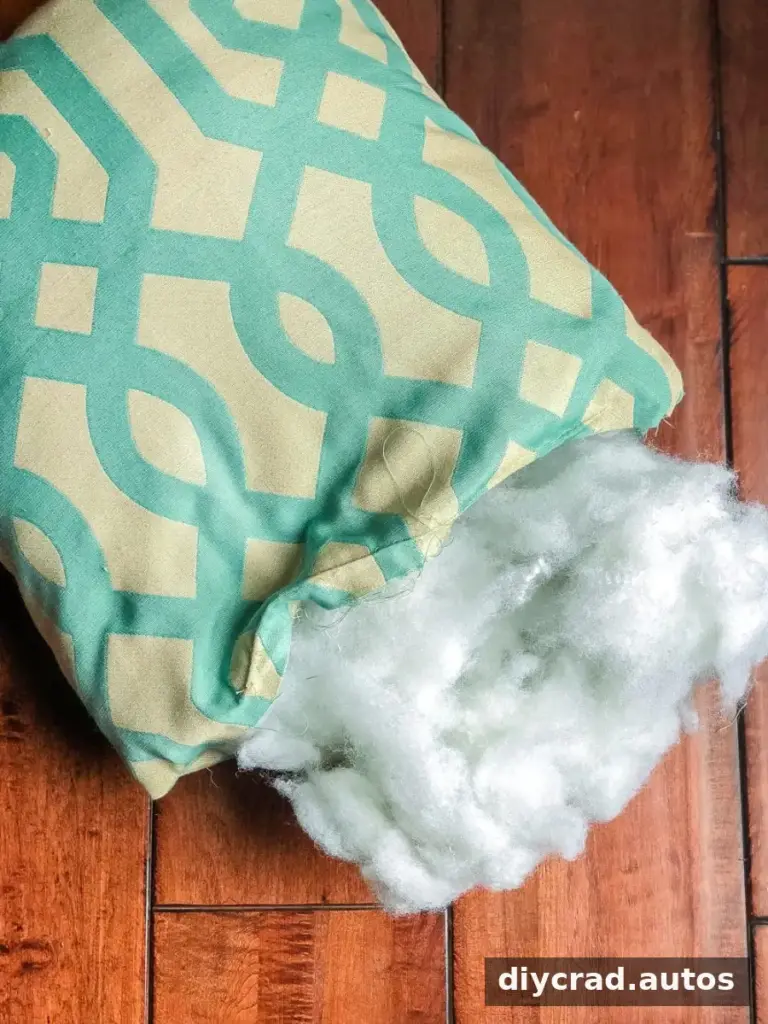
- Turn and fill the cover. Turn the cover right side out, gently shape the corners, and insert a pillow form or add fiberfill. Distribute the filling evenly so the pillow does not develop obvious lumps.
For an unusually long or narrow shape, a standard insert may not fit. Clean fiberfill from a retired pillow can be used instead, provided it is in good condition and suitable for the new cover.
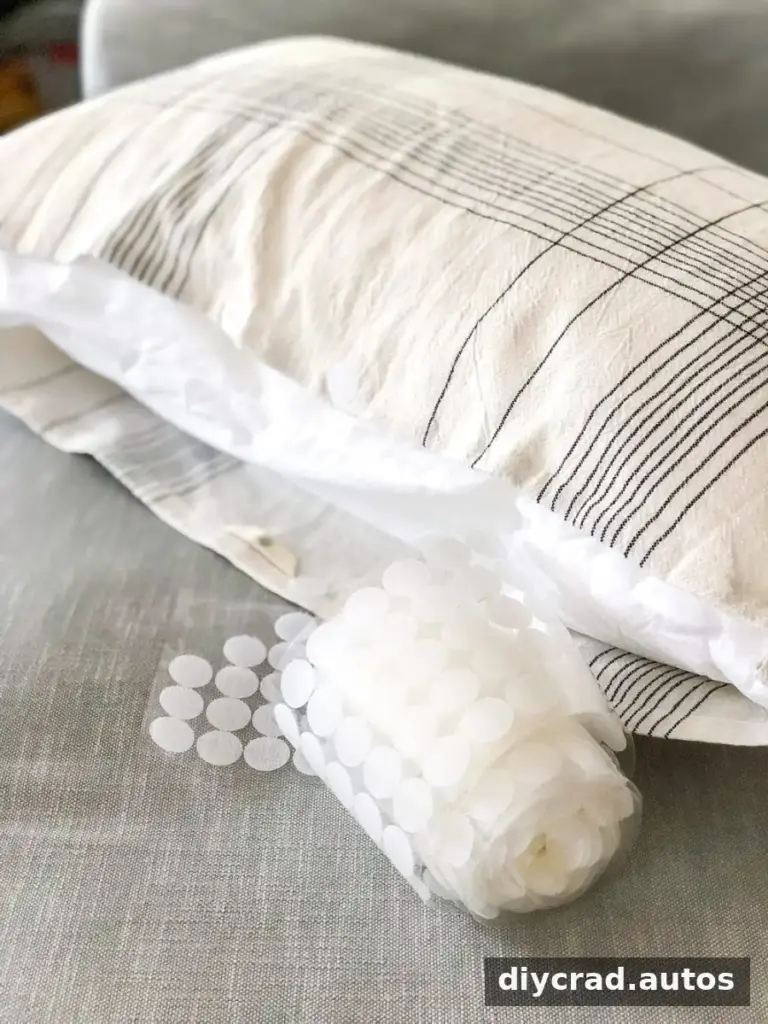
- Close the opening. Attach hook-and-loop dots along the opening and press the edges together. For a permanent closure, the opening can instead be fused with hemming tape, following its instructions.
A removable closure makes it easier to take the cover off for cleaning or to replace the insert. Check the textile’s care label before washing; some fabrics or finishes may need gentle cleaning rather than machine washing.
Simple finishing tips
Choose materials that suit the room and the way the pillow will be used. A soft napkin may work well as a decorative cushion, while a heavier textile can be more practical for a frequently used seat. Make sure the finished seams feel secure and that no exposed tape or rough edges are uncomfortable.
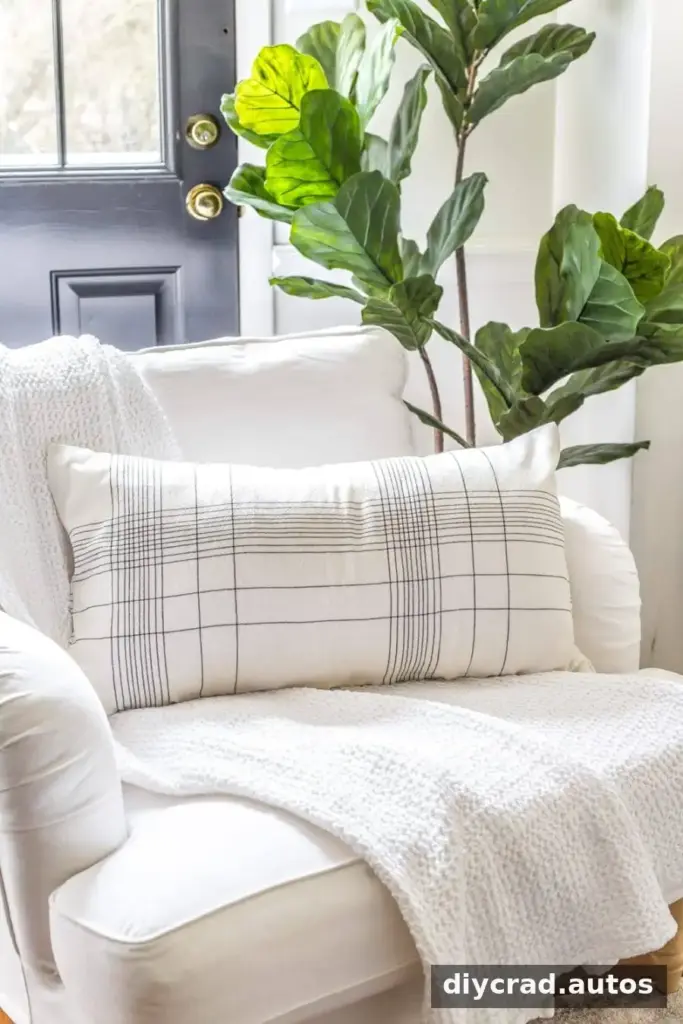
A kitchen towel can become a neat lumbar pillow when its dimensions suit the insert. Fold it evenly and check the finished size before bonding the sides, since the fold determines the pillow’s length.
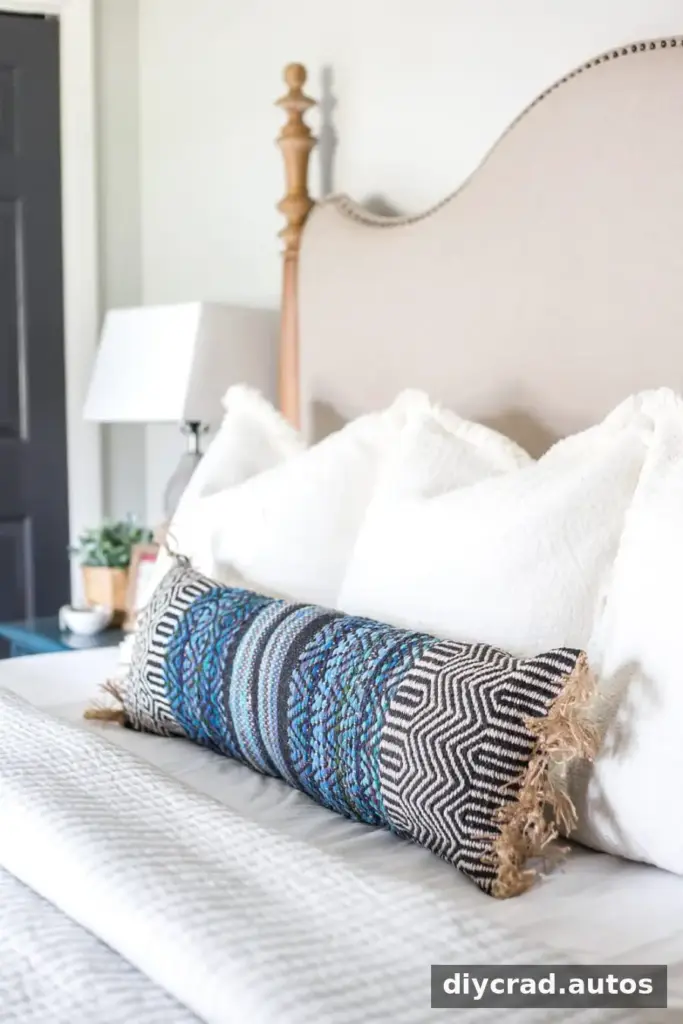
A long rug pillow can work especially well on a larger bed, where its shape has room to stand out. Use enough filling to support the length without overstuffing the cover or putting excess pressure on the seams.
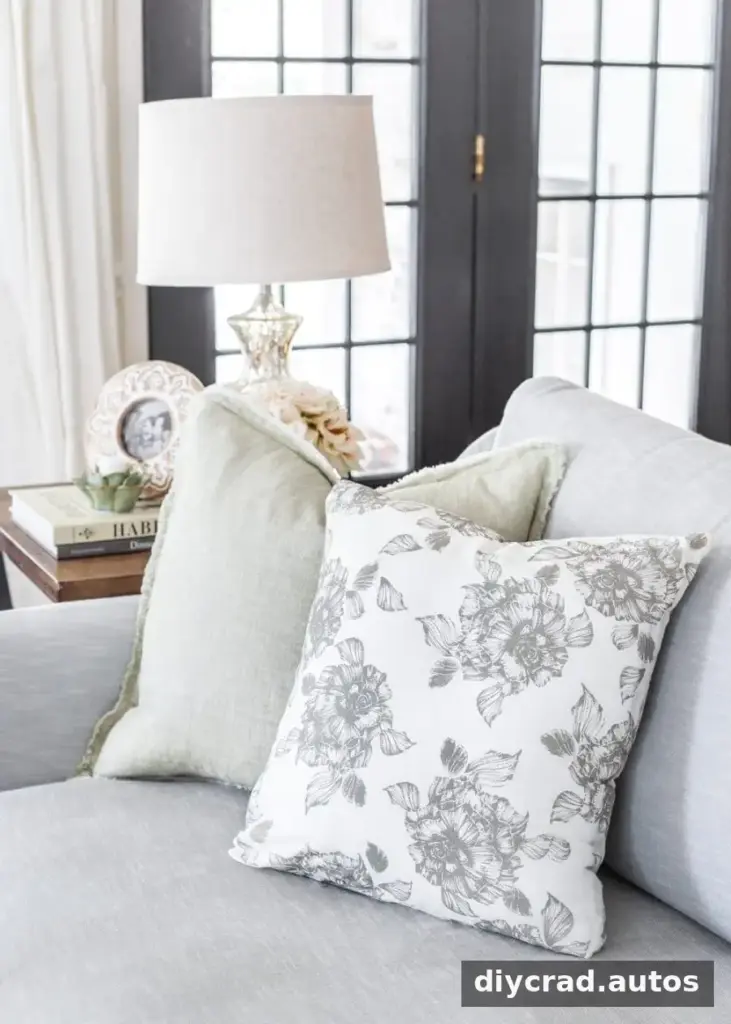
Printed napkins can bring color and pattern to a room, and using a coordinated pair helps the front and back look intentional. The same basic process can be adapted to different colors and textures as long as the material can be safely bonded or stitched.
Make DIY throw pillows from what you have
DIY throw pillows are a practical way to give household textiles a new purpose and update a space for less than buying a complete cushion. Start with a material that fits your insert, follow the hemming tape directions, and choose a removable closure if you want to reuse the cover. With a little planning, napkins, kitchen towels, and accent rugs can become useful decorative pillows without a sewing machine.