A vinyl fence can add privacy, define outdoor spaces, and reduce routine upkeep, but choosing and installing one takes careful planning. Before starting a vinyl fence project, consider how you’ll use the yard, local rules, property boundaries, gate access, and whether the work is suitable for DIY or better handled by a contractor.
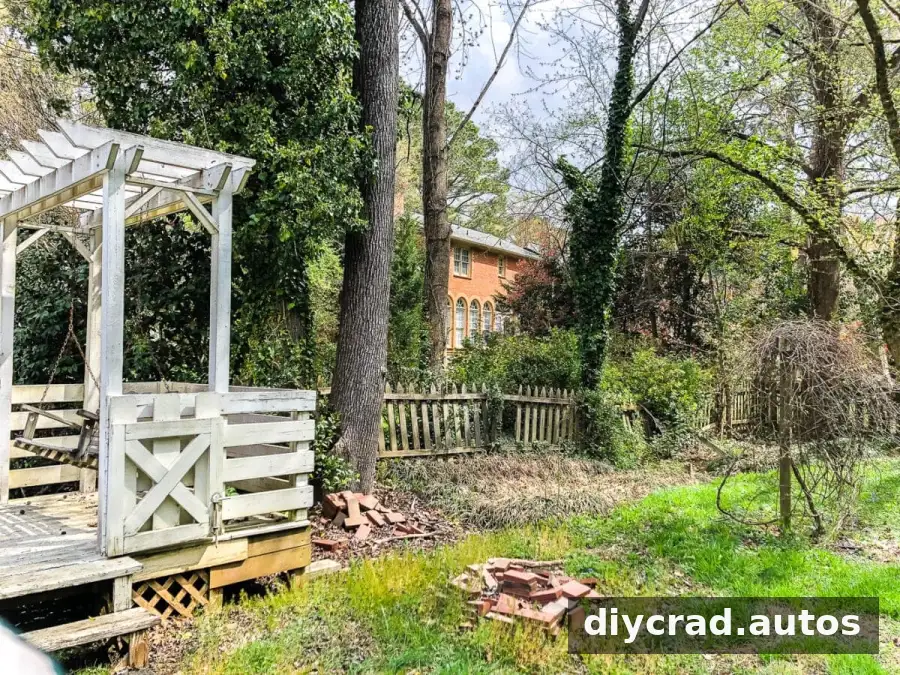
In this backyard, the old wooden fence had deteriorated over time. The replacement plan focused on safety, durability, low maintenance, and a style that suited the home. These nine considerations can help you make informed decisions before beginning a similar project.
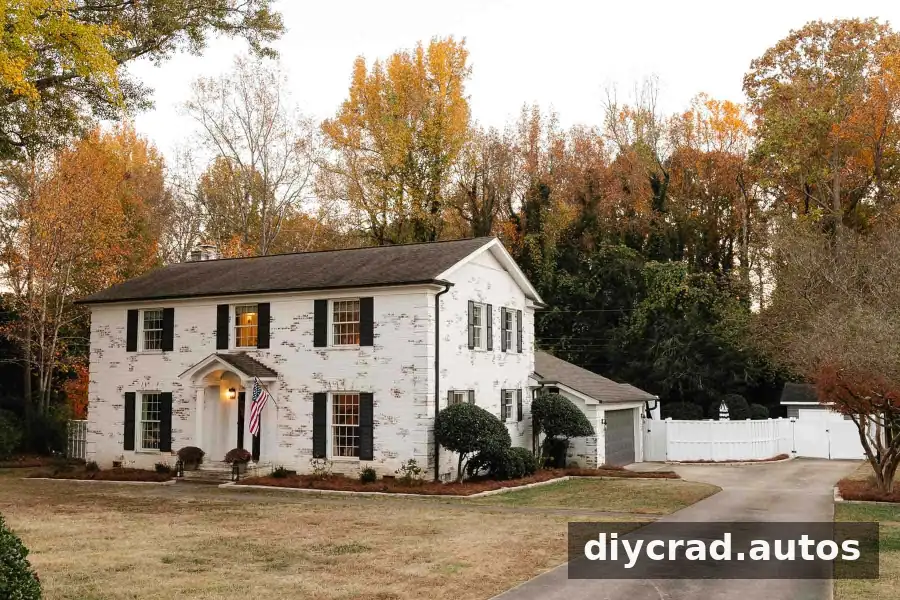
What to Know Before Building a Vinyl Fence
1. Start with Your Needs
Decide what the fence needs to do before comparing styles. A privacy fence can limit views into the yard, while a ranch-rail design can mark a boundary or contain livestock. A picket fence may suit decorative areas or help separate parts of a yard while keeping sightlines open.
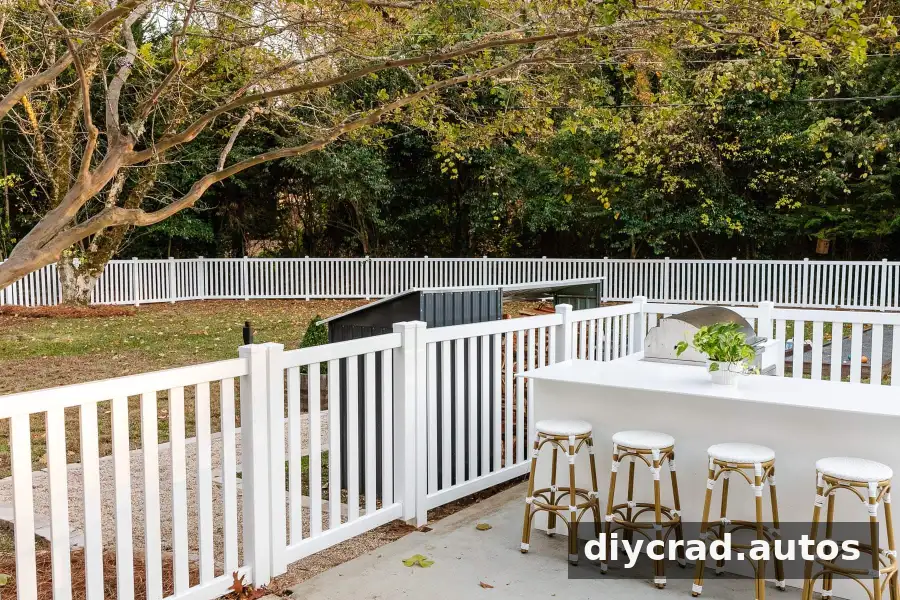
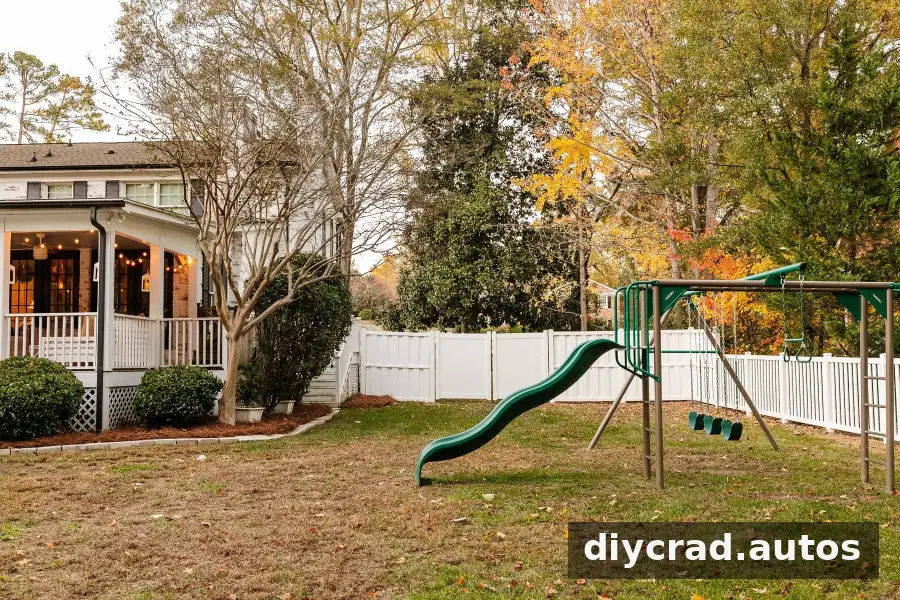
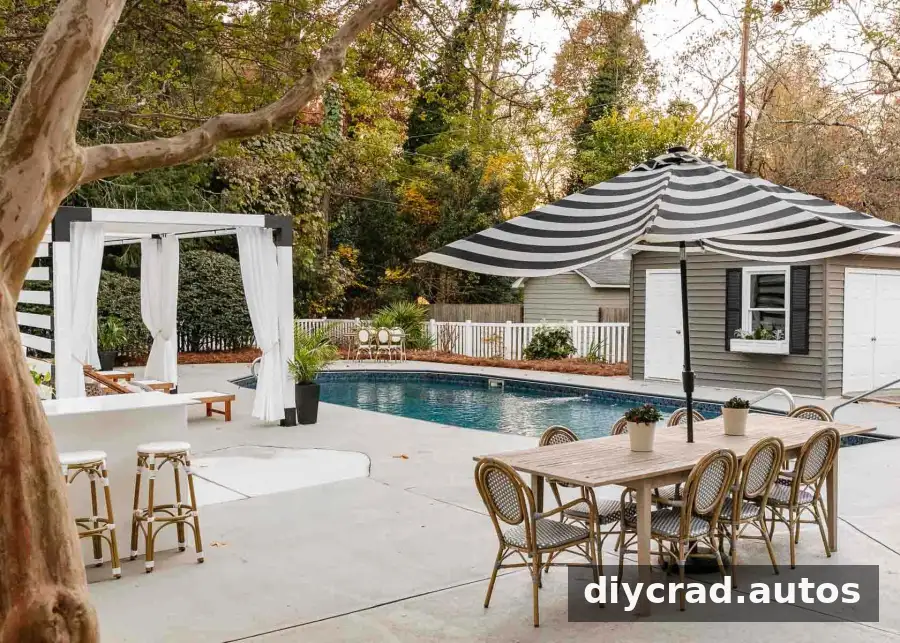
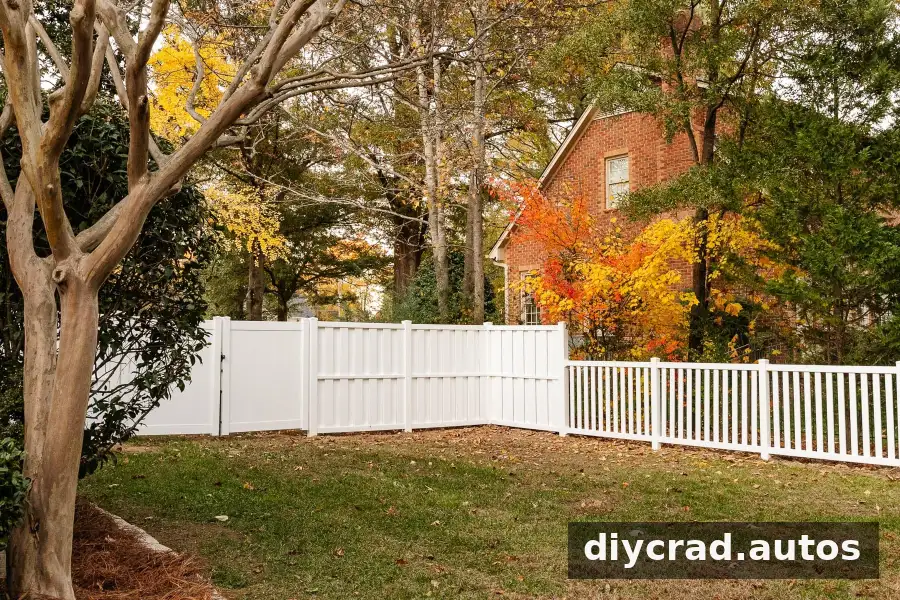
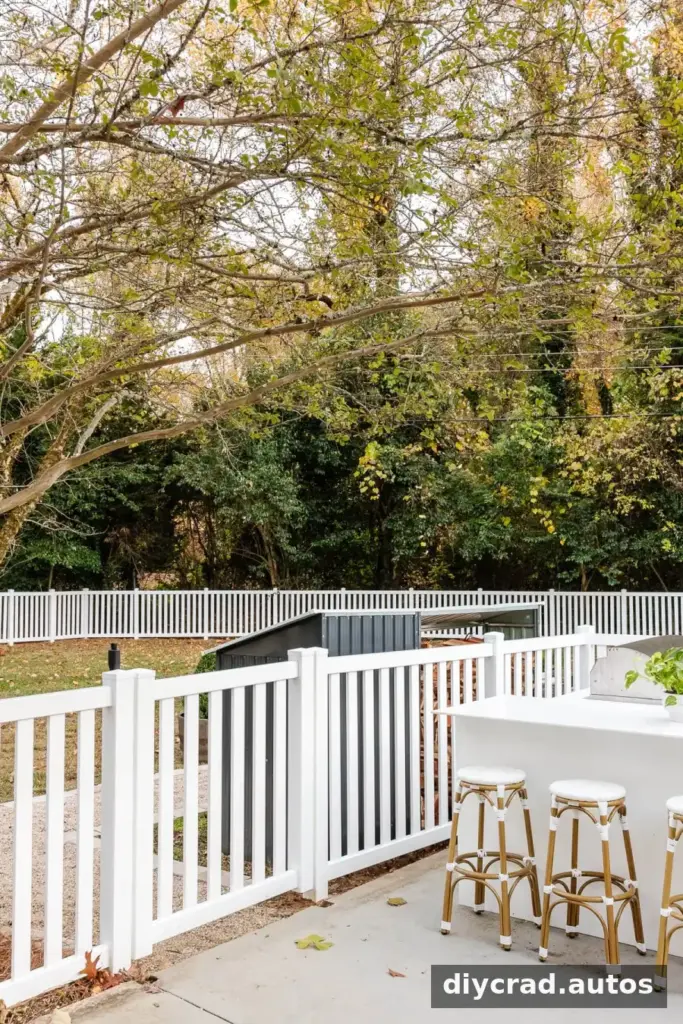
One practical approach is to use different styles for different areas. In this yard, privacy fencing faces the road, while picket sections separate the playground and pool area without making the space feel closed in. If children or pets use the yard, consider how the layout, openings, and gate locations will support supervision and access.
2. Match the Fence to Your Home
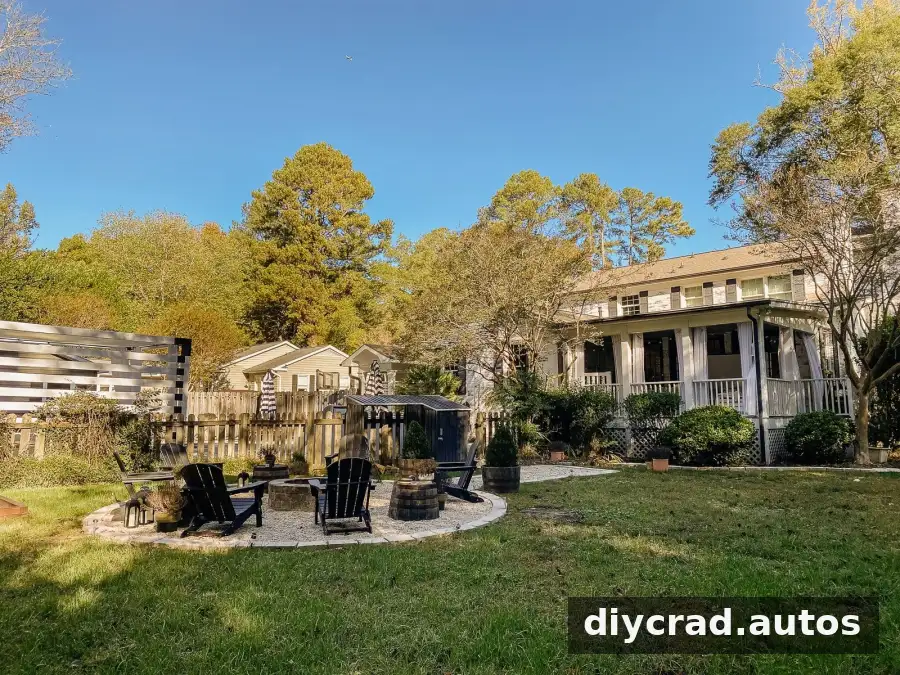
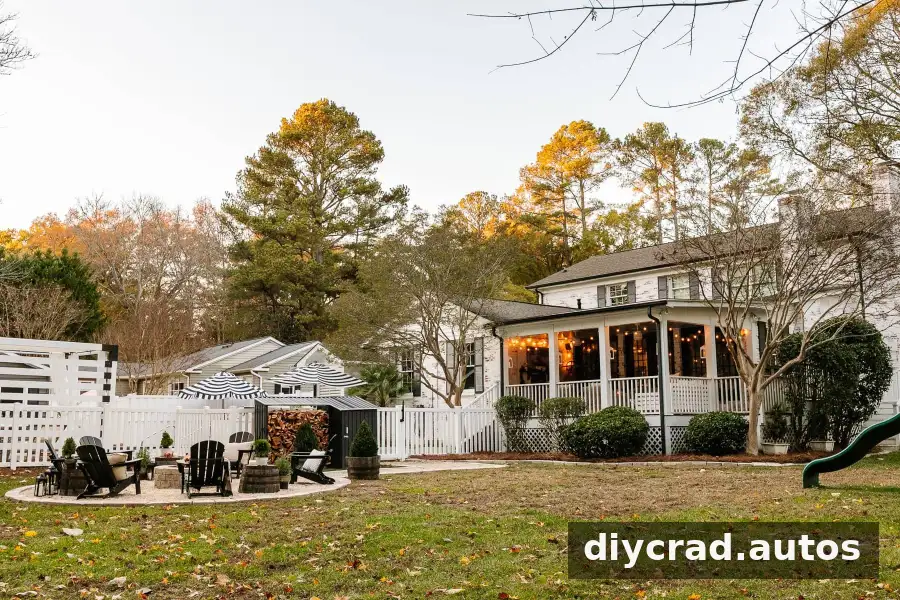
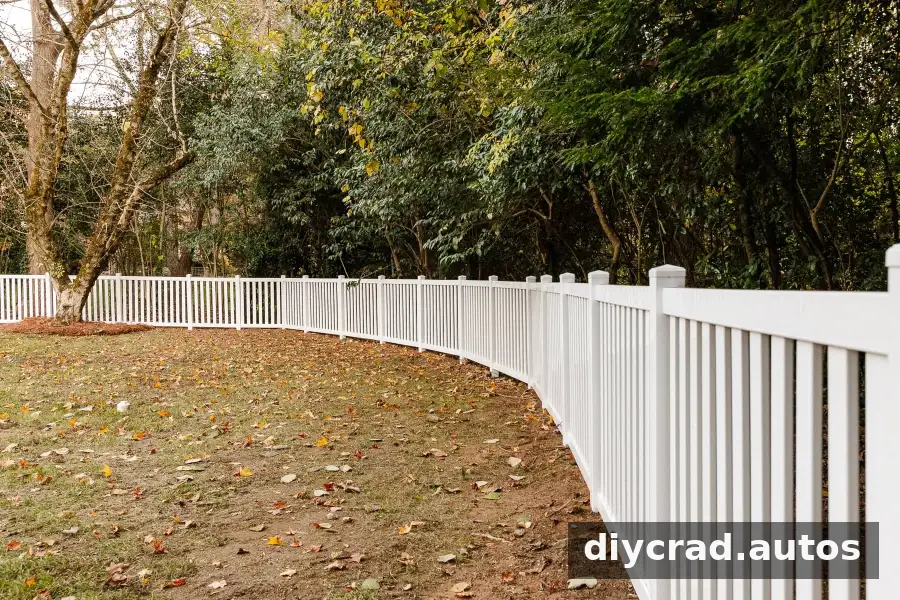
Choose a color and design that complement your home’s architecture and outdoor features. A curved style with wood-look details, such as Rising Rail Privacy Fence, may suit a traditional home. Closed Picket in Aged Cedar offers a different look for a modern rustic setting.
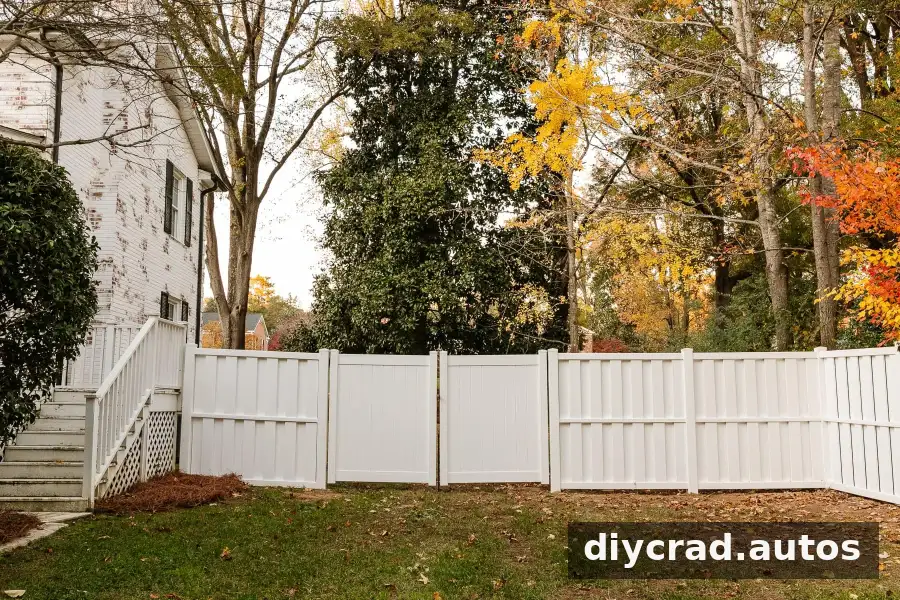
For a simpler, more traditional appearance, white Shadow Box Privacy fencing paired with Closed Picket creates clean lines. Before deciding, compare samples or product photos with your home’s exterior and consider how the color will look beside landscaping, patios, and other yard features.

3. Check Local Rules and Requirements
Fence rules vary by county, town, and neighborhood. Contact your homeowners association, if applicable, and local building officials to ask about permitted materials, heights, styles, setbacks, and whether a permit is required. Confirm these details before purchasing materials or scheduling installation, since requirements may affect the design or placement.
4. Compare Upfront Cost with Durability
Wood or metal fencing may cost less initially than vinyl, but materials have different maintenance needs. Wood can rot, and metal can rust. Vinyl may have a higher starting price, so compare the full project cost and expected upkeep rather than looking only at the initial purchase price.
The selected fence included a transferable lifetime warranty. Warranty terms differ, so read the documentation closely and confirm what is covered, any exclusions, and whether the warranty transfers to a future owner.
5. Confirm Your Property Line
Installing a fence beyond your property boundary can lead to costly disputes or changes. Check county records for an existing survey or arrange a survey before setting the fence line. Do not rely only on an old fence or informal markers to determine the boundary.
6. Speak with Neighbors Before Work Begins
Let nearby neighbors know about your plans and discuss any concerns before installation. Clear communication can help prevent misunderstandings about the boundary, access during construction, or the appearance of the finished fence.
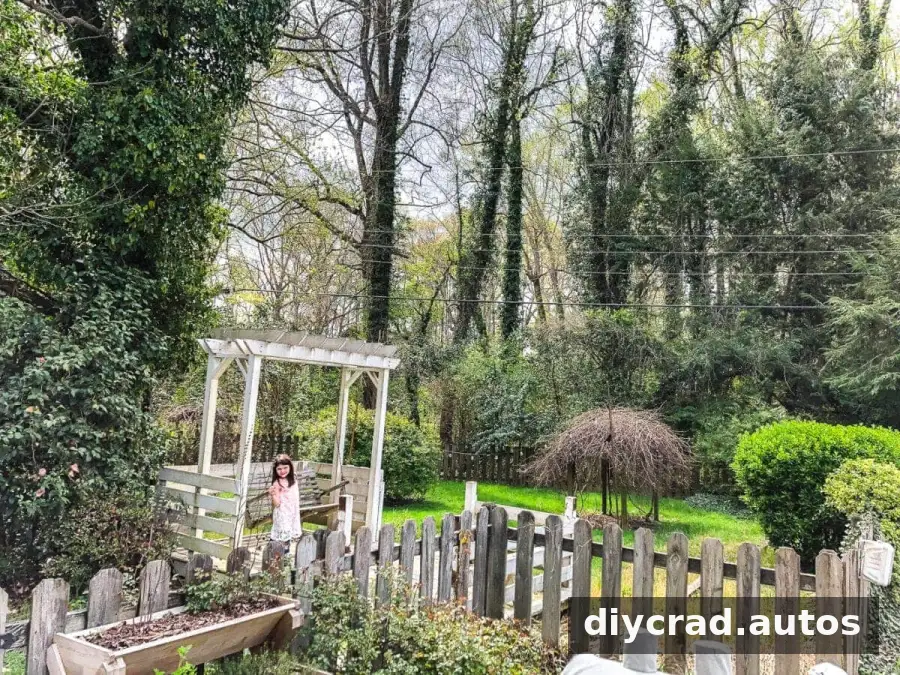
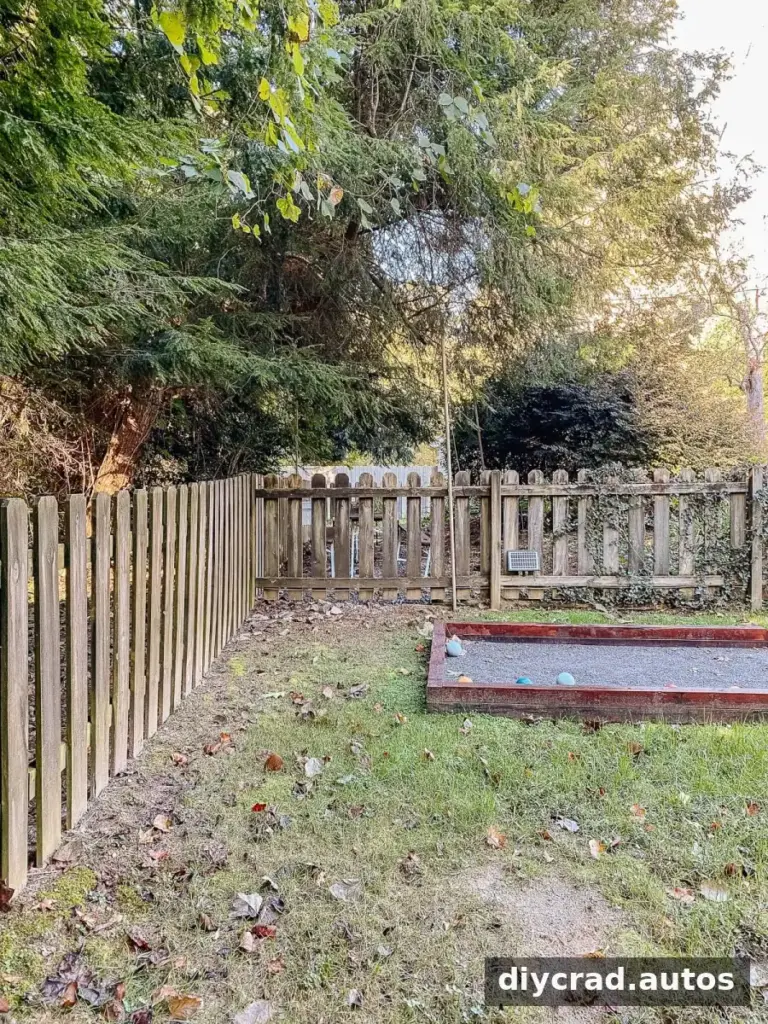
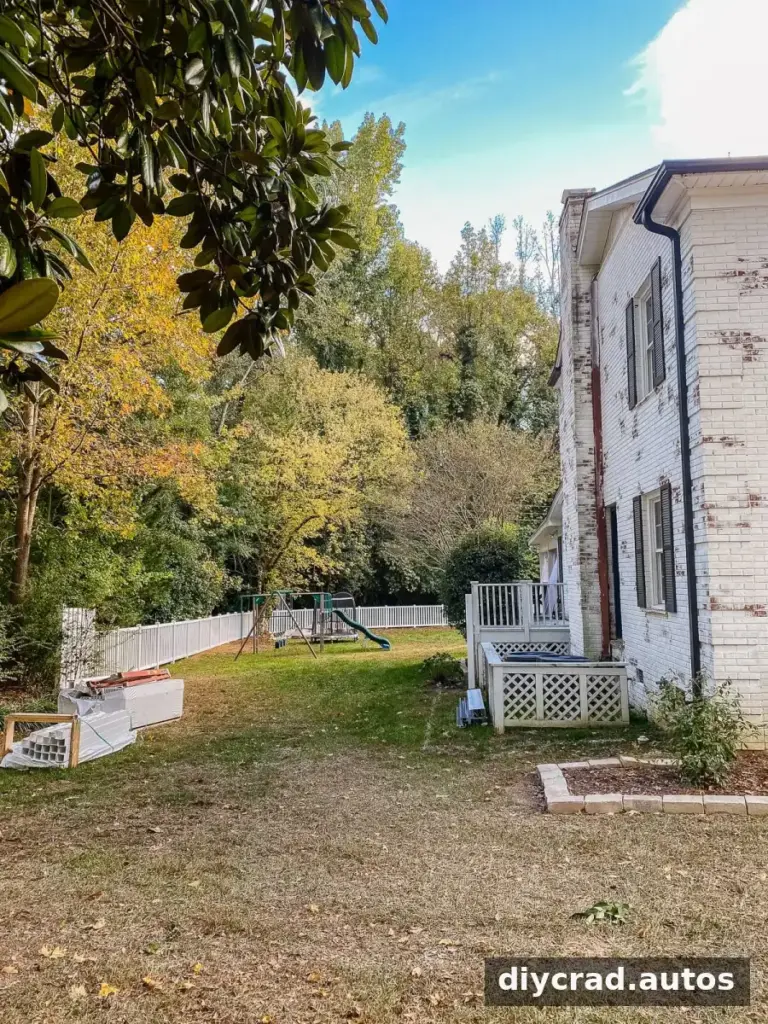
The former fence and yard show why checking the site and planning the replacement carefully can be helpful.
7. Have Underground Utilities Marked
Before digging anywhere in the yard, contact local utility services by calling 811 in the United States to request utility marking. Wait until the relevant lines have been identified before starting excavation, and follow the instructions provided for safe digging.
8. Plan Gate Locations and Widths
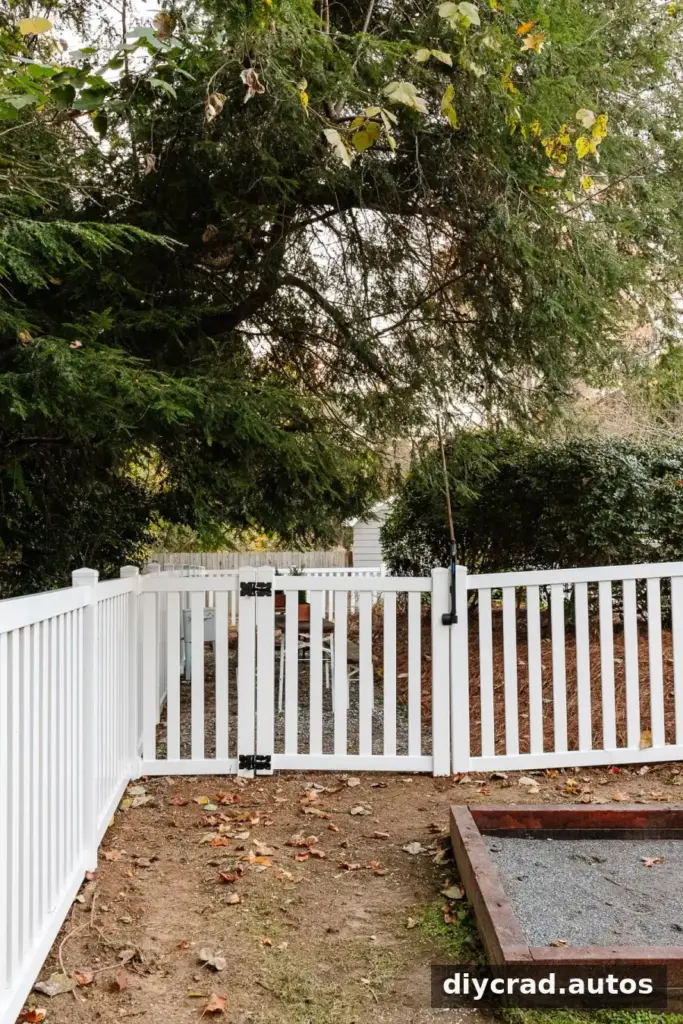
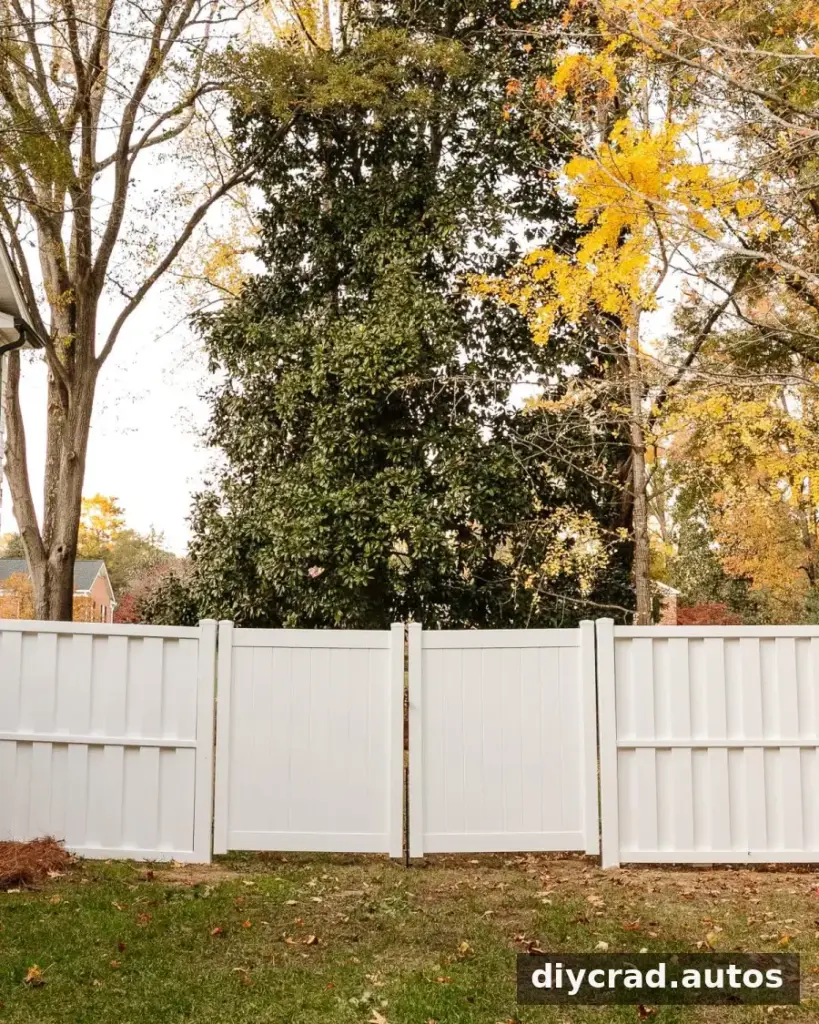
Think about how people and equipment will move through the yard. Two or more gates may improve access, and at least one should be wide enough for large equipment such as a lawnmower. Consider everyday routes as well as access for maintenance and gatherings.
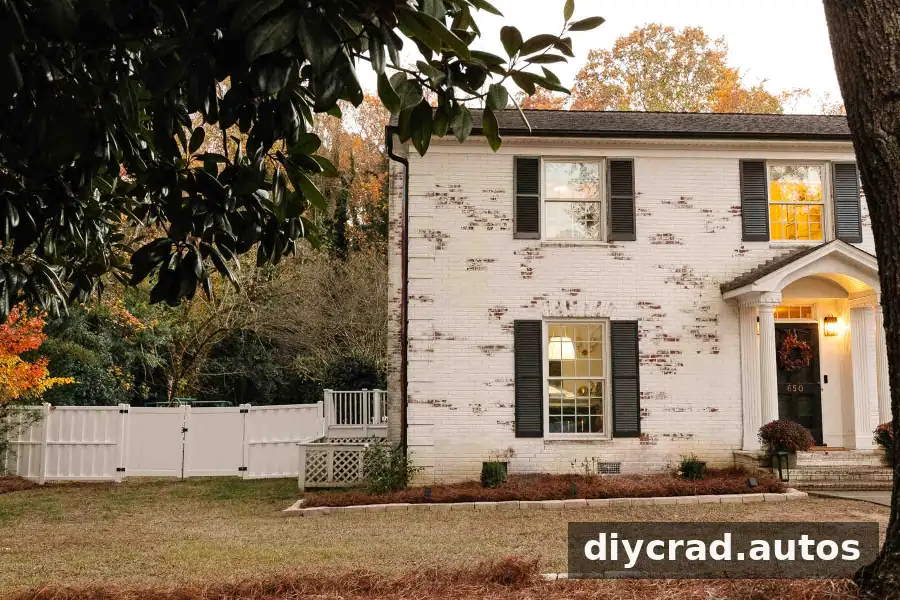
This layout included wide double gates on both sides of the house for lawn equipment, a pool entrance gate, and two gates in the picket divider between the pool and playground. Measure carefully and account for the gate hardware and required clearance when planning openings.
9. Decide Whether to DIY or Hire a Contractor
Installing a vinyl fence yourself may be possible with rented equipment, including an auger, and can reduce labor expenses. However, removing an existing fence, hauling away old materials, managing equipment, and completing a large installation can add substantial time and difficulty.
In this project, a four-person contractor team completed the work in two weeks. Labor cost about $10,000. The scale of the old fence removal and the time and equipment involved made professional installation a suitable choice for this yard. For a smaller or more straightforward project, DIY may be more manageable. Compare labor costs with rental fees, disposal needs, your available time, and the safety considerations involved.
How to Install a Vinyl Fence
Installation details vary by fence system, so follow the manufacturer’s instructions and local requirements. The steps below reflect the process described for this project; check the product guide before digging or assembling components.
Dig the Post Holes
Use a post-hole digger or power auger to make holes 10 inches in diameter. Ask local building officials about required post-hole depth. The guidance for this project describes a depth generally around one-third of the post depth, with an additional 6 inches for gravel. Gate and main posts should be set 6 inches deeper than the applicable regulation for added stability.
Place about 6 inches of gravel at the bottom of each hole to help limit water collection and erosion. Confirm measurements and depth requirements before digging, especially where soil conditions or local rules may affect installation.
Set and Align the Posts
Mix and place quick-setting concrete according to the instructions on the bag. Position the hollow post in the center of the hole and use a mallet to bring it down until it reaches the top of the gravel. Use a level to check that each post is plumb.
Set the main and end posts first, then run a string between them to guide the line posts. Check alignment and level before the concrete fully sets so you can make adjustments if needed. Shape the concrete at the top so it slopes away from the post, helping water drain rather than collect around the opening.
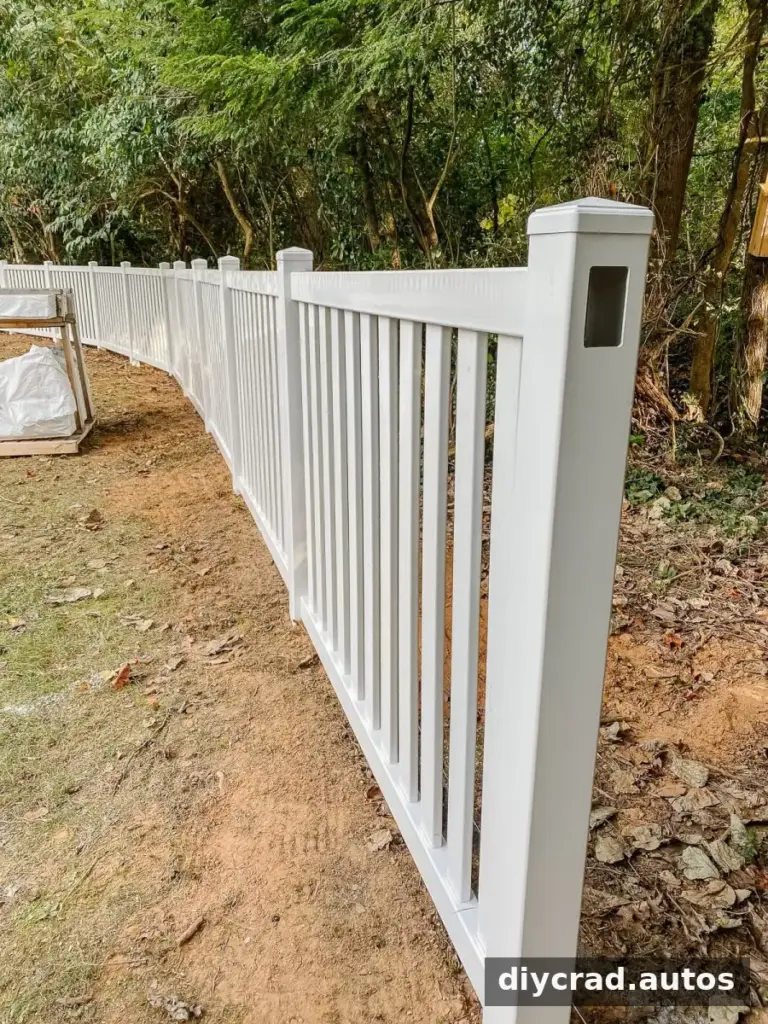
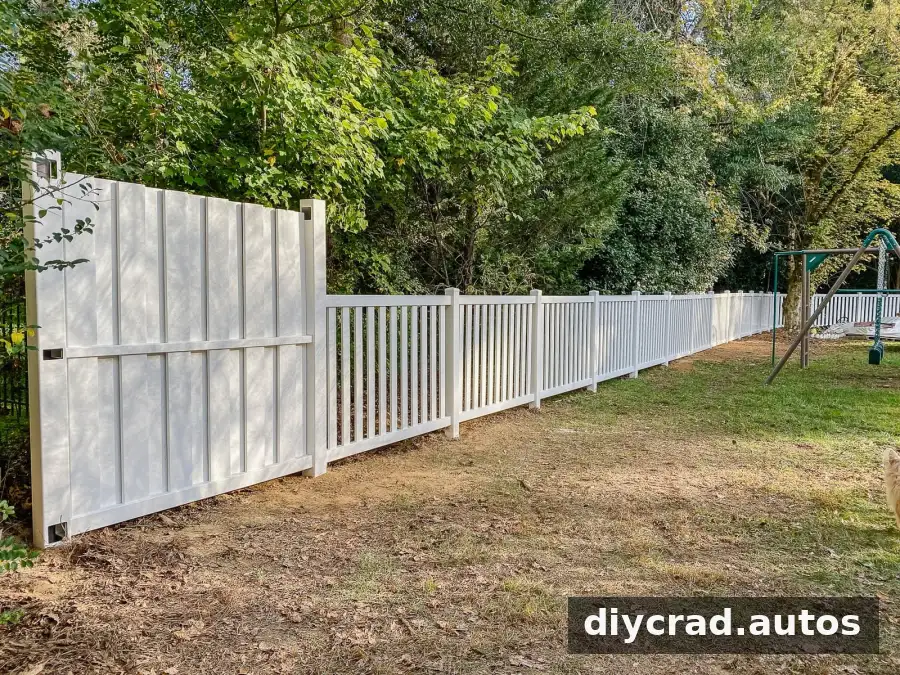
Attach the Fence Panels
Install the rail brackets on the posts according to the fence system’s instructions. Slide the rails into the brackets and secure them with screws. Then fit the vertical pickets or panels into the rails as directed. Check that each section is aligned before moving on to the next one.
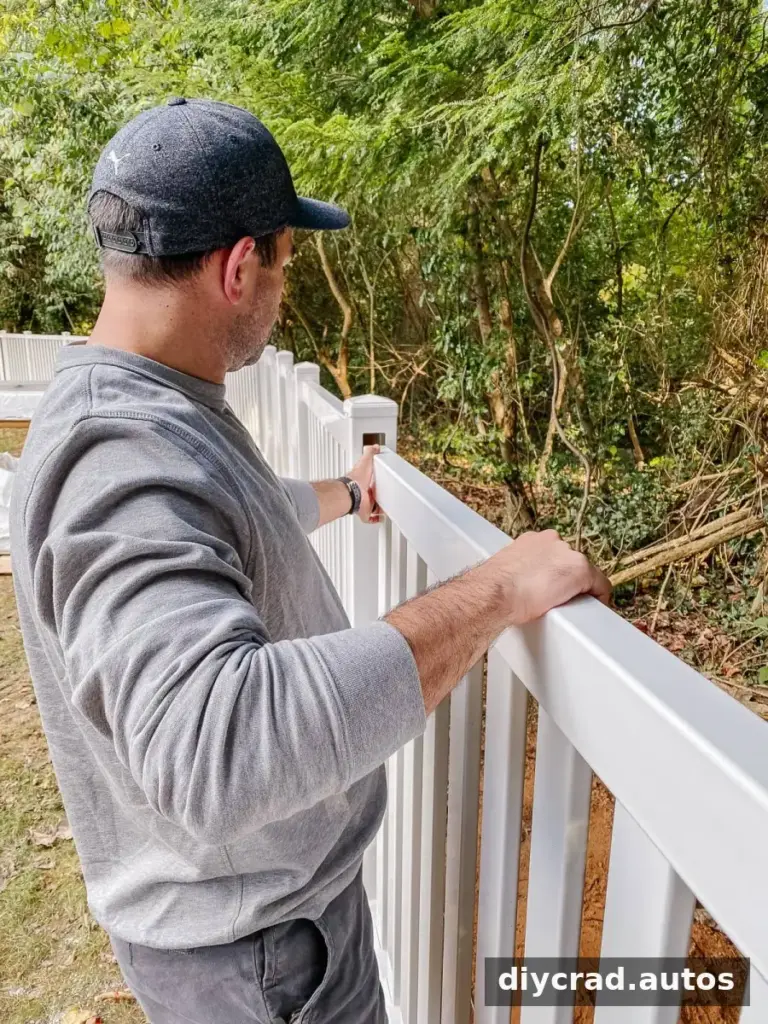
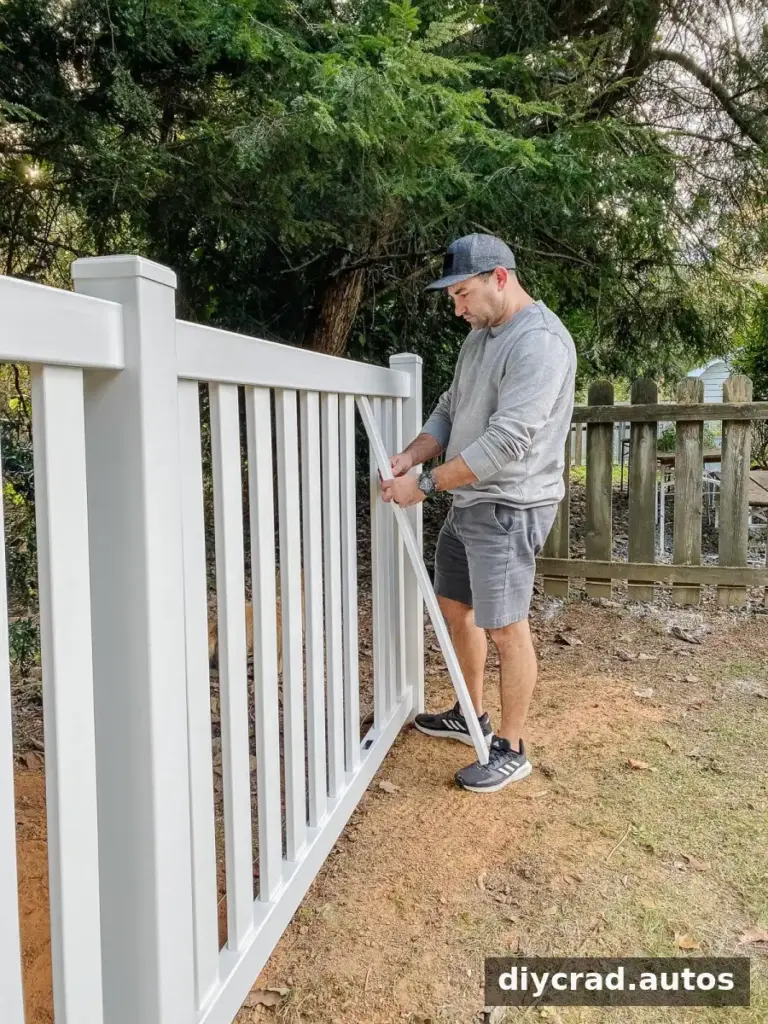
Install the Gates
For the gate setup described here, add 1-1/4 inches to the gate measurement to determine the required width between posts. Leave 5/8 inch of clearance on each side for the hardware. Place two outdoor-rated 2x4s inside each gate post for added stability, pre-drill holes, and attach the gate hardware. Follow the product instructions and verify measurements before securing the posts and hardware.
Vinyl Fence Maintenance
Vinyl fencing generally needs less routine care than wood, but it can still collect dirt or develop signs of mold or mildew. Inspect it occasionally and clean it when needed. A pressure washer may be used for cleaning if appropriate for the fence system; follow the manufacturer’s care instructions and use a setting that will not damage the surface.
Planning a Finished Backyard
A new fence can make an outdoor area feel more organized and complete, while leaving room for future projects such as landscaping, a playhouse, or improvements to a pool deck. Consider how each planned feature will fit with the fence layout so that gates, walkways, and usable spaces remain accessible.
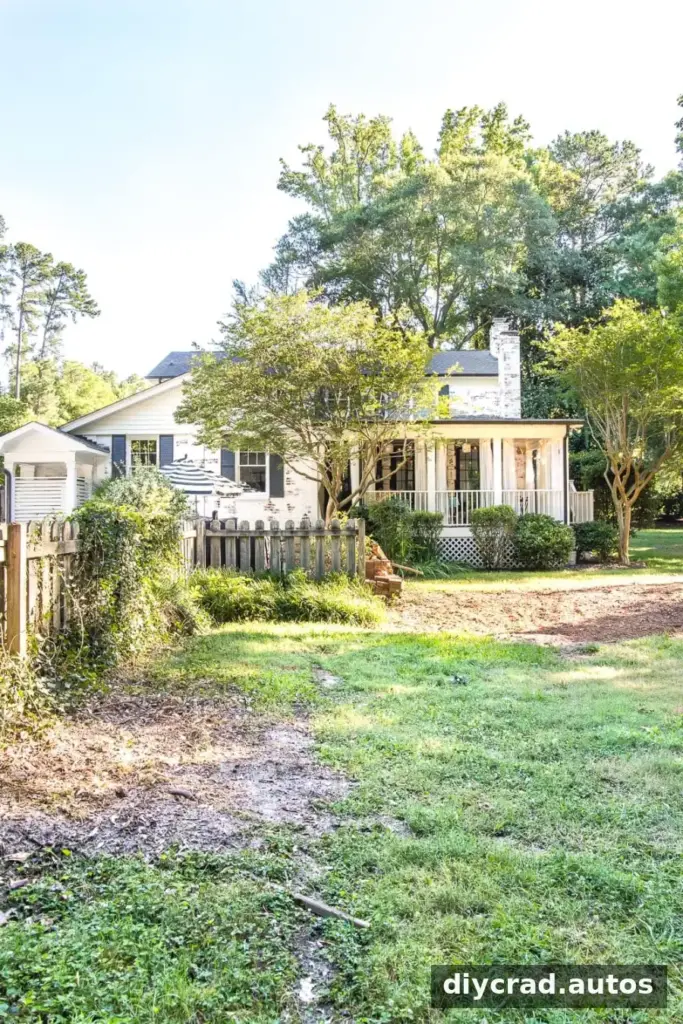
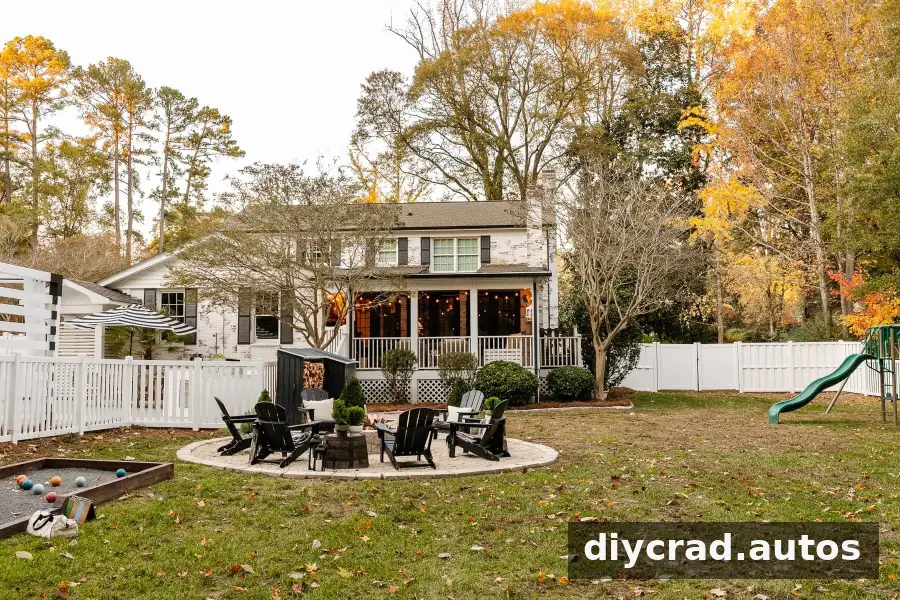
Other backyard projects include a fire pit, porch updates, a bocce ball court, and landscaping.
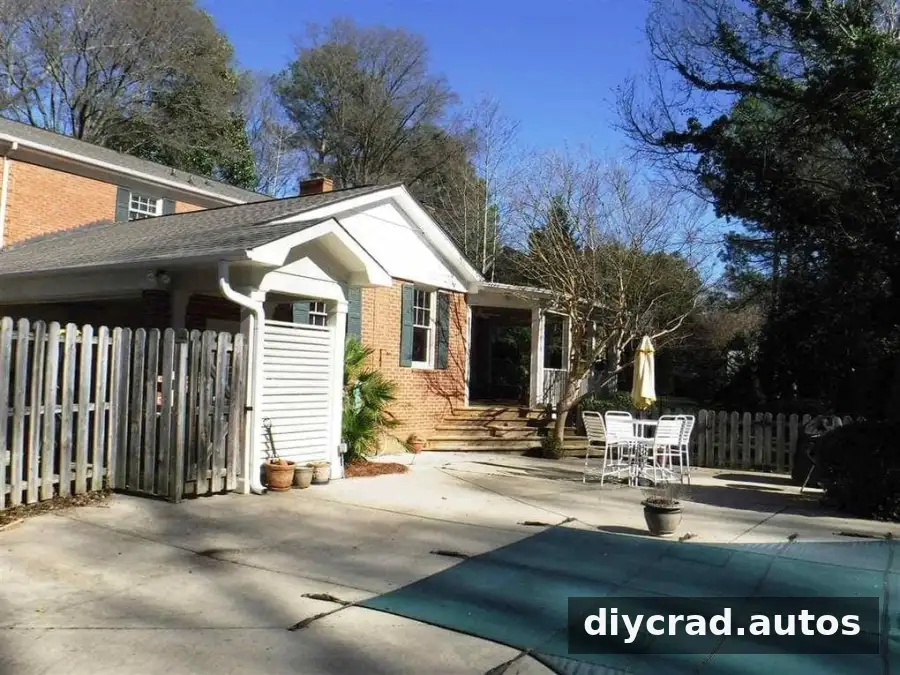
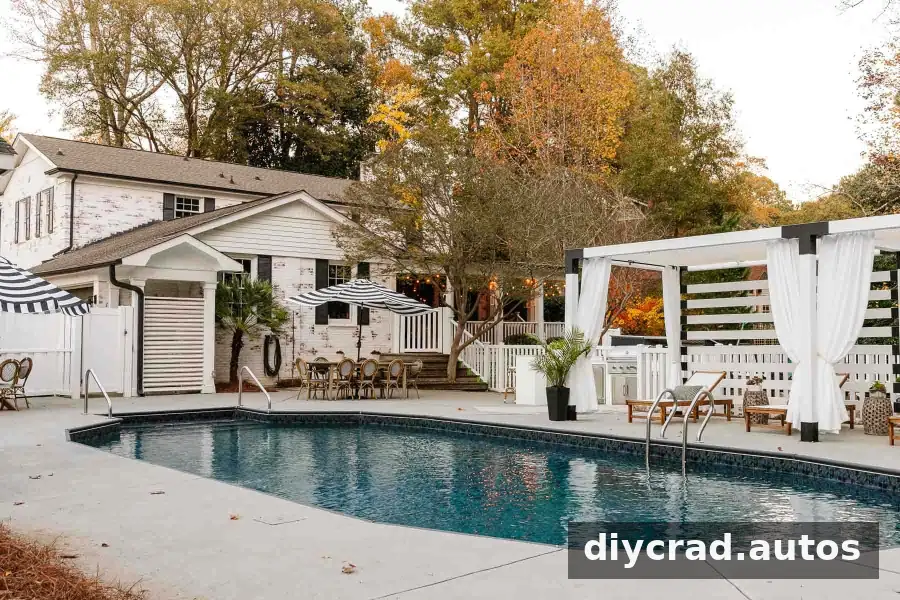
Outdoor projects can also include a pergola cabana, outdoor kitchen, brick updates, pool deck improvements, patio furniture, a shed, or a home gym.
Careful planning helps a vinyl fence meet the needs of the yard while fitting local rules, the property boundary, and the household’s budget. Before starting, confirm requirements with local authorities, have utilities marked, and choose DIY installation or a contractor based on the project’s size and complexity.